Search
-
Re: Blender - find polygons through UVs
 Set the selection mode in the 3D viewport to Face Select. In the UV editor use the UV > Show / Hide Faces > Hide Unselected command to transfer UV island selections to the mesh in the 3D viewport.
 -
Re: Can You Hide Faces in Maya?
ctrl+h only works at the object level. Select the faces you want to SEE and isolate them. Viewport menu: Show -> Isolate Selected -> View Selected Click again to unhide everything. -
Re: [ZBrush] Overlapping geometry on imported assets
 I guess you have double checked the meshes in Maya before export by selecting one vert and activating select connected? Once the mesh is imported you can select one tool, activate auto groups, hide one group and then delete hidden. That should work.
 -
Re: Washing Machine Part

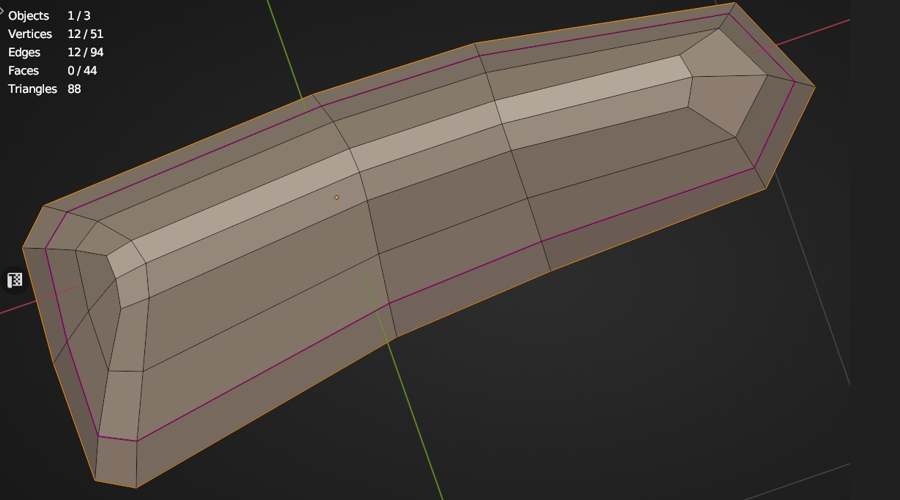 @Veer_P An interesting shape, they're typically fiddly to model in polygonal subd that are usually fabricated using an extruded die cast mould' and also CAD designed, hence indeed a challenge so my approach would be as if modeling a car body shell of some sort with a Shrinkwrap Modifier. Because there's a similarity in…
 -
Re: 3DSMax - Script - Quick Pivot Center and Align to another mesh?
 ( if $selection!=undefined then ( Obj1=$selection[1] Obj2=$selection[2] Obj1.pivot = Obj1.center Obj2.pivot = Obj2.center Obj2.transform = Obj1.transform ) ) Should do what you want.
 -
Re: Creating diagonal extrusions

 You'd use shortcuts but this way with global search input, it's more descriptive (add invert selection and convert edge selection to poly selection after dot loop + ring). Starting with evenly subdivided geometry:
 -
Re: [Maya/Free] Face-Weighted Vertex Normals Tool
VN feature in ADN Modeler Tools works better and I just use ADN Hard Edges selection tool, bevel it, select the flat surfaces with Angle Selection Constraint and use ADN Vertex Normal feature. -
Re: Newbi but not newbi
Welcome Bob, scrolling your credits reads like a who's who tent-pole 'dream team' selection for the best part of 30yrs, especially for nerdy folk (...which certainly includes me :# ) that are enamored with scifi/disaster/apoc/fantasy content and may I add particularly mechanical hard surface stuff so hope your time here is… -
Re: [3ds Max] Mesh wont react to bones
 You still have vertex selection model turned on in your edit poly base. Got here and turn that off and see if it helps. Some modifiers will only apply themselves to selected parts if the selection is left on.
 -
Re: 3D Max Transition between two different angles
 Volume Select selects a subobject within its volume. It's there just to force that end of the model to stay selected, so the Twist above it will confine to that part, while you're adding & editing geometry in Editable Poly below it.
>15393 results