Search
-
Re: [Portfolio] Tim Lewis, Environment Artist
 Wow wow, here comes the 'love' All I was trying to say that he should have some variety in his portfolio something like this http://orbart.free.fr/index.php?Gallery=105 No need to teabag and vilify me. Everybody has different experience and I was simply speaking from mine. I had bad luck when it comes to mods. And my…
 -
Re: Licensing Issues With Firearm Models?
 This is something I'd like to know about, too. I'm far from the only one who would have any interest in using realistic firearms in several videogames. Be they the designs themselves and/or the actual names. But to make matters worse, I'm far from a weapons expert, let alone well-versed in the legality behind it all. I am…
 -
Re: MODO - how to adjust UV grid size for lightmaps?
 I haven't used the image ratio setting in awhile; I find it simpler to pack my map in U -1 to 1 and V 0 to 1 (so, the normal UV square plus the one next to it). Then when I'm going to export, I duplicate/merge my mesh and with origin action center, scale to 50% in U and move +0.5 in U. Done. Although now that I think about…
 -
Re: Witch_WIP
 @5rov Thank you! Darn, maybe this link will work?https://www.artstation.com/isecgiga0234 Alright, I see what you mean. I'll go back and make those changes. I was going towards a more realistic approach but I might stretch her proportions to how CD project red did it in the Witcher…
 -
Re: Baking hair & fur from max using Projection
 @Yoji Hey man, what I would suggest is creating 4 or 5 cards. Lay them out to create UVs. Then duplicate. I guess that is future reference unless you want to recreate your hair. With all your hair cards in place, you can attempt stacking the UVs on top of eachother. Here's a breakdown which I found very…
 -
Re: [UE4] Modular Building Set Breakdown
 Hi Crystal_Ant, Thanks for the compliment! Your walls don't all have to be the same size, they just all have to line up on a grid that you will specify inside of your 3d program. Just pick a number like 1 meter or 0.5 meters in maya and make sure that all of your walls line up on that grid :) Yeah, you can check inside of…
 -
Re: (UE 4 ) underwater facility (Artstation Challenge)

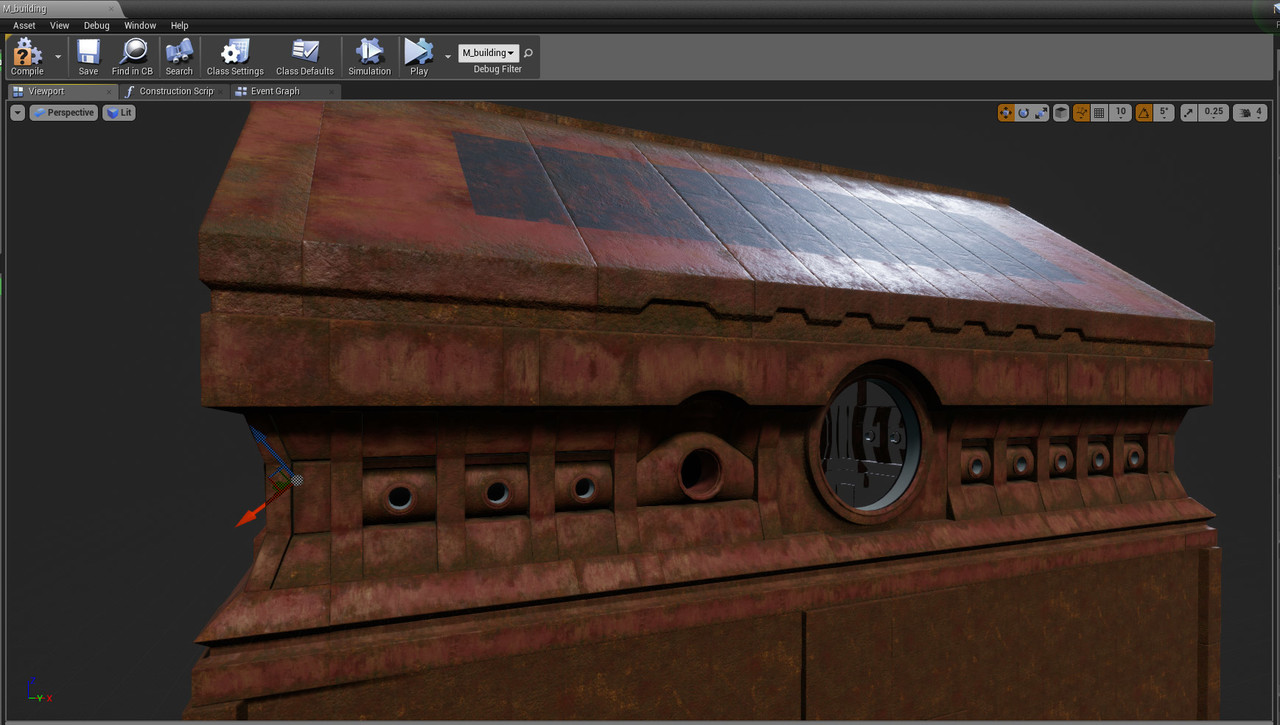 main building base texture done , later i will use vert paint and decals to make it more interesting i will now for a change start working on cliffs and vegetation later i will work on interior and background building. Also i did a quick bake with directional light with 0.5 intensity and skylight with also low intensity ,…
 -
Re: Switching in a glow map dynamically
 you don't really need a texture to create a circular gradient though. all you need is the distance between the texture coordinates and a vector2 with whatever values you want for your center(0,5 for both values probably). //edit: before you could copy node setups from the material editor, paste them to text and copy&paste…
 -
Re: Xoliul's 3DS Max and Maya Viewport Shader
Can anyone explain why I get only half of FPS (yeah, right 0.5 fps) when I deform a model with a shader applied? It's fine if I just move the camera around or move the entire object (50-100 FPS in this case), but if I animate the object that has a Skin modifier or go to edit mesh/poly mode and transform polygons, vertices,… -
Re: WIP League of Legends - Mega Gnar fan art

 I reworked the bird texture and scaled the mesh down (0.5 its previous size) and have redone every shot with the bird and updated the viewers. I was totally off with the wing anatomy. Now if it's not totally accurate it's at least a lot more acceptable and doesn't steal all the attention on the shots. I also had more space…
>2747 results