Search
-
Re: Looking for friendly advice on how to get the ball rolling
 Hi! Things you can try to get your hands dirty: * Bi-monthly challenge (any challenge really). Why it helps: fixed duration, concepts to work off, others potentially doing the same subject with perhaps different approach, gives reason to think about and articulate workflows. Fill additional parameters like style-specifics…
 -
Re: Maya ramp texture mapped to shadow colour of direction light, how to?
 (Color Utilities) Surface Luminance -> (Color Utilities) Clamp -> Ramp Add as a layer to the shader you want it to affect. The layer can either be a layer in a layered texture or layered shader. This doesn't solve your request in the OP but can be used to solve faking SSS.
 -
Re: Overlaying / Mixing normal maps
 there is many ways to mix normal maps and they can have different results. Its not always going to be optimal to remove the blue channel however, although it works fine if you are doing it to texture sampled normal maps, as apposed to those created via surface sampling. But for in photoshop layering one normal map over…
 -
Re: [UDK] The Apex Observatory
 Spot on Marc, I was thinking the same thing while detailing it. But zBrush is not too good at doing high level transfrmations like that so I'll give it more of a tapering shape with a Lattice Deformer in Maya. I'm also thinking I need to sit down and figure out an art direction properly. Right now I'm sort of pushing and…
 -
Re: What Are You Working On? 2011 Edition!
 @TeriyakiStyle Nice work yourself there! Those shoes have a lot of character even as they are now. @Lroy Thanks man. Been really trying to push my texture work so I'm glad to hear its showing through. As for workflow, I start with the high poly first in general just b/c it looks nice. Then I build the low poly on top and…
 -
Re: toolbag 4 - ray tracing render shows UV seams

 Year 2024 I ran into this problem as well. The problem: 1. Obvious seams when Raytracing turned on while SSS applied. 2. I didn't use any UDIM scheme. My character is splitted into two meshes, one for head and one for body, each has its own single tile UV. 3. The seam appeared where the head joins the body. The solution:…
 -
Beach telescope

 Finally got some momentum and decided to texture this model. Initial model is done in rhino a few years ago, now i took it in houdini for some nice rounded edges, then optimized and UV'd in max. Baking was done in SD as was the entire texturing. The material is a layered one inside designer, starting from the base metal,…
 -
Tutorial: Easy way to make welding seams in Photoshop.

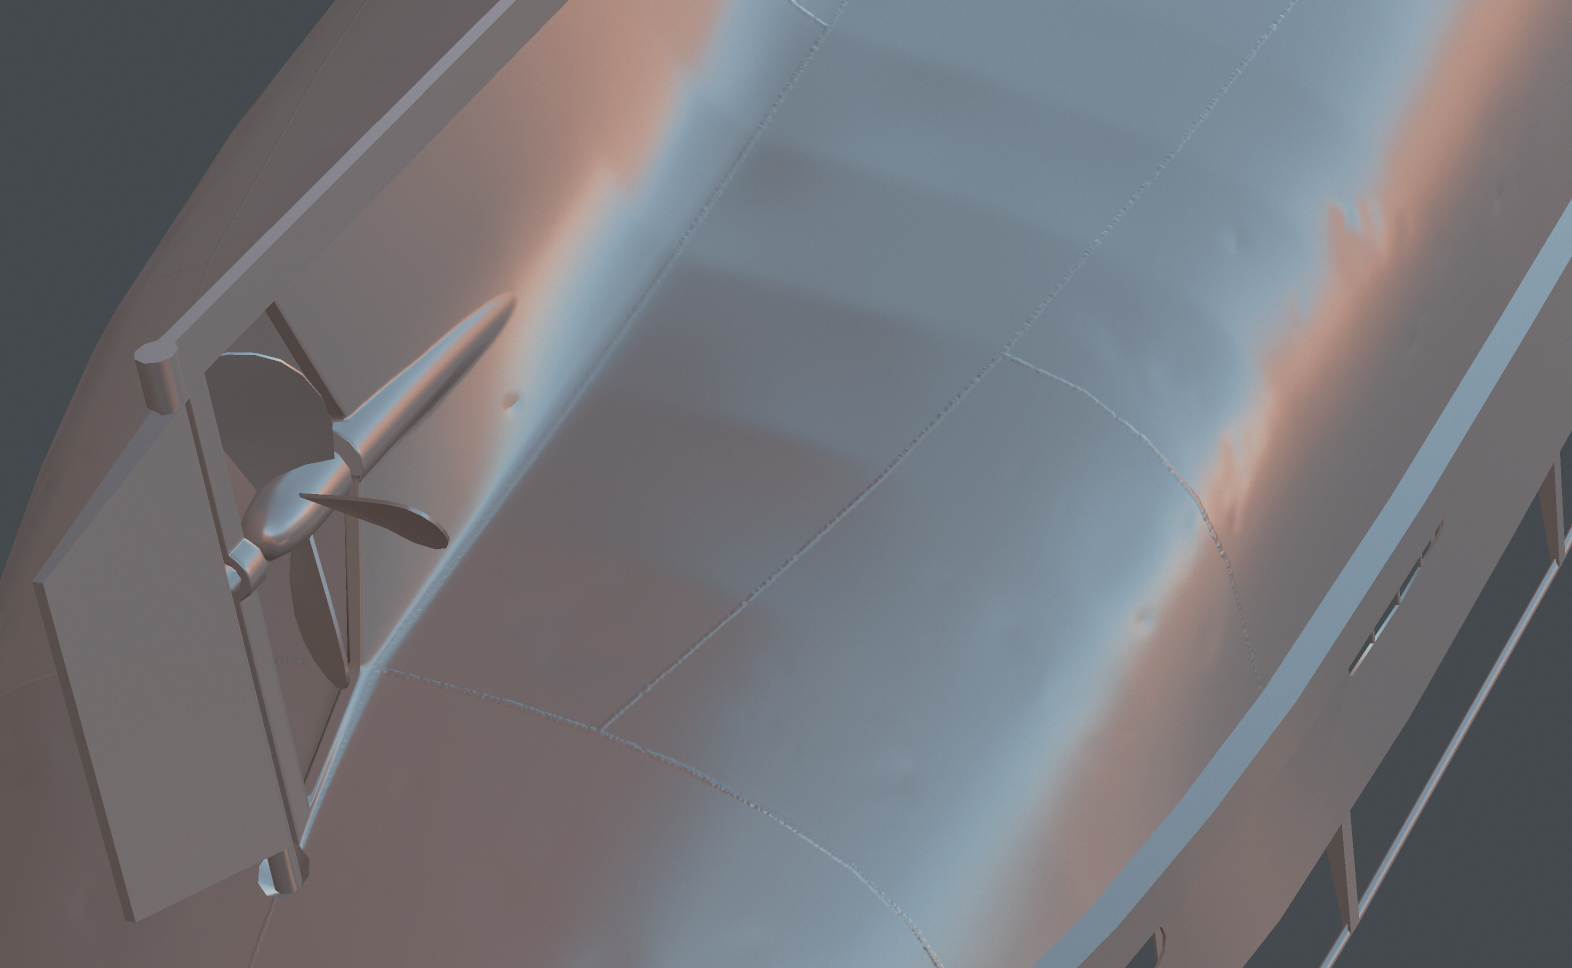 Hello polycounters! I’m making normal maps for my tugboat model. And I just found super-quick-easy way to make small welding seams on normal map in Photoshop. May be everyone know this method, maybe it too simple, but i think it can be usefull for beginners. Pros: * Very fast * You can erase or paint new welding seams…
 -
Re: Photoshop: Smudge Tool in Individual Channel. (Normal Map Cleanup)
 Bump: I think this is because you don't have a locked background layer underneath. You can have sample all layers ticked and it'll work on a layer above the flattened, locked layer but it will not work without one. If all your layers are floating it won't work.
 -
Re: Answered: NDO Stitches Mask for Use in DDO
 Select the stitch layer's transparency by CTRL+LMB on the layer thumbnail, then create a new layer and fill that with white. Copy and paste that layer into your DDO layer stack. Once you've done this, visit my DDO tutorial and CTRL+F to "Masking Without Color IDs" for the rest of the process. :)
>27696 results