Baking Problem in SP (Modelled in Max)
Hi guys. I have a problem. Experienced Max user here, and I was making a little stick grenade, just as a portfolio piece. Trouble is, I cannot for the life of me ge it to bake properly. Shown below are the low poly and high poly, along with the object names.
The head section of the high poly has been split into multiple objects, but all named as head_high (this I believe should be fine for the bake?). Most of the hp is just chamfering of edges. nothing too fancy.
Using Max 2021, and an older version of SP.
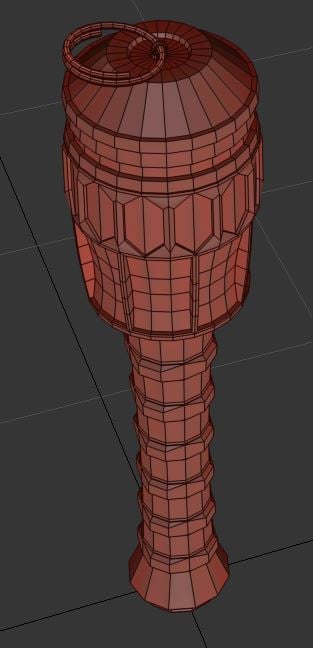
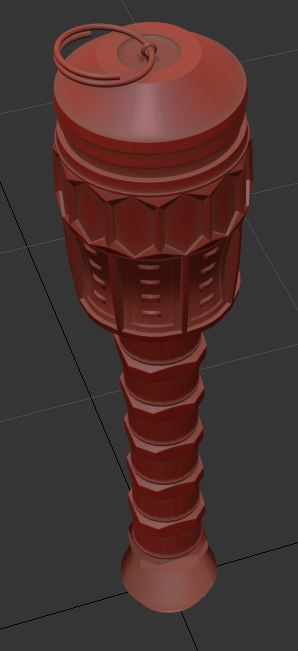
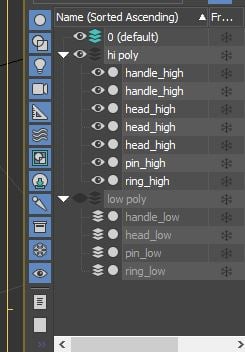
Problem is, I keep getting crappy bakes in substance, like below:
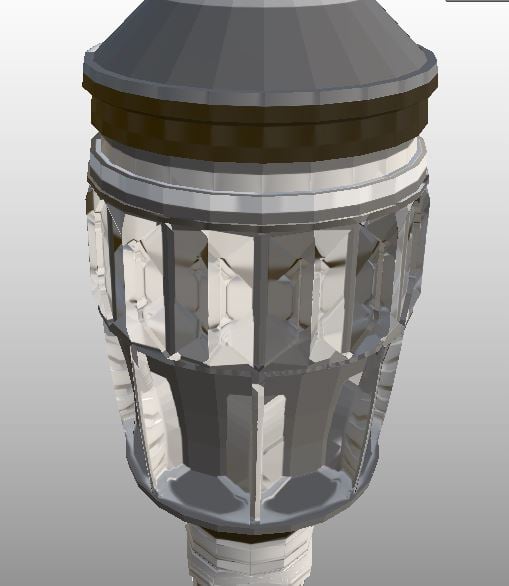
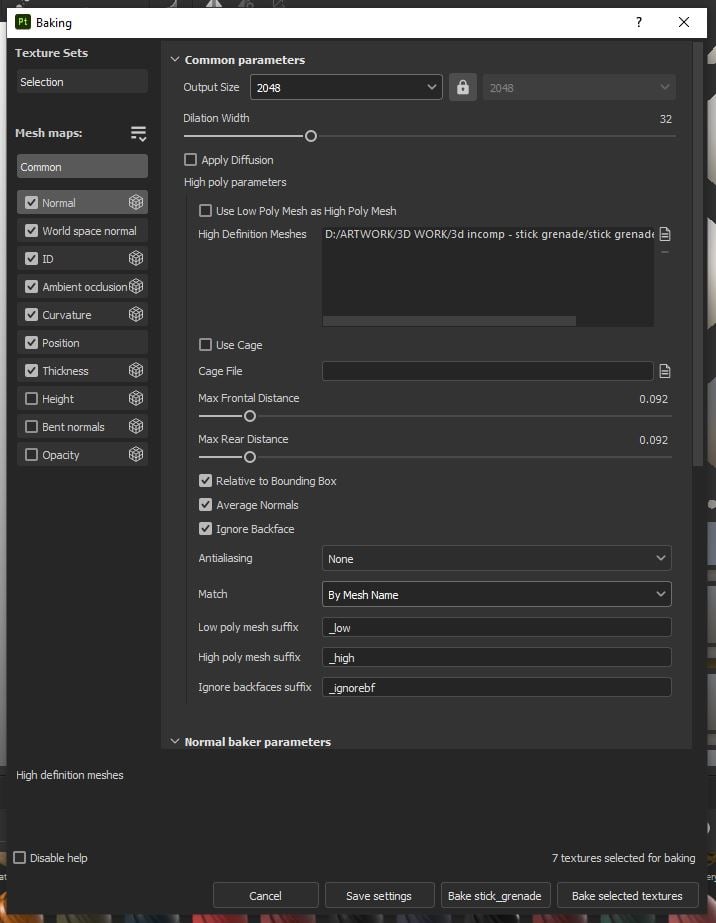
I've made sure both hi and low are exported an the origin point and overlap perfectly in max.
I've tried resetting xform on all objects in max
I've Converted all objects to editable mesh, then back to editable poly.
I've unified normals on every object, both high and low.
I've tried baking Match method to 'always' instead of 'by mesh name'
I've tried using the low poly mesh with smoothing groups applied, and no smoothing groups.
I've baked dozens of objects in SP before, never had trouble like this. I cant think, what simple, stupid thing am I missing. Would appreciate any help. This is an older model i started a few years back and just wanted to finish it - could it just be corrupted somehow?
Cheers
EDIT - EXTRA INFO:
File was exported as fbx, both the low and the High.
UV Map is shown here:
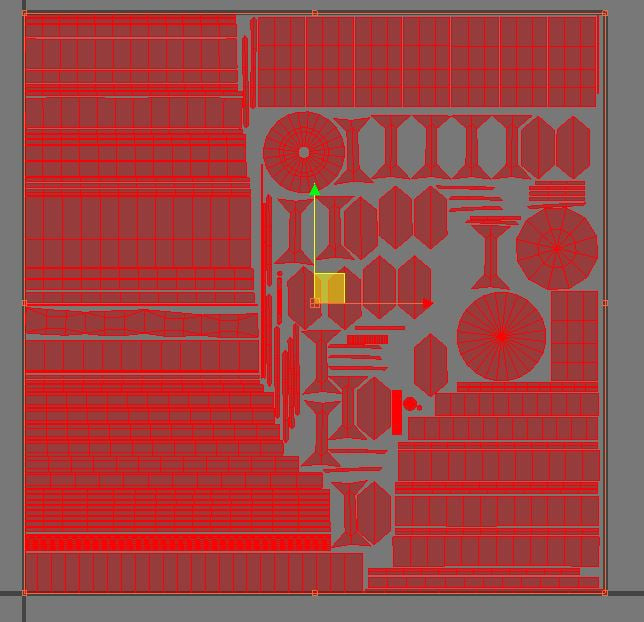
edit 2 - Now tis has been solved, I have removed the previously attached fbx files, as per the posted suggestion

Replies
What does a regular uv checker grid look like on the lowpoly (with letters and numbers, something like this: http://wiki.polycount.com/wiki/File:Uvrefmap_grid_small.jpg)
A couple things to try:
Make sure the verts aren't split:
Vertex Weld modifier, tweak the threshold.
Remove all edited normals:
Edit Normals modifier on the low, "Normal" sub-object mode, select all, hit the Reset button.
Collapse the stack.
Smooth modifier, Auto Smooth.
What file format are you exporting from Max? If FBX, have you tried a different version of the exporter? Or better yet, try OBJ instead.
Thanks FAbi - I have attached the 3ds max file, as well as the fbx files of the high and low poly to the original post.
I flipped those and it bakes as expected in Painter.
Since its normals define in what direction a face is looking, I would say flipping faces and flipping normals describes the same outcome. I think face normals are possibly a construct for viewing, and I would expect the normal at the center of a face to be the average of the vertex normals defining it. But with such things don't believe someone on the internet better read up
1 - Hard edges in source mesh to transfer information from ('highpoly'): I would say the simple rule here is, if you don't intend there to be hard edges, don't have them. Personally, I don't see a reason for having hard edges in a highpoly, since by there should be enough geometry to define the shading.
2 - I think the main thing is to finish projects, any question/ issues that comes up you could share here. With project that will take longer or you want eyes on, you could create a dedicated thread for it. There's also a wealth of old threads you can comb through with the search function.
3 - I would say those hard lines on the seams in that example image stems from a combination of things:
- Lowpoly has hard edges and split UVs opposed to an all smooth mesh. You can do this to remove shading gradients from the mesh, meaning the normal map has to compensate less.
- When you have a rounded bevel you will likely spot a seam at hard edges/ seams, since your baking some normal-data that's interpolated for each point on the surface into a pixel grid of fixed resolution where each cell can only hold limited amount of information (color depth). In practice, with more surface information on top, exported normal map being 8bit+dithered, it will often be negligible. You could work some against this by have a flat bevel instead of a rounded one, so the normal map color at the seam is more or less flat.
- Seams showing gets exaggerated when the they are not aligned but cut the pixel grid diagonally or when the resolution is too low (not enough pixels for the edge detail).
4 - How/if you use hard edges is of course up to you. But if you use hard edges and bake a normal map, you have to split the UVs to avoid artifacts. The benefit of using hard edges is that you can get the lowpoly shading to closer match the highpoly since by shading edges hard, you're removing shading gradients from the lowpoly. This means the normal map will have less gradients and is easier to reuse with other models that have similar shading (LODs). When you have UV splits along edges with a steep angle, it makes sense to add a hard edge in my opinion, as UV splits mean doubled vertices on GPU anyways. I must say, when making reasonable decisions, vertex count becoming an issue is unlikely. Another way to match the shading of low and high would be more geometry (support loops, bevels). When making choices, my number one priority would be to create a good looking asset.
5 - I see, sorry to hear you lost work. Again, here I find it helpful to check the export, either re-importing or, more conveniently imo, in engine. Given Painter re-projects brush strokes, I would iterate on topology, shading and UV layout until it's good, no waterfall approach.
Good luck with your project!
The Normal modifier and flipping faces manipulates the face normals (while resetting changes to the the vertex normals, like said) and the Edit Normals modifier works on the vertex normals.
One way to determine which way a face is looking is the winding order. Max sticks to that as well when you create a polygon from scratch. It matters if you go clockwise or counter-clockwise. But then things get complicated fast, e.g. if you have a quad, one triangle will have to be CW and one CCW in order to be able to share an edge, so there's probably a separate index or parameter for the face orientation and different software and ex and importers might interpret those things differently or things get messed up some other way. So if you find there's a problem with your mesh after doing some flipping and unification, a good standard way to resolve it is to create a new object and attach your mesh to it (another would be Reset Xform, especially if the mesh was mirrored at some point).
I've took all pn board and after lots of tweaking i fixed everything up, and even optimised my UVs some more.
Im still getting some shadowing on the bake, but I think this is a result of the low poly being too low, and not matching the high close enough. (Not at my computer right now but will attach pics to this post when i next am.)
So now just need to do my texturing!