Exporting animation to Viewer breaks my lighting

Hey! I'm working on a little environment that features some lights and some basic object animation that I want to make a Marmoset Viewer showcase of when it's finished. I'm pretty early in the process, but as I'm pretty new to both Toolbag and Viewer, I wanted to make sure both work fine at an early stage.
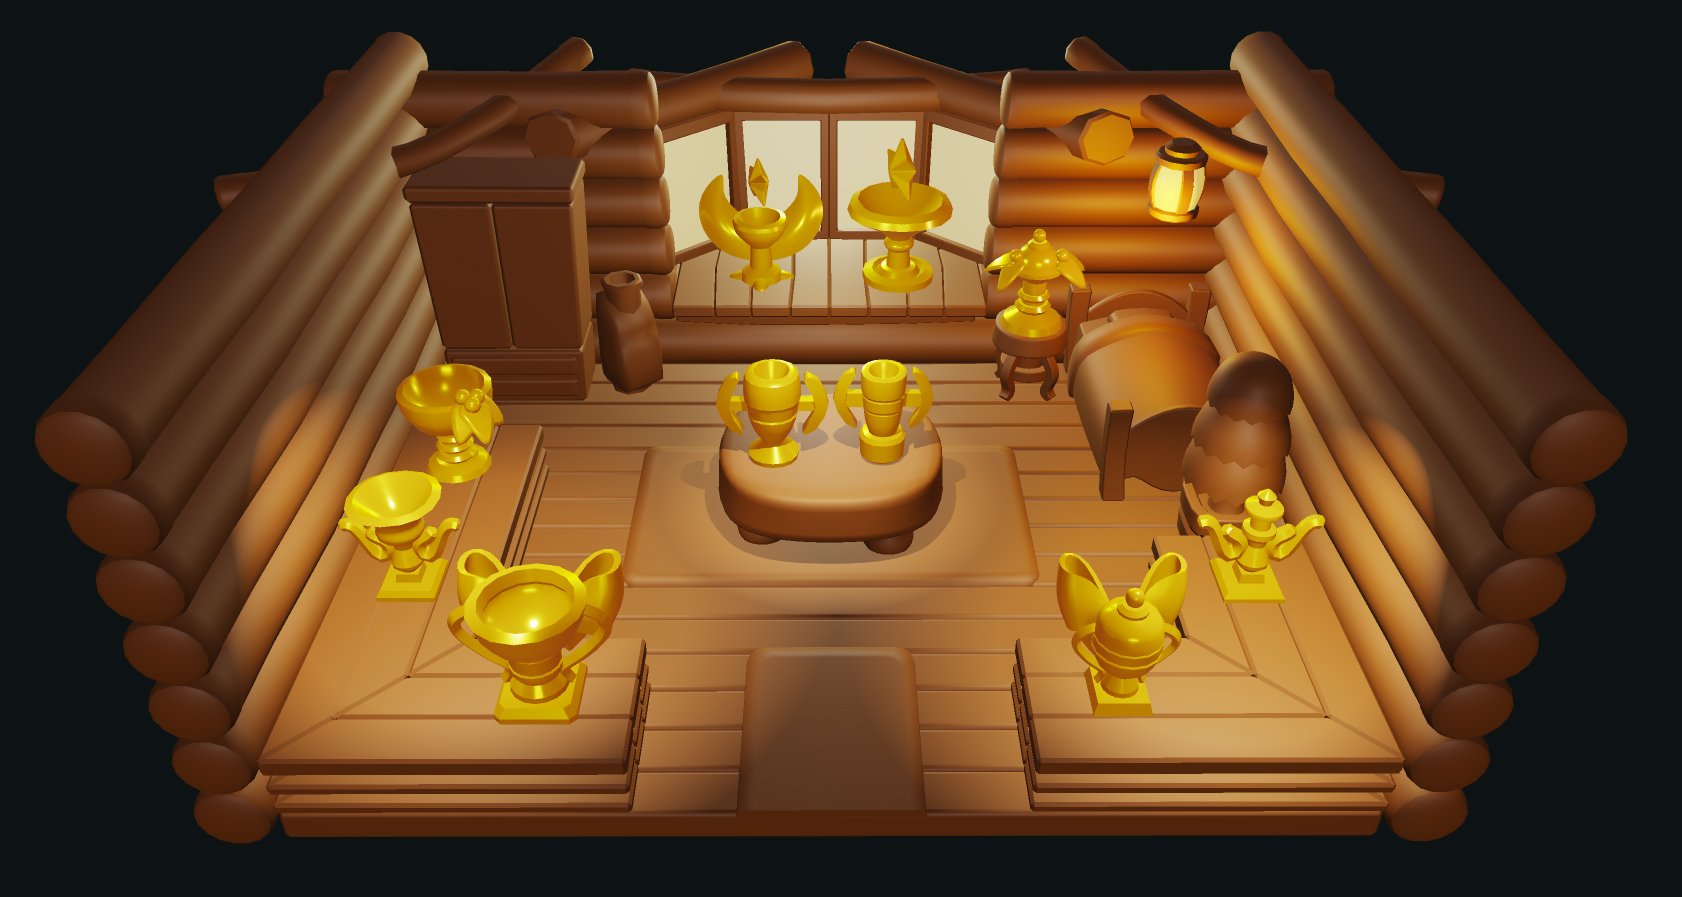
Here's a Viewer screenshot of a rough draft of what the lighting should be, and it works fine in both Toolbag and Viewer. Every light that's supposed to exist and cast shadows is there. The stars on the window trophies are animated to spin, but I forgot to check Export Animation. I checked it and changed nothing else, but previewing in Viewer gave me this result.

The lights are all where they should be, but the brightness of all the lights has increased significantly.
What I think might be the culprit is that the brightness values of my lights are way larger in the keyframe viewer than they are in the actual light properties. As seen here, to the keyframe viewer, a brightness value of 12.4 is actually about 2511884.25. I assume that when Export Animation is checked, a keyframe is automatically created at this incorrect mystery value.
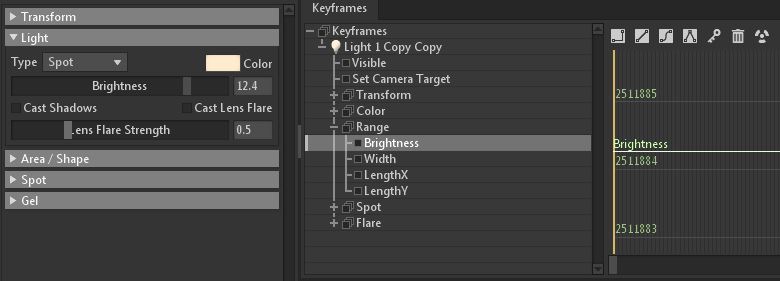
However, lowering the value so it's 12.4 in the keyframe viewer makes the range of the spotlight non existent, so it casts no light on anything. Any range that lets you actually light anything is so bright that anything touched by the light is turned pure white.
Anyone have any ideas on how to make the keyframe value and the actual value equal?
Replies
I've looked into it some more while waiting for a response. I've been using Toolbag 4, and I tried using Toolbag 3 instead. In 3, it works fine because even though the brightness value is still a weird, incredibly high value compared to the actual value, brightness and distance are separate properties. The distance value is the same in both the properties and the keyframe window, so the range will always be the same whether it's keyframed or not. Thus, the lighting in both Toolbag and Viewer will be consistent, and all is well.
In Toolbag 4, this is not the case. Here, brightness and distance is merged into one "Brightness" value, meaning that both brightness and distance have the value inconsistency where the keyframe window thinks the value is completely different.
None of this makes any sense to me. It feels like a glaring bug, and it makes it completely impossible to have a lit scene if there's animation of any kind in it. Is there a fix to this in the works?
What are the dimensions of your room?
I'm not familiar with Toolbag, but sometimes lighting parameters are tied to real-world scale values, so if your scene is wildly different than realistic values, this can break calculations.
You were almost onto something! I saw your post, decided to check, and realized that my model was 100 bigger than it should be. I made a fresh scene and imported the same model with a fixed scale and created a light, but now my problem has just become inverted.
Toolbag on the left, Viewer on the right.
Now I have to make my Toolbag light extremely strong for it to even appear faintly in Viewer, so the inconsistency between the two programs is still readily apparent even with a model that's 100 times smaller. Also, in Toolbag 3, the model that's 100 times too big can still be lit, exported to Viewer and look exactly the same between the programs. This is because 3 has the separation of Brightness and Distance that I mentioned in my post above.
Good guess, but the model dimensions seem to be irrelevant to this issue. I've written up a bug report email that I'll send to the team tomorrow, but if anyone has any more ideas, feel free to post them here.
What modeling program? Have you reset the scale to 100% ?
I'm using Blender, and the scale has been applied correctly. After I read this post, I looked over my scene some more, and realized that both the Toolbag scene and the imported Blender mesh were set to centimeters. I set both to meters as my Blender scene is, and the lights are much better now!
Viewer is still a bit brighter for some reason which is a little annoying, but at least it's much more manageable now. I can just do those final adjustments when it's time to upload the final scene to my portfolio. Thanks for reminding me to look into the scale again!