[FINISHED] SCI-FI ENVIRONMENT - UE 4.27

polycounter lvl 7
Hello everyone,
So after a shameful concept sketch of an idea i had, i made this blockout in unreal engine
The aim is to work mostly with modular assets and trim sheets on the whole scene

CONCEPT & PROGRESS
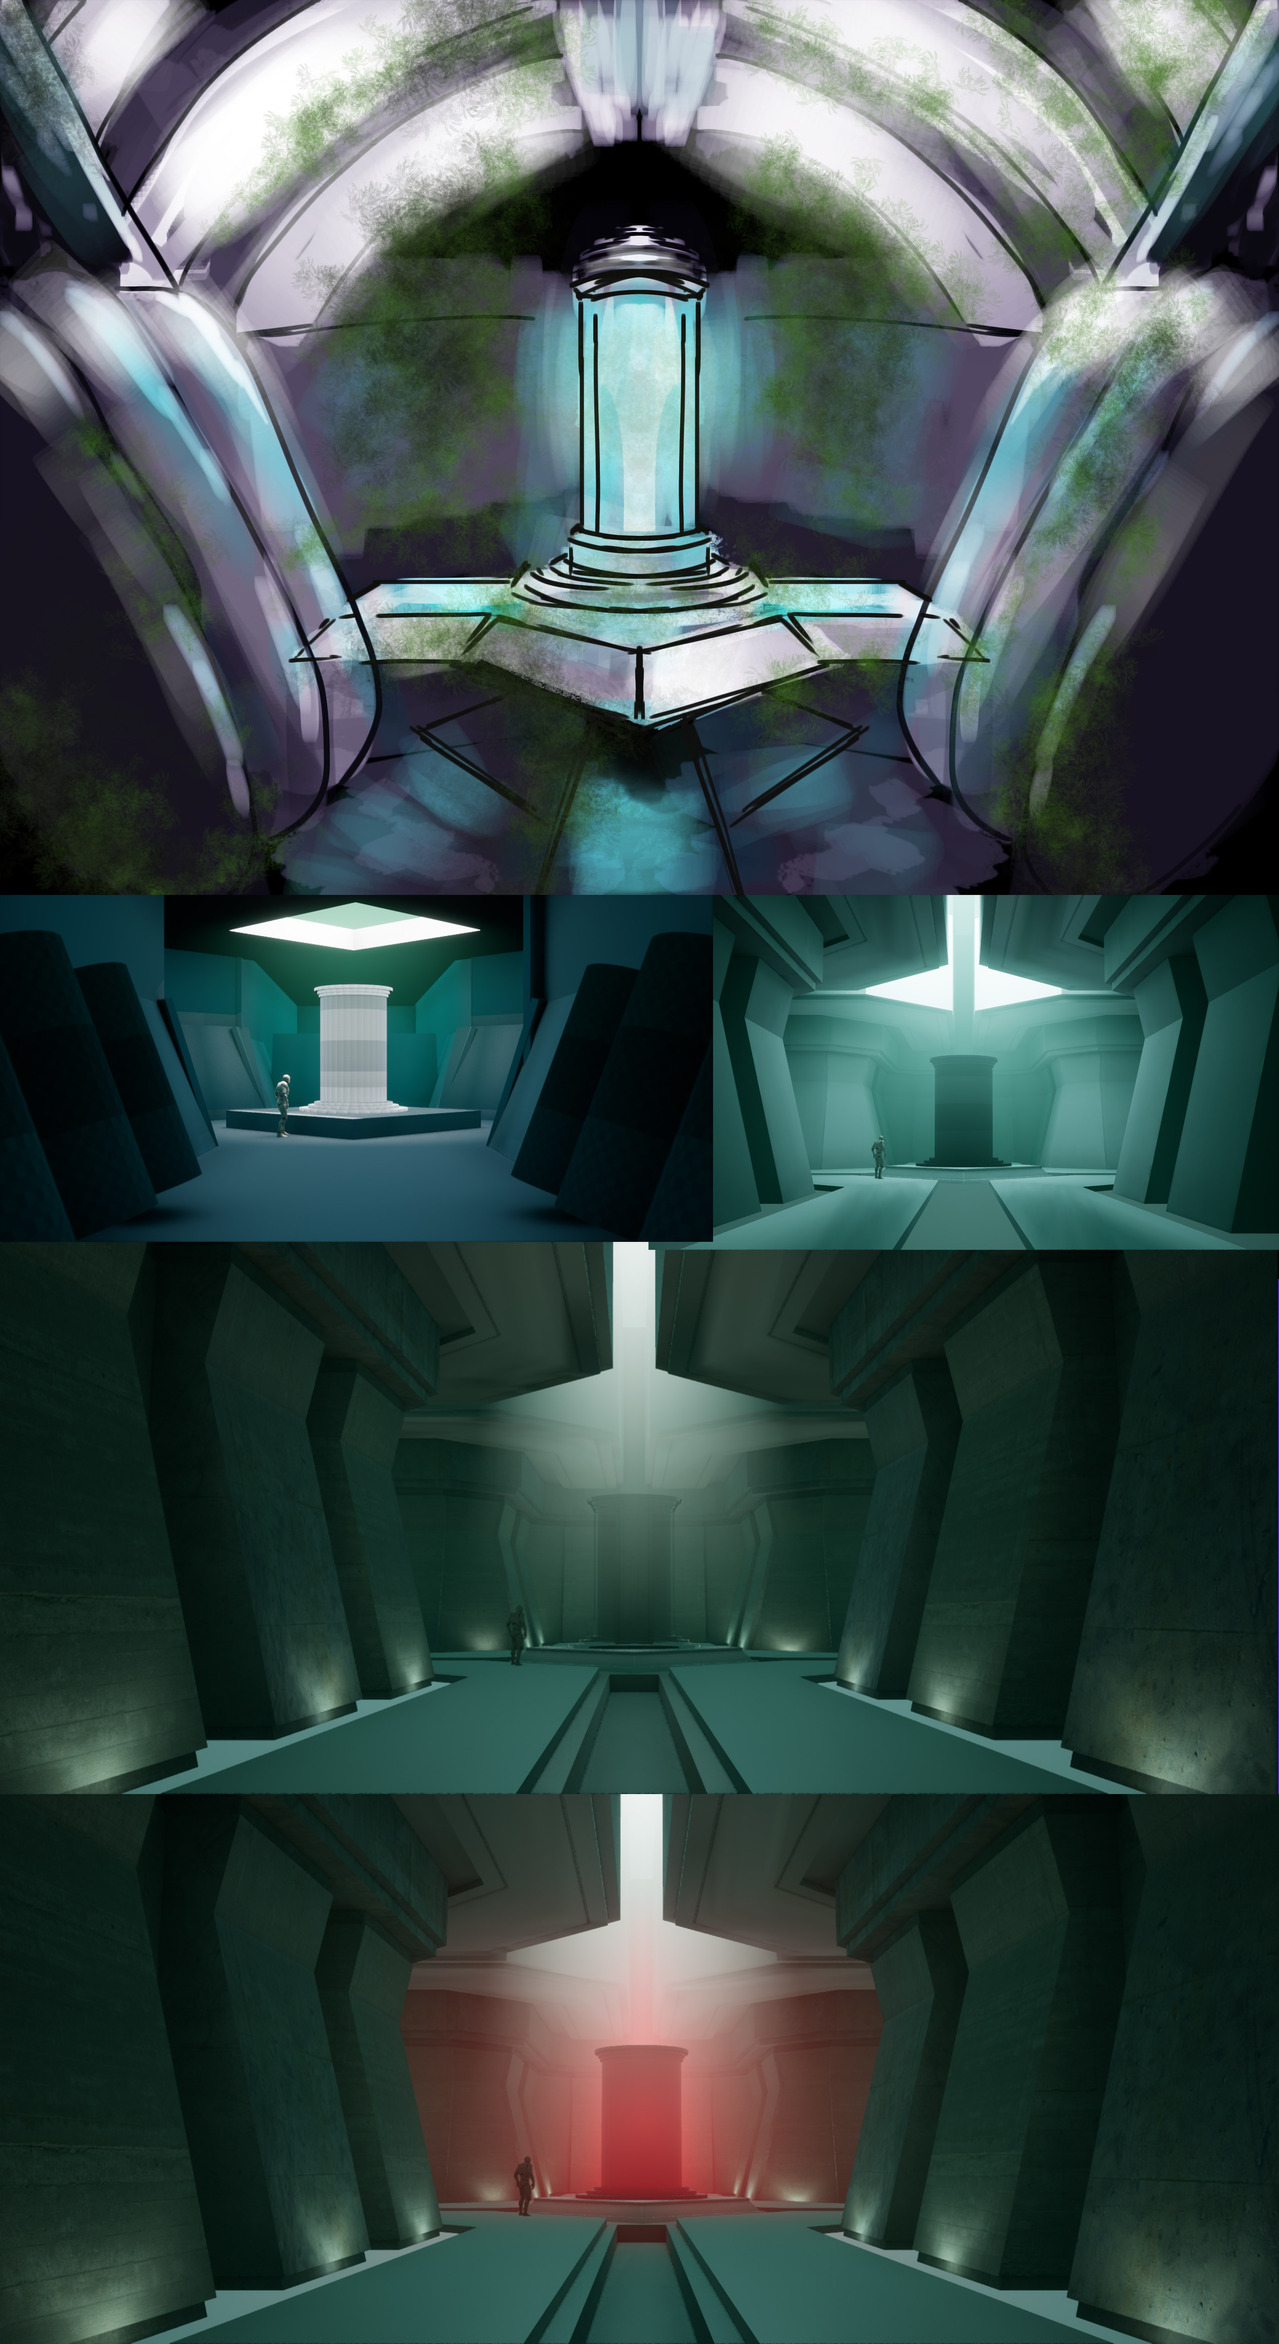
The story behind this, is still building in my mind, i have a bit of a rough idea of what i aim to tell, so i'll keep posting the developement in this thread.
Here's a little tour inside the space :
Replies
Update :
Working on the trim sheet
Can anyone recommend a good trim-sheet tutorial or a video that has a detailed workflow (other than polygon academy on Youtube) , since it feels like i'm fighting the whole process just to make simple shapes (i'm improvising based on the principles i know about trim sheet)
Like how to plan things , how to work with your trim sheet in an efficient way, how to make bevels more pronounced on the model only from the trim sheet , whenever i try to change the geometry a bit to fit the texture it kinda ruins the UVs and i have to redo the mapping (maybe my unrwapping and modeling skills are severely lacking)
Hey, i dont have any good tuts to recommend, i learned this technique from looking at game assets from older games.
One piece of good info i found a few years back is the Sunset overdrive talk, although a bit dated.
I usually model with splines so that i can take advantage of the generated uv. I also use simple shapes for the trimsheet part and if i need to do something more complex i would probably think ahead about how i would do the uv. Dont be afraid of a bit of uv stretching - this was hard for me cause im a bit ocd - but dont overdo it.
To make things easier it would be ideal if you could uv the model in its base form (think of a simple rectangle), then do some edits to the geometry while retaining the uvs so that you dont have to redo them (completely). At least thats how i try to work.
I work in max btw.
Regarding the trim texture creation, try to think in percentage of the unique uv layout (25%, 0.25, 1/4) not in pixels. This will make things easier when uv-ing.
If you use multiple uvs remember that only the first uv map can be rotated, flipped and the normalmap still works. Rotated normalmaps on the other uvs will not look right in engine.
So, because im lazy i try to keep things simple and i suggest you do that too since this is your initiation project so to speak. Later on you can do more with this tecnique because you will gain experience and see what works and what doesnt, what takes more time and what is just frustrating.
Good luck!
That is very exhaustive and wholesome reply !! Thank you !
i'll check the sunset overdrive video.
I usually do things the way you described and on that OCD issue i feel you haha
Update on the project, i'm still not sure about the values in the whole scene , it seems too dark and too contrasted, (although in gameplay it looks like the right mood i intended to create) can anyone provide a feedback on the lighting .
i think the environment is finished apart from the ceiling and some small details that i'll try here and there - Now the next step is that i will populate it with in-context assets, work on the main capsule asset and push the story further.
Hey, I think it has some nice mood going 👍️
A few notes I have:
Rough paint over trying to illustrate:
On left is panels based on current floor, right how it might be more practical
Keep it up!
OMG ! This looks way better than what i've done ! And new ideas are popping in my head just seeing this :D
And yes i'm creating the place while thinking about function, but it gets overwhelming sometimes. I think i'll keep the cable canals symmetry since i'm purposely using them as guidlines for the viewer but i'll play on breaking up the mirror effect by opening the hatches differently.
The panel breakup thing on the floor is a brilliant idea :)
As for the cables running on the floor i think i over did it , i'll keep some and remove others because those cables serve the story in the scene in a way, i'll make up my mind once i visualize the scene with more assets scattered if it's too noisy then i'll get rid of them.
Thank you for the feedback and the kind words :D
Hello everyone,
I’m trying to adjust the texture filtering on the floor and it’s very blurry and it’s losing all detail from a frontal perspective, while it looks sharp and detailed in substance painter in respect to diffuse and roughness.
It also looks to have less information from a zoom in perspective
Can anyone tell me how to make the texture sharper ? i’ve tried to play with the mipmap settings but to no avail.
Is it the lighting ???
Its probably the txaa that slightly blurs the whole scene.
You could try to enable the sharpening filter through the console.
Or use a higher screen percentage in the ppv
TXAA is a method to filter the whole scene based on screen pixels or something like that ?
am i wrong ? i honestly don't know much in terms of technicalities
You could google it a bit. Its an antialiasing method that blends the pixels in a temporal fashion, i.e looks at high contrast neighbouring pixels in the current frame and softens them based on previous frames.
UE has two modes of txaa and you can switch between them in the console
LE: looking at the picture again, looks more like an anisotropic filtering issue - make sure your driver is not forcing a low AF value in all 3d progs. It should be set to app control or if you have it set globally, use a high value like 8x or 16x
Hey @ElyesBens Sadly the screenshots of the scene in unreal are quite pixelated.
Do you use reflection captures and/or a cubemap? How do you do fill/ambient light?
i use reflection captures, and for fill lights i simulate the impact of the scene lights with a very fade big radius point lights. My intention is to simulate GI in a way (as shown below)
As for the pixelated screenshots , here's 4K screenshots to illustrate my point about the blurry textures :
I was wondering because the surfaces look a tad matte to me (missing microsurface details) and afaik in painter the scene is lit by a environment texture.
But I don't know if this is the issue. If you find a good sample scene, you could check how it looks there and how the setup is done.
A little update on the progress of the project, i'm still figuring out the balance in the scene.
The texture issue turned out to be a lighting problem, somehow unreal engine cannot render details in the texture if there's no directional light coupled with skylight and atmosphere ? maybe i'm wrong, my lighting was mainly baked with no sky (since it's an interior) and i had some dynamic lights here and there.
So now i had to play with the GI from the skylight and the effect of the directional light on the atmosphere to give the engine more light information to be able render the texture properly, It's still kinda blurry but at least it's better than the previous results in my judgement.
Slight update on the project since i took a break for a week
Started working on the textures for the scene's assets and adjusted the lighting of the scene a little bit
Suggestion to maybe remove the fog from the middle and brighten it up to show what's actually there. the sides look pretty good, but the middle looks kind of like a foggy greyscale scene.
That or increase the contrast. The middle looks best in this image
https://us.v-cdn.net/5021068/uploads/P48DGEAJWV8Y/279970072-1909149695946274-5676955566211631762-n.png
Hello polycounters !
I need help setting up a frosty glass material in UE4 , the material works fine in marmoset and substance exported as UE4 packed template. But it never shows the same way in unreal ! No reflections or details what so ever !
I don't know what i'm missing or if there's some tricks to do on the material/textures in engine. If anyone can help ??
Here's the marmoset version :
This is the UNREAL ENGINE version :
These are the settings i used
Looks like its missing reflections
Aside from the official docs, heres a relevant read
https://forums.unrealengine.com/t/trying-to-understand-ue4s-translucency-once-and-for-all/76919
So after a long struggle i have kind of figured it out somehow ... i don't know , still it looks closer to substance so i'm happy with it
I'm almost at the finish line .
apart from fiinishing the texturing on the assets, is there any suggestion to make it better ?
Personally I'd like to see some contrast brought back; the brights aren't quite bright enough, and the darks aren't dark enough. Makes it feel a bit washed out at the moment.
I did a quick curves and levels adjustment to show what I mean; taste may vary, so if this isn't the look you want that's cool, just showing what my eye is looking for.
(And a gif, showing them together):
Thank you for the feedback :D
The contrast does look good in this angle, but i tried it in photoshop for the main shot (the frontal camera) and it loses most of the "moody" aspect, and i'm really hesitant to choose: should i go with pronounced values or should i keep the basic with the foggy atmosphere ?
Hey, nice to see the progress!
Maybe reducing the fog thickness and adding some local vfx can also help with this and give more control on specific areas.
I think the concrete structure above the floor level could use more variation and details, maybe leaking with low roughness, mold in crevices. Everything looks bit dry and clean right now, considering it's underground and the condensation from the tanks.
Could try another research pass of underground facilities to see what details you can extract and apply to your scene.
What will happen with the capsules along the tunnel? Also see-through with subjects inside?
Keep it up!
Thank you !
That's a great idea, i was going for a clean look but now i'm entertaining the idea that some imperfections and natural forces here and there are a good addition IMO
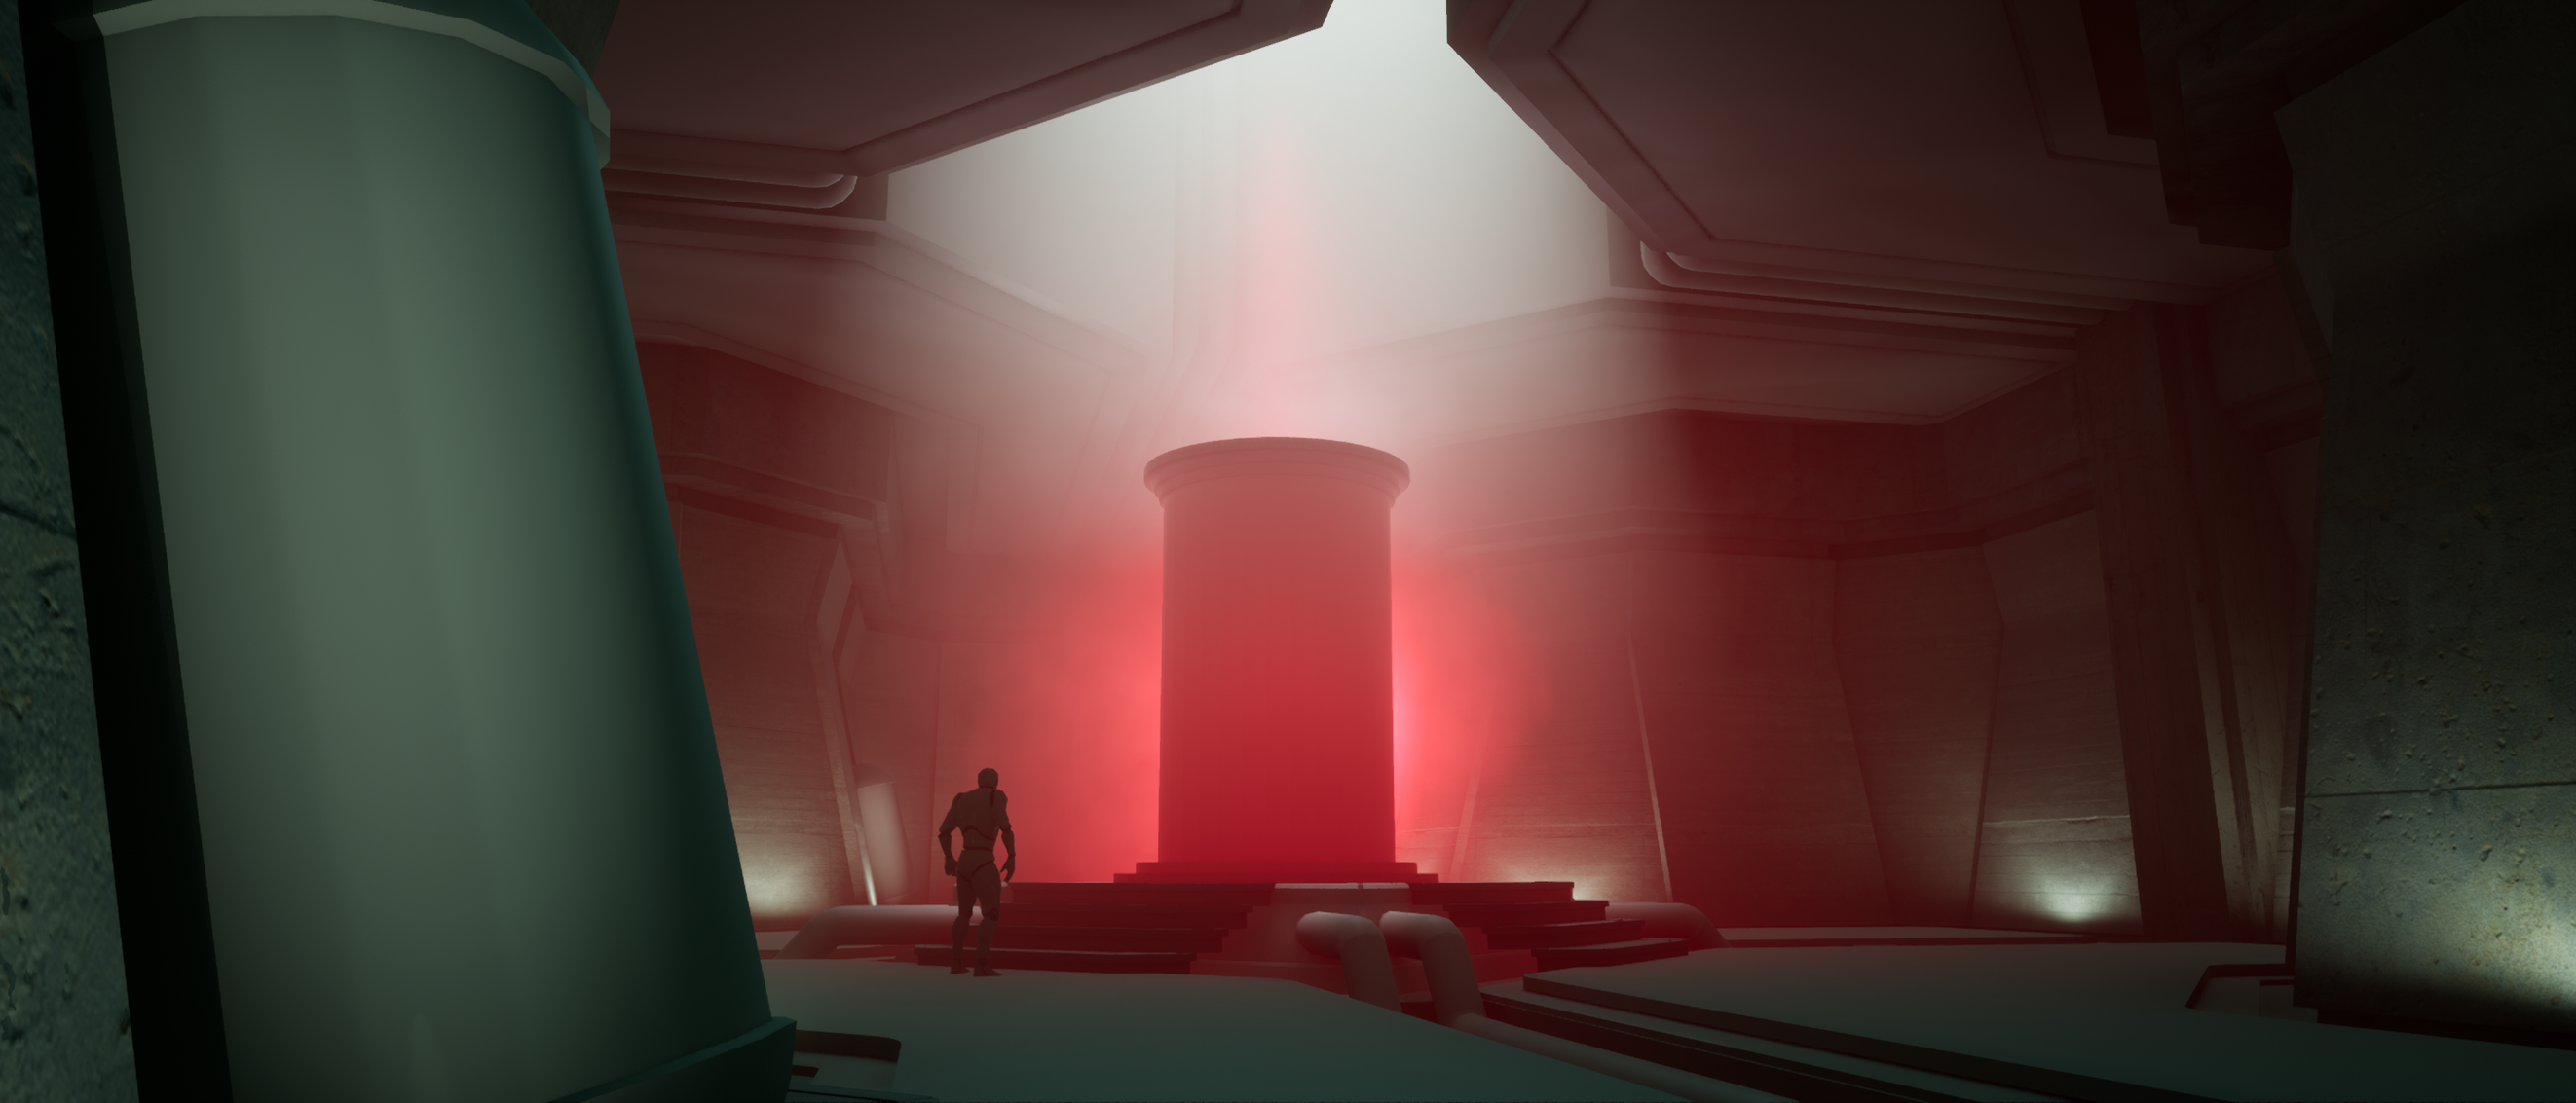
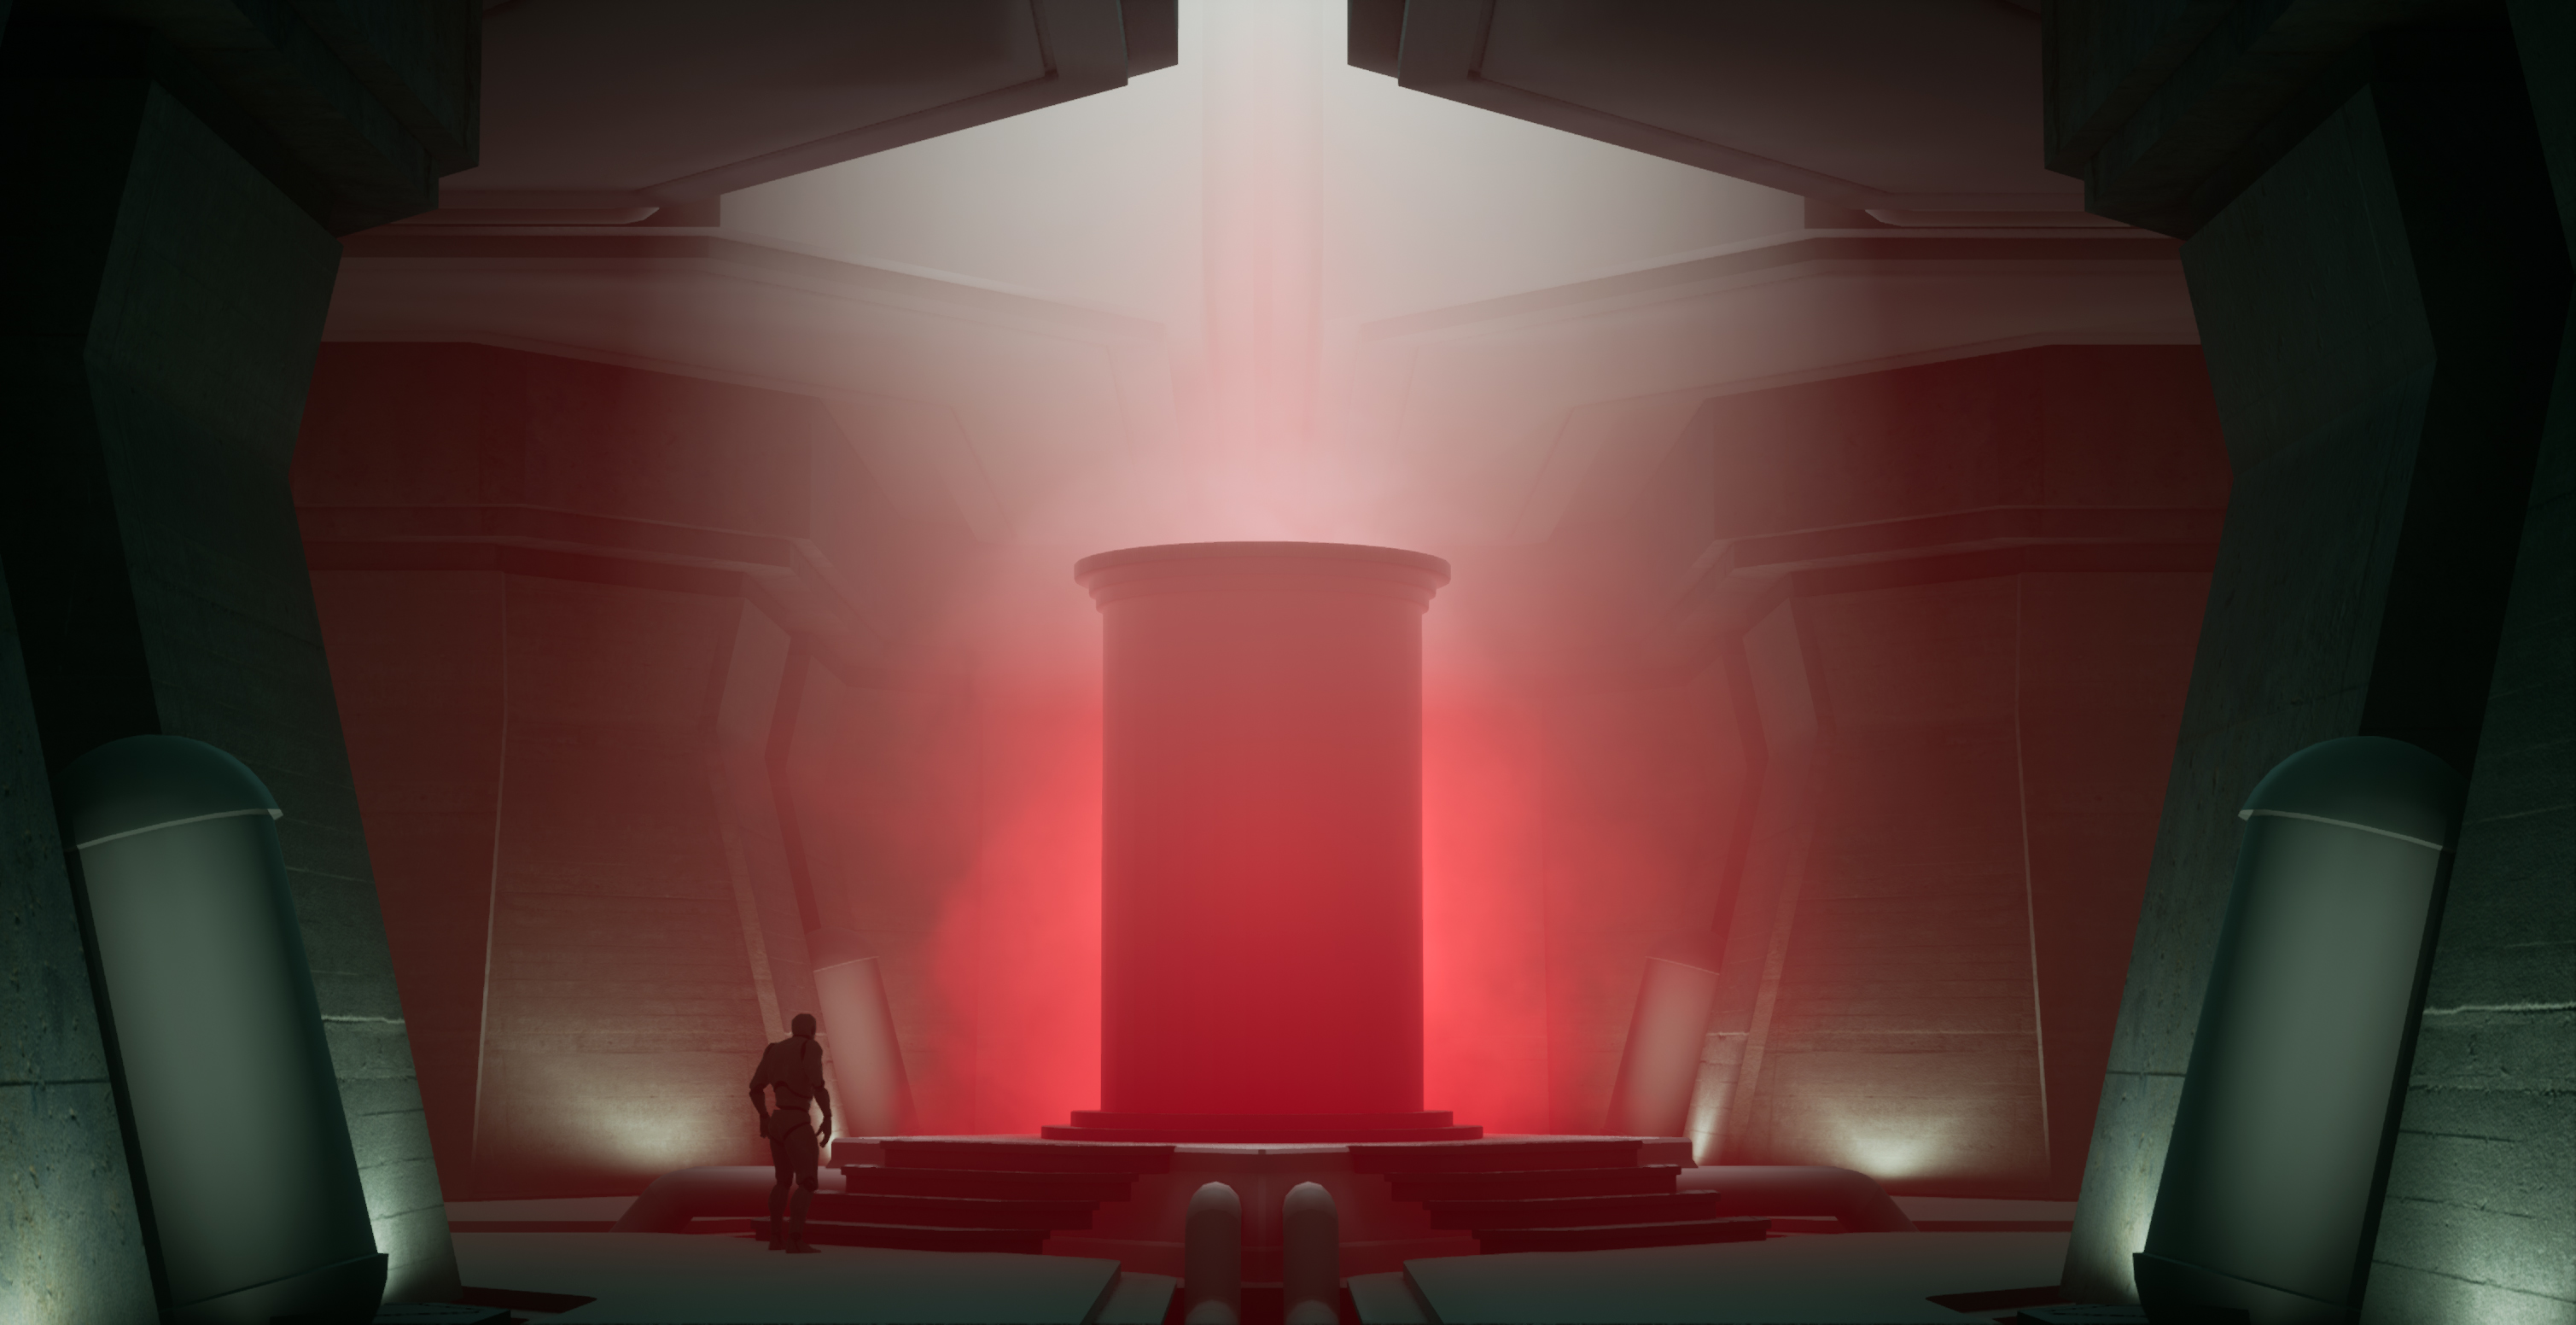
An update following the feedback :
Hello polycount !!
Here's the update of the weekend
Played around with the post processing features and gave it a different look - a bit tinted from what it was before - i feel like this is better than the green-ish look.
I vertex painted the walls to have some moss from the condensation of the capsules
I still have two more assets to texture and then i'll call it a day.
And oh yeah , i sculpted a very weird creature and decided it will be my subject :D
These are two variants of the container (i have to admit i wasted more time than i intended on this crate, so i might as well present it haha)
And finally the small pod
Hello everyone !!
I'm glad to announce that i have finally finished this artwork - this was a very educational journey as this was my first ever environment in Unreal Engine.
Many thanks for each and every person who gave me a feedback, it was helpful to reach this final result.
Please check out the full project on my artstation for more details : https://www.artstation.com/artwork/o2mV2w
Thank you everyone ! :D