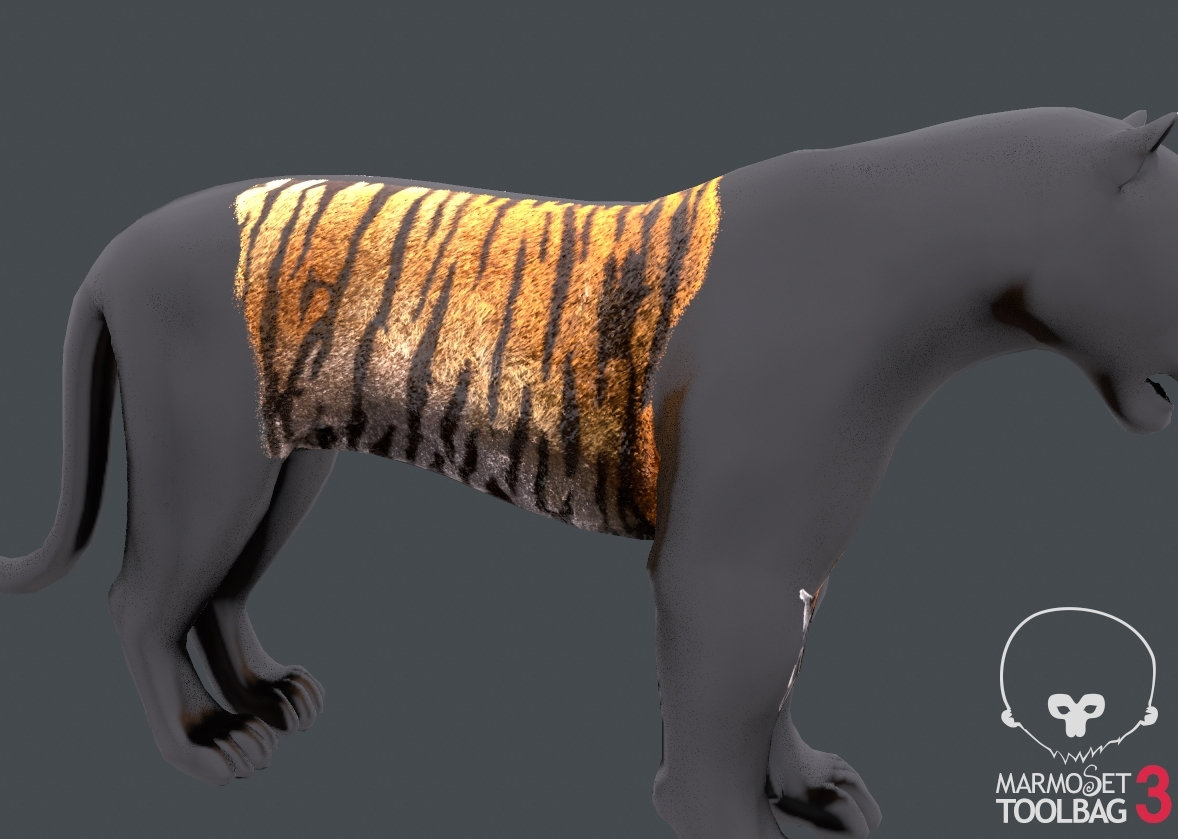
Looking for fur texture workflow ideas -- Possibilities with xgen and arnold
I have little experience with offline rendering in Maya and will be looking into this further, but I have a few basic ideas on how I could derive some texture maps for animal fur using xgen.
1. Setup and groom the fur, render with Arnold, and right now I know that I can render an AO pass, and I assume a flat color as well, but I also need a normal channel. Is is possible to render the normal channel with Arnold? Or would I need to use displacement, and find a way to convert that? I could edit any grayscale texture and turn that into height in Substance Painter, but this usually doesn't have as good of fidelity as a normal channel. Idea here is to take lots of high resolution shots from the render and project the different channels in Substance Painter.
2. Export the xgen splines as curves, assign geometry to them somehow, and use this for baking. This doesn't seem as feasible as I could have tens of thousands of curves.... The main benefit with this idea is that I can use xgen's excellent grooming tools, as opposed to something like fibermesh in zbrush which outputs bakeable geometry easily enough but with poorer control.
Have you done anything like this? Any ideas/tips are really appreciated.
What I am doing right now is baking fibermesh, and it looks alright but I lack the level of grooming control I could be getting if I use xgen, and also it's a pretty slow workflow that requires guessing, waiting, and so on. Not an ideal way to work...


Replies
For now, i haven't tried to groom my animal in Zbrush beceause i don't really like the fibermesh beceause i think it always look too fake.
What i have done is to groom in Zbrush, then export the geometry (so far i've managed up to 60M polys) and bake in Marmoset, but that doesn't work well beceause of the back facing normals (strands are either created facing camera, or not, and when they aren't, they're just arbitrary, so in both cases, baking the normals doesn't work).
I am considering a purchase of Ornatrix, since apparently it can output tubes geometry.
Otherwise, i've seen this guy's horse : https://www.artstation.com/artwork/xlJEO
Apparently fur done in max (wich has the advantage of outputing some tube geo wich can be baked into normal), color from underneath mesh and baked in max (wich saves the hassle of the export, but i didnt managed to get a good cage projection of the fur into maya - also is very slow), but grooming in max must have taken some serious commitment.
I'll keep trying. A friend of mine is technical artist into one of these aaa studios, going to ask him if he can somehow get a work around to output tube geo out of xgen.
artstation.com/gabrielnadeau <=== Props to this guy for thinking of the two upcoming solutions :
There is a work around that goes pretty well to bake Xgen fur with normals facing the right way. I started my fur grooms by creating a groomable splines description, but if you convert it to an interactive groom (or just start your groom this way), you can just use the twist brush with the "align to surface" check box on, and it will solve the problem of arbitrary oriented face normals, and so you can just convert to geo and bake it correctly. I'll post some results later, the one i got now is definetly not worth being shown.
An other method could be to convert xgen primitives to polygons once with 1 curvature (and let's say 1 span), then convert an other time with -1 curvature then invert normals. Now that might not be as good beceause you'd still have a hard edge on the hair unless you merge vertices, wich could be difficult for high density grooms, wich is my case. Also that will lead to higher polycount than simply exporting strands without spans (even tho i prefer to have at least one span to have some sort of roundness to the baked hair).
For now, i dont know yet if i'll use a Zbrush fibermesh or an Xgen fur. So far, Zbrush gave better results, but it's probably beceause i didn't spent much time grooming the xgen one correctly and also just had the normal map baked from the xgen one (albedo contributes quite alot to the realistic look imo). I still need to find a way to transfer polypaint of my model to Xgen fur (if there is any, i'll need to look into it).
Also, i'm going for this type of fur baking onto a low poly beceause it's basicly a workflow research for a potential project where any kind of fur system is a too big performance hit and i had quite bad looking results with "fur cards" (hair cards), being too regular and in the end not looking very realistic. Also it will need rig/anim so i'm no rigger but i've rigged a character once and even a belt wich was not attached to the base character mesh was a pain to skin so i can't even imagine fur. Still, I'll try adding just a few to break flatness of the silouhette on certain parts and see how it goes.
PS : Alex, please tell your tiger to not eat my deer, i'm a bit nervous to leave them alone together in here.
What you see in the image below is fundamentally a fin and shell based system on PCP and is the correct way to approach anything that requires large areas of dense fur.
This old nvidia paper probably explains the system best. It's worth noting that this is a very basic implementation and more modern implementations both perform and look significantly better.
if you're willing to author the shells and fins manually it would be fairly trivial to get it working in unreal although it's unlikely it'll be very performant. To do the job in a production usable fashion you'd need to dig into the c++
https://www.google.com/url?sa=t&source=web&rct=j&url=http://developer.download.nvidia.com/SDK/10/direct3d/Source/Fur/doc/FurShellsAndFins.pdf&ved=2ahUKEwjo4863_NbpAhVXShUIHfK8Dx4QFjAAegQIBRAB&usg=AOvVaw3EbO0MZAwcwScymXk-PP3I
I'm beginning to dive into the realtime fur rabbit hole. Looks like the workflow is leaning towards in engine shader/spline builds.
I'd love to see how Planet Zoo built their fur shader, the models turned out great.
Have you all found any successful workflows?