[FREE] Unreal Engine 4 Landscape Shader

polycounter lvl 9
Hi guys, Auke here.
Visual Storyteller and Lead Environment Artist at Sooii.
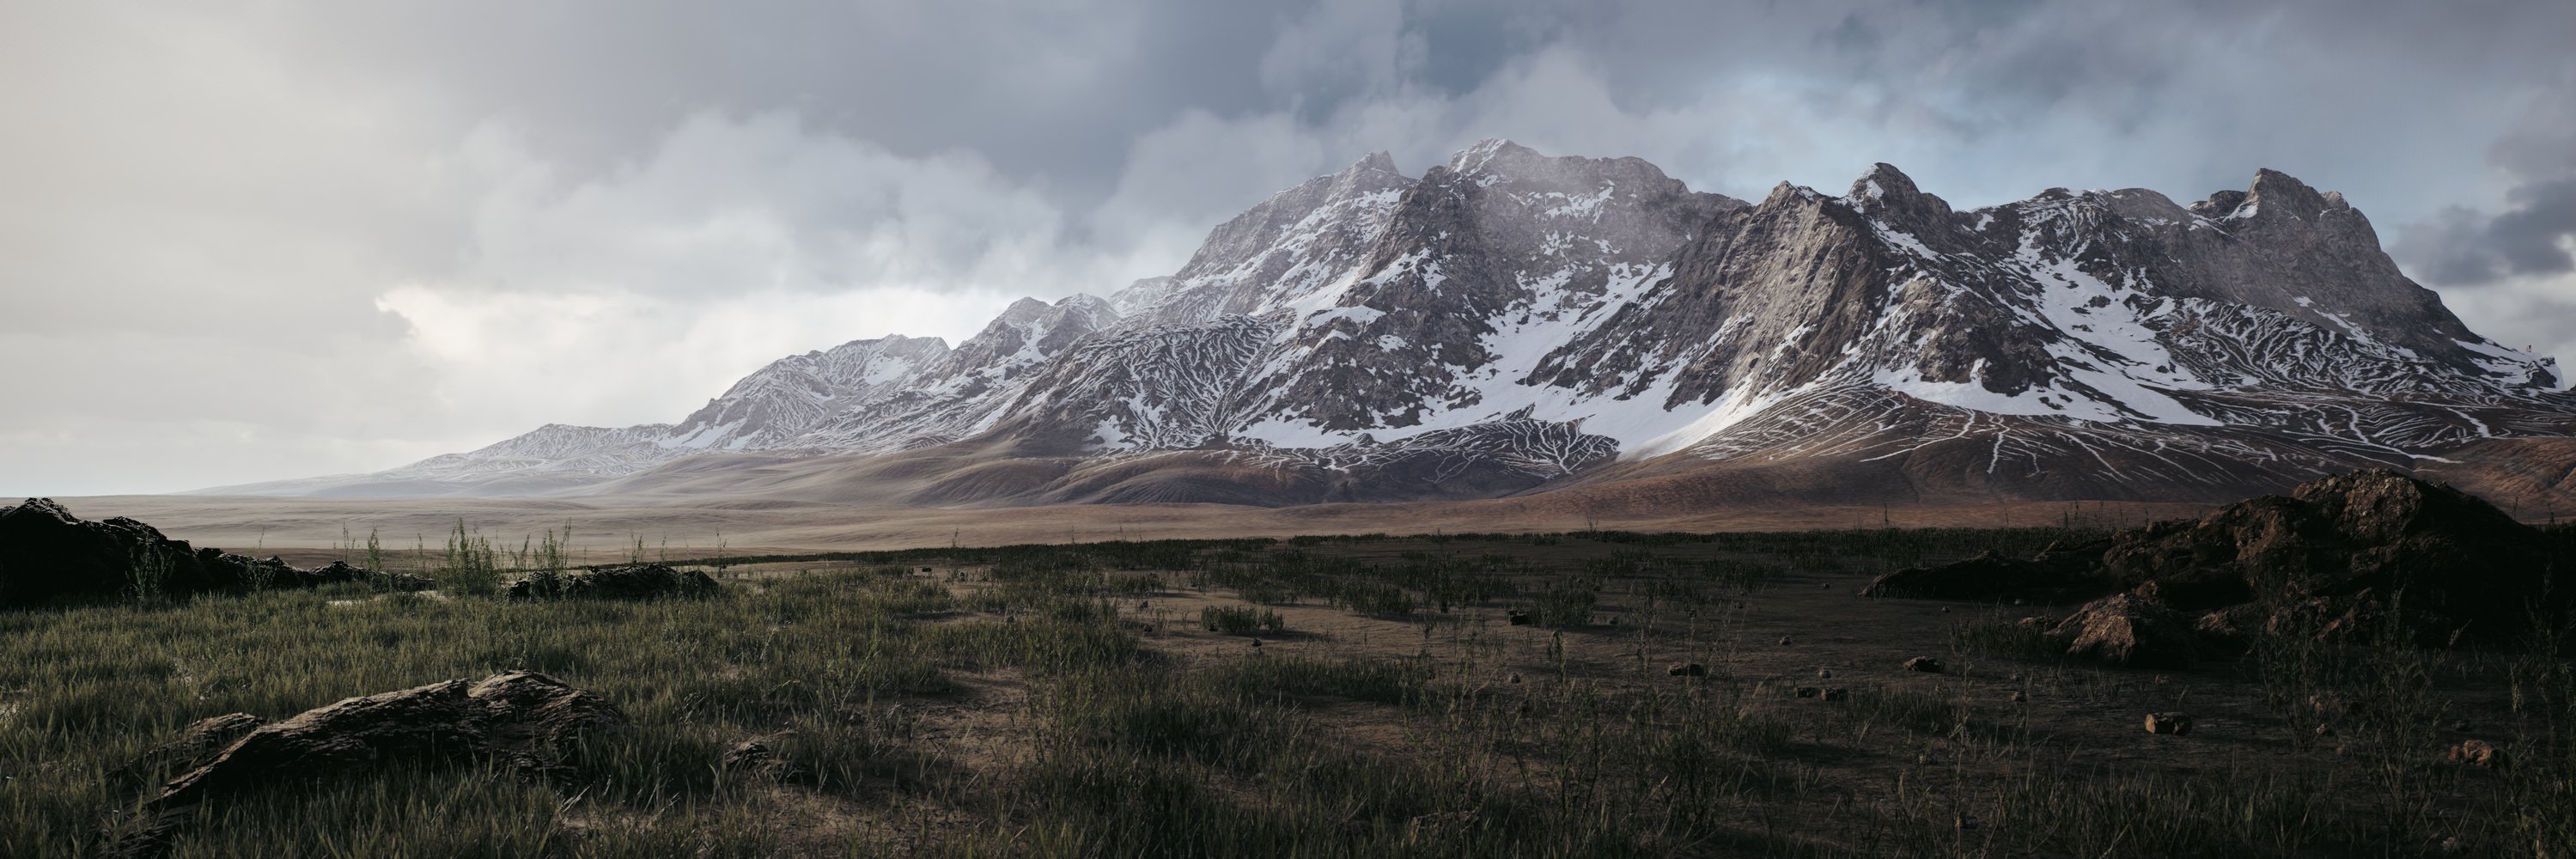
In the last year I learned a lot about landscape creation and besides Unreal, I used a lot of different tools to get the result I was looking for. My journey began with World Machine and I started to love and hate it. The results were amazing, but the usability was and still is a pain. I decided to look for something different and ended up using Houdini with the Gaea Bridge. These tools are the fundament for my landscape creation workflow, but when the work is there done, I ended up in Unreal with a grey landscape without much character to it.
You’ll find some tutorials out there about landscape materials, but a lot of them incomplete or just a fraction of what you need for your landscape. Besides that, creating natural landscapes is kind of a niche in CG and that’s makes it’s even harder to find proper ressource. So I decided, after reading dozens of forum threads or watching tutorials, it’s about time to give something back to you guys. Something you can learn from or just use it as your own.
I’ve made an advanced and most important, modular landscape material with a pretty nice performance and some nifty material functions in it, which I made with the help of Rodrigo Villani.
So to not waste your time, here is a little breakdown about the inherited nodes and a description what they do.
I hope you can learn something from it and I wish you a merry christmas - hope you’ll find this present useful
Material Layer

One thing to mention is, I multiply by default the AO channel on top of the BaseColor. Technically this is wrong and breaks the PBR workflow, but it really helps to get better definitions in your material, because most of the time a regular material can’t handle the self-shadowing in small crevices. So I added this little option, which you can always turn of using a simple boolean.
Also, for saving some texture samples, I am using the AO multiplied by 0.5 for getting some kind of an specular approximation.
Adjustment Layer

The result is still not perfect, but I am working on a better solution for this, not using the internal LayerBlend node.
Distance Overlay

You can control the overall intensity of the basecolor and the normal channel. More important is the option for excluding material layers from the overlay. In my case, I excluded the cliff surface to preserve the rock structure projected via a special stochastic tri-planar function, made by Rodrigo Villani. More about it later.


Color Variation

It’s not uncommon to do this, but to complete the collection it’s totally necessary. It’s basically again just a color multiply with some other parameters like intensity, contrast etc.
Distance Reflection

Unreal is restricted in how much it can show on screen and so, for example grass, get culled out on distance. In the real world, the grass is still there and scatters the light in every direction. It’s comparable with a really rough surface which reflects the rays of light in a very chaotic way. So, the easiest way to solve this problem is, to use a mask based on distance to manipulate the roughness and specular values and to mimic this behavior.
SlopeMask

Do you know Brushify or any other auto landscape material? That’s basically the same. You can utilize it for every task - in my case I use it for the cliff detection and to not be restricted by resolution … and it’s just easier to add slopes. So yeah. Use it as you like.

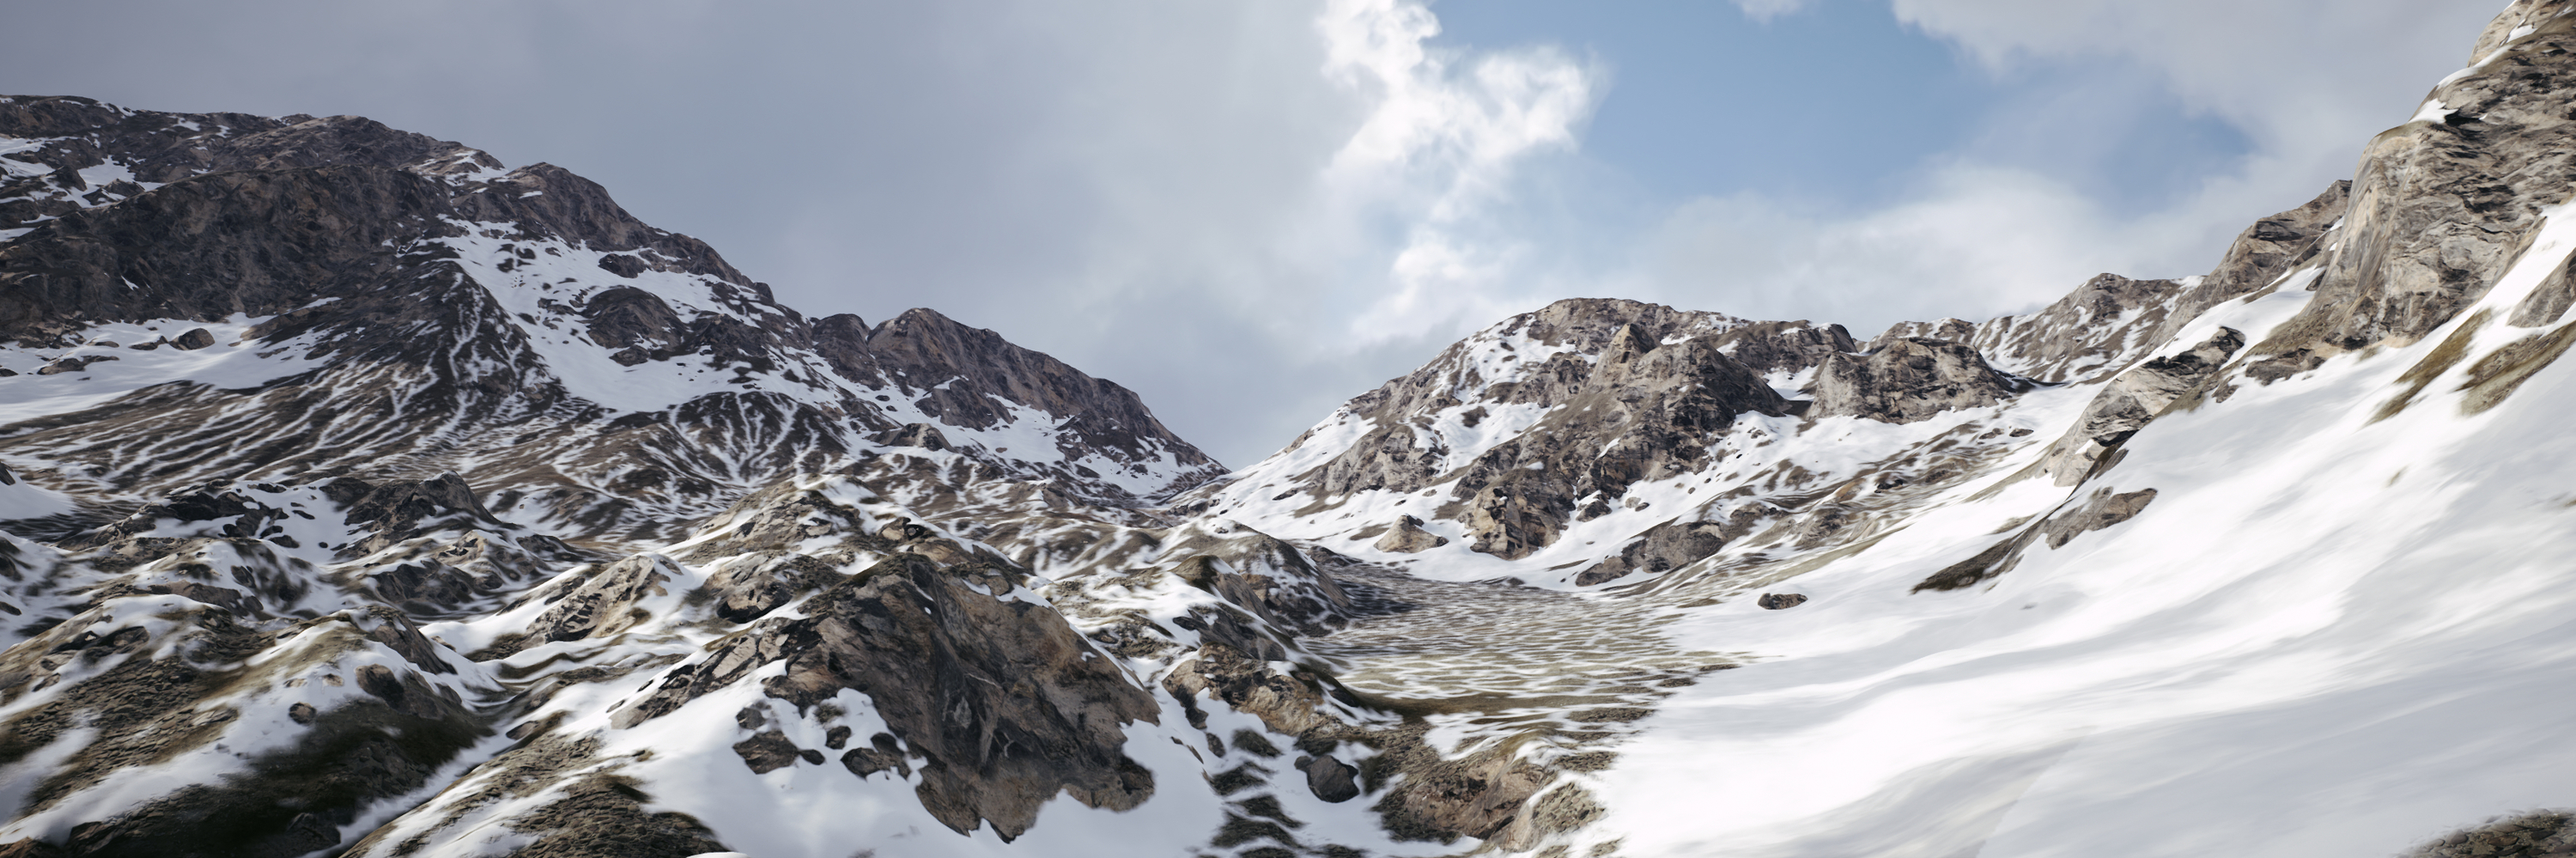
Stochastic Tri-Planar

During work I am watching a lot of GDC talks to stay up to date and learn new things in areas, I am not even related to. One day I watched a talk about the rendering in FarCry 4 and I was blown away. Beside the procedural approach of creating this beautiful world and all the super technical stuff, I was also very interested of how they are dealing with cliff faces. They developed a super cheap method of creating a tri-planar function using just a single texture sample. They also released a paper with even more information - when you are interested in, you can find the paper here.
Long story short, I am more of an artist and so I looked for some help to get this function into Unreal ... and I got help from Rodrigo Villani. I understand the basic logic of this function but I basically have no idea how he accomplished this node. You can just use it, or visit his YouTube channel and watch his video about how he’s creating this tri-planar projection node. It’s not up yet, so be sure to subscribe to his channel to not miss it.
There are some more material functions in it, but these are just to basic to cover them here. Just download the sample scene and study the material or just grab it and migrate it to your project. I hope you’ll find this material useful and before I end this article, I want to thank some people for their help. Beside Rodrigo Villani I want to say thanks to Ayden Yanik, who helped me with his VDB Cloud Pack. For me, finding proper clouds to use, is pretty hard. You always have to paint, stamp and adjust the clouds and in the end, you do have still a lot of clouds with different lighting scenarios. So I used his cloud pack and simply rendered some clouds. When you are interested in it, be sure to visit his ArtStation Shop.
And last, but not least, Sooii. I started my career there last year as a professional 3D artist and I got a lot of support from my coworkers and especially my boss. So I want to say thank you. I get a lot of freedom to develop my skills there - so thank you
Replies
I've only gotten a few crashes in Gaea its honestly great in my opinion and the free large texture export is awesome as well.
Thanks, but I don't plan to make videos for it.
Overall this is 'just' a product of my personal progress and the nice side effect - you get it for free. I don't want to make product of it.
Gaea is awesome - beside the fact it's unstable as you said - but in the end it's still the best program out there. World Machine generates great results, but the UX is from hell and every other competitor like World Creator are just not good enough. So yes, it's pretty unstable and already fixed functions are getting bugged from time to time, but overall - sadly - it's the best one out here