Sketchbook: Jansen Turk
Hey everyone, I'm an aspiring Character Artist and thought i'd start posting my progress up here. I'd love any critique/feedback you may have, just looking to improve!
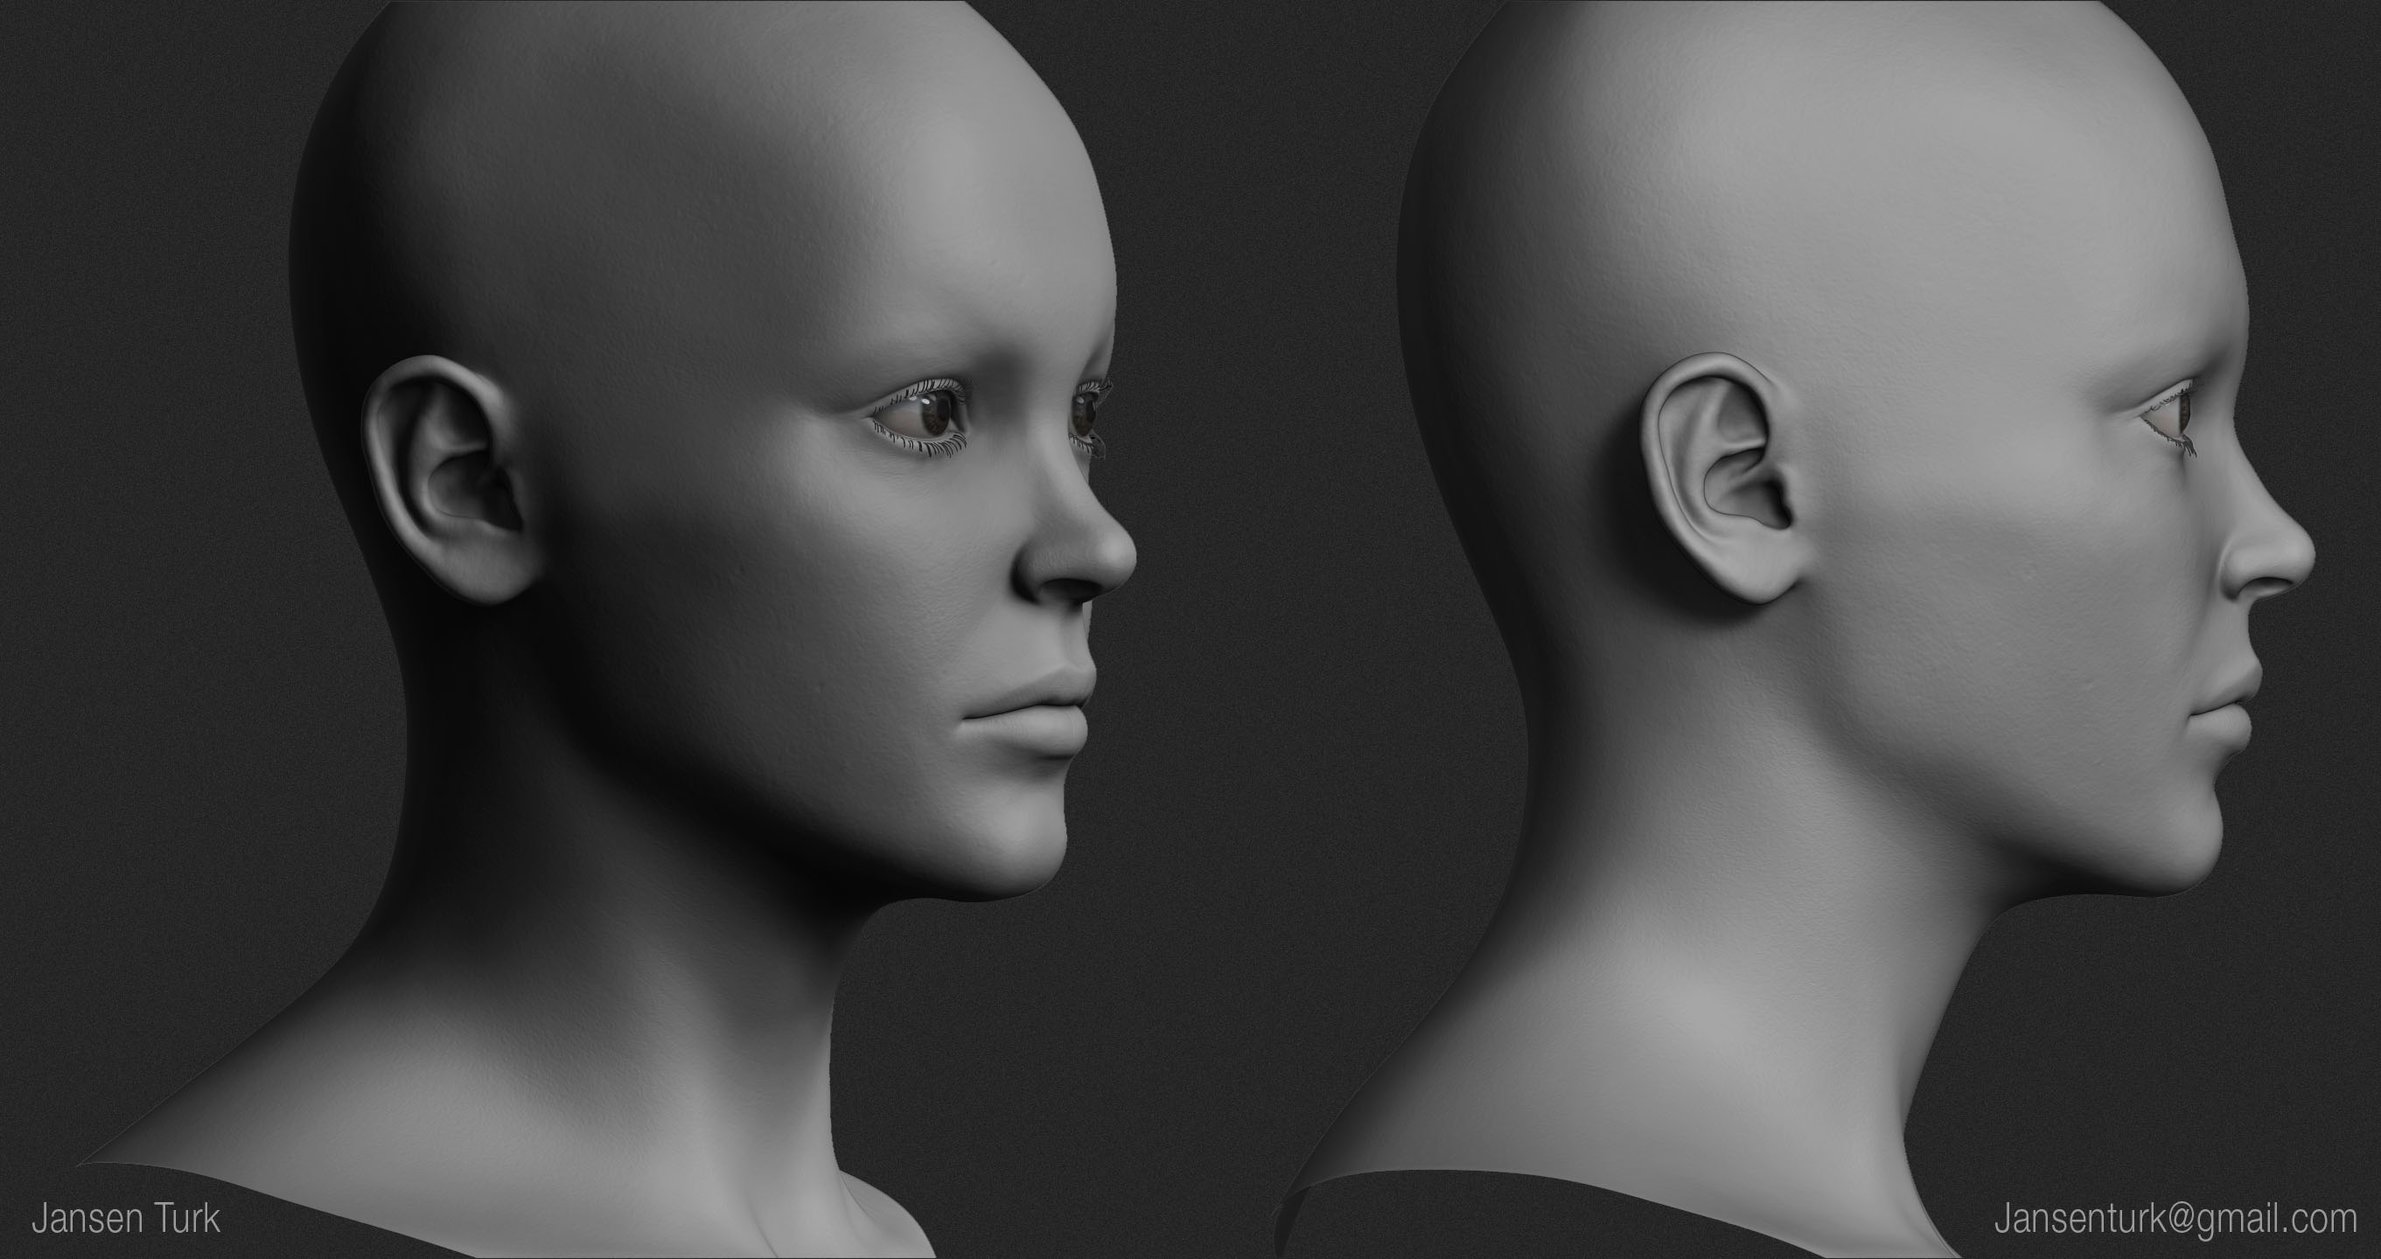
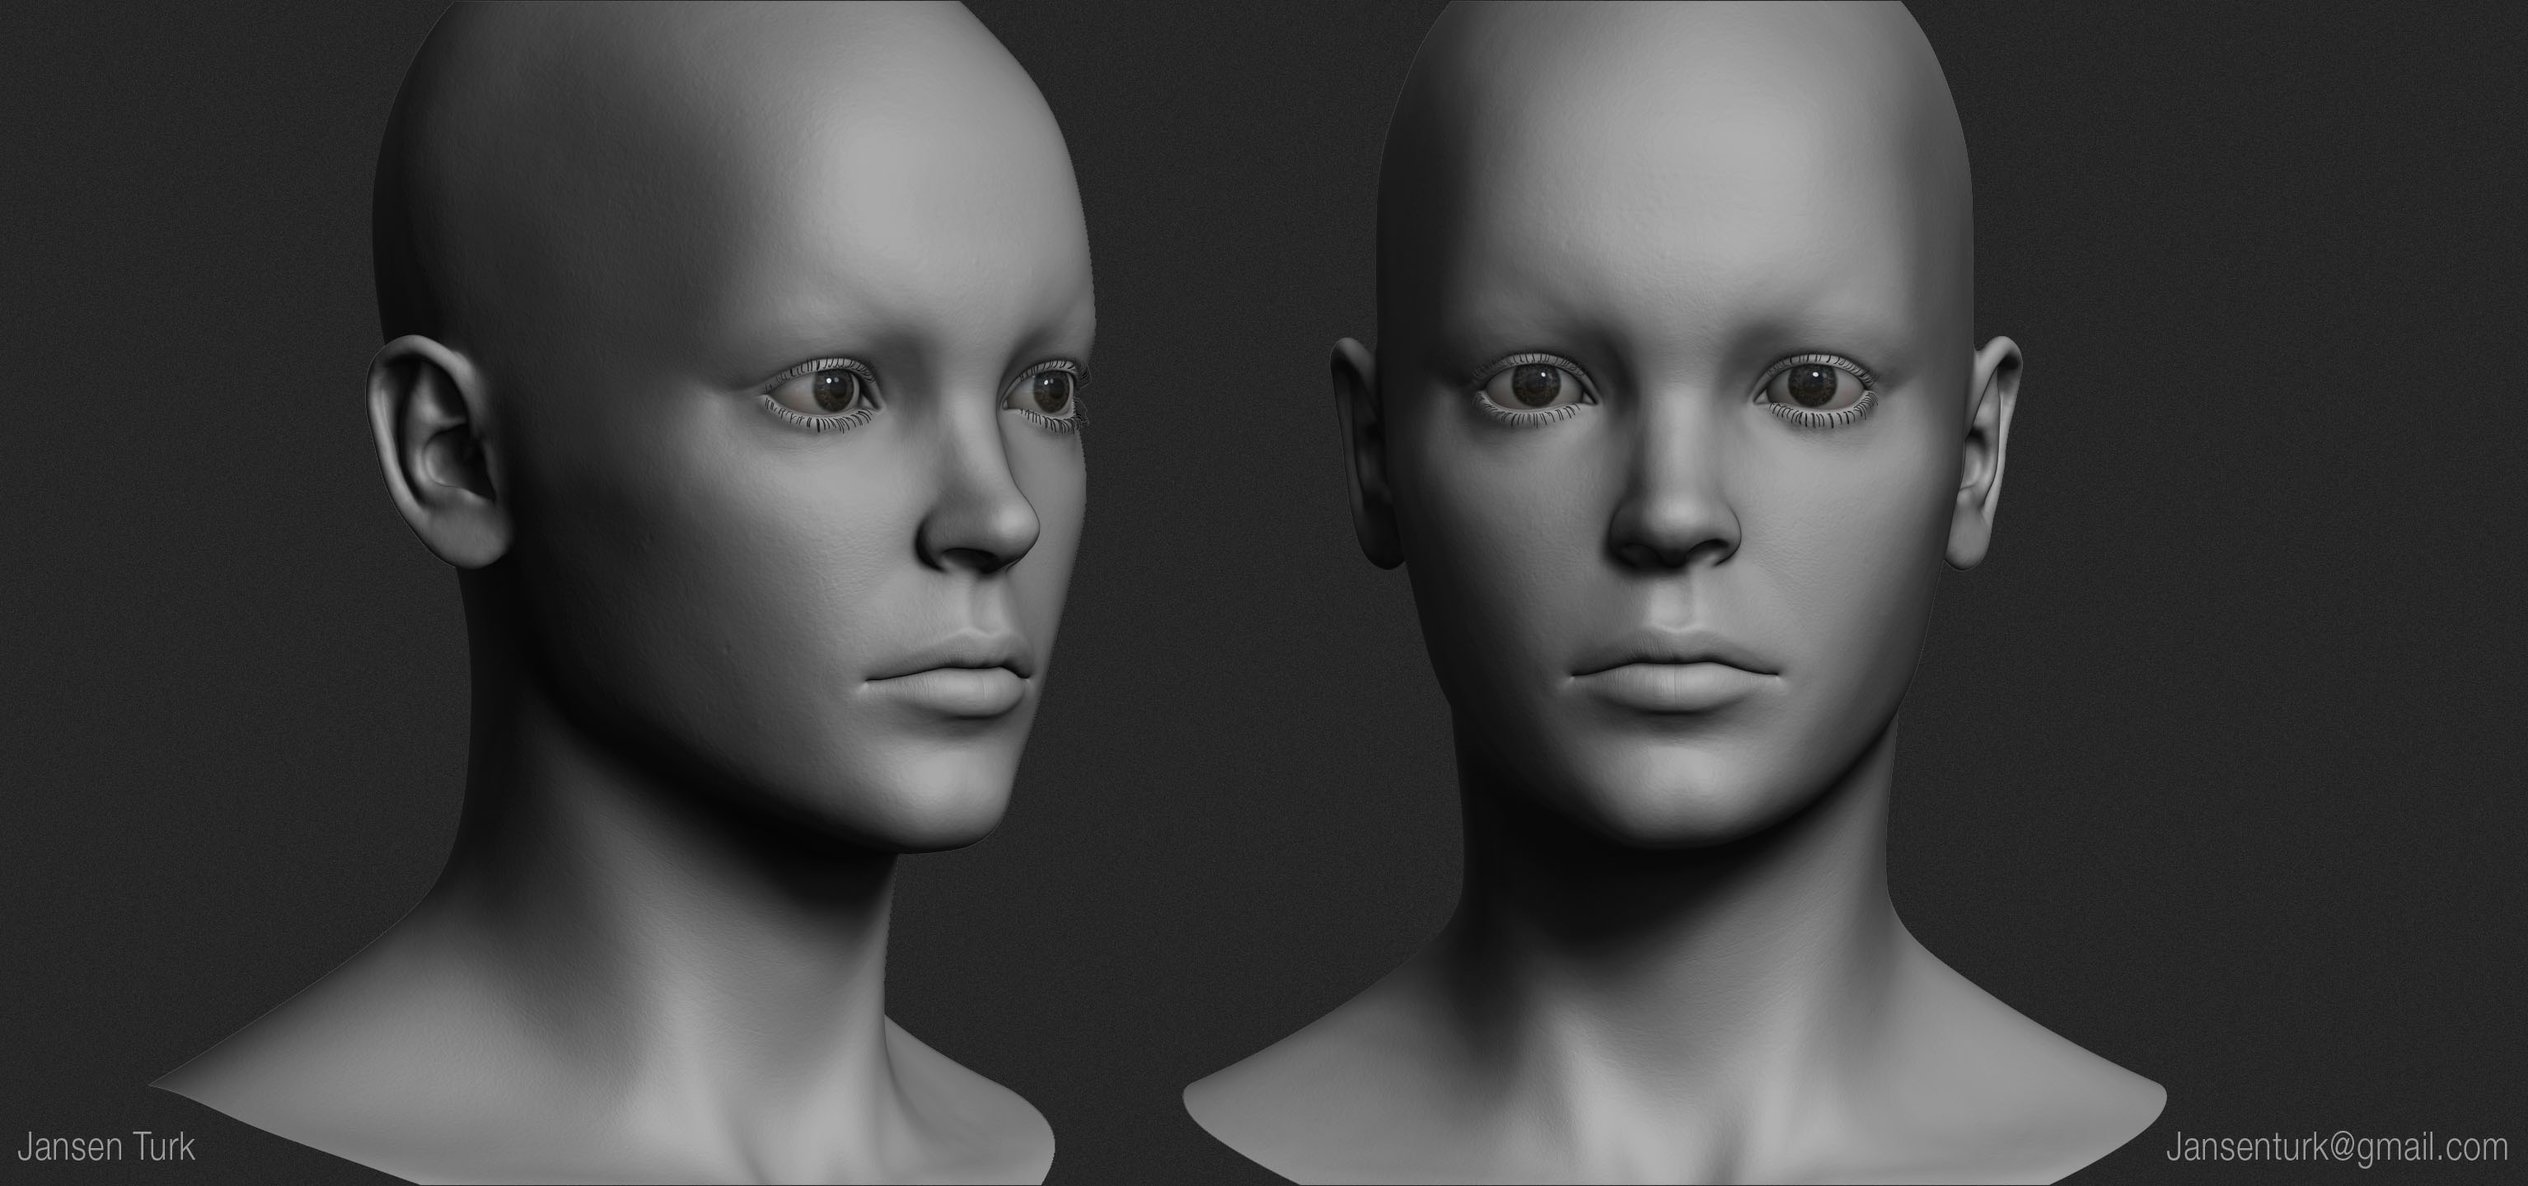
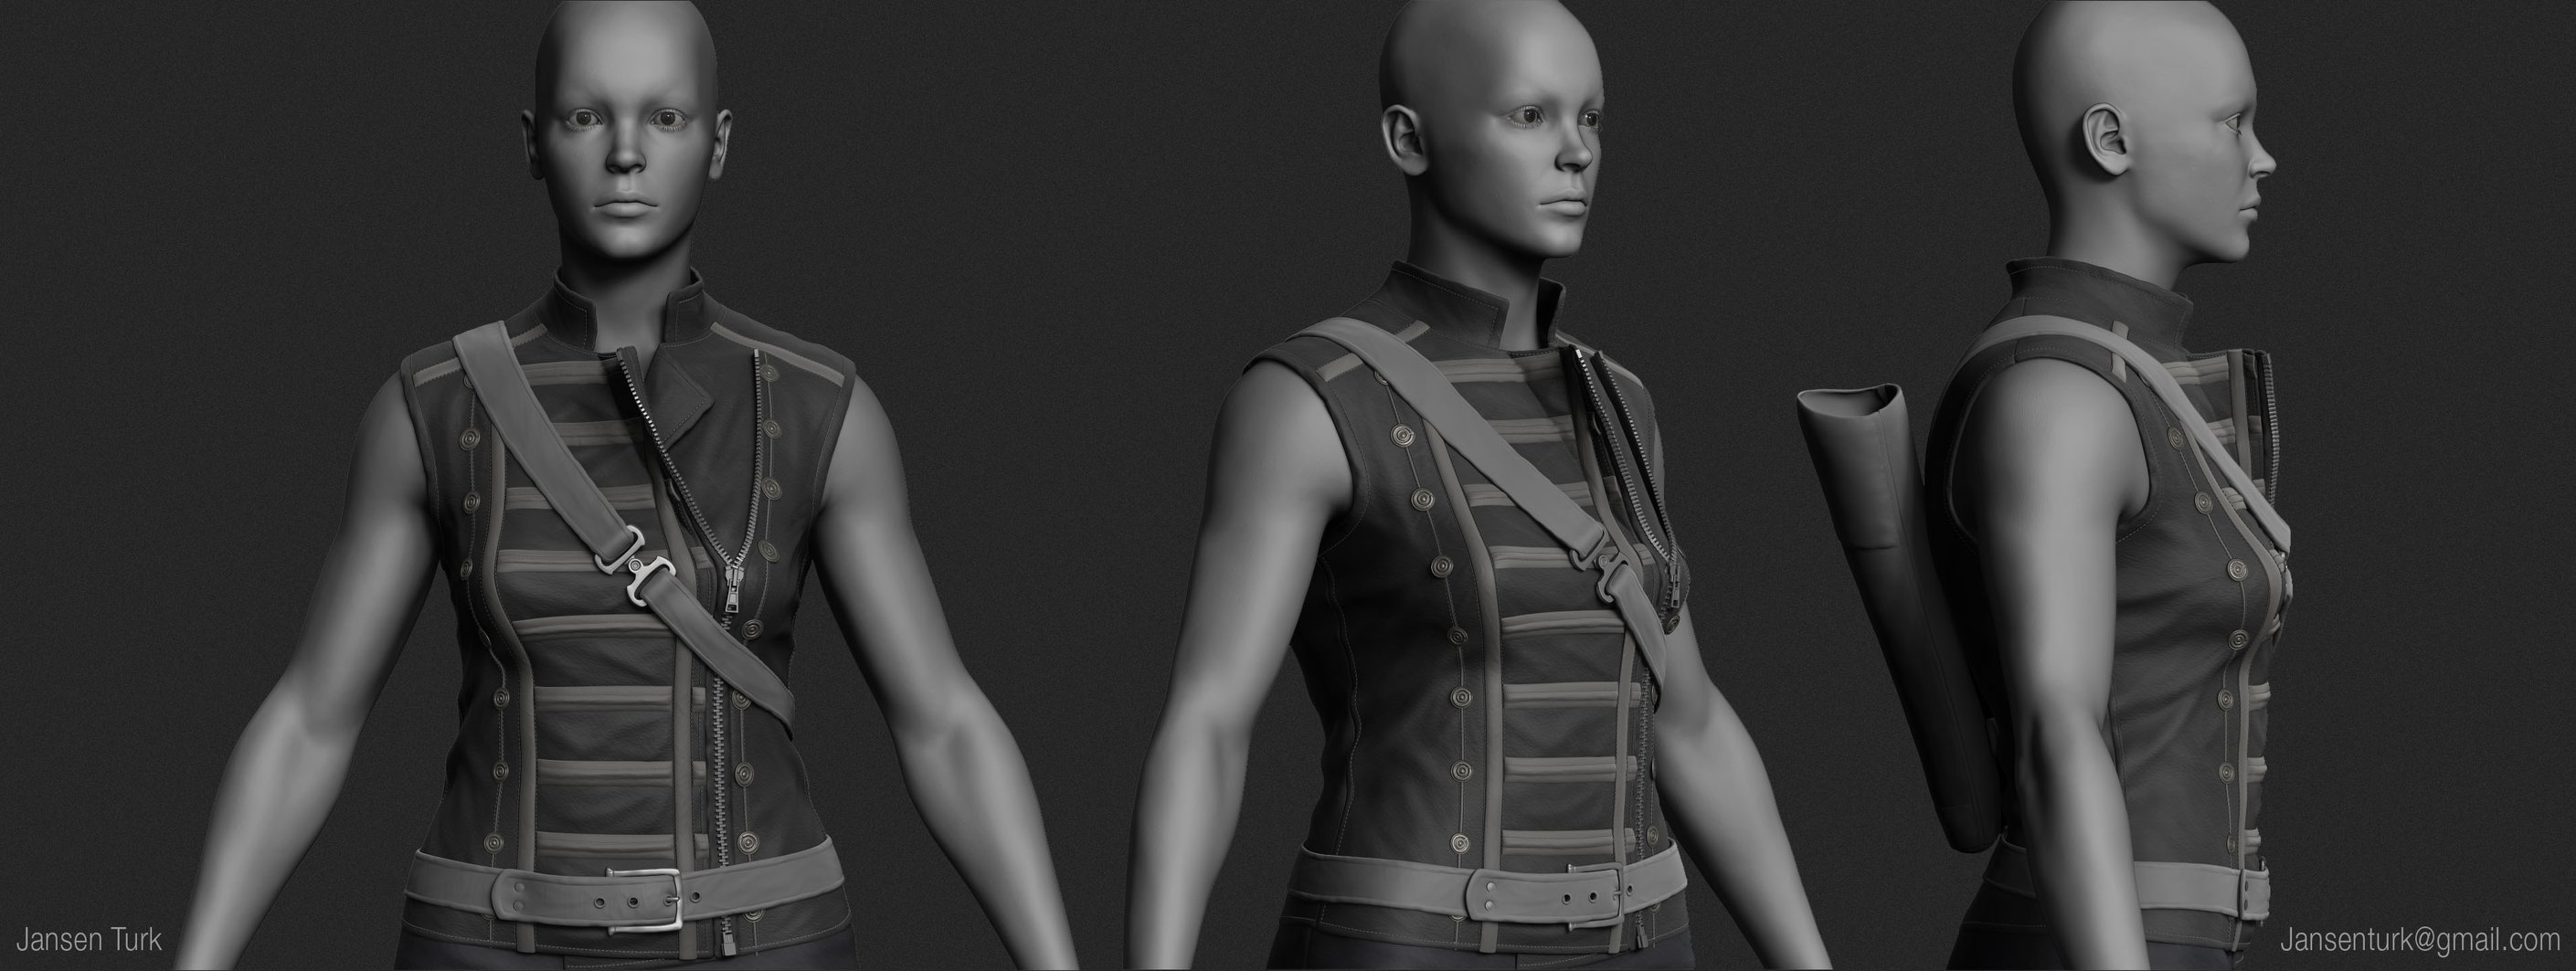
So this is a Archer character i'm working on. My next step now is to texture the face, I hope to have that done by the end of the week. Following that I plan on working on hair cards. I'll keep this thread updated with my progress.
Thanks!


So this is a Archer character i'm working on. My next step now is to texture the face, I hope to have that done by the end of the week. Following that I plan on working on hair cards. I'll keep this thread updated with my progress.
Thanks!

Replies
Thanks!
I'm signed up to Adam Skutt's Hair Creation class which starts tomorrow so the hair is coming! i'll share my progress with that in this thread also.
The Bow is currently just a temp mesh.
This is the result in Marmoset Toolbag 3:
Hey guys, so I finished with the hair and wanted to do a little breakdown of the process.
---------------------------------------------------------------------------------------------------------------------------------------------------------------------
1.
So to begin with the idea here is to grow the hair from planes, which have a slight rotation to simulate the head. You want to create hair clumps that you will then use to place along your model. Rendered using Arnold, using the AlHair Shader.
---------------------------------------------------------------------------------------------------------------------------------------------------------------------
2.
When it comes to placing the cards, make sure that you are using viewport 2.0 and in the settings, set “Transparency Algorithm” to “Depth Peeling” and “Transparency Quality” to 1. This ensures that the cards will display correctly when placed on top of each other. Another tip when making the plane itself, is to make the geo extremely low, and use the smooth mesh preview “3”. This makes sure that you don’t have to worry about working with lots of geo, and makes it easier to place the cards.
Once finished with the placement, you need to select all your hair cards, go to Modify > Convert > Smooth Mesh Preview to Polygons. This will convert your preview to polygons. Obviously now for Games this is far too much geometry. To solve this, go to Mesh > Reduce, and then play around with either the percentage or triangle count to get the amount of geometry required.
---------------------------------------------------------------------------------------------------------------------------------------------------------------------
3.
Here is the head model and topology, without any of the hair cards.
---------------------------------------------------------------------------------------------------------------------------------------------------------------------
4.
Hair Cap with topology. This was created using XGen Interactive Groom, and just baking that down onto a HairCap. To bake the XGen Interactive Groom, first go to Generate > Convert Interactive Groom to polygons. This gives you your hair as a high poly mesh. Export the mesh as your high poly, and the HairCap as your low poly. Next Jump into Photoshop and make a gradient (I used Blue and Red) Save this as your root to tip color.
Next for the bake, In XNormal put the XGen Groom as the high poly mesh (The groom we converted to polygons), and add the hair cap as the low poly. For the high poly add in the “Root to tip Color” to “Base Texture to Bake”. Next in the baking options enable “Normal Map” and “Bake Base Texture”.
---------------------------------------------------------------------------------------------------------------------------------------------------------------------
5.
The base layer of cards, the purpose of this layer is to get the silhouette and base color.
---------------------------------------------------------------------------------------------------------------------------------------------------------------------
6.
Next is the breakup Layer, here is where the hair really starts to look like something. These textures are a lot less opaque and have the job of breaking up the flow of the hair. To place these I simply duplicate cards from the base layer, make adjustments to position and flow, and change the texture.
---------------------------------------------------------------------------------------------------------------------------------------------------------------------
7.
The final steps for the hair are to add Flyaway cards and Transitional cards. These help to ground the look and add more realism.
---------------------------------------------------------------------------------------------------------------------------------------------------------------------
8.
Here is the final topology and the final textures. The first two textures are the thickest clumps, and are only used for the base layer. The next two are a lot less opaque and are used for the breakup layer. Next to that is a clump used for the Flyaway layer. Finally the two clumps at the top are used for the transitional cards. In places like the hairline to create a more natural transition between the scalp and hair.
---------------------------------------------------------------------------------------------------------------------------------------------------------------------
9.
So there we have it! I hope that this can in anyway help someone out. I've started on another couple of pieces and will be sharing my progress on them soon. I aim to improve and get better results with those pieces. Thanks Guys and feel free to let me know what you think, and if you have any cool techniques also!
Also once I got my renders from Arnold I made some adjustments in Photoshop until i got the results I did. Let me know if that helps!
Go to the plug in manager in Maya, and make sure that "mtoa.mll" is set to loaded and auto load. Your alShaders should then appear. If they don't behave as expected (which is what happened with me). Make sure when installing the alShaders you follow the video and use the second method to install. I think it might be a problem with versions of Maya just copying the files across? Either way that is what fixed it for me. Hope that helps and let me know how you get on!
@Ouran - Thank you Vincent!
I'll be moving my workflow to Maya soon. Appreciate you sharing the links.
More to come!
It's been taking me a while to do this, although it uses the same process I showed previously, I've put more of an emphasis on the breakup layer to try and get the messier look, still fairly early so still a lot of work to do to get it looking how I like! I'll share some more of the process steps soon!