FINAL Handplanes - Omari McCord - Multi
vertex
[Original Intro:] This is a good idea for both contest host and 3D craftsman/artist.
I have used HP before because of the AA and the Mixed AO bakes, but there are some features of it I have not tried.
I will try to make a few ideas and concepts to test out the software and it never hurts to work a little bit on some focused hero assets :]
[FINAL:] I made Four Five Six Seven Handplanes for the Contest. Handplanes A - G. I wanted to develop a workflow with the software and see where it goes. All the textures are in 2K. Its fun to make stuff, I have a blast.
There are Sketchfab models on the 2nd Post
Each plane is displayed in Marmoset TB3.
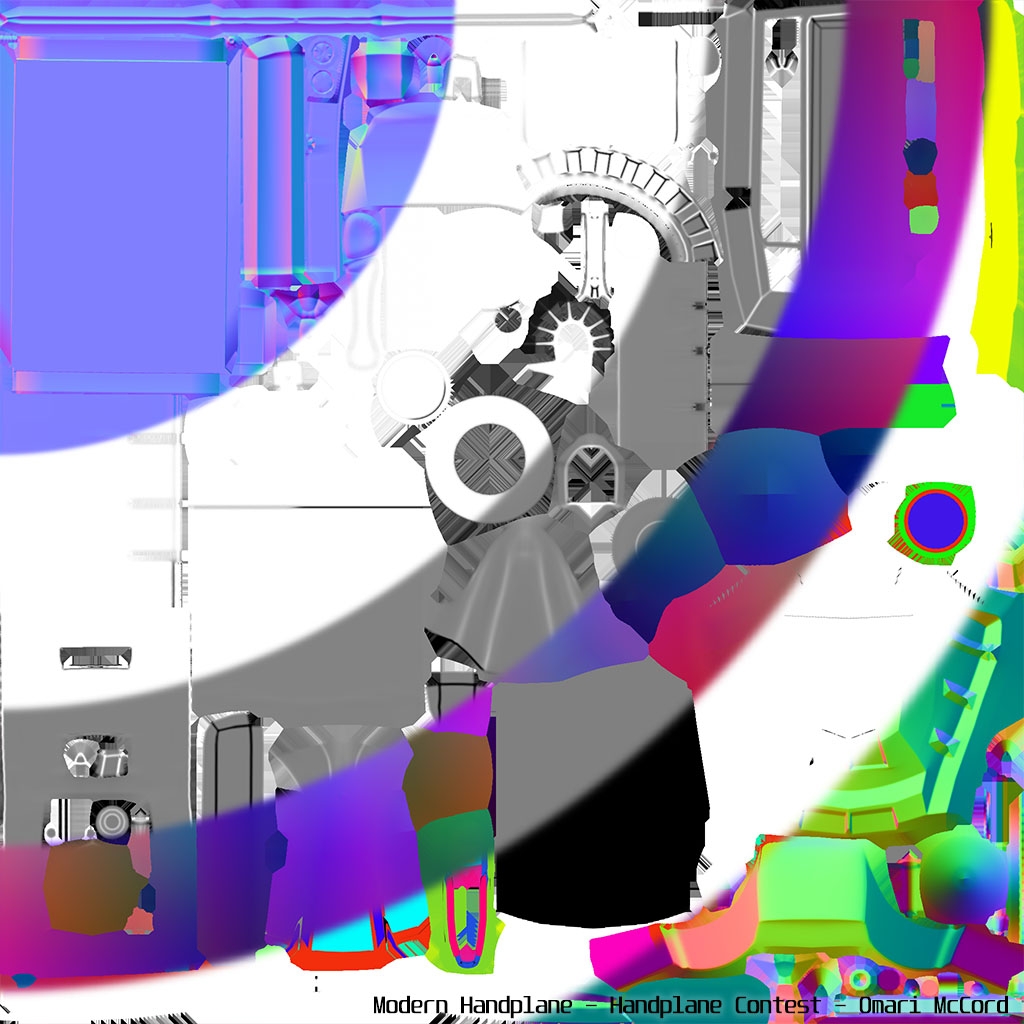
Final Handplane A:


High Poly Sculpture:

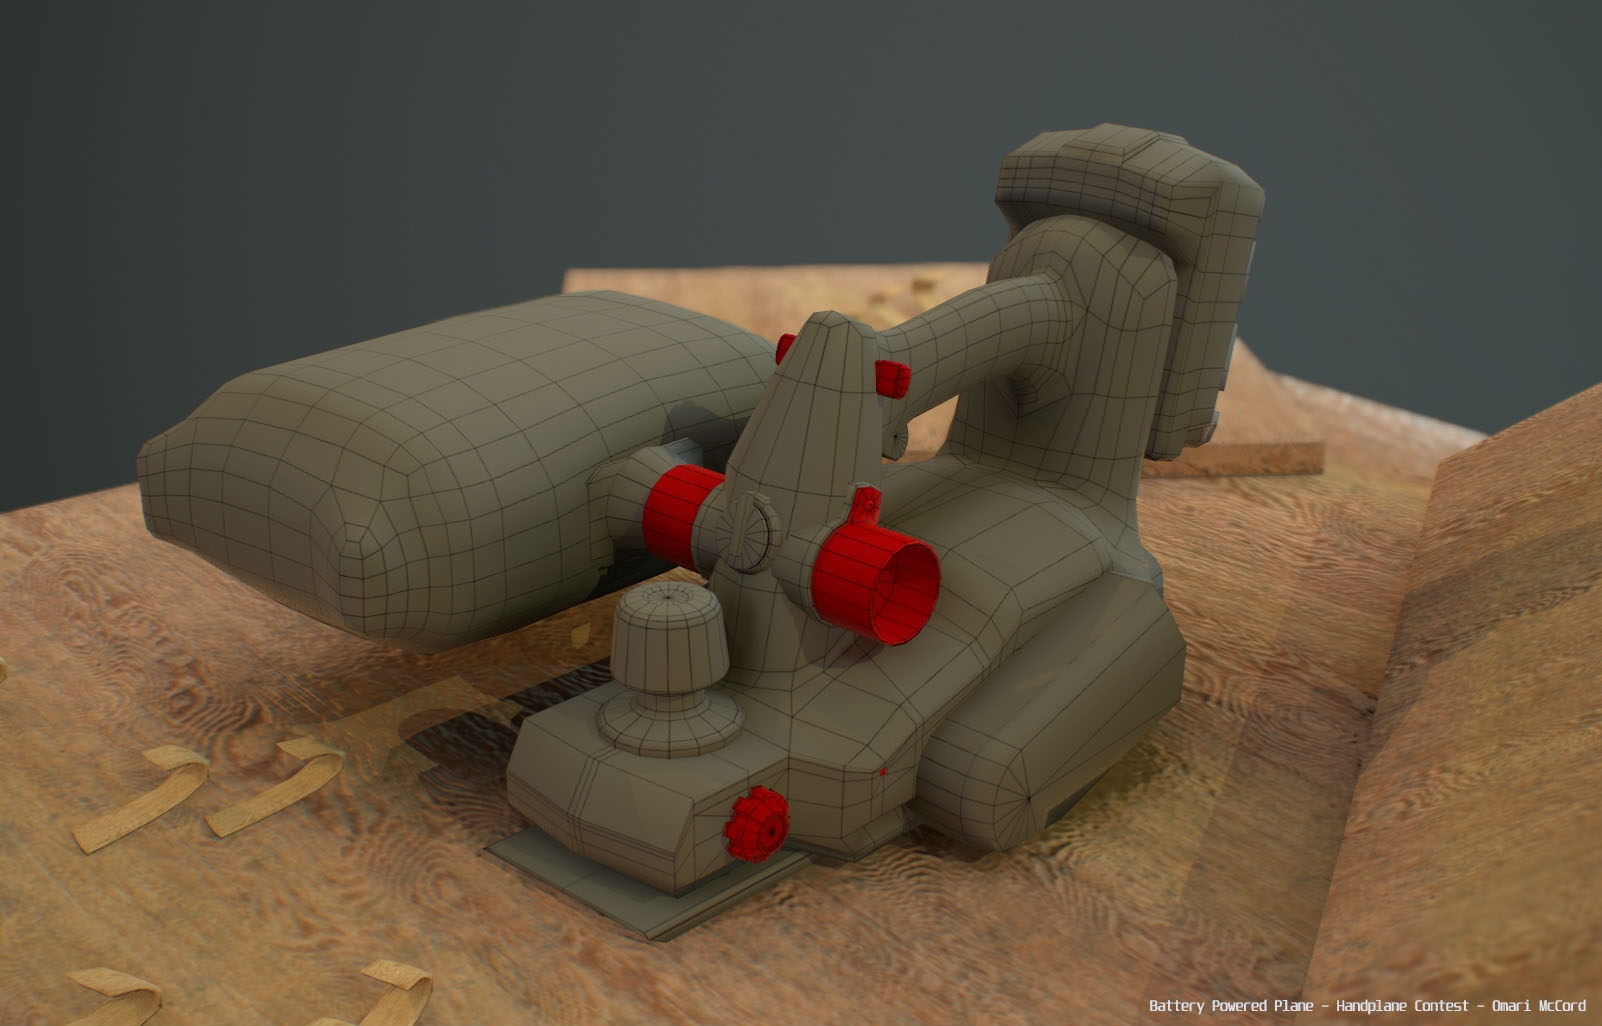
WireFrame:
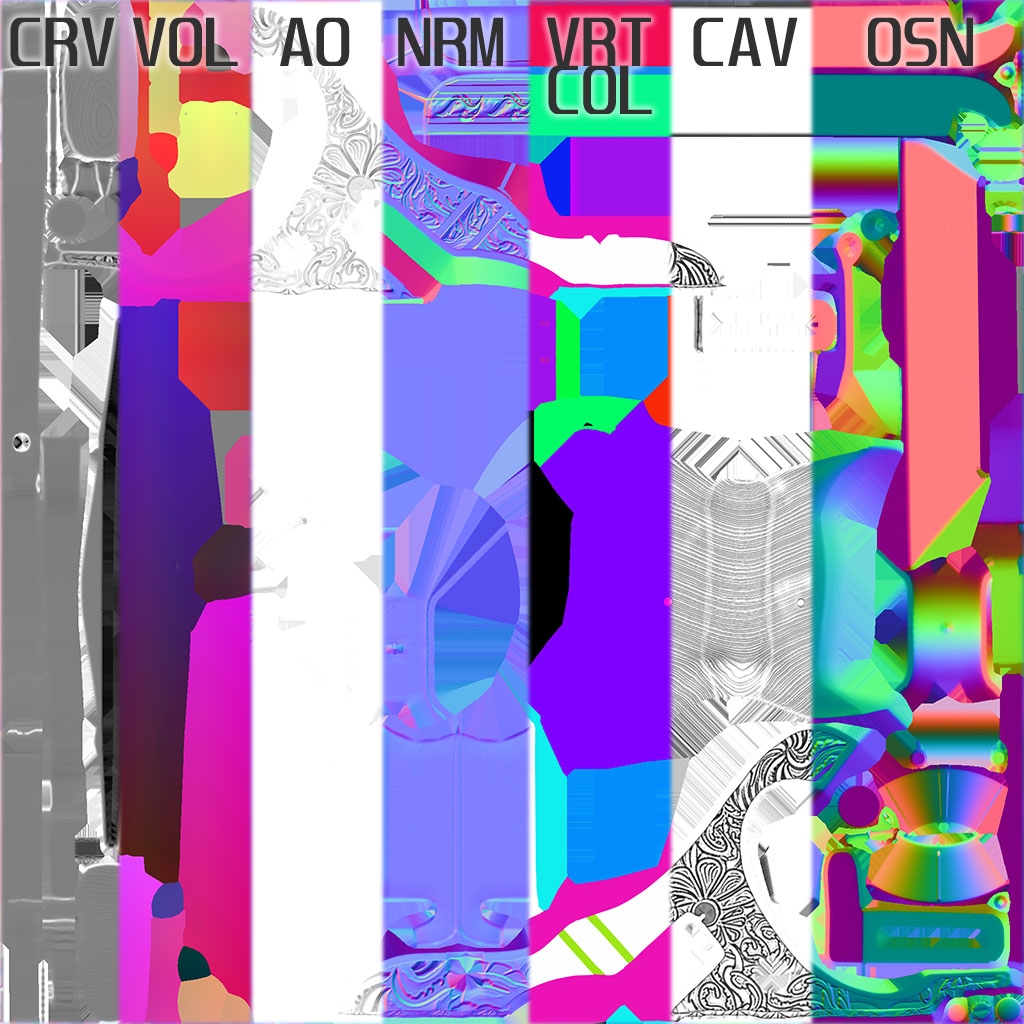
HandPlane Projection Builds:

Final Painted PBR:

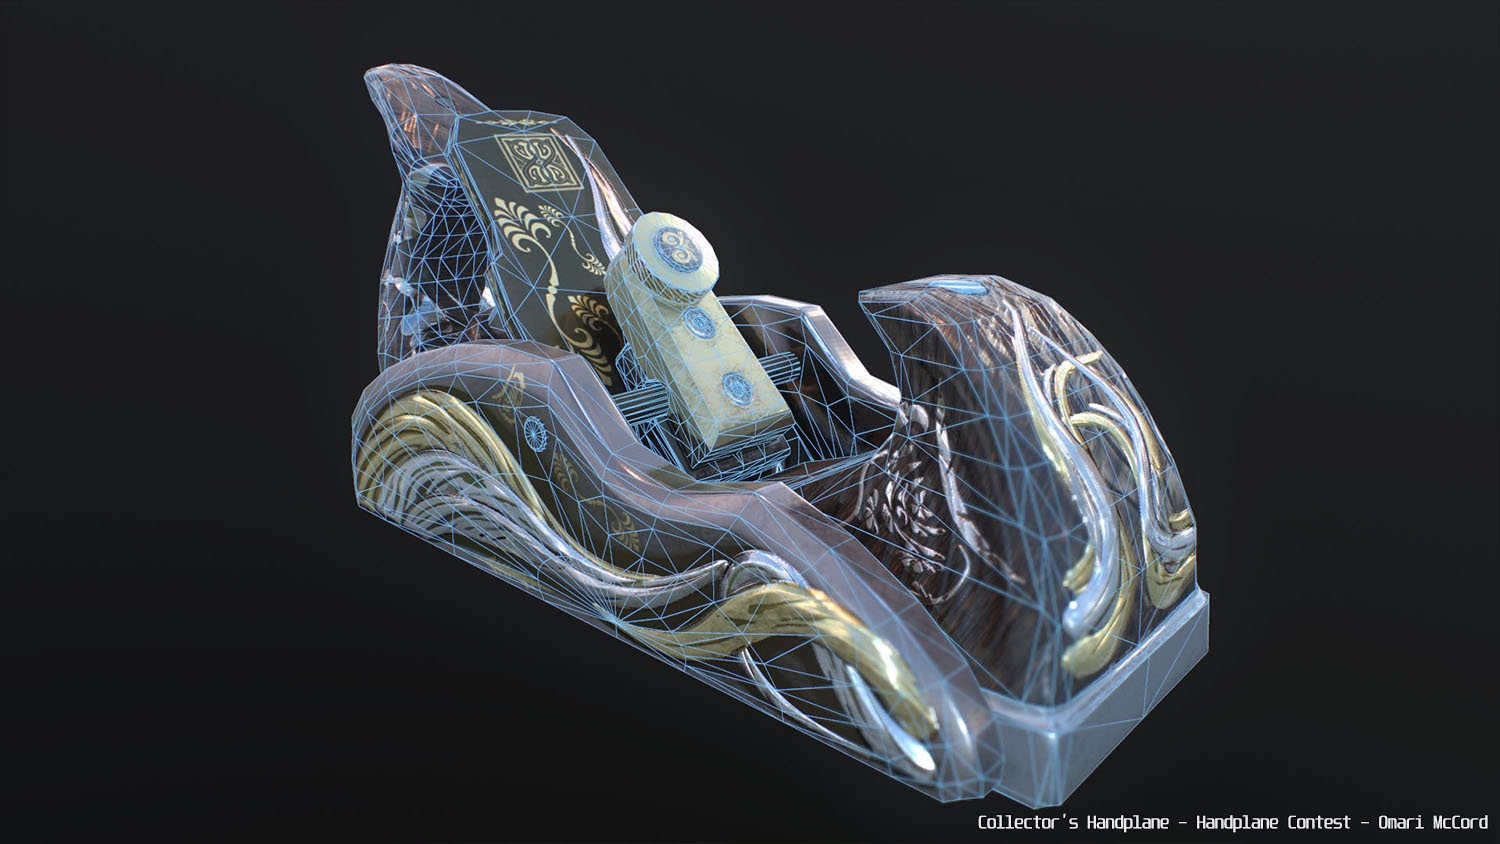
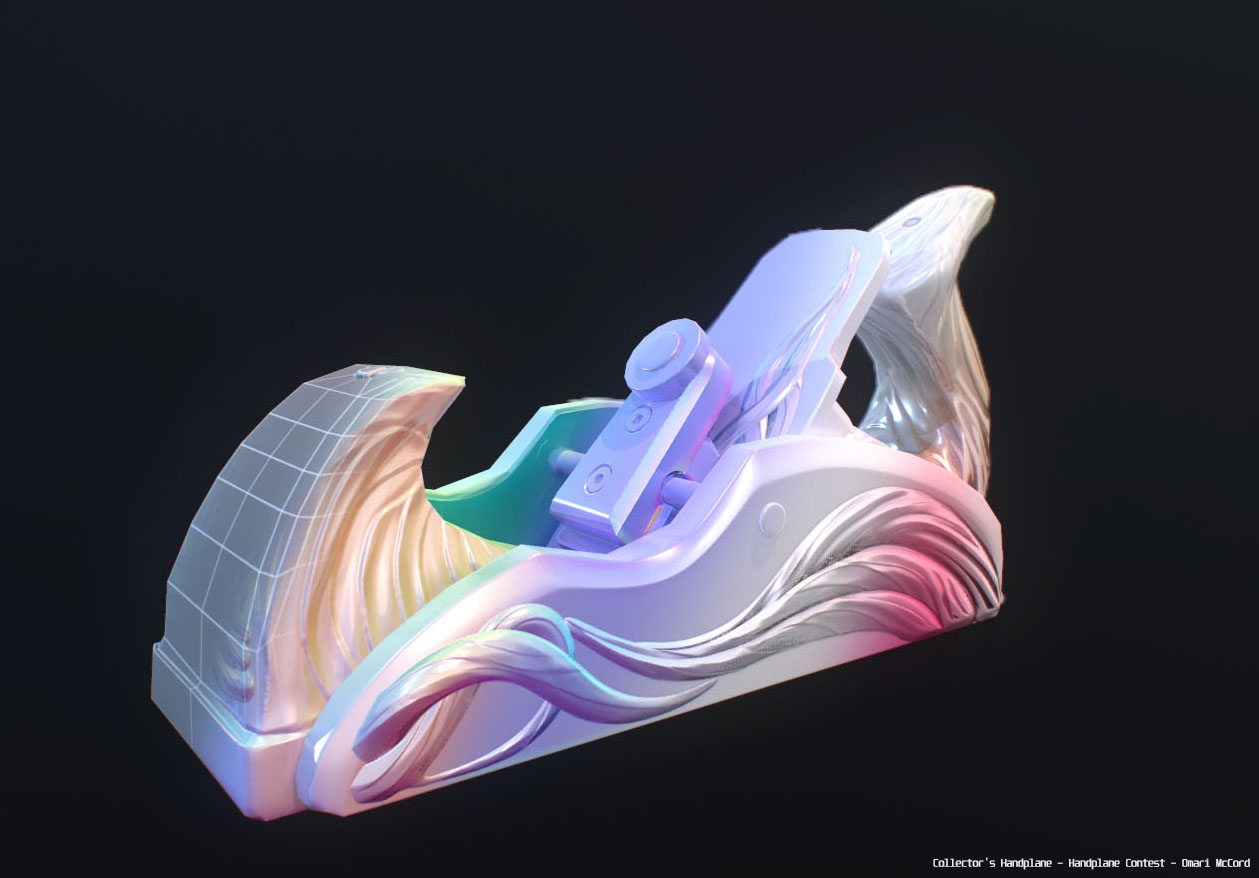
FINAL Handplane B:


WireFrame and Texture Preview:
Hi-poly Digital Sculpture:
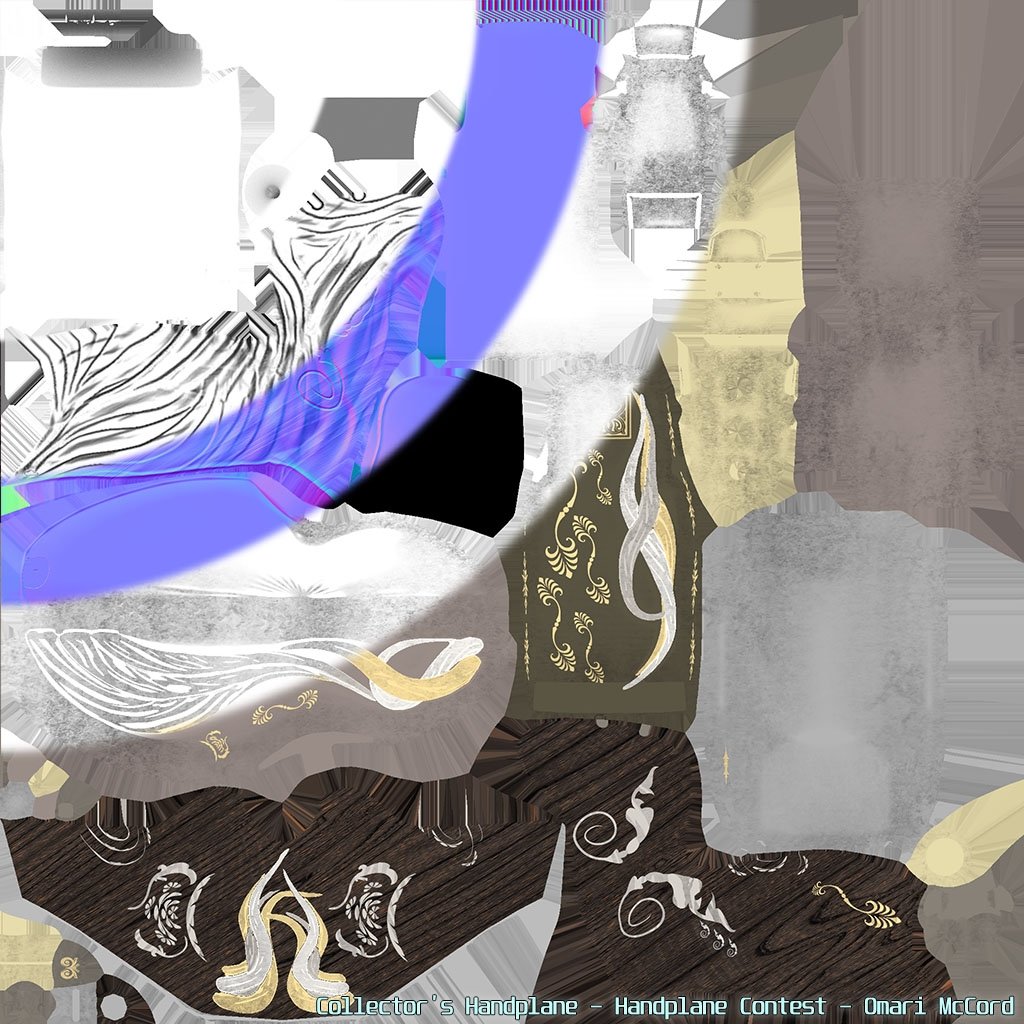
Handplane Projection Build Textures:

Final PBR Painted Textures:
Final Handplane C :

Wire Frame and Texture Preview:


High Poly Sculpture:

Handplane Projection Build Textures:

Final PBR Painted Textures:

Final Handplane D :


WireFrame and Texture Preview:
High Poly Digital Sculpture:

Handplane Baked Texture Builds:

Final PBR Painted Textures:
Handplane E:


Baked Texture Preview and Wires:

Low Poly Model:

High Poly Model:

Handplane Baked Build Textures:

PBR Final textures:

Final Handlplane F:


Wireframe and Baked Texture Preview:


Low and High Poly:

Handplane Base Bake:
Final PBR Painted Textures:

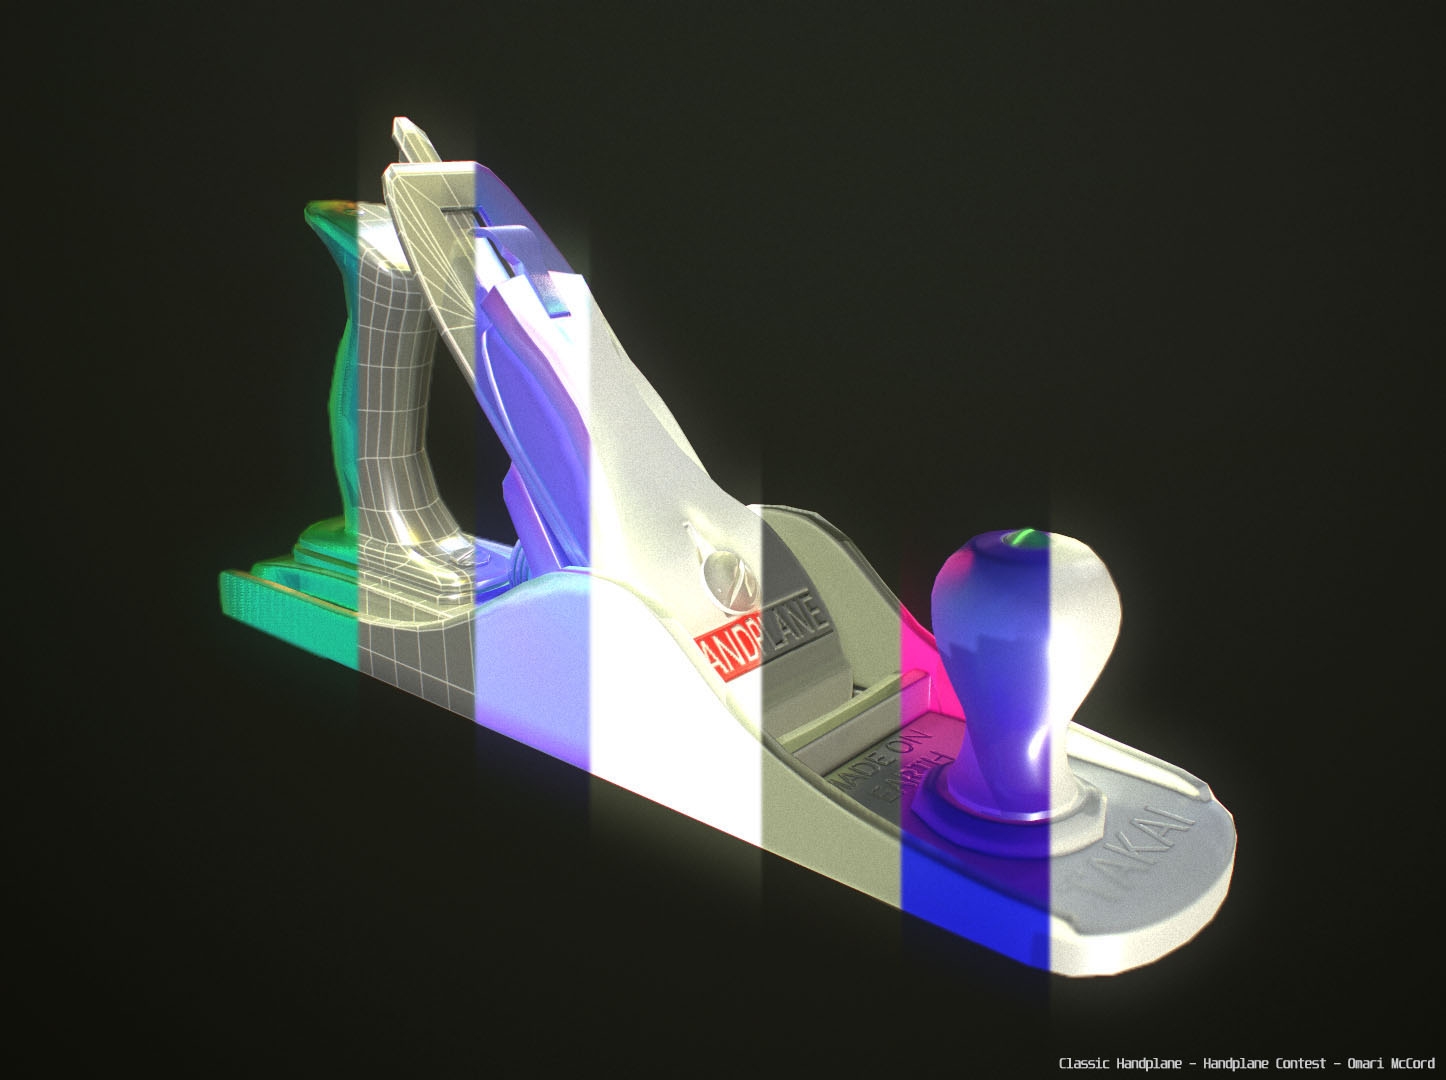
Final Handplane G: Classical Handplane


Wireframe:

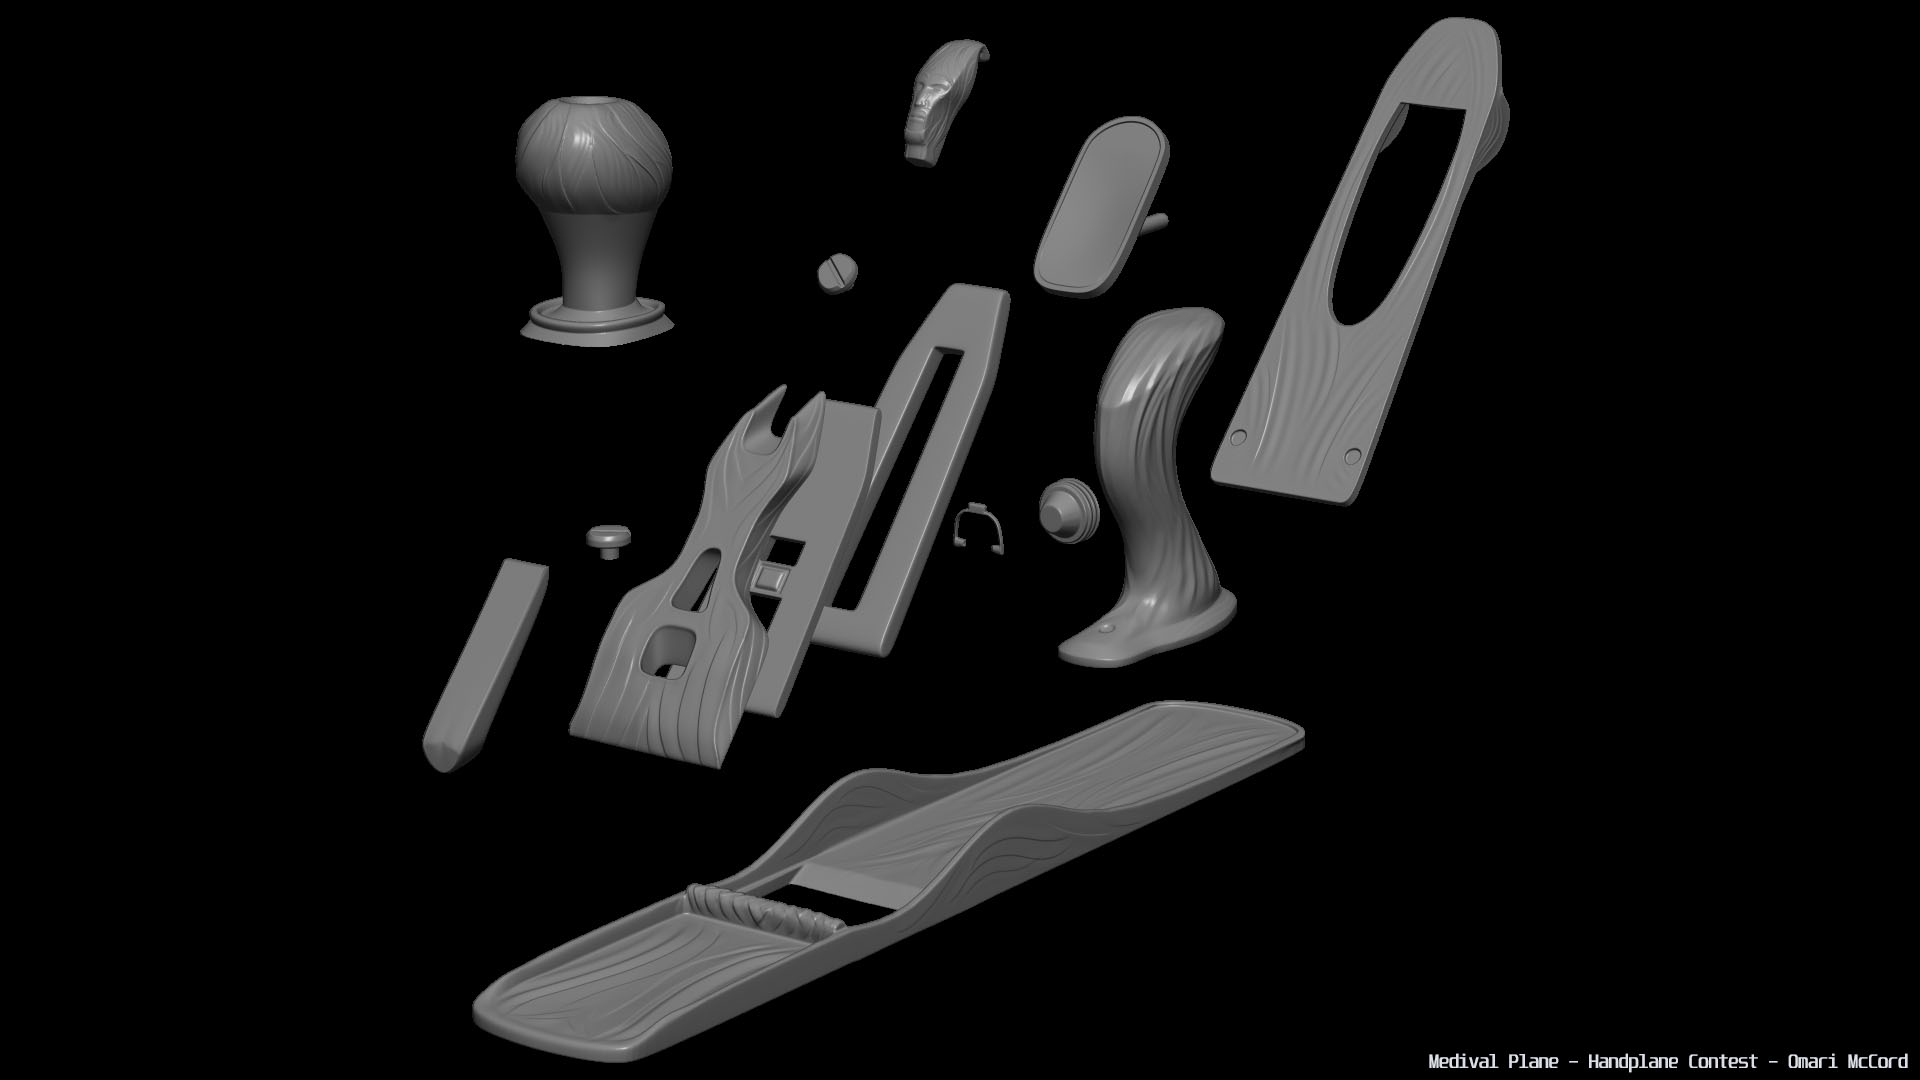
High Poly:

Hanplane Baked Texture Preview:

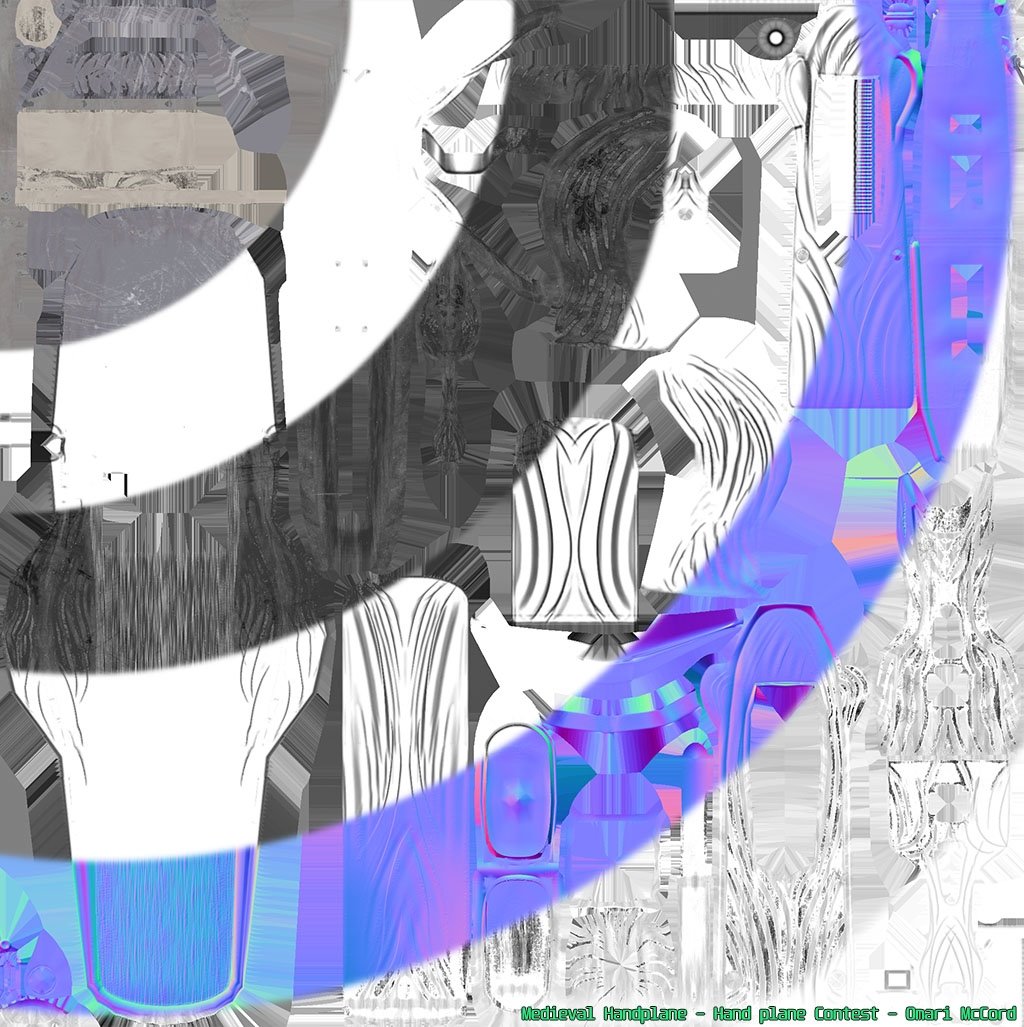
Handplane Build Textures:
PBR Painted Textures:

Final Thoughts on Handplane:
+ The TSAO is super quick, multiply it with the CAV and I like the result.
+ Projection Groups are really neat and helpful, I can see it being very useful for a complex character.
+ 16xAA is super nice and fairly quick compared to other bakers I have used.
+ Super quick and easy test bakes at 1k and 1xAA.
+ Matches and supports my workflow for rapid real-time asset creations.
+ Save the baking project is wonderful and makes projects easily accessible and modifiable.
+ AO floater output is useful and fairly quick.
- Global Scale will help
- UDIM support for extremely complex and efficient single material calls
- GUI font and color options would be nice for tired eyes or for huge and complex projection groups
- Thickness map preset export: This is a bread and butter for building convincing modern organic characters. One can paint it in themselves, but a quality thickness map can be an excellent foundation for a solid SSS illusion.
I have used HP before because of the AA and the Mixed AO bakes, but there are some features of it I have not tried.
I will try to make a few ideas and concepts to test out the software and it never hurts to work a little bit on some focused hero assets :]
[FINAL:] I made Four Five Six Seven Handplanes for the Contest. Handplanes A - G. I wanted to develop a workflow with the software and see where it goes. All the textures are in 2K. Its fun to make stuff, I have a blast.
There are Sketchfab models on the 2nd Post
Each plane is displayed in Marmoset TB3.
Final Handplane A:
High Poly Sculpture:
WireFrame:
HandPlane Projection Builds:
Final Painted PBR:
FINAL Handplane B:
WireFrame and Texture Preview:
Hi-poly Digital Sculpture:
Handplane Projection Build Textures:
Final PBR Painted Textures:
Final Handplane C :
Wire Frame and Texture Preview:
High Poly Sculpture:
Handplane Projection Build Textures:
Final PBR Painted Textures:
Final Handplane D :
WireFrame and Texture Preview:
High Poly Digital Sculpture:
Handplane Baked Texture Builds:
Final PBR Painted Textures:
Handplane E:
Baked Texture Preview and Wires:
Low Poly Model:
High Poly Model:
Handplane Baked Build Textures:
PBR Final textures:
Final Handlplane F:
Wireframe and Baked Texture Preview:
Low and High Poly:
Handplane Base Bake:
Final PBR Painted Textures:
Final Handplane G: Classical Handplane
Wireframe:
High Poly:
Hanplane Baked Texture Preview:
Handplane Build Textures:
PBR Painted Textures:
Final Thoughts on Handplane:
+ The TSAO is super quick, multiply it with the CAV and I like the result.
+ Projection Groups are really neat and helpful, I can see it being very useful for a complex character.
+ 16xAA is super nice and fairly quick compared to other bakers I have used.
+ Super quick and easy test bakes at 1k and 1xAA.
+ Matches and supports my workflow for rapid real-time asset creations.
+ Save the baking project is wonderful and makes projects easily accessible and modifiable.
+ AO floater output is useful and fairly quick.
- Global Scale will help
- UDIM support for extremely complex and efficient single material calls
- GUI font and color options would be nice for tired eyes or for huge and complex projection groups
- Thickness map preset export: This is a bread and butter for building convincing modern organic characters. One can paint it in themselves, but a quality thickness map can be an excellent foundation for a solid SSS illusion.
Replies
[Sketchfab Models]: I will put Sketchfab Models here: 2K in .jpg.
model
model
@LalaD Thank you! Thought I was going nuts, heh.
Ok here is what I wanted to post:
(*) OK first off. I made a quick modern looking handplane to get an idea of how they work and are generally shaped. I modeled it in low then in high duplicate parts. Then I UV'd and set up the baker.
(*) When I bake with one material call I have a workflow where I UV the model with the parts I will mirror or duplicate ready to mirror. Then when I am done I put it together in a T-pose (or in this case just an assembled state). Then I duplicate and explode it. I know you do not have to do that with HP, but I just wanted to use my usual workflow, and I did not want to combine the maps this time to make them final textures, I just wanted them ready after the bake. On the next one I will use the Sets and possibly UDIM maps (where I can see that being very useful).
(*) I bake then port into substance painter. I am sure that with some tweaking of the AO baker, a useful Thickness map could be generated, but I just did not use one this time. It would be useful if HP had a thickness map preset, but never the less the rest of the presets plug in the Substance Painter just fine.
(*) I want to point out really quick that there is one thing that is troublesome is that when I Bake with HP, it overrides the processing for my CPU cooler, causing the fan to slow to its min setting when I need it the most... I dont know if it does it to other users on their riggs but it is nearly a deal breaker for me, because it is stressing the chip for long periods of time and turning off the critical cooling. If anybody has a solution to this let me know, because for this contest, I put a box fan next to the cpu case to push hot air out the CPU radiators while I bake, ONLY for this program.
(*) I did have to do a quick AO and NRM map clean-up even with the cage. Its not so bad using SP, in fact its really quick and ez. I am going to try to find the sweet spots on my next handplanes.
As far as the CPU cooler settings changing, I haven't seen that before and will check into it. What happens when you set the max CPU threads in the settings tab to something other than max (setting of 0 is all threads)?
I installed smartfan on my system, configured the cpu fan to 100%, and ran a bake. It's not changing the fan profile at all. What software are you using to control your CPU fan?
As far as NRM map and AO clean-up. I was baking the object as a single mat in one go, so I was exploding the mesh. Some parts were separate objects set next to each other and the cage followed the same form, causing artifacts. There were some tweaks I wanted to try with the cage offset (physical cage, i.e-> in Zbrush -> deformations -> inflate/inflate spherize) and the cage's ray offsets. I left them at default for this hand plane.
Either way, it is user error on my part, and sometimes simply painting grayscale on an AO or using clone stamp on a normal map in Photoshop or in realtime with SP seriously takes like 5 mins or so, and this case was very minor.
I am going to read some more in the forums link you posted as the month goes by and I make some more, give the software a workout with my workflows.
(*) Tried to set the cores to 4 and got the same result. I am going to try program priority and maybe different fan software.
(*) Regarding speed.... well. The Model Brush in R7 of Zbrush is the best thing since sliced bread, it seriously is.
(*) Did another pass after school, just very subtle dust and damage, and slightly more yellow color. Oh and logo change on the side, so they all say Industries.
(*) During a break in between classes, I modeled out this classical handplane, using zmodel brush on Zbrush.
(*) At home after classes I refined the LO poly model, and then duplicated and sculpted out some HI poly, some pieces were just creases and dynamic SD.
(*) Made and adjusted a cage a few times and baked out some maps.
(*) @AlecMoody: I tried setting the max cores again, starting with 2, 4, then 8. Each one was overriding Antec Grid. I need to try smart fan and make sure its compatible with the Antec liquid chip cooler kit.
(*) I got really used to painted exploded models... I dunno, sometimes its better and it lets you focus on each piece quicker. Also, it was just one Mat so I just rolled with it, after doing it so much visualizing the model assembled while painting became easier.
(*) Using the saved assembled stated of the LO poly model, I did some engine test.
It looks like an unorthodox weapon from the Dark ages IMO.
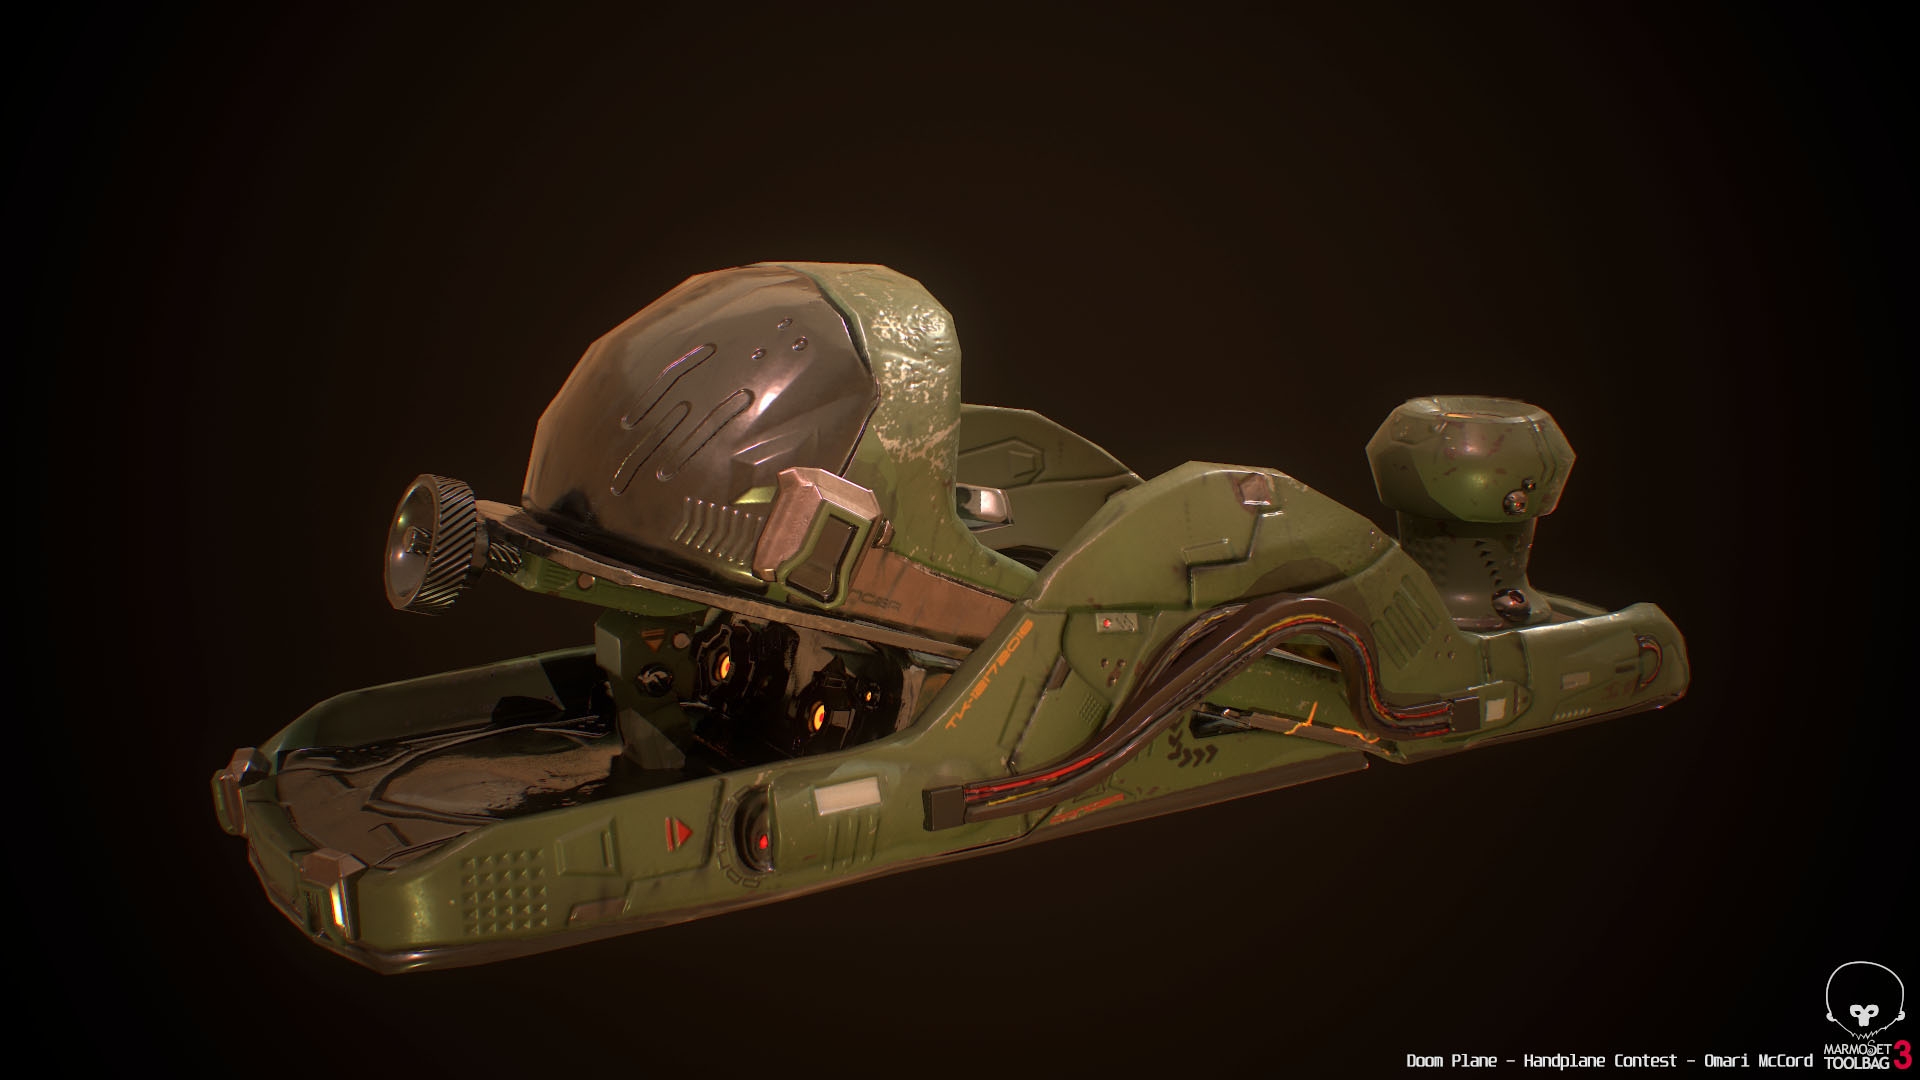
(*) So the next one... I wanna sculpt alot more... and put alot of EVIL looking dangerous stuff on it. I want to make it look like if you picked it up in DOOM you would be satisfied with your new potential.
(*) I spent some more time sculpting and planing this one compared to the last. I did sculpt all over the last one and tried to put a masculine human element into it, but this one involved alot more hard surface brushes. I am very curious to see how this one will paint out:
(*) I concepted out the pieces while looking at references, of both DOOM style weapons and handplanes.
(*) I love to use project specific UV IMM's, especially since the advent of R7. They stack, place, and mirror with a less technical construction, so you can just focus on the art.
(*) The IMM cables had to get a retopo in TOPO gun II because Zbrush's zsphere retopo was giving me Hell.
(*) As far as the HI poly; I just went through sub-tool, using Dynamic sub then (on focus parts) Dynamesh at a decent resolution. Then just your standard hard surface brushes, a bit of slice curve and panel looping, mask by polygroups with the move brush to pop the panels, some alphas, MAH's panel cut line brushes, and some XMD alphas for final remarks. I was looking at references while sculpting to learn some more about how other artist think out their shapes.
(*) I like to UV in UV layout, just chop your pieces, think about your seams... its like playing Tetris on a gameboy: fun and puzzle-like. The game is try to make the red (stress marks) go away, while building shapes you can understand and isolate for later.
(*) Like to just dice the model up and click "pack all" for a single mat.
(*) I did end up going back after a initial bake to fix a stretch I did not see before, which is not so bad, its why its good to test bake 1K then analyze it.
(*) So in the baker, I just did a simple setup with a Cage and my Lo poly baker mesh. Baker mesh is just exploded that aligned with the other exploded hi's and cage. I save a copy of the assembled pre-stacked mesh for when I am done baking and painting.
(*) When I made the HI poly sculpt I worked to preserve important polygroups. Then with those polygroups converted them to polypaint, for vertex nfo. That same vertex nfo will be my color/material ID map. I did all the hard work organizing the groups, so I should keep the information.
(*) 1K test a 1x AA, when AOK... so I went forward.
(*) So after I bake, I port the working textures into Substance Painter. I use my Vertex color nfo as the color ID map and test it. That combined with regular masking will make organizing the paint job alot easier. The model is not glaring errors at me in 1K yet so I will proceed.
- Does the isolation work with TSAO? I was not really using the AO or floater AO outputs.
- Also, when I am baking in groups to a single material (and a single UV tile) would I have to comp the two maps together?
If you are baking groups there is no need to comp images together. They come out on one map.
As far as the AO Isolation, I will try it out again on a more complex hand plane design.
I was using TSAO because it was extremely quick for troubleshooting, comping it with the cavity was giving me desirable outputs.
(*) I did separate the bolts ONLY because I want to use them as UV'd IMMs, so they are easier to convert into IMM's if they are centered from bird's eye view.
(*) The process of setting up the bake and exporting the cages (at first I was using a total model cage on each group and it was giving projection errors) is easy if you are not tired and can easily organize things. If a user is not labeling there parts, I can see them going off the rails really quickly with projection groups. I code and type way too much data into Excel spreadsheets in my day job, so my eyes can jump around on the GUI if im not super tired, yet I can fully empathize with someone who might start loading meshes into groups, drowning in a sea of data real fast once it starts filling up. I think an easy solution to this is font color and size options, as well as coloring the window backgrounds or window outlines of the projection groups in the mesh loading GUI.
(*) I did 1K testing with the model and texture loaded into into a Marmoset project. Apparently it (marm) does not crash anymore if the model data is replaced and the file name stays the same, so you can easily test during baking.
(*) I did like the result, Handplane handled the groups well. Now I wanna paint it! It looks like a whale lol!
(*) I made some quick custom vectored alphas for the additional decor and decals.
(*) This plane plane was fun to make and projection groups made it a little bit easier to visualize the piece as a whole while painting.
(*) I did fight the baker on this one. The cages were overlapping and some of my edge retention was not happy. I went back and edited this guy's UV 3 times trying to make this "perfect" 1K Normal map bake at 1x AA. Then I realized I was 3 beers deep and it was already pretty decent, so I pulled the trigger on 16xAA @ 2K. I like the results the baker provided. The full breakdown of this one is on first post.
Ok here is my last hand plane for the contest. I have a single touch up on one hand plane D, but this is the last one. I had fun and just kinda took this contest as an excuses to really try to push my assets quality levels and output speed. Handplane baker is pretty darn convenient for this kind of rapid asset production.
(*) I baked a set with Handplane I used for UV IMM and Nano Meshes. Its on a single material so its pretty modular and has destructible paint, using Handplane's bakes as a foundation. So I used it again with a different paint job and another rapid configuration.
(*) When I was baking I fought my own cages lol. But I got control of them and the UV after about 2 iterations. Once the mesh bake file is set up, if you keep the same same conventions you can make changes in your 3D suit and export while you test bake. I test bake UE4 Normal and OS Normal at 1K @1xAA.
(*) After I got a good result with those, I went to 16xAA @2K. I did float the bolts for use for UVIMM's and I did use the tip end of the cord for a UV'd Curve Insert Mesh.
(*) I imported the .tiffs into Substance painter and began a material workflow. I did save Vertex colors for selections because it was very ease to make, but I did not use it that much on this one.
(*) Finished model renders will be on first post soon.
The Updated Image will be on the first post soon.
EDIT: btw you've got some broken important images in your first post
I checked it out on my phone and laptop and the images were showing, is it showing broken links on your end?
(*) I also added Sketchfab models to the first thread post, take a look if you like. Jump Link
You can see the final images in the first post (with all the rest), soon, I might need to take a nap.
(*) This plane was more sculpting, and I made some custom alphas to make the process a little quicker.
(*) I made the screws into UV IMM's, a method I really like to use now, everything stacks and modulates so easily once you do it.
(*) I made a crazy cage to hold the whole shape and fought it till I got a result I liked at 1k @ 1X. Did not use the cage off-sets this time but I did have to tweak its shape a whole bunch.
(*) I used Zbrush's new plug-in, Z-Scaler, and put it into RL proportions (about 11 inches wide)
(*) Made more custom alphas for this plane, for use in the sculpting and in the painter.