DerRazputin learns to finish stuff - Yorda
greentooth
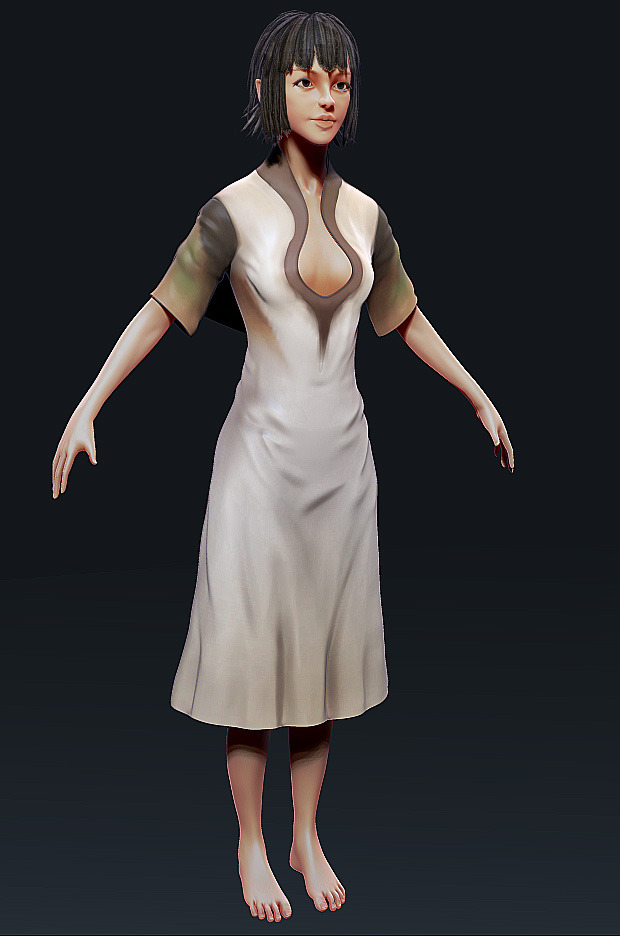
Recently, I've picked up my version of Yorda from ICO which I'd been working on and off for around six months with the goal of getting a grip in texturing, rigging and posing.
It didn't occur to me earlier though, that it might be cool to post my progress here. That means, currently I've already headed off to the wonderous world of rigging and called the model done.
So, at this point, feel free to point out all the mistakes you can find but bear in mind that I might only be able to work on those weaknesses in future projects to keep moving and finish this up once and for all.")
Reference
Here's a bunch of reference I collected at the beginning of the project.
I also looked for cosplays as well, as I was aiming for a more realistic direction with the textures.

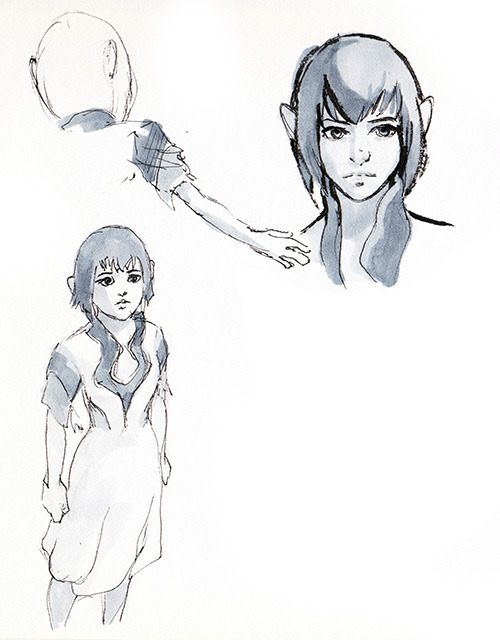
Sketches
to get a feel for the character:
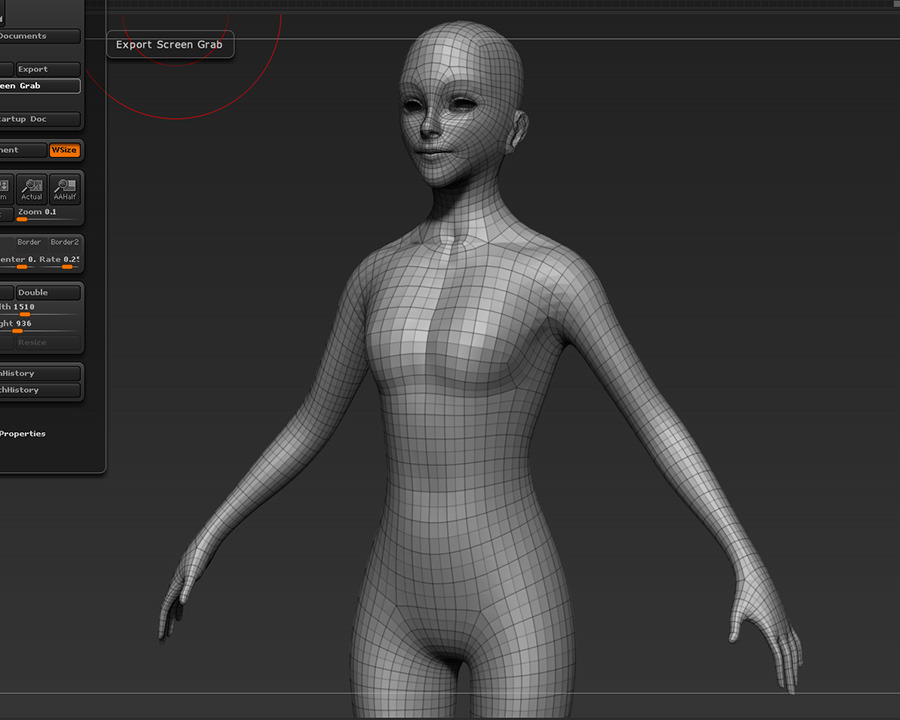
Sculpting
Initial body base mesh thing (so many errors now that I look at it again ):
):
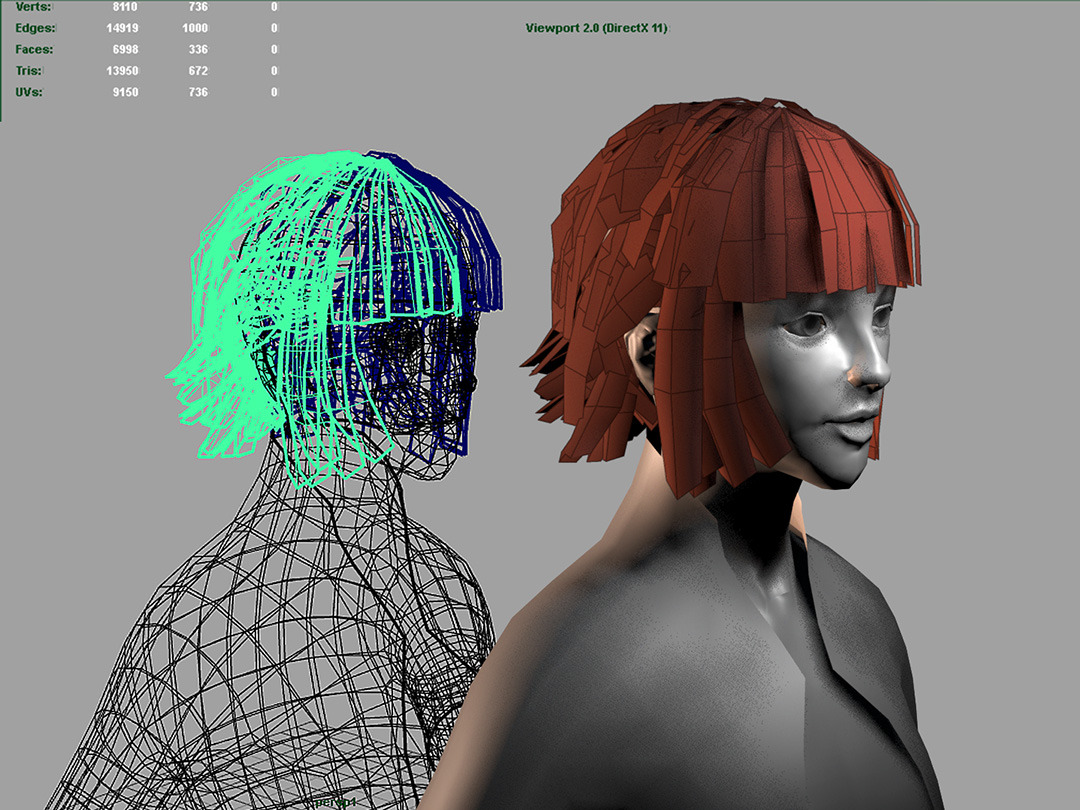
Hair
Setting up hair cards. Would most likely do most of this inside ZBRush now:
Quick texture test:
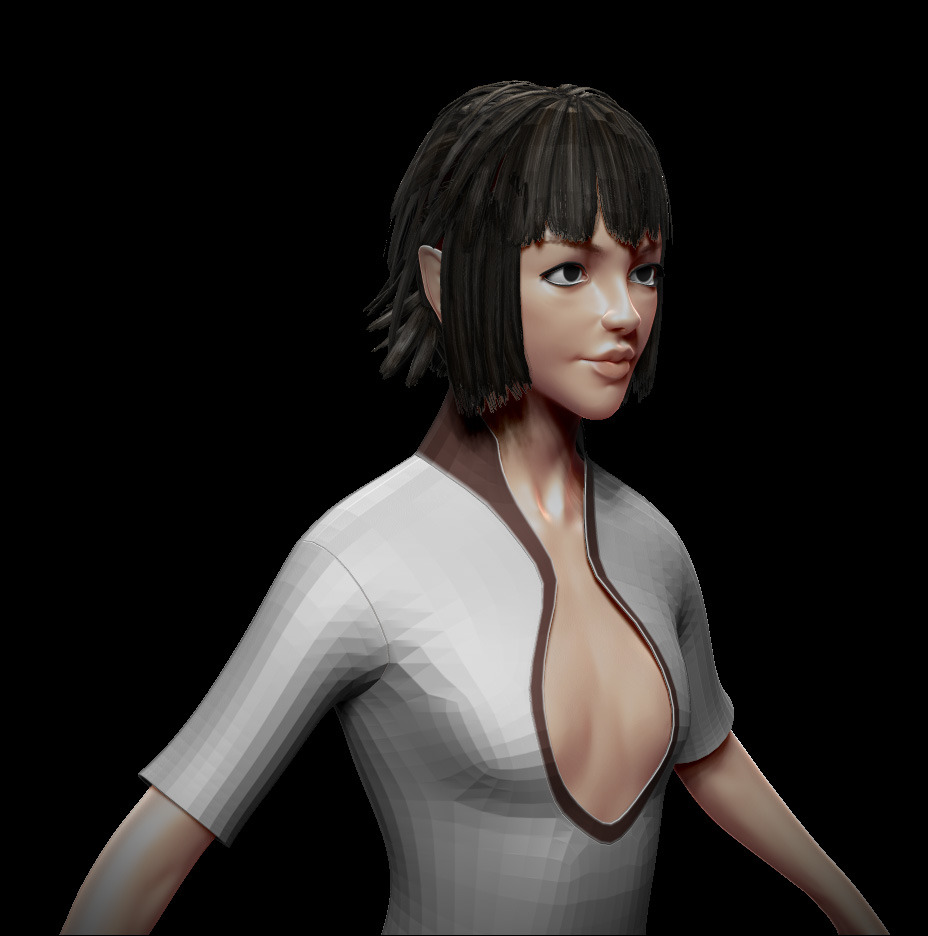
Polypainting
the dress...
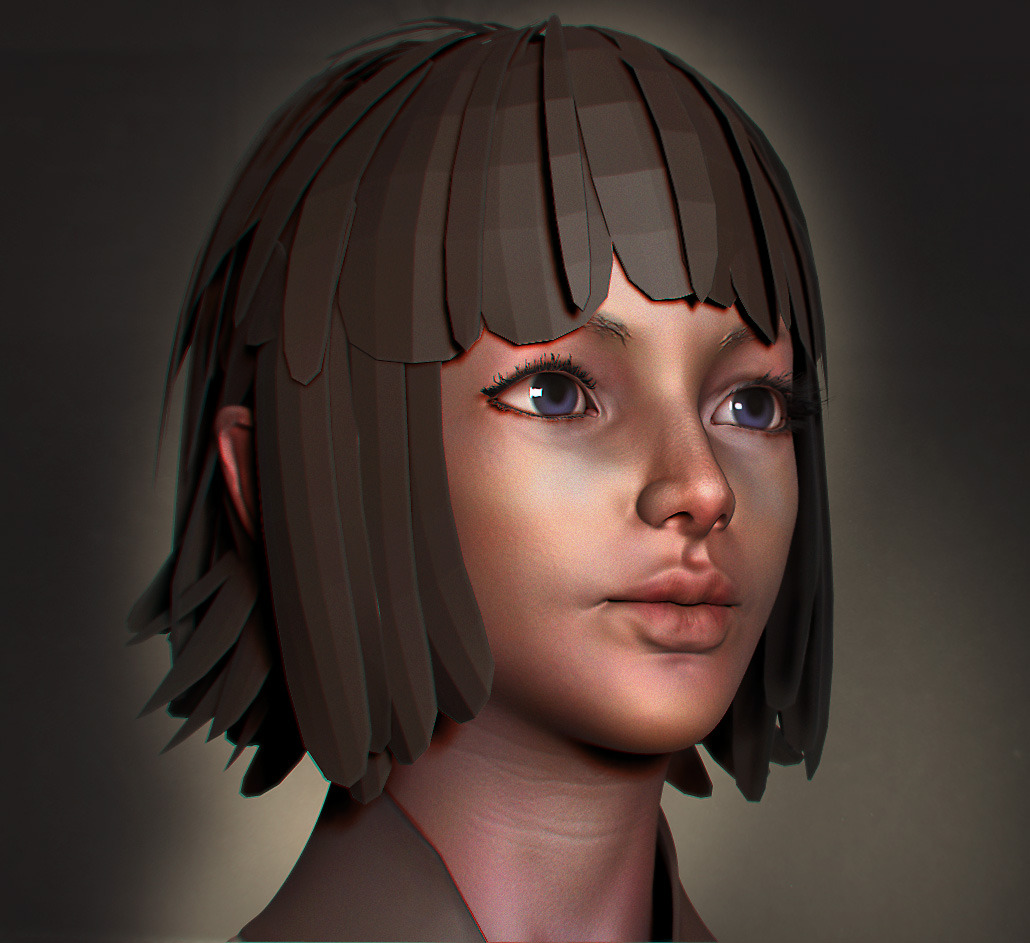
...and detailing her face:
Will post more of the texturing work I've done so far later...
It didn't occur to me earlier though, that it might be cool to post my progress here. That means, currently I've already headed off to the wonderous world of rigging and called the model done.
So, at this point, feel free to point out all the mistakes you can find but bear in mind that I might only be able to work on those weaknesses in future projects to keep moving and finish this up once and for all.
Reference
Here's a bunch of reference I collected at the beginning of the project.
I also looked for cosplays as well, as I was aiming for a more realistic direction with the textures.
Sketches
to get a feel for the character:
Sculpting
Initial body base mesh thing (so many errors now that I look at it again
Hair
Setting up hair cards. Would most likely do most of this inside ZBRush now:
Quick texture test:
Polypainting
the dress...
...and detailing her face:
Will post more of the texturing work I've done so far later...
Replies
I baked the hair from Paint Effects strokes onto a mesh that has the hair strands' UV layout as topology (without subdivision). Results were actually usable but I'm going to try FiberMesh next time for performance and control reasons:
I created cages but difficult areas, as the mouth and the epicanthic folds werde giving me bad results which I had to fix later on inside PS. I also realized that my specular approach was entirely wrong for PBR witht he spec map being a mixture of specular of gloss (as in last-gen texturing techniques). Also, with energy conservation on the skin shader, the blue tint on the spec map turned out to be not that necessary. I'll have to put more variation inside the gloss map next time:
I might try Naughty Dog's method for baking faces next time:
Material testing inside Marmoset. I gave the iris some depth using a height map. The parallax effect makes it look like actual refraction which is quite nice:
At this point the dress texture was about half done. I didn't like the torn edges that much though, as it made the fabric look too coarse and heavy whereas in the game it gets transparent towards her sleeves.
So you'll see me fix that next.
Also the eye color was changed to brown.
Here are my UVs:
I should've made a bigger effort in straightening the edges. Had issues with seams while texturing inside PS. The sleeves should've been cut off, that way I could've had the body of the dress as one shell and with straight edges.
But, too late, moving on...
Rigging
I will have the final model in a pose with a floor, maybe even her inside a cage.
Rigging is done with Advanced Skeleton. Initially, I left most of the meshes open. After checking some game models I concluded that it is good practice to close them up whenever you can to avoid problems/non-manifold geometry. Viewport 2.0 seems especially picky about it:
This model was a good excuse to try and build a face with AS. While flexible and quick to get results, it turned out to be a bit overkill for my purposes, so I went for a simple Osipa-style rig instead which I'll post more on later. Fun was had, though:
As promised, some blend shapes for her face. The toolshelf for the 'Stop Staring'-book is a huge help with this (especially for symmetry):
Just finished modeling her cage and do some baking:
Here are the UVs. It's most likely difficult to make anything of these without seeing final textures. But if there are any striking errors or things I should avoid, feel free to point them out:
Also finished the cage and did a quick setup with pose inside Toolbag (GTX460 screams in agony). Lighting makes her look a bit creepy but, right now, I'm just testing:
EDIT: Fixed the noisy floor and brought in a bit of the macro-normal.
I had to pre-tile the texture because Toolbag supports neither multiple UVs/adjusting tiling (for the vignette) nor fog at this moment.
www.youtube.com/watch?v=HtK9DbnXcp4
I'm using APEX clothing to help me with the posing and to develop a process for future in-game models. Already had a run at it inside UE4 but for the presentation of this project (and for the sake of wrapping it up
Out of curiosity: Does one know of a similar workflow for nCloth where I can blend between the bind skin deformation and simulation?
Will do a little conclusion of what I've learned and what to do different next time later.
@mats effect: Thanks! Thought about showing a bit more of the cage as I ended up texturing the whole bloody thing (with pulley/chains) and not much of it is seen in the final pictures.
@ArtisticTiger: Thank you, man! Took its time. I'm glad I set up that cloth simulation though. Was a big help.
This is all common sense, but nevertheless...
...Random lessons learned:
1. Optimize the topology for animation/posing when doing the final low-poly. It might not be needed for higher res models but, in my case, the limbs gave me some problems. The wiki has a nice collection of topology reference. Unfortunately, I came upon that too late:
2. Set up a reasonable folder structure for your texture's PSDs. I made the mistake of basing the folder structure of my first texture (the dress) on parts of the model (skirt, sleeves, etc.) rather than different components that build up the texture (base colors, surface textures, detail, shading).
3. Make sure UVs aren't distorted, especially if you plan on inserting photo textures inside PS.
4. Do a blockout of the hair before placing cards. I do this all the time now.
guess her facials could be more innocent/worried looking but it's all good
thank you for the wonderful presentation as well!
Also @thatanimator: You were right about her features. I could've worked on those further but I wanted to finish it up in time.
Here's what I'm working on now: http://www.polycount.com/forum/showthread.php?t=151199