The BRAWL² Tournament Challenge has been announced!
It starts May 12, and ends Oct 17. Let's see what you got!
https://polycount.com/discussion/237047/the-brawl²-tournament
It starts May 12, and ends Oct 17. Let's see what you got!
https://polycount.com/discussion/237047/the-brawl²-tournament
sulaco APC/getting the most out of my spec maps
Hey guyse, I'm currently texturing this vehicle model I built. Some of you may recognize it. Here is the normal mapped version w/ diffuse only:

Understandably it looks pretty bland, as I purposefully left the metal/paint fairly deconstrasted, wanting to bring out all the dynamic detail in the spec map. Well, here it is with spec map applied (i only worked on the spec map for the main body, since i wanted to get that looking proper before doing all the other components):

As you can see, it doesn't really look all that great. Obviously it's brighter in some areas, but for the most part the specular highlights look rather boring and uniform, and kinda shitty. Kinda really shitty. The effect I wanted was kinda like what Philip K has on his site:

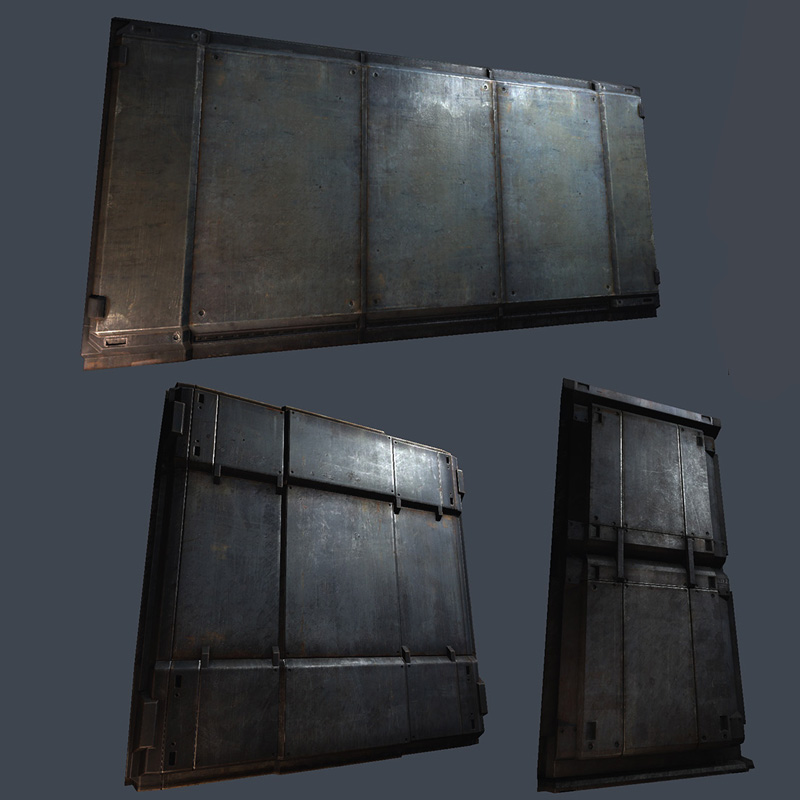
The spec there looks very uneven and layered, and very visually interesting. it just has a fantastic look to it. Are there any tips for achieving that kind of effect for your specular maps, beyond just the standard "make areas of interest/edges brighter and flat areas darker and make sure to have lots of contrast"? Or is it just a question of what sort of shader to use, or how to set up lighting?
Here is my spec map. Maybe I did something wrong when making it, though as far as I can tell it's fairly contrasted and dynamic looking, but, what do i know. Spec map: http://i.imgur.com/tgjFX.jpg
Anyways, any kind of advice or resources would be appreciated as to how to give my spec an uneven layered look instead of just having it look all uniform. I realise it's probably insanely complicated, and I'm a relatively new to texturing metal, so you'll have to bear with me.

Understandably it looks pretty bland, as I purposefully left the metal/paint fairly deconstrasted, wanting to bring out all the dynamic detail in the spec map. Well, here it is with spec map applied (i only worked on the spec map for the main body, since i wanted to get that looking proper before doing all the other components):

As you can see, it doesn't really look all that great. Obviously it's brighter in some areas, but for the most part the specular highlights look rather boring and uniform, and kinda shitty. Kinda really shitty. The effect I wanted was kinda like what Philip K has on his site:

The spec there looks very uneven and layered, and very visually interesting. it just has a fantastic look to it. Are there any tips for achieving that kind of effect for your specular maps, beyond just the standard "make areas of interest/edges brighter and flat areas darker and make sure to have lots of contrast"? Or is it just a question of what sort of shader to use, or how to set up lighting?
Here is my spec map. Maybe I did something wrong when making it, though as far as I can tell it's fairly contrasted and dynamic looking, but, what do i know. Spec map: http://i.imgur.com/tgjFX.jpg
Anyways, any kind of advice or resources would be appreciated as to how to give my spec an uneven layered look instead of just having it look all uniform. I realise it's probably insanely complicated, and I'm a relatively new to texturing metal, so you'll have to bear with me.
