Mayan_Temple [UDK]
I am creating this scene for my Advanced Modeling Class.
The purpose of this project is to get a grasp on organic modeling and texturing.
I am using 3dsmax, Zbrush, and Photoshop.
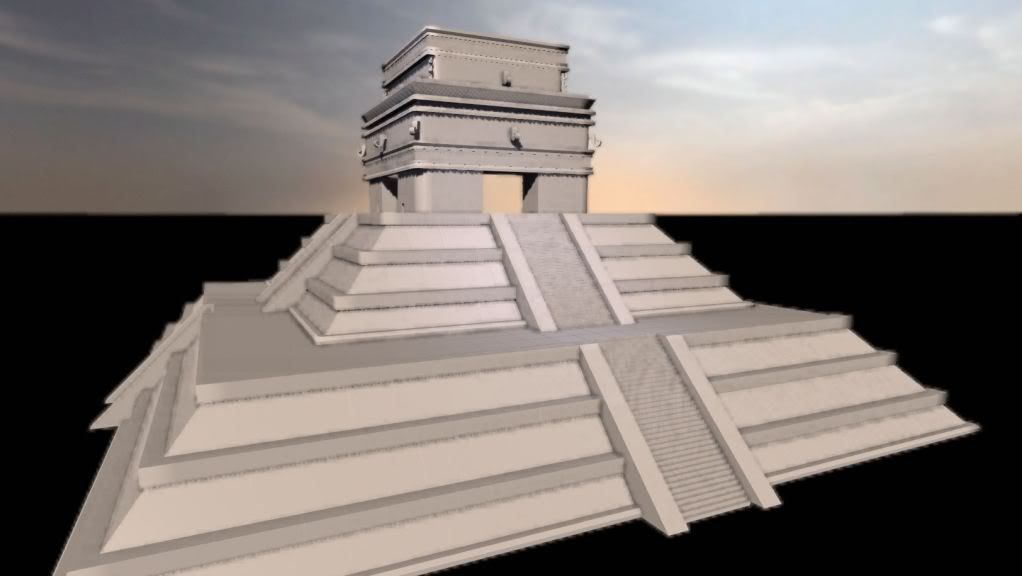
Blockout:
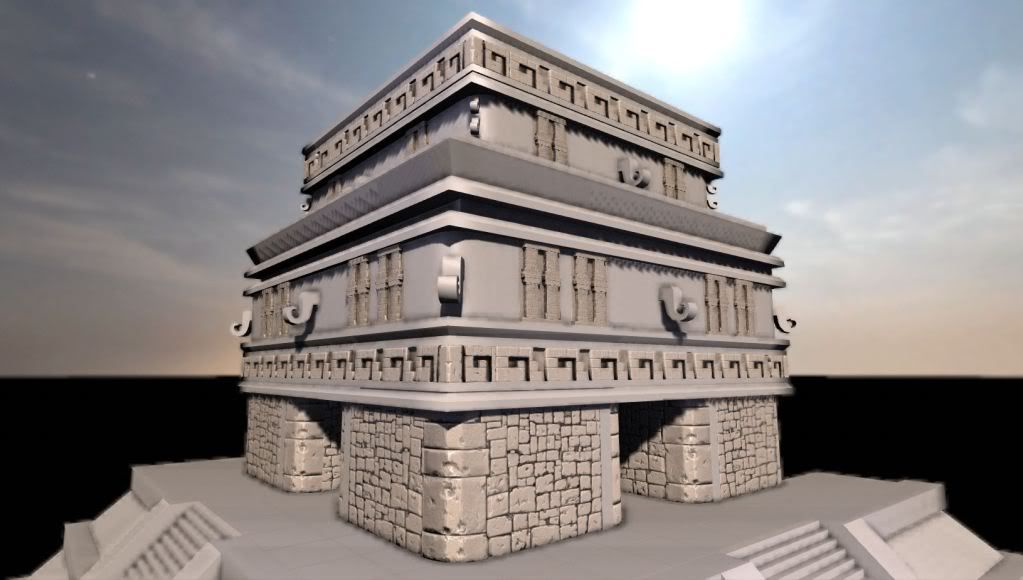
Current Progress:
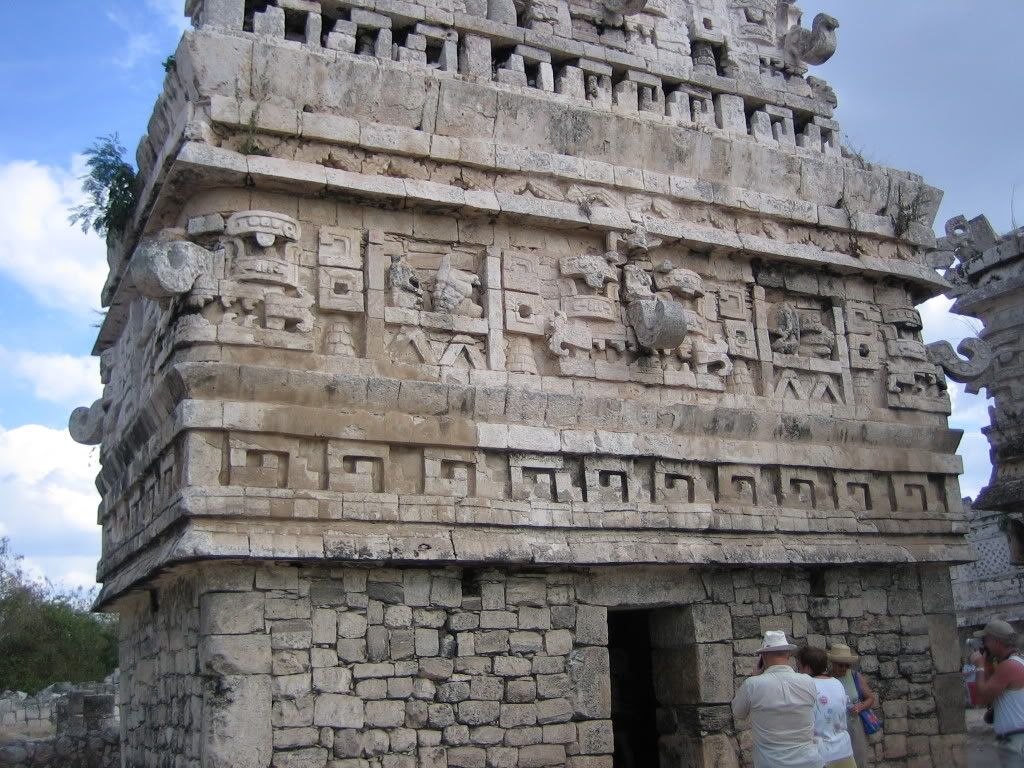
Reference:
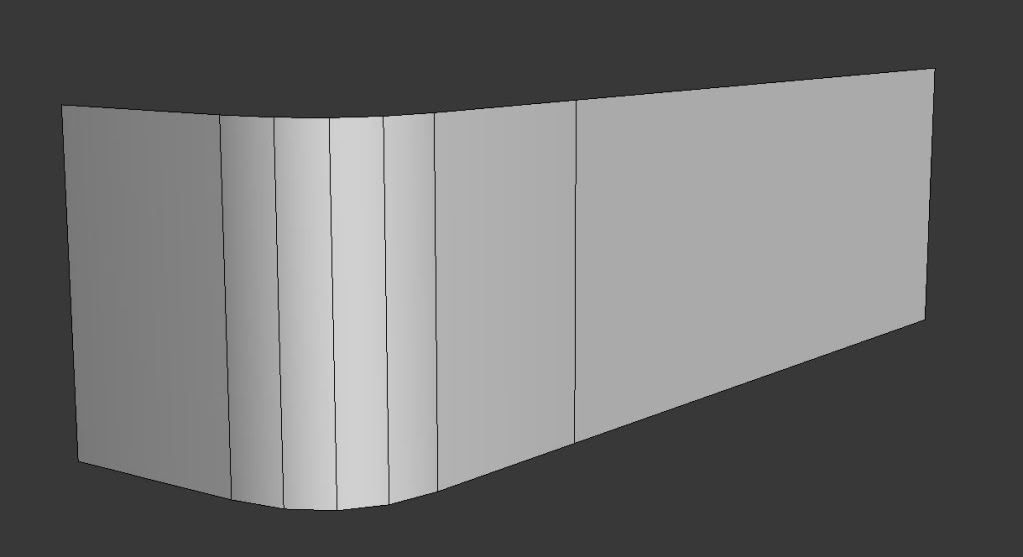
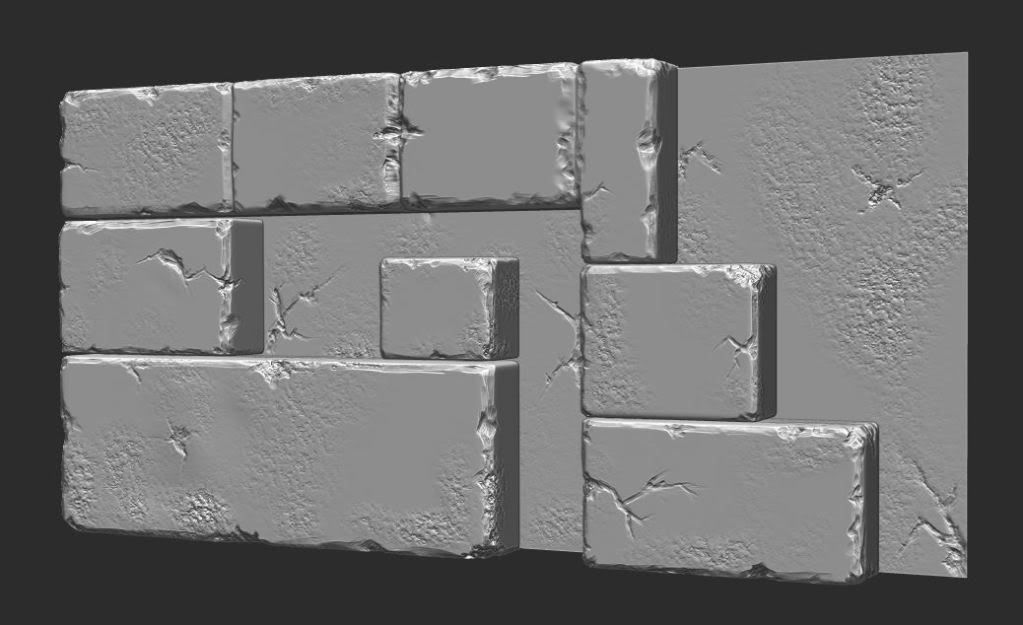
Zbrush Sculpt:

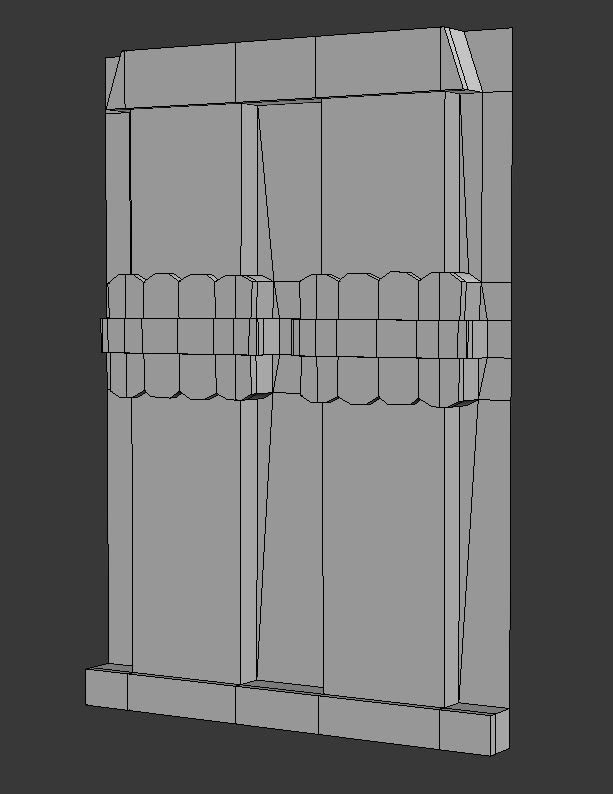
Low Poly:
Zbrush Sculpt:

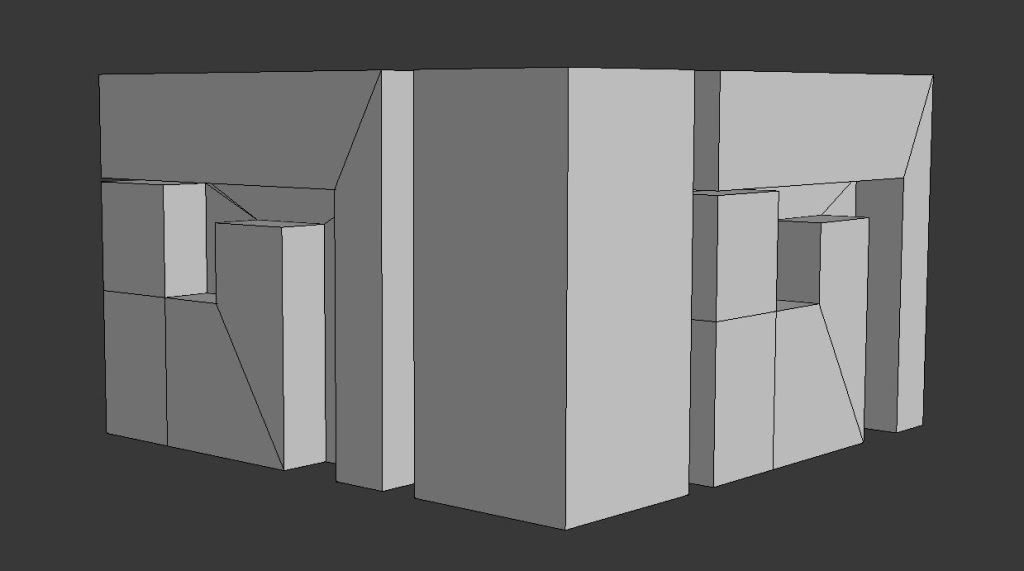
Low Poly:
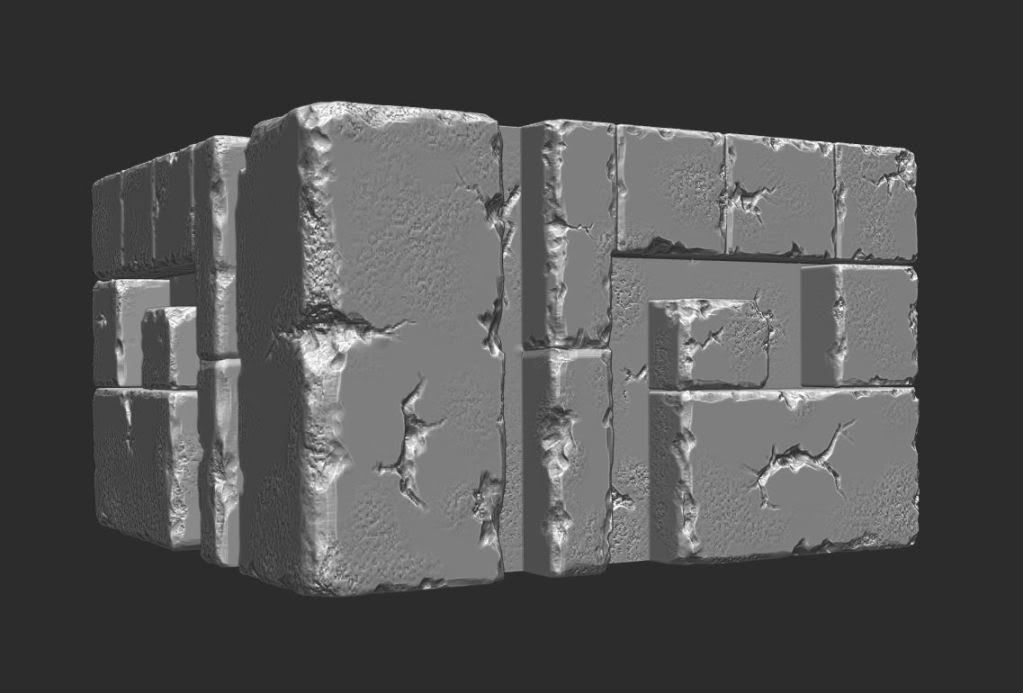
Zbrush Sculpt:
Low Poly:
Zbrush Sculpt:
Low Poly:
The purpose of this project is to get a grasp on organic modeling and texturing.
I am using 3dsmax, Zbrush, and Photoshop.
Blockout:
Current Progress:
Reference:
Zbrush Sculpt:
Low Poly:
Zbrush Sculpt:
Low Poly:
Zbrush Sculpt:
Low Poly:
Zbrush Sculpt:
Low Poly:
Replies
I can't wait to see the bakes onto the low polys, keep it up!
I like where this is going tho, nice work =]
Did you bake your pieces already? Looks like you did in your first image.
I would like to see how the bakes came out!
One piece of advice I have for you is to maybe add a little more geo to your low poly models to reflect the changes you made in your sculpts. You have a lot of deep cuts and worn corners on your bricks that are going to look crappy on your bake.
For instance, on your last set, the deep cuts on the corner piece will look odd when you rotate around and its obviously a flat area, but if you cut in a little bit, the silhouette will better match the detail.
A tree I made.
Applied 3dmotive foliage tutorial by Damian Lazarski
Applied 3Dmotive vertex painting tutorial by Ryan Smith
this is my master material and I have created instances. So you are saying that if i go into mesh paint and simply select a different instance that I will be able to apply my moss OVER my red paint layer? If so then I'm really stoked to hear that.
I know I post really quickly on polycount and don't dive into depth on responses and updates, so I apologize for that.
Our class is already moving onto the next project which is a gun and is due in less than 3 weeks. So when I do find spare time, I am planning on polishing all my recent portfolio projects, this included.