Question about sculpting modular asset
Hi polycount,
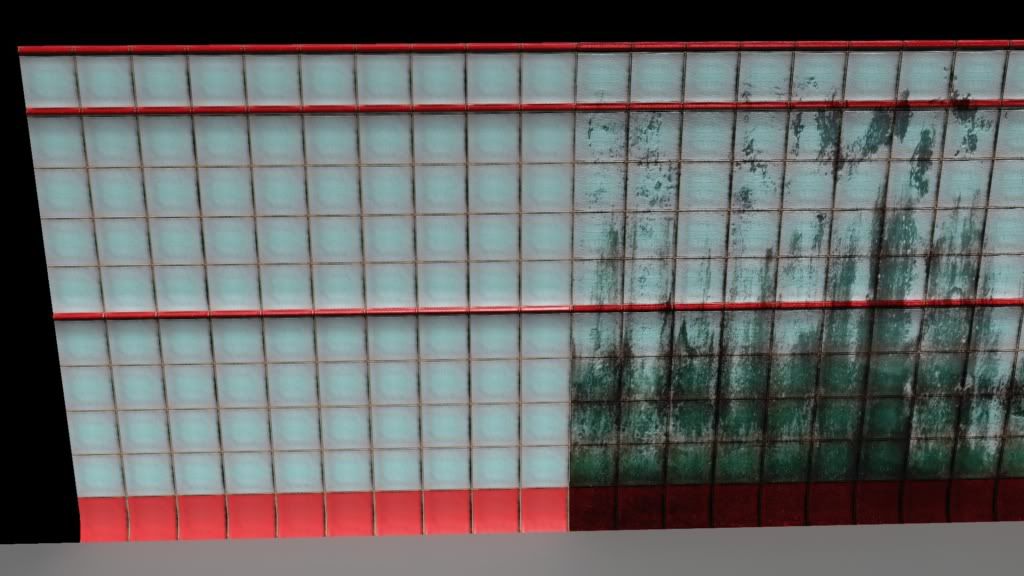
I am having a bit of trouble on how to proceed with a modular wall asset I have created. I have created a tileable wall asset in max, and set up a vertex paint material to show, or hide a dirt overlay(yeah i know it looks bad). I wanted to improve upon this idea, by having two versions of the mesh, one which is damaged and one which is intact, and use a vertex paint material to blend between the two. My question here is, how do i approach sculpting this mesh? Mostly I am having trouble with how to make the grout (on the left and right edges) between the tiles tileable after having sculpted on it in z-brush(Wrap mode has not been working). My approach so far has been to import a mesh into zbrush, and seperate each tile, trim and grout into its own subtool. Im starting to think that this is not the right approach. Basically, after watching lots of tutorials on zbrush and how it works, I am not sure what the best workflow is for importing my mesh into zbrush and working on it.
Screens below
tldr; How do i approach sculpting this mesh to make it tileable?
early shot from max showing clean and dirty meshes
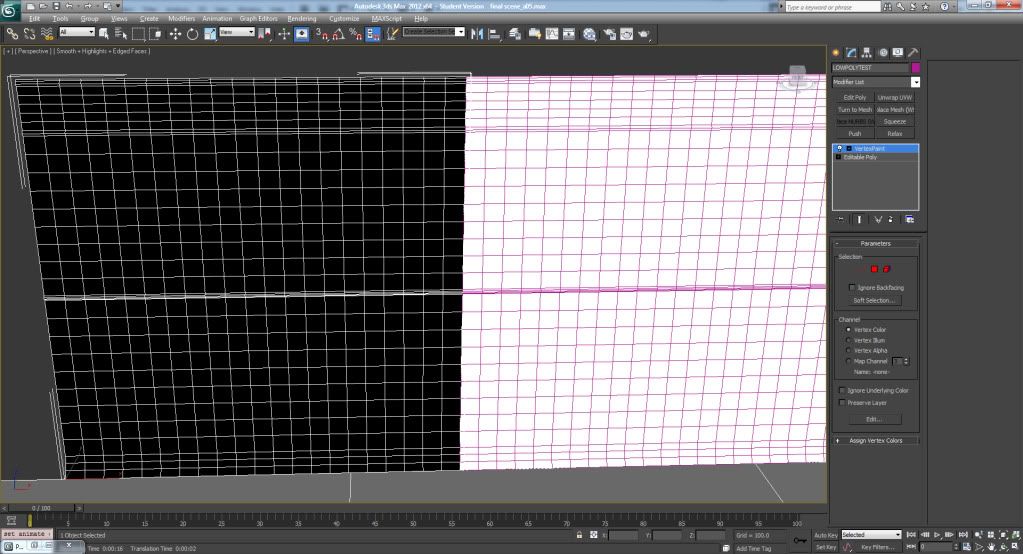
wireframe shot with vertex paint
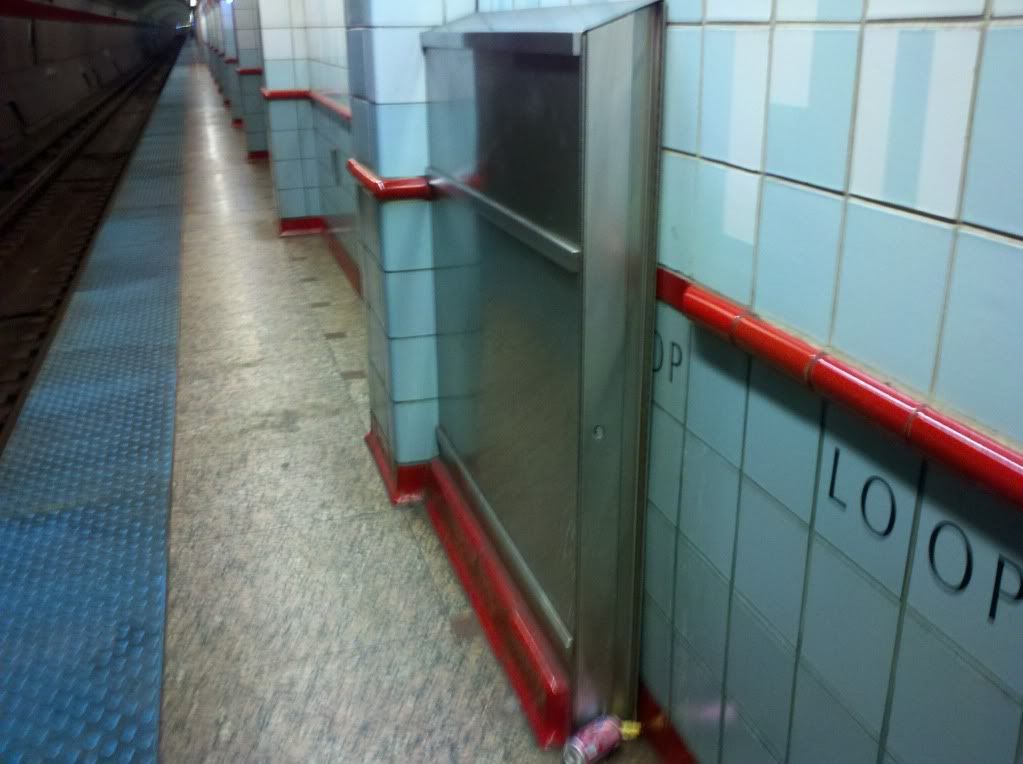
reference image
I am having a bit of trouble on how to proceed with a modular wall asset I have created. I have created a tileable wall asset in max, and set up a vertex paint material to show, or hide a dirt overlay(yeah i know it looks bad). I wanted to improve upon this idea, by having two versions of the mesh, one which is damaged and one which is intact, and use a vertex paint material to blend between the two. My question here is, how do i approach sculpting this mesh? Mostly I am having trouble with how to make the grout (on the left and right edges) between the tiles tileable after having sculpted on it in z-brush(Wrap mode has not been working). My approach so far has been to import a mesh into zbrush, and seperate each tile, trim and grout into its own subtool. Im starting to think that this is not the right approach. Basically, after watching lots of tutorials on zbrush and how it works, I am not sure what the best workflow is for importing my mesh into zbrush and working on it.
Screens below
tldr; How do i approach sculpting this mesh to make it tileable?
early shot from max showing clean and dirty meshes
wireframe shot with vertex paint
reference image
Replies
Your texel density seems a bit off, like your using the entire texture sheet on a 1:1 ratio with your mesh. I recommend looking at JordanW's Bathhouse scene to see how he did tiles (good tiles are a lot about how light reacts to them) and use it as a jumping off point for your own work on this asset.
I really want to use zbrush to force myself to learn it. I have lots of reference of the grout, which I could probably use to make a custom alpha. Would the example below be a good way of breaking this modular asset into modular pieces?
Thanks for the help.
I'd keep the block as one big piece. Your going to drive yourself crazy if you make it break into smaller sections like your proposing below. 5 minutes into placing them and you'll be sick of the process.
For the red blocks, i'd use a secondary material on the object if you have it available. (Again, I assume this will be using the UDK) Those center sections can use the exact same tile texture, but i'd stretch the uv's down in the v direction so the grout on the tile lines up.
I applaud your enthusiasm for trying zbrush, as it will definitely help you understand how to work beyond photo texturing. Grout isn't all that difficult, its just a rough surface with a mixed shade of coloring. Since your baking it down to a normal map, you don't have to go super crazy with the detail. You can use a brush or an alpha (i'd use both, the brush for big details and the alpha for the overall texture) but whatever you choose, keep posing stuff.
Edit: As far as making the asset itself, all you would need to make is that one square texture. If you are using Zbrush I would use projection master on a high-poly plane just to make that one section. Capture your maps however you like and then make the low-poly from the texture.
A) What the actual geometry should be ie. a tessellated plane (ie what I showed before) vs a more complex mesh where each tile being a beveled extruded square (see pic A below.)
Gestalt-I have been unsuccessful using projection master to acheive the level of detail I want with such a big mesh (10 tiles long/high). In pic1 below you can see how muddy the textures look up close and how flat the normal map looks. Breaking my texture up in to thirds seems like a good idea, if it works in UDK.
I also want to take into account in the future I would like to use either tessellation/parallax occlusion to pop the silhouette of the asset. My asset will be used in a setting very similar to the one in the reference photo, so the player will be viewing the asset from a sharp angle frequently. I probably shouldn't get to far ahead of myself. But thankfully I should be able to make some progress with a long weekend ahead. Also, thanks for bearing with me and my painfully beginner questions.
Fig 1 (Xoliul 2 viewport screen grab)
Fig 2 (ignore polycount, heh, many objects are hidden)
Rule of thumb is keep the geometry to match the silhouette. Normal maps will do a better job of faking inward depth than outward depth. I like how you've modeled out the tiles over the grout. For the bake and low poly, that can be flat.
With a multiple material setup, you can use a multi-sub material type in 3d max and then set the faces or sub objects to have the material id. When this is imported into UDK the object will have two material slots corresponding to the separations defined by the multi-sub material. Because of this, the uv's can be on one sheet and overlap.
When doing this, its a good idea to define a second uv set for unreal's lightmass system. This should be done anytime you have uv's overlapping (which is pretty common on most objects with modular parts)
I recommend checking out 3d motives tutorials (the one I linked to in particular). Its $22 for a single month to basically rent the entire content of the website. I highly recommend it, as it will help answer a whole bunch of questions you'll undoubtedly have as you continue to produce game art.