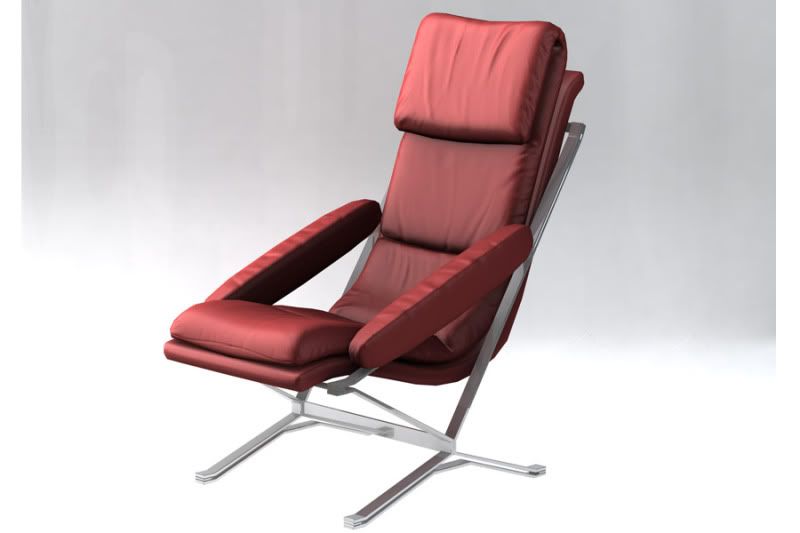
A Chair on location (Maya)
Hi all,
I made this designer chair a while back using reference from Wallpaper* magazine here in the UK. Originally i was going to setup a standard 3 point based studio light to show off the model.
Instead i thought about the composition more instead of purely showing off the chair.
From here i thought i could create a mock 'rough and ready' studio and place the chair in it as though i was being prepared for a photoshoot! Thought it would be a great concept to contrast the sleek designed chair with a rough back garder esque studio setup
Everything is scratch-made in Maya, Chair and paper screen were sculted in Zbrush.
Crits please!

Replies
HDRI map with final gather.
Light Linking, so ambient light that purely illuminates the back wall
2 area lights then light the chair and paper back screen to bring out the normal map a lil better.
Yeh i originally set out for the scene lighting to be overcast, no direct shadows. Yeh i wanted more reflections from the tape (which is a phong shader!) maybe they need more subdivisions??
I could opt for some GI too get more bounce light from the background, the only issue would be over exposure, see my render is set to A4 2000x3000 somewat pixels!
I'll take a look at making the back wall better.
Just a single light source this time from a factory window. How should i go about with the draping wallpaper though? Should i paint an extension flat diffuse then pump through crazybump???