The BRAWL² Tournament Challenge has been announced!
It starts May 12, and ends Oct 17. Let's see what you got!
https://polycount.com/discussion/237047/the-brawl²-tournament
It starts May 12, and ends Oct 17. Let's see what you got!
https://polycount.com/discussion/237047/the-brawl²-tournament
[UDK] Green Lantern Underground Lab
Hello I normally post things in the WAYWO thread but I am more a lurker tbh. But there is some great stuff here and lots to learn so I thought it about time to make a thread!
I am at university and for one of my modules where you have to make a scene from a movie and I chose Green Lantern
Here is the room -
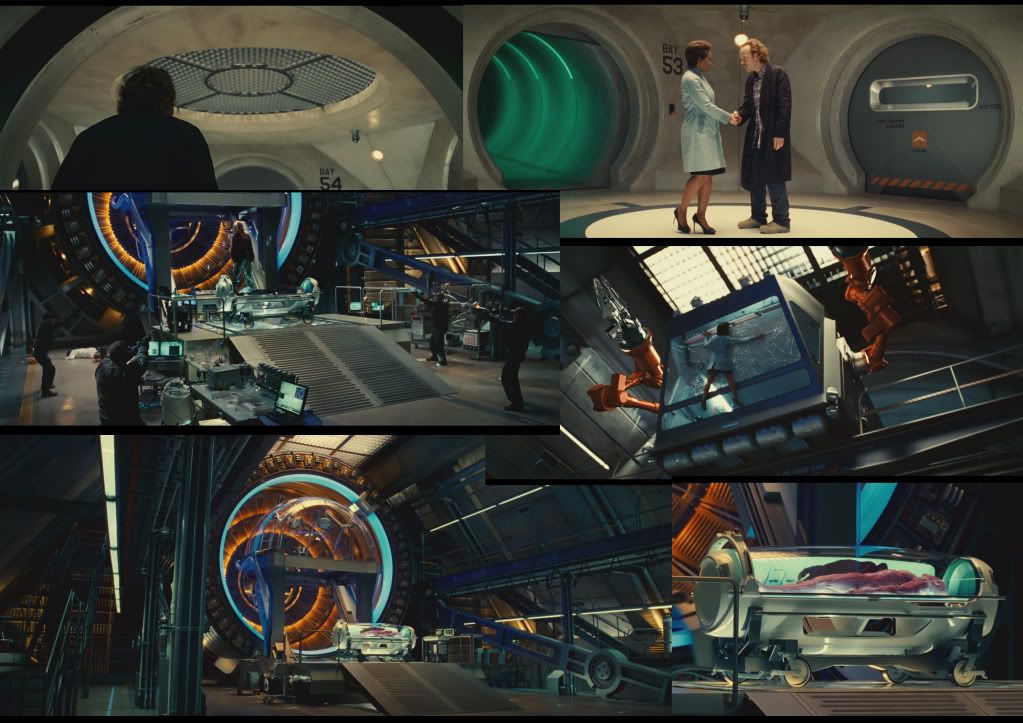
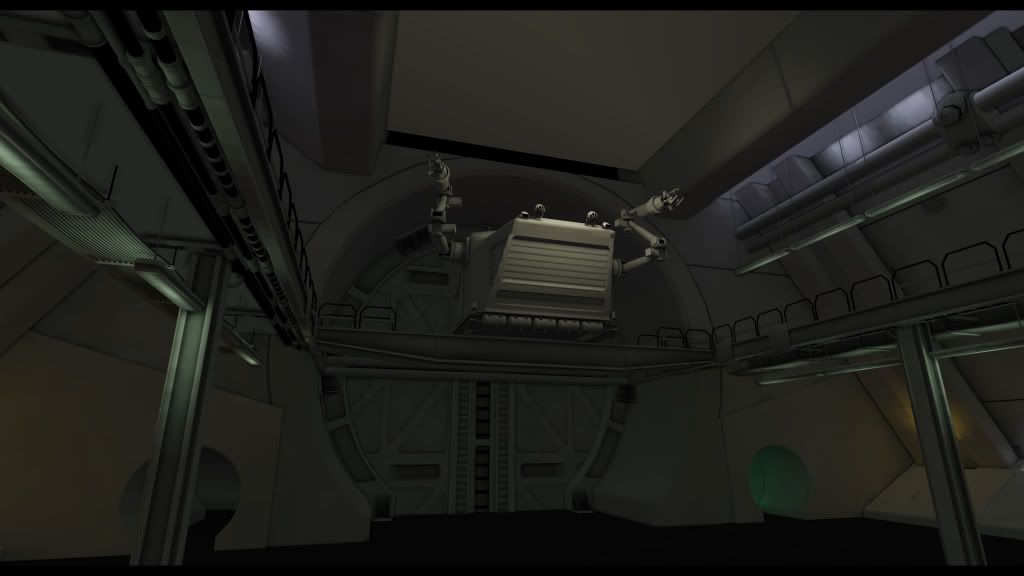
and my progress,everything has an AO and Normal map applied although for tiling textures I have just put a white material on. Things to do include putting an actual floor in, making the roof, making the glass bubble and then just filling the room with all the medical stuff! I also really need to work on my lighting! So much to do! and I only have a month left! I plan to finish all modelling by Monday the latest. Any C+C would be amazing I looking for lighting tips if anything I need to get my head around lighting in UDK a bit better.
Anyway! Here it is
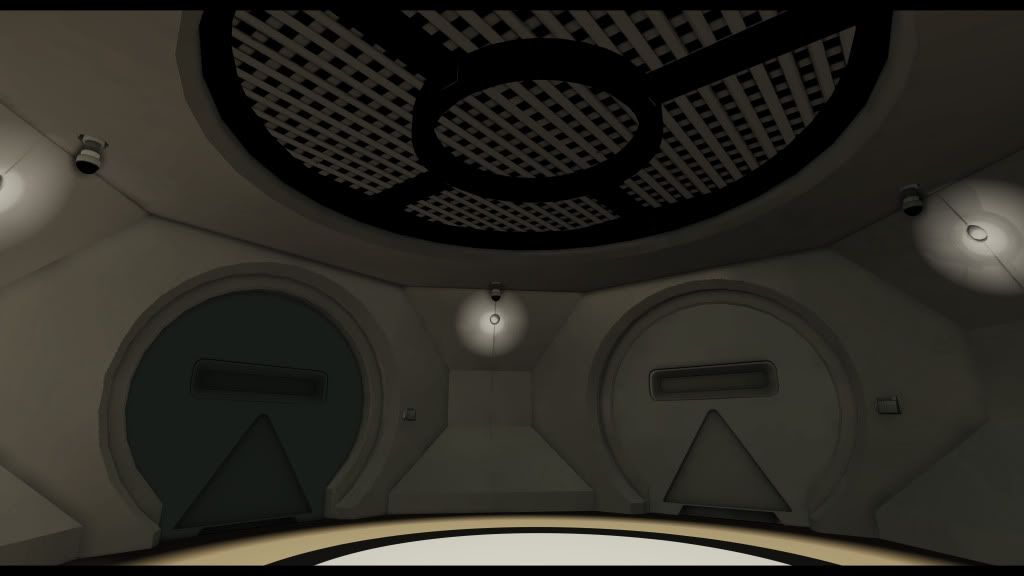
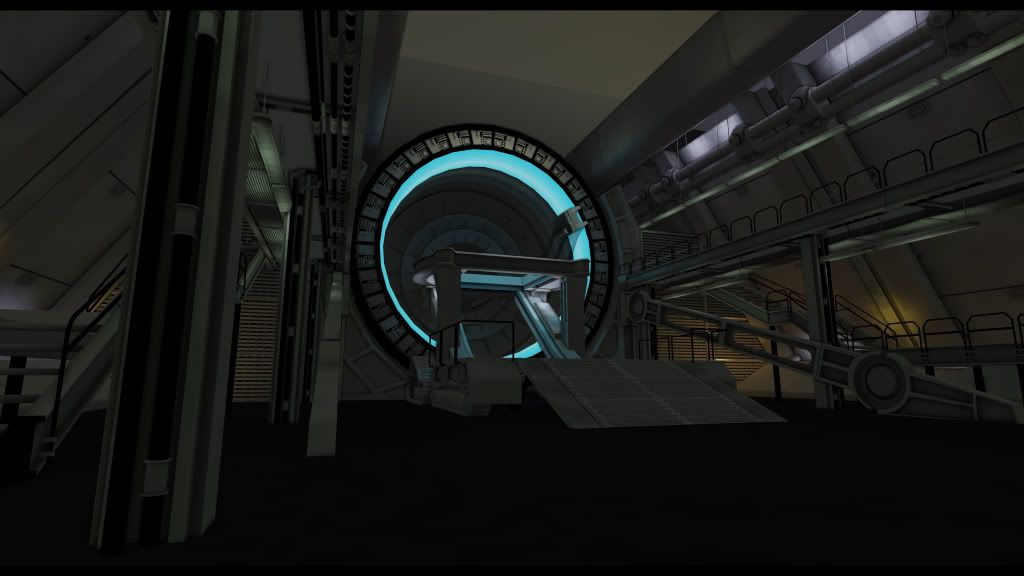
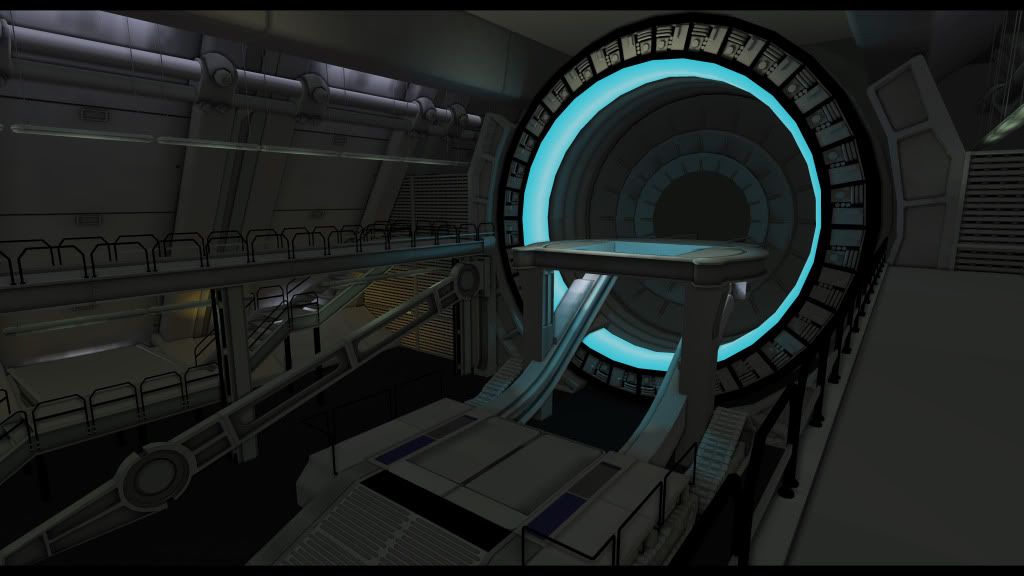
I am at university and for one of my modules where you have to make a scene from a movie and I chose Green Lantern
Here is the room -

and my progress,everything has an AO and Normal map applied although for tiling textures I have just put a white material on. Things to do include putting an actual floor in, making the roof, making the glass bubble and then just filling the room with all the medical stuff! I also really need to work on my lighting! So much to do! and I only have a month left! I plan to finish all modelling by Monday the latest. Any C+C would be amazing I looking for lighting tips if anything I need to get my head around lighting in UDK a bit better.
Anyway! Here it is


Replies
Keep the updates coming
Quick update I have worked a bit more on lighting at the back and made some big lamps.
I need to figure out how to get a similar material for my dome like the one in the film. I thinking of using a cube map? and maybe some real-time reflections? I am not too sure to be honest, any suggestions would be awesome.
All that's left to do modelling wise is the roof and then just make dressing for the scene. and also that bed! It's going to be interesting...
Cheers guys
I am trying to get more of a contrast with the middle and out to the sides. I want the sides darker but just can't seem to get them dark enough!
Do you think you will have time to do this bit? I think it will look awesome with all the emissive lights and stuff
Things I have done since the last update include animating the orange lights in the back ground so they pulsate and also animating the computer screens. Other than that I have started texturing. I have still have plenty to do including playing around with reflections and making a chrome material for the canisters. I think it is coming along though!
Crits and comments would be awesome!
Video - [ame="
It's coming along quite nicely
My only slight niggle is that the blue Emissive part of the ring has quite a jagged silhouette and could do with being a bit smoother to make it sound more round.
Updates! I have a fair amount of texturing done. The rest of the texturing should take at most threes days which leaves me just under a week for lighting and post! Which seems like a decent amount of time for that! Lighting is no where near final, some of it is me just playing around with things like the lights on the viewing gallery. Do they work?
and a link to the video!
[ame="
Video!
[ame="
At the moment the lighting is really dark on the walls, you really need to push that blue out further. You also have a really bright ceiling light and tube lights that don't appear to light the environment at all. Another thing that stands out a lot to me is in the film the rings have a lot of depth to them, with multiple moving parts and different ring light colours, yours lacks that same sense of depth.
Cool work man, keep it up!
Yeah I am struggling with lighting atm. Like I wanted all quite contrasty with middle of the room taking the focus but maybe I went too far?
I have been messing around with a LUT table but I don't know if I just made things worse tbh!
Before trying to use light contrast to draw your eye to the centre, I suggest you light the scene more evenly. Try adding some fake bounce lights around to get rid of all your black areas.
Once the scenes more evenly lit, start adding some more lighting to the centre to push that area. It shouldn't be tricky really.
Thank you for your help!
http://www.youtube.com/watch?v=5K9EcLJ88YE&feature=youtu.be
What I did:
- Levelled the image A LOT. Brought everything up so there weren't many black areas.
- Painted in what should be dark (around the edges of the image, trims around lights to increase contrast ect.
- Painted in a large blue light scattering down the centre of the image.
- Painted in lights casting from the tube lighting.
- Added quick light halos around all the bright lights.
Thanks to Myles for the help! I ran out of time to match your paint over (and I couldn't get it looking that awesome!) but I did try
Ignore the name of the film it was late and I was tired and forgot to change the name!
http://youtu.be/6d34U6_JJPI?hd=1&t=1s