Can someone check real quick of I'm making Normal maps in a proper way? Thanks.
I started another thread which actually brought up issues about how to make proper normal maps. Ive started to question if my system for making them is proper because it's not the usual way. My system is cobbled together from several diffrent tutorials. Up until now no one has complained but it would be good to make sure this way 'works'
Okay, so below I made the normal map for this crate. Yeah, it's not the sexiest crate on the planet but it works for this example.
1) I make a low poly cube and add some bevels to the edges of it to help in the transitions in the normal map when light rolls across it.
2.) I lay out my UVs (it's a cube so i'm just using the default Uv's because they work for this example.)
3.) I make a 'Mid-Poly' version of my box and on that one I model into it so i get nice edges and creases on the big forms. I'm also carefully setting the hard/softness of the polys and edges so i get edge detail from lighting. Usually this Mid-poly object can be as high as your computer can handle but honestly your just trying to get big forms to read proper.
4.) I bake a normal map from the mid poly box onto the low poly box and check to make sure it looks okay. Do i have nice gradients on the normal map? do my edges and seems look okay? etc.
5.) I make high poly wood plank(s) in Zbrush and use the NormalRBG Materal on it when i drop it to canvas ( this works for things that are relatively flat like the box. If this is something complex i would just bake out my normal maps through zbrush with the UV's I set up earlier.
6.) I open photoshop and I open the 'Mid level' normal map and the high poly detail normal map from zbrush. I lay the High over the mid and i blend it using 'hard light' mode. sometimes other modes but hard light usually works the best.
7.) I merge them and apply the normal map to the low poly object and check for errors.
and there you go. I use this system because my computer is kinda old and it can't handle a high poly mesh of over a million triangles being brought in to maya to bake out a normal map. (trust me, I would love to do it that way but my com just freezes up and dies when I try) so I basically broke up the level of detail into two passes and then merged them together in photoshop.
again, it's worked okay for me and no one has complained really. the only big pitfalls I've had so far is you have to be really careful of your edges and pad them out in photoshop because they don't always sync up perfectly. also you sometimes have to color correct some sections like that dark plank on the box in the second image. that's caused by the overlay being too "blue". but other then that it seems fine. it works in game and no body screams bloody murder LOL!
Is this a proper way to do it or no?
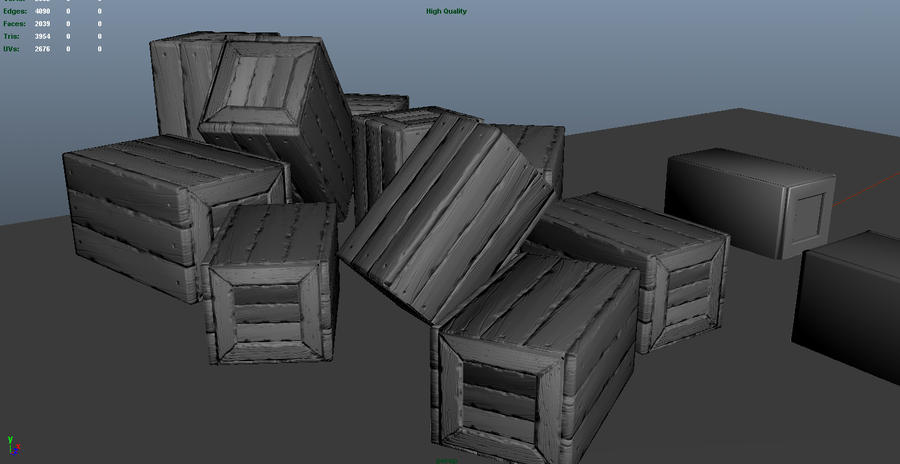
Replies
1 make High Poly, keep in mind your edge sharpness you want this to transfer well to your normals
2 make low poly and uv map, hard edge = uv split and uv split = hard edge
3 bake normals, remember to use a cage at least for most things i didn't for this example
4 texture and present.
as far as i know this is the most common practice your method seems a little odd and you deff dont need the bevels as long as you have a good cage uv's and source mesh.
So, with that in mind, if you us a blend mode that screens the blue channel (or any sort of additive blend mode) this will kill any depth it has. The way I normally blend maps is to duplicate the map for blending, then on one fill the red and green channels with 255 white (so you don't darken those channels), then set that layer to multiply. Then for the other, set the blue channel to 127 (so it neither brightens or multiplies the blue channel) grey and set that layer to overlay. Then combine and use something like xNormals plugin to re-normalize the map (will reduce some artifacting from normals being pushed out of acceptable ranges).
I think I'm remembering that correct.
I have always thought common practice was to level the blue channel to a 128 and set it to overlay. Here is a pic I did for someone a while back. The black and white pics below the normal maps are the corresponding blue channels.
That is basically the same process, except you won't get anything from the blue channel from the blended one. Generally, the blue channel is virtually empty, so it's effect is negligible. Essentially, I was saying do what you said, then create a second texture to blend and multiply just the blue channel, knocking out the red and green.
EDIT: Well actually your method will get blue out as well, but not the full range, it will be somewhat crushed from the adjustment.
Edit: So yeah I just checked... And my method comes out a little too blue overall and yours comes out looking like a ordinary normal map. Touche sir! :P I feel stupid now. But at least I will be doing it correctly from now on.
I think its the same, 128-255 is positive, and 1-128 has the normal facing backwards away from the surface mesh normal.
willy-wilson- From this I gather I just reverse steps one and two. I usually make the low poly first, lay out the uv's and then the high poly. I do all the same thinking about edge quality and stuff I just do it in step one, not two. your dager example is great but how do you do it when your computer cant handle 1 million polycount geometry? like the kind you import from zbrush?
jeremiah_bigley and Daelus - Yup, i know about this blending method and have used it before. It works really really well. Hard light is usually my quick default way to do it and if i get something weird I start using methods like the one you described.
[ame="