Augmented Male - PrivSec Specialist
Hey this is a character I've been working on the last few weeks. I was inspired by the art of Deus Ex - HR and wanted to create a private security specialist who could fit in this universe.
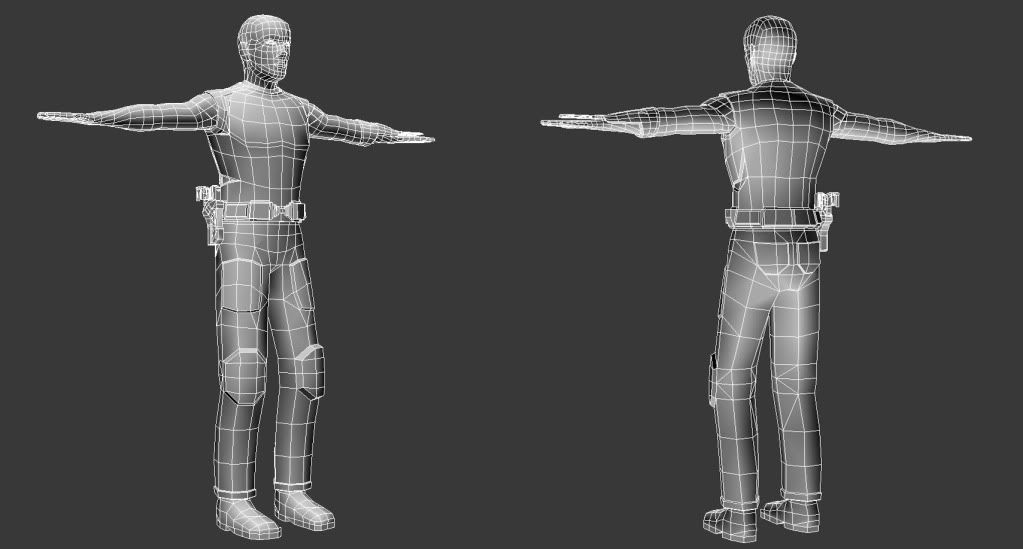
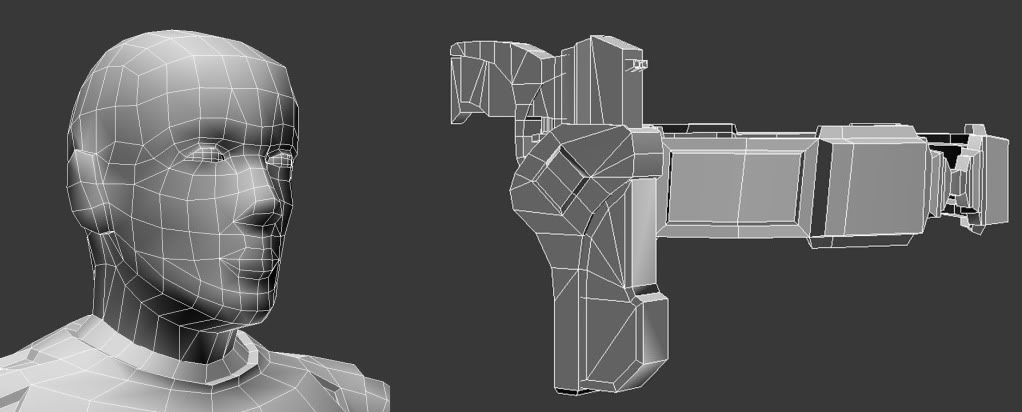
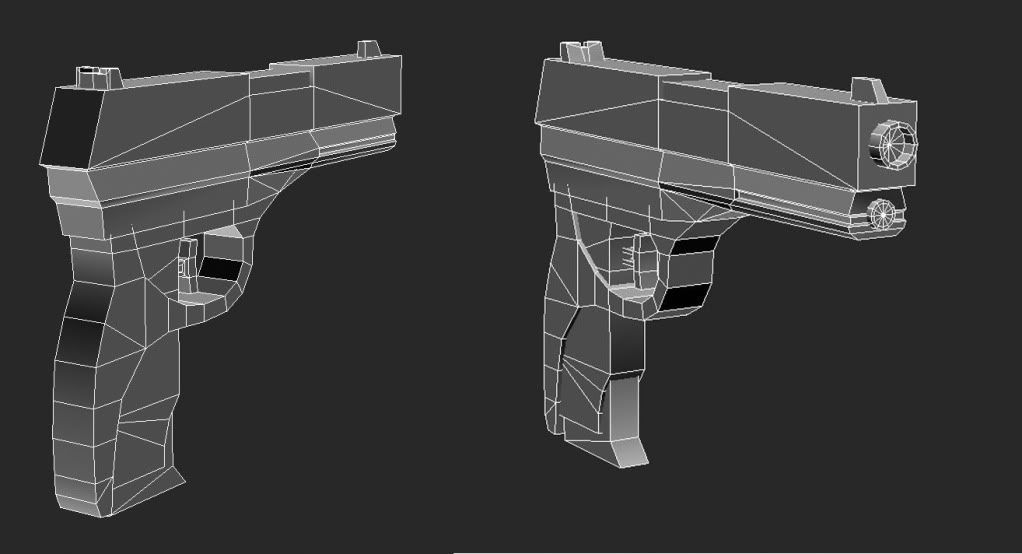
So far I've created a low poly character with a handgun (>6000 tris), and mapped out his UVs in 3ds max. I've exported the character to ZBrush and have been working on a detailed sculpt to use for a normal map, and later a diffuse map which I will create with polypaint.
Low Poly Mesh
ZBrush Sculpts (with AO)
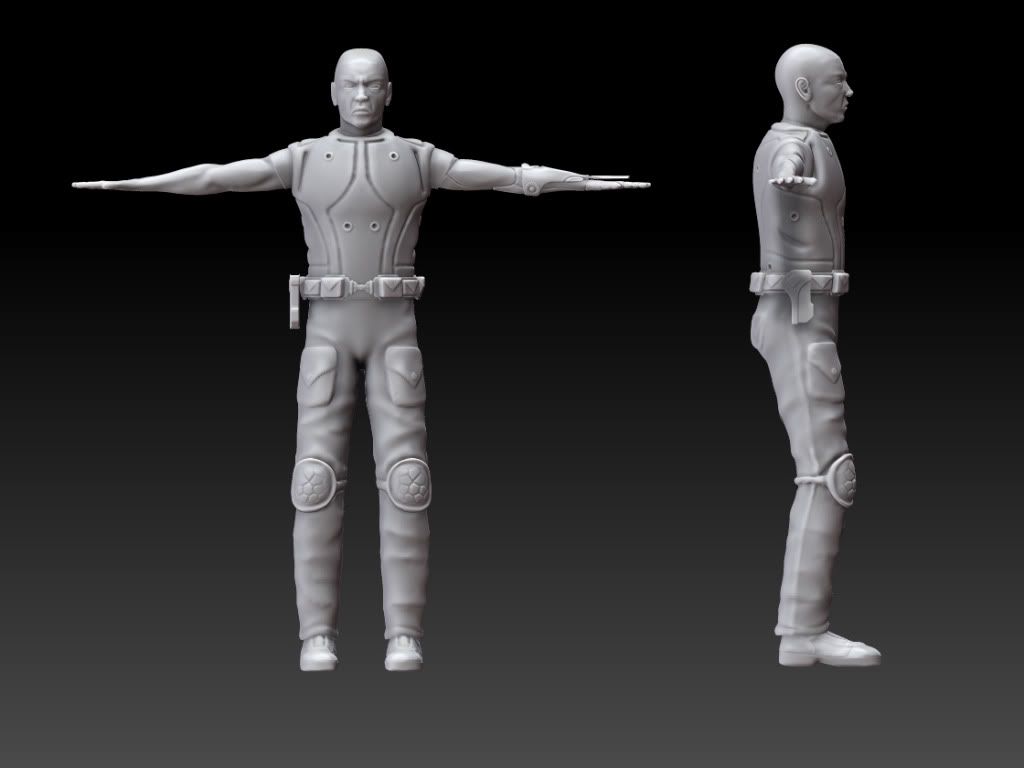
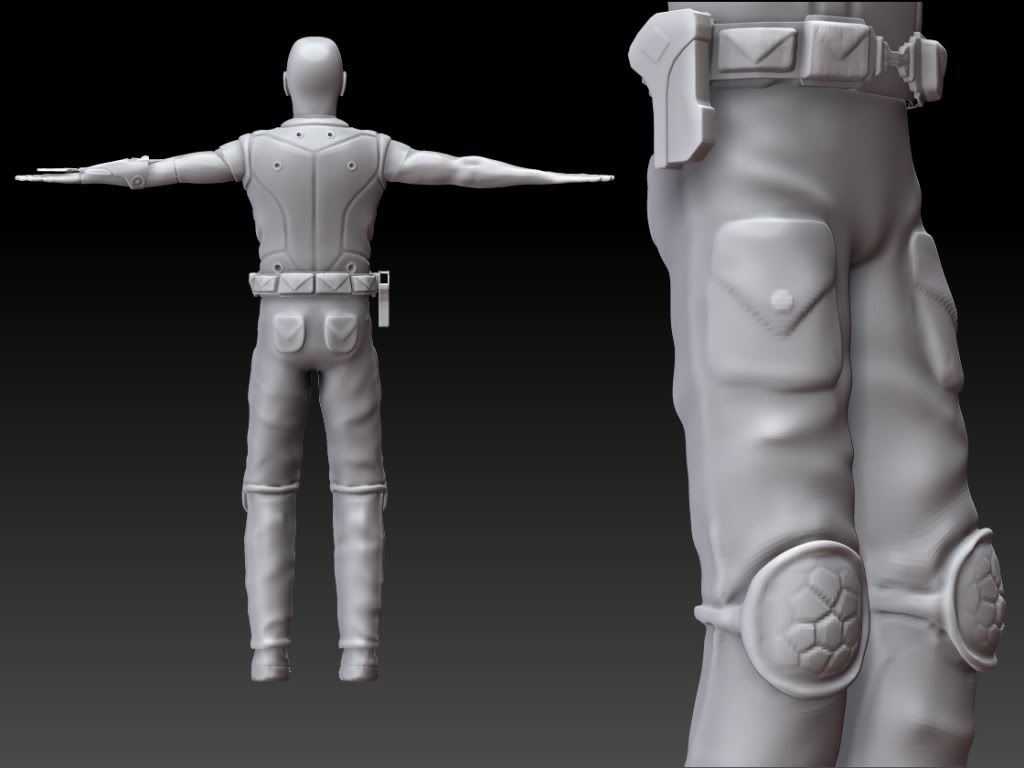
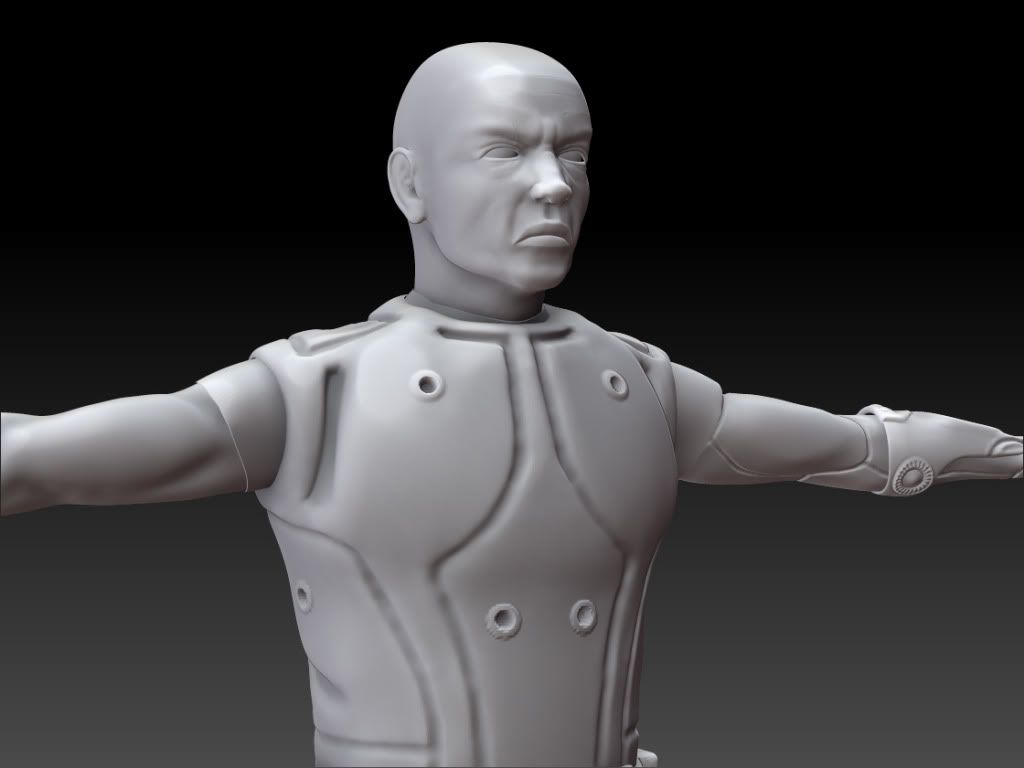
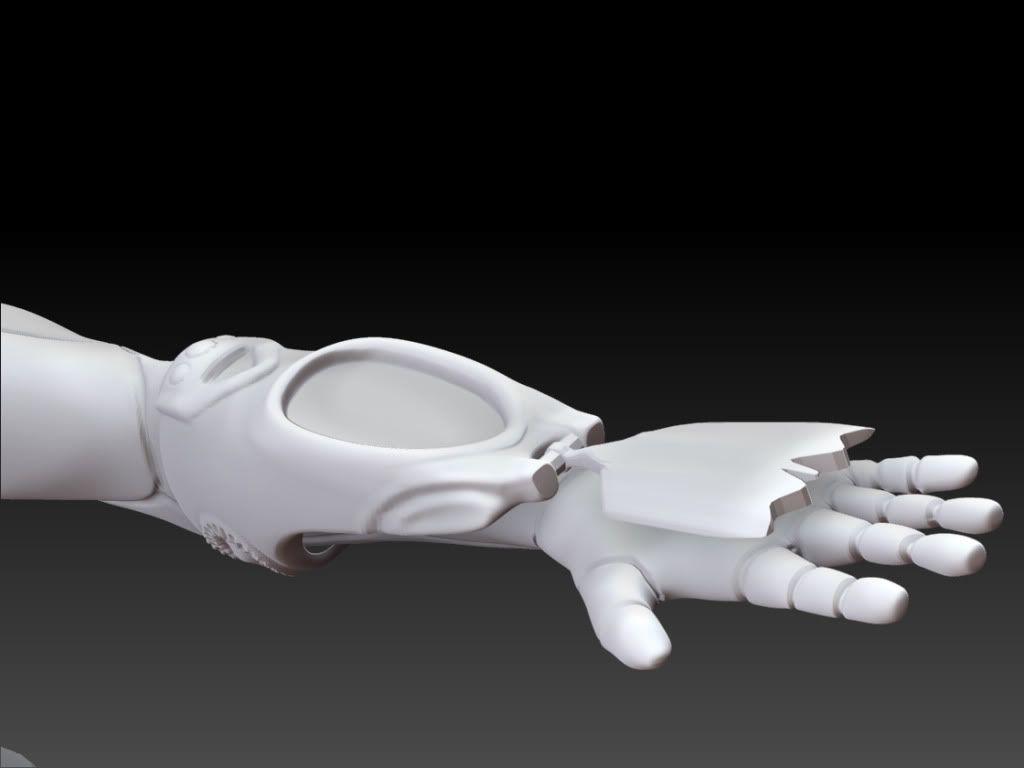
There are a few areas I plan to add some more detail to, including the boots and maybe the augmented arm, and later pose the character. And I should mention that device on the end of that arm consists of a tactical interface (around his wrist) and a remote computer interface device (above his hand). I've designed the remote interface device so it can rotate and fold into the main unit.
I'd like to hear some comments and crits on the work so far, especially on my high poly sculpt, before I move on to the polypainting.
Thanks for your time,
Paul
So far I've created a low poly character with a handgun (>6000 tris), and mapped out his UVs in 3ds max. I've exported the character to ZBrush and have been working on a detailed sculpt to use for a normal map, and later a diffuse map which I will create with polypaint.
Low Poly Mesh


ZBrush Sculpts (with AO)


There are a few areas I plan to add some more detail to, including the boots and maybe the augmented arm, and later pose the character. And I should mention that device on the end of that arm consists of a tactical interface (around his wrist) and a remote computer interface device (above his hand). I've designed the remote interface device so it can rotate and fold into the main unit.
I'd like to hear some comments and crits on the work so far, especially on my high poly sculpt, before I move on to the polypainting.
Thanks for your time,
Paul

Replies
Do some searching for human anatomy tutorials and check the polycount wiki for topology tutorials to get up to speed.
I don't mean to down you. The fact that you made this much shows you have potential to get better but you need to put more research and a stronger foundation into this. I'm not going to criticize the ZBrush because frankly, you should not have even gotten that far until you nail down the mesh you're using as a base.
Keeping that in mind your base should have proper edge loops. ZBrush works best with four sided polygons from what I remember because they subdivide smoothly. All the triangles you have in the base mesh will bring you problems as you sculpt it.
praetus - about quads in ZBrush, you're totaly right. I created the optimised low-poly base mesh too early, should have created something more detailed and with quads for ZB. I think I got confused because the low-poly character tutorial I was using as a guide was meant for hand-painting, not sculpting and normal maps.
My workflow for creating characters is typically to make a base mesh in zbrush using ZSpheres. Once I get a very basic shape, I export it to max where I can really dig into the mesh for basic edge loop placement and making sure my loops are also evenly spaced apart. This ensures that when I subdivide in ZBrush I am not lacking definition in any specific area. This base mesh is very simple and I can't stress that enough. It is also fairly low poly. From there I go back to zbrush with my new base mesh ready to lay down all my primary and secondary shapes.
Good things to consider buying are :
[ame="http://www.amazon.com/ZBrush-Character-Creation-Advanced-Sculpting/dp/0470572574/ref=ntt_at_ep_dpt_1"]ZBrush Character Creation by Scott Spencer[/ame]
Introduction to Character Modeling from Gnomon
I'm signed up with Digital Tutors, and they've got a video tutorial which sounds very similar to that gnomon one
Creating High Resolution Characters in ZBrush 4 (&Maya)
I'll give it a watch before restarting my project.
Thanks again!