Udk material planet bombarment.
polycounter lvl 14
Hey guys I am currently creating a space scene for my portfolio and have made a lot of progress on the planet shader that I am doing.
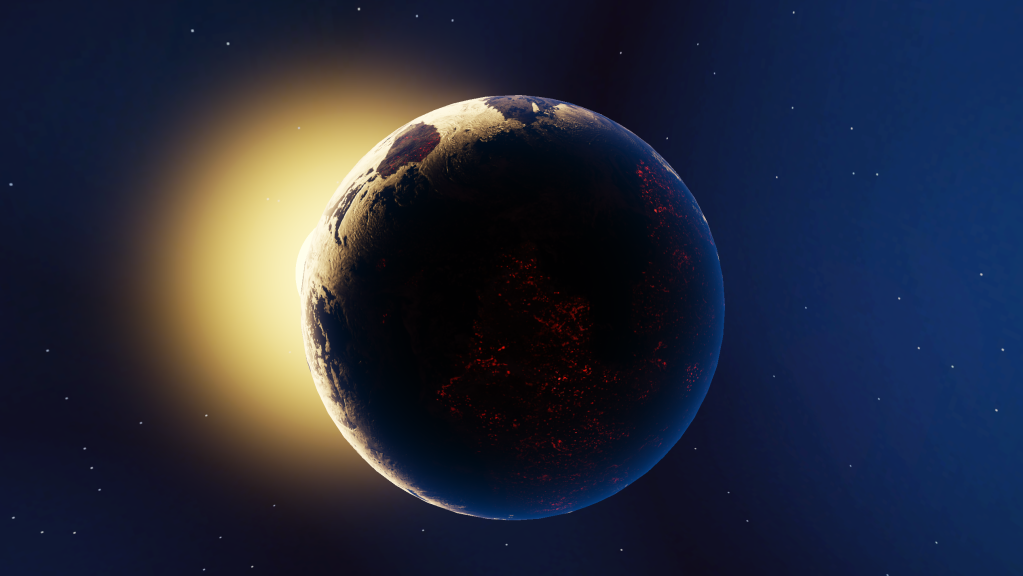
The final thing I would like to do with this material is to make it look like its being bombarded almost like 14 seconds into this video.
[ame] http://www.youtube.com/watch?v=GImJdrCSOFA[/ame]
I cant think of a way to this in the material editor. I am still fairly new at using it so there is a big possibility that I am unfamiliar with an expression or two. Any help at all would be appreciated. Thanks again :-D
The final thing I would like to do with this material is to make it look like its being bombarded almost like 14 seconds into this video.
[ame]
http://www.youtube.com/watch?v=GImJdrCSOFA[/ame]I cant think of a way to this in the material editor. I am still fairly new at using it so there is a big possibility that I am unfamiliar with an expression or two. Any help at all would be appreciated. Thanks again :-D
Replies
Make sure the are you want bombarded is flat and no stretching.
Create an 'Atlas' type of textures (the kind used for flipping books or sprites in games).
Marry your base planet shader with the fancy shamncy set of functions that are working with your second UV channels and voila done.
I'm not sure how doable this is in UDK, but it should be fine. I'm sure someone more versed in UDK can show you with a few screenshots.
But if you want to do it anyway, you can of course
Kurt Russell : Hey, wanted to ask, would be a good idea to create two mesh instead of one and have the particle in the middle?
What I mean is the first mesh is the planet, the second is the fog/clouds/ozone that is slightly pushed out, and the particles would be in the middle, and still be affected by the color gradient and such from the clouds?
Or is a waste of resources without much in return?
http://udn.epicgames.com/Three/ParticleSystemReference.html#Sphere
In its properties you can set the size so that it matches up with the scale of your planet mesh. Also make sure to turn on "Surface Only" so that all your sprites spawn on the outside. Hope this helps.
If you want this to be a gameplay element you need to make the particle systems part of the hispang for a weapon.