[WIP] Payphone Asset
polycounter lvl 14
Hey PC,
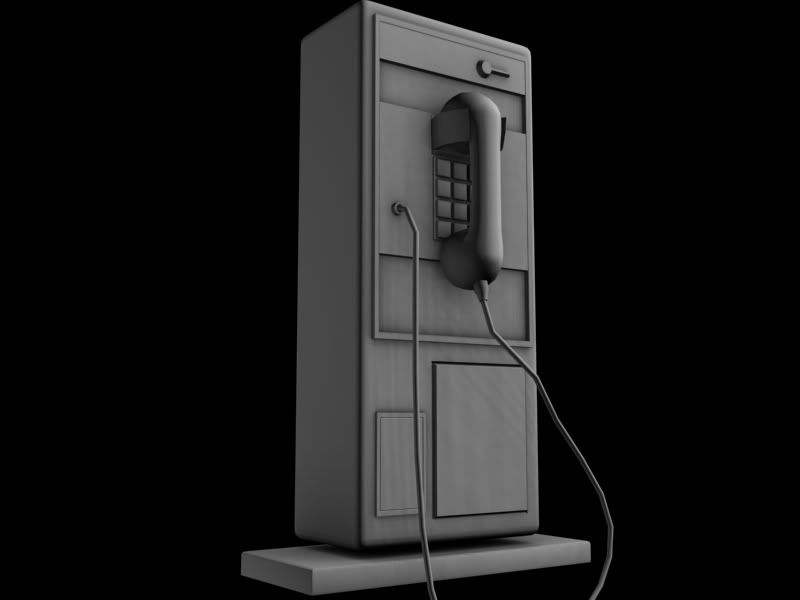
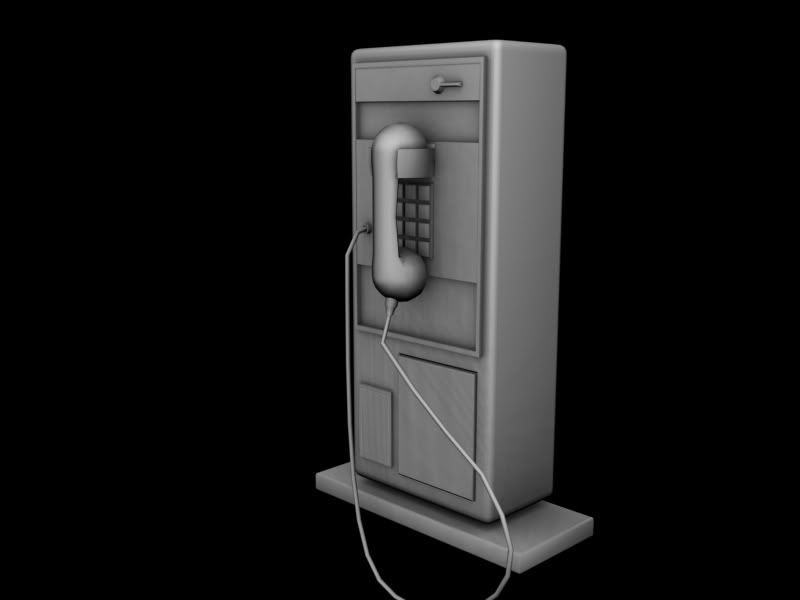
I am continuing to work on projects for school. Right now I am building a level for my Level Design class, learning UDK. One of the assets that I have created is a payphone. I have not done any texture yet so all I have right now is the model with AO. Let me know what you think.
I am thinking of redoing the cord for the phone to smooth it out, there is also some cleanup that needs to be done.
Replies
If this is the low, there is a lot of optimization that should probably happen. The phone seems to be pretty dense while the cord is Very blocky. Also what is the tri count so far and what are you aiming to keep it under?
If its the high, I think you can push the details and modeling quite a bit further. A lot of pay phones have interesting hatches, coverings, keyholes and screws, that will add a lot of detail and make your normal map worth baking.
If this is the high that cord needs a lot of work, not just to round it out, but to give it all the little segments a payphone cord has. You'll want to unwrap and bake that very carefully which will also play into how you create the high poly.
You're off to a good start, its a decent mid-poly asset it will just need to go one way or the other before you get it in game but that depends on how you intend to proceed.
I am at work right now so i can't open the file to check the counts, but If I remember correctly the polycount is somewhere around 1400...idk about tri's....again, with a lot of hidden geometry.
What do you think a good tri count is to shoot for?
Make sure you understand that what you are seeing in the viewport/in these screenshots, is not what it will look like in game as I am assuming this is a smooth mesh preview which is achieved by hitting 3 on the keyboard in maya.
A tip for creating the phone cord is to use a NURBS curve (create poly cv tool) then place a NURBS circle at the tip of it by using curve snapping (hold c while using the move widget) select the circle then the curve. Under the surfaces toolset choose Surfaces->extrude (options box)
Set style to Tube, result position to path, pivot closest end point, and orientation profile normal. change output geometry to polygons and then hit apply, once you have done it once check out how smooth it is and how you like it, if you don't you can undo and mess with the tesselation settings for different results, make sure you have the UV controls under tesselation set to Per span # of iso parms.
Hope that helps, it will save a ton of time off of you trying to create a smooth curved poly cylinder by hand
I drop the asset into UDK and it looks pretty much just like what you see here, minus the AO...
Your tips on the cord are helpful, its kinda what I did to make what I have, I just didnt have enough segments to make it smooth (without kinks)
Polygonfreak: Thanks for the advice, when I go to eventually make this into a high poly, ill definitely be sure to model everything and use the AO and normals for better textures .