[WIP] First vehicle: ZiL-131
After completing the Zone project I'm looking to diversify my portfolio a little in the asset department, so I have started working on a ZIL-131. It's my first FPS-quality vehicle, so any advice would be greatly appreciated.
I also had a few questions:
1. Is it better to created the low poly first, uvwrap it and then create the high poly and bake it?
2. What might be a good poly budget? I plan on using my base model to create several versions to populate a level.
I'm studying normal map stuff from the Wiki, but any other vehicle tutorials would be great as well.
Here's my main ref:
http://i209.photobucket.com/albums/bb134/EvilViking13/3D/Zil%20131/zil-131-4.gif
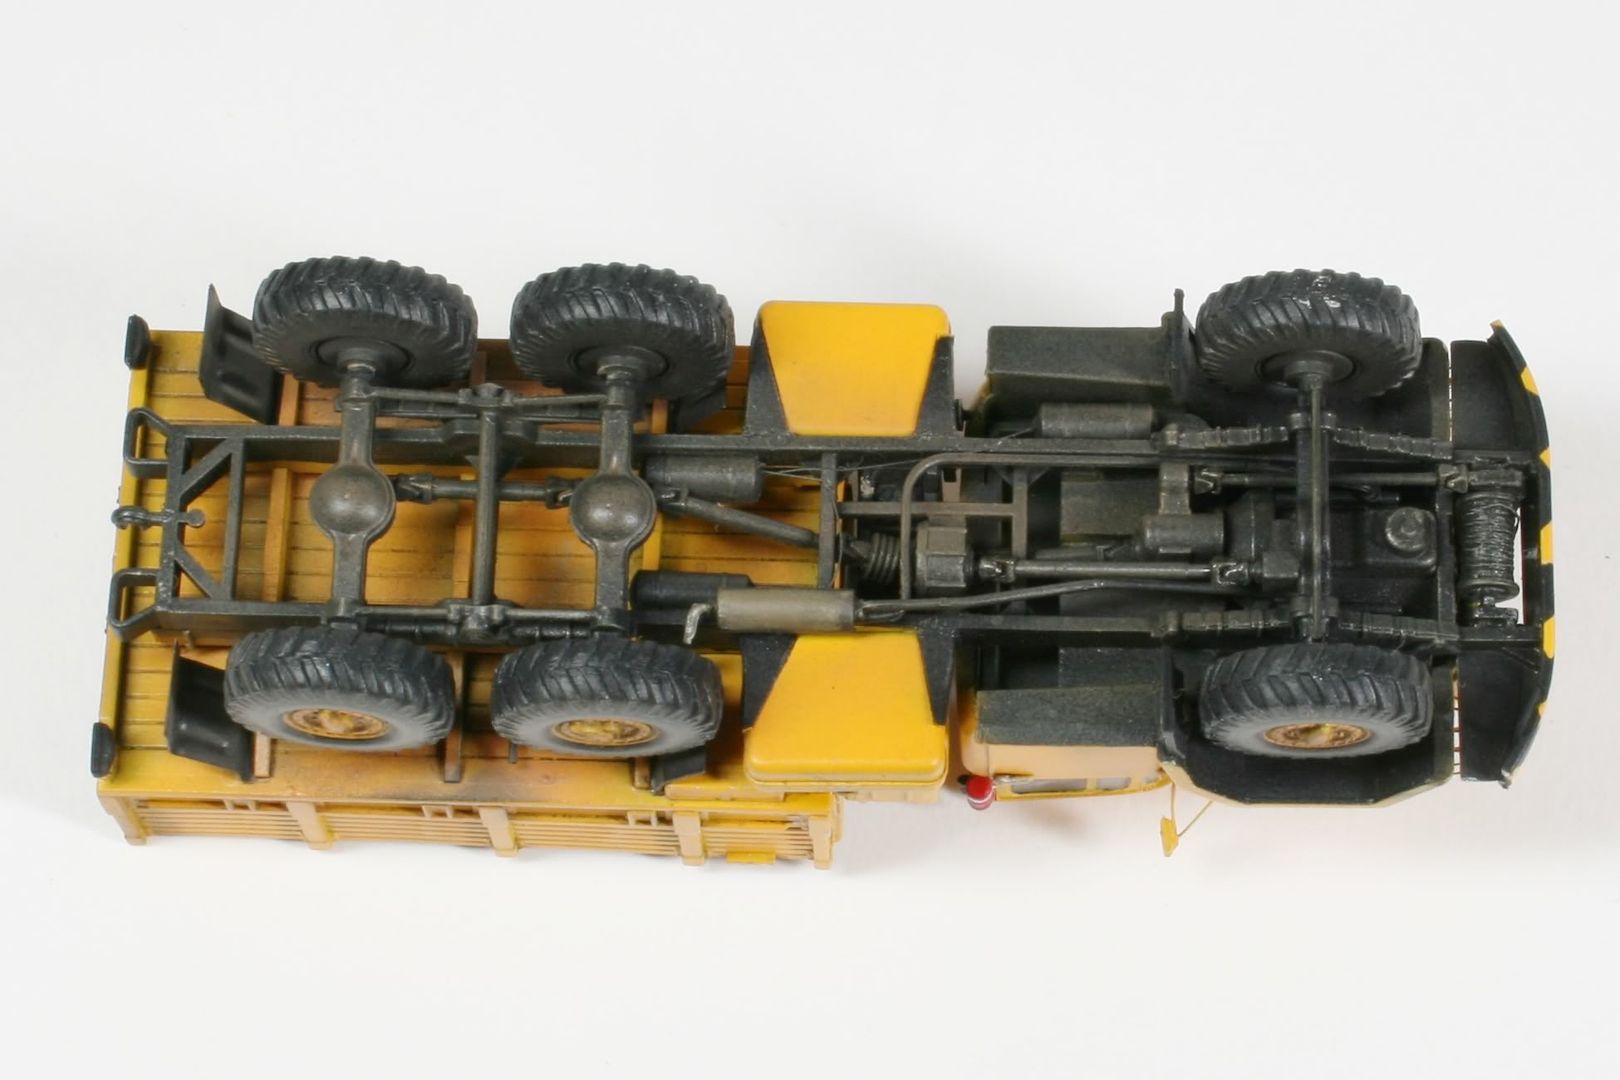
The best picture that I've been able to find of the bottom (it's a scale model):
http://i209.photobucket.com/albums/bb134/EvilViking13/3D/Zil%20131/IMG_5089.jpg
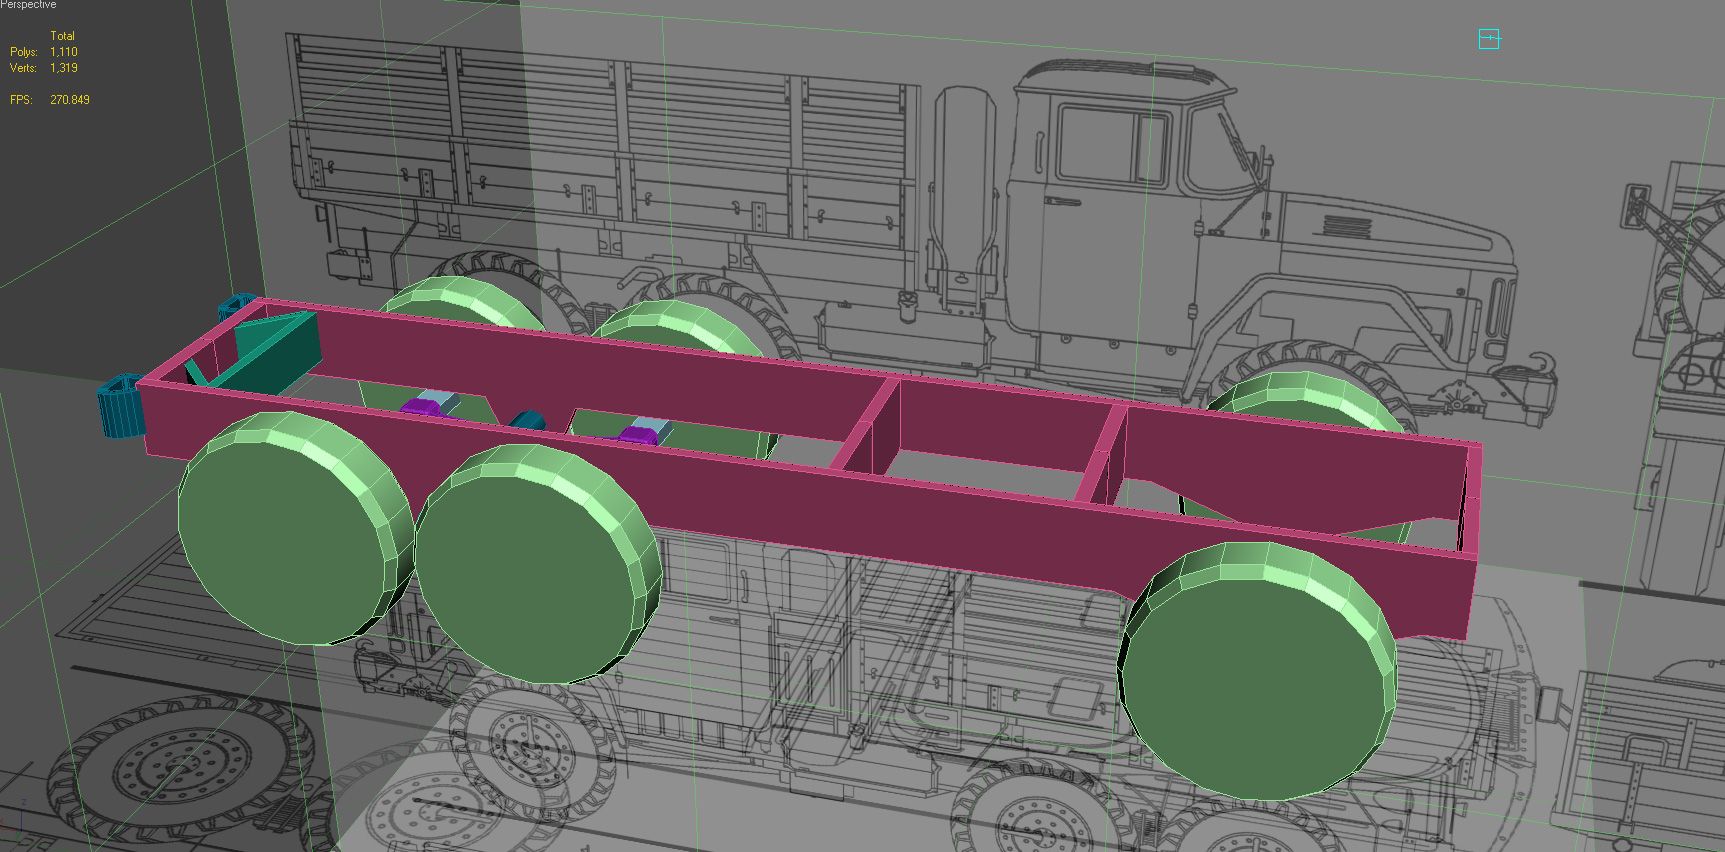
And here's what little I have so far:
http://i209.photobucket.com/albums/bb134/EvilViking13/3D/Zil%20131/zil01.jpg
http://i209.photobucket.com/albums/bb134/EvilViking13/3D/Zil%20131/zil02.jpg
I also had a few questions:
1. Is it better to created the low poly first, uvwrap it and then create the high poly and bake it?
2. What might be a good poly budget? I plan on using my base model to create several versions to populate a level.
I'm studying normal map stuff from the Wiki, but any other vehicle tutorials would be great as well.
Here's my main ref:
http://i209.photobucket.com/albums/bb134/EvilViking13/3D/Zil%20131/zil-131-4.gif
The best picture that I've been able to find of the bottom (it's a scale model):
http://i209.photobucket.com/albums/bb134/EvilViking13/3D/Zil%20131/IMG_5089.jpg
And here's what little I have so far:
http://i209.photobucket.com/albums/bb134/EvilViking13/3D/Zil%20131/zil01.jpg
http://i209.photobucket.com/albums/bb134/EvilViking13/3D/Zil%20131/zil02.jpg
Replies
Over the last week I decided to break this down a bit more. This is my first true high>low poly bake beyond simple props like doors and mattresses, so I decided to start with the tires and get those finished first with a 512x512 separate texture (so they can be used as debris props too).
It actually went a lot smoother than I expected. Big thanks goes out to Ben Mathis for his very detailed tutorials, which really helped fill in the gaps in my self-taught 3ds max knowledge!
While the tire isn't 100% accurate, I'm pretty happy with how it came out (although I may do a more true-to-the-original version later). I now feel a lot more comfortable with the entire baking process.
Here are my low and high polys after baking and creating the normals, diffuse, a spec maps: (see attached)
My texture flats:
And here is the tire running in the Leadwerks engine (262 polys):
Any pointers about stuff I could do better or improve on would be great!
There shouldn't be any directional lighting or shading on the textures with normal maps, let the engine to the shading, that way it will always be correct and not depend on rotation and location in the scene to look right. Bake some ambient occlusion from the high poly and just use that as a base for texturing.
Also, If this truck is going to be detailed and viewed up close, I'd model in the hub nuts and bake the normals to the nut geometry. You'd only need to UV and bake one, and then duplicate it around the wheel hub, so it wont take much more texture space. Right now the sides of the nuts are perpendicular to the camera so the normal map is doing little, they look like stickers. This probably illustrates my point better
Of course, if the truck is only going to be part of a large scene and not viewed close enough that you'll notice the nuts, just taper the nut edges in the hi-poly a little and bake them as you have now.
Also the diffuse looks very uniform and noisy for no real reason, doesn't look like rubber or metal, just some overlayed textures and colour, and the spec isn't helping much.
I hope this helped a bit! This has lots of potential, looking forward to seeing this progress.
On the last pic, see how the texture between the tire tread and the outer rim of the tire are a bit off, i think some uv fixing can make it a lot better
Besides the normal map tweaks, I added more tire detail with some Illustrator CS4 and Crazybump trickery (gotta love adding heightmaps), and I'm still in the process of reworking the diffuse and tweaking the UV map. I'm not calling it finished yet, but it's getting there: