What tips are there to save space on the UV layout?
polycounter lvl 6
Hi all,
I'm currently unwrapping a scene for the first time in 3D Studio Max and have a few queries I hope you can help with.
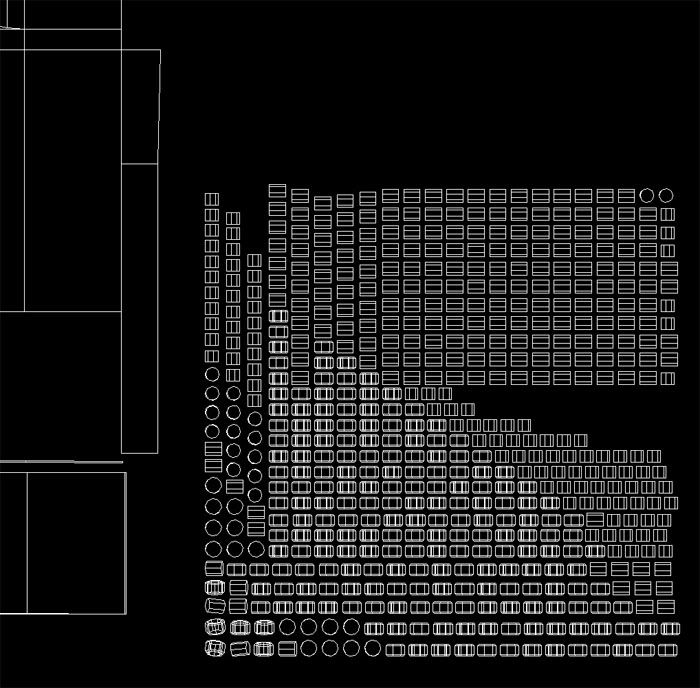
What tips are there to save space on the UV layout?, a number of objects in my scene are repeated, I have seen that when I have instanced objects I only need to UV unwrap one of them to affect all. However, I have for example a number of bolts (first image) that were given a path deform and I don't seem to have them instanced so when I unwrapped them they all unwrapped individually which is a waste of space. Is there a way I can lay them out on one on top of another without doing it manually?
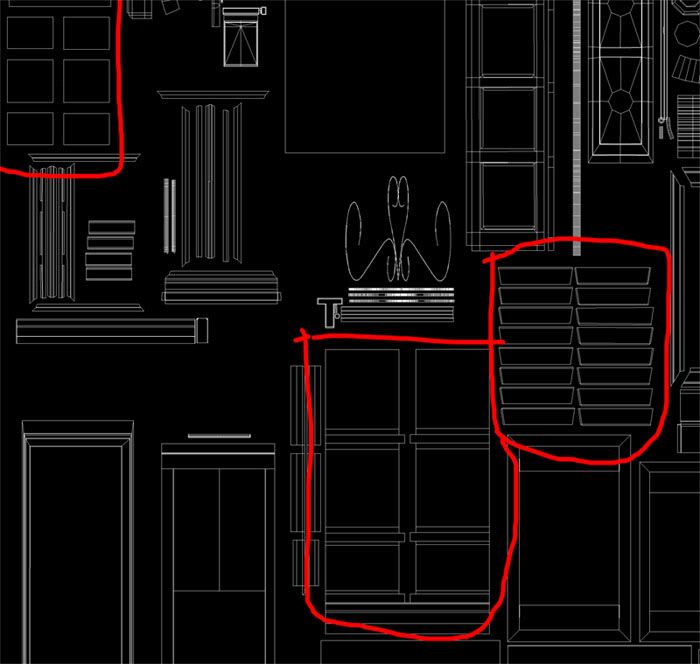
These attachments should explain my queries better, I know I can save a lot of space by not repeating UV's but not sure how, any advice appreciated or if anyone has any good tutorial links.
Thanks for reading
Martin
I'm currently unwrapping a scene for the first time in 3D Studio Max and have a few queries I hope you can help with.
What tips are there to save space on the UV layout?, a number of objects in my scene are repeated, I have seen that when I have instanced objects I only need to UV unwrap one of them to affect all. However, I have for example a number of bolts (first image) that were given a path deform and I don't seem to have them instanced so when I unwrapped them they all unwrapped individually which is a waste of space. Is there a way I can lay them out on one on top of another without doing it manually?
These attachments should explain my queries better, I know I can save a lot of space by not repeating UV's but not sure how, any advice appreciated or if anyone has any good tutorial links.
Thanks for reading
Martin
Replies
With those bolts, you should be able to copy & paste the UVs from one to another, just select one bolt, copy uvs, then select the rest and paste. You might have to paste each bolt one at a time, sometimes Max is finicky with pasting UVs.
For other elements you can just make them overlap by hand then use something like TexTools to align the verts.
No, don't overlap by hand. Highlight all the shells you want overlapped and then use the align shells/verts buttons on the floating textools uv window at the top, it will stack them all together in 2 clicks maximum.
groovy, I've been using in-house UV tools for a while now so I'm not familiar with all of textools features yet.
Here's a quick walk thru of the process:
- Select all the bolts and detach (as one single object).
- Then run "Object Detach" to break them all apart into separate objects (it handles the pivots really well)
- Unwrap one of the bolts, this will be your master bolt.
- Run "Object Replacer" set the replacer type to single object.
- Click "Pick The Obj To Replace With" and click on the bolt you just unwrapped.
- Select all the old bolts and click apply.