Horned Demon
Well, I have learned as much as I could from this project, let's hope I do better next time!
Here are the final results:
Model:

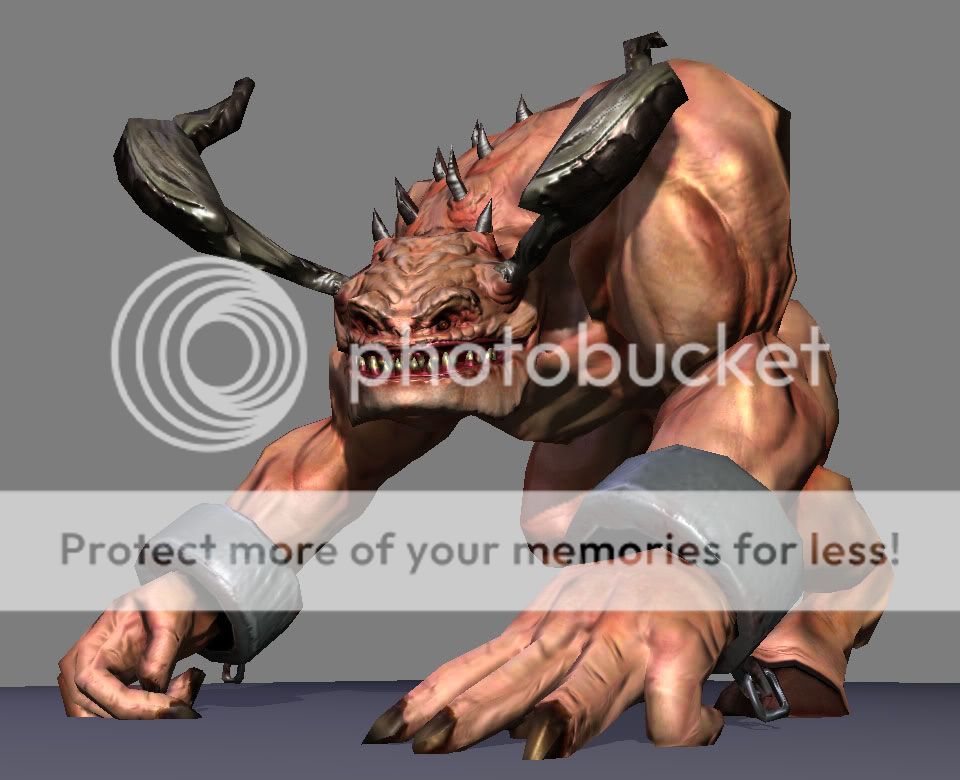

Texture maps:

Rig:

Animation:
[ame]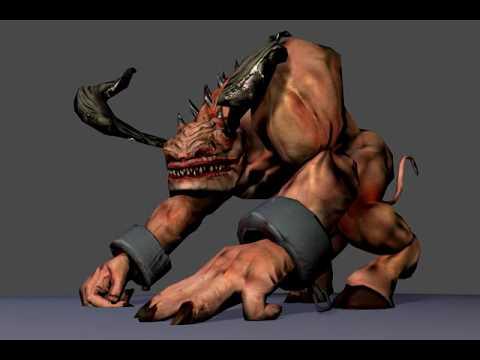 http://www.youtube.com/watch?v=Sgt_fv4EKCA[/ame]
[ame="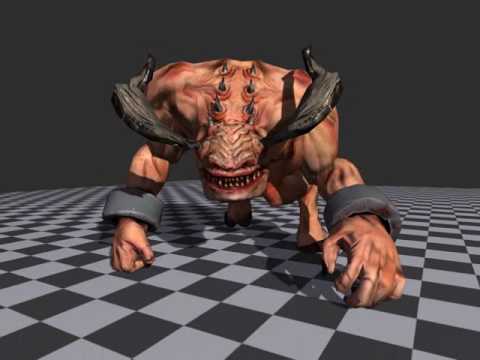 https://www.youtube.com/watch?v=eTa-qCn190k"]http://www.youtube.com/watch?v=eTa-qCn190k[/ame]
Original post follows:
Hi everyone!
Time for a new round of practice.
My goal is to remake the Horned Demon from the Heroes of Might and Magic series.

Here's my basic mock-up for modelling the beast.

From there I got this basic and butt-ugly model I in Max. I got it into Zbrush to make the basic shapes and reimported it to max to detail. I find it's much easier to work in this manner than being really precise with the basemesh early on.

The result of importing it back in max is this one:

After a bit of work, I got this basemesh ready:

Here's the result of the first Zbrush pass:


Now, unless someone points out a major flaw with my musculature block-out, I'll proceed to detailing it and then optmizing my base model. I'm going for about 2.5K ~ 3K triangles with this one, and I may make a sword or axe just for the coolness factor.
Comments and criticizm are always welcome. Thanks for reading!
Here are the final results:
Model:


Texture maps:

Rig:

Animation:
[ame]
 http://www.youtube.com/watch?v=Sgt_fv4EKCA[/ame]
[ame="
 https://www.youtube.com/watch?v=eTa-qCn190k"]http://www.youtube.com/watch?v=eTa-qCn190k[/ame]
Original post follows:
Hi everyone!
Time for a new round of practice.
My goal is to remake the Horned Demon from the Heroes of Might and Magic series.

Here's my basic mock-up for modelling the beast.

From there I got this basic and butt-ugly model I in Max. I got it into Zbrush to make the basic shapes and reimported it to max to detail. I find it's much easier to work in this manner than being really precise with the basemesh early on.

The result of importing it back in max is this one:

After a bit of work, I got this basemesh ready:

Here's the result of the first Zbrush pass:


Now, unless someone points out a major flaw with my musculature block-out, I'll proceed to detailing it and then optmizing my base model. I'm going for about 2.5K ~ 3K triangles with this one, and I may make a sword or axe just for the coolness factor.
Comments and criticizm are always welcome. Thanks for reading!
Replies
I have also started to work on the Low-poly version. I was going for 2.5-3K but I ended up at 3.5K. I haven't really worked on his hands yet, so that may save up a lot of tris. I'm going to have two alpha-planes behind the modeled teeth as well.
Thanks for checking it out!
The way you have the muscle structure now, they don't connect properly to bones to allow movement. It looks like it's clay placed on top of arms. The definition stops right at the elbow joint. In reality, muscles that start on the other side of the joint reach across the joint and attach to bones there. This gets especially apparent as the muscles get bigger.
Watch the hooves. Most hooves aren't just stuff growing straight down from the end of the legs. The back of the hoof tends to be shorter than the front on most hoofed animals. Think of it more like a giant, thick toenail rather than an separate part of the animal.
The last joint, basically its ankle, should be bulked up a bit more towards the back, especially if you have a reverse biped like this.
Thanks very much. That makes a lot of sense and I can clearly see what you mean.
Yeah I really didn't check any references for that and just went with what seemed logical. Will fix!
I'll bulk it up a bit more, but this guy uses his arms to support the weight of his chest and shoulders, that's why he's got tiny bramble legs compared to his torso.
And his crotch is weird. He's not a lust demon so he's got muscles instead of genitals! (I'll review that as well lol)
I'm not going to detail his body just yet. But I really wanted to get some detail on his face to see what I would go for. What do you guys think? Is his anatomy better? Improvements anywhere?
Also, you are making some mistakes new sculptors often make. Basically everything looks really bloby at this point because you have not properly sharpened up your details one pass at a time.
What you need to do is step down some subdivisions, and try to get things as crisp and defined as possible, then move up and do the same, and so fourth. You will see at the end things will be very sharp, instead of bloby. Simply taking a pinch brush, or small standard brush and running it against some edges, then smoothing with a small brush will make a world of difference. But get that anatomy right first!
Good luck man!
I'll work on those more on my lower subdivs. Thanks.
No I'm really grateful for the help. And what I meant is that I am having a lot of fun studying anatomy for this project. The whole Max -> Zb pipeline is great!
Hope that clarifies
Ha ha, I was thinking the same thing. This guy is either being a dick or he's generally grateful. lol. Seems like he is not being sarcastic and is indeed happy for the help.
Arhurt: Sorry, don't mean to Hijack your thread. Your doing great man, take your time with the next zbrush pass. Look up reference online of sculpts that others have done and compare there to yours. Try to get things really crisp like you see so many great artist accomplish.
You can do it, go go go!
from feilpefrango here on pc:
try not to focus on all those individual muscles just yet but try to get the overall blocks of form to read right.
i did a quick overpaint for you, hope it helps
It surely does! Thanks a lot!
I'm getting to the point where I need to call it ready and move on to the next stages. I want to get this done by Monday so I can present i, and your help has been more than I could ask for.
I have this book by my desk and I'm trying to read the references in there, but somehow I'm not able to translate it into the model straight from the book. Your paintover was really helpful. Hopefully I'll have an easier time on the next one!
Update:
Overall, Awsome work, Thanks for sharing, keep it up
I'll take a break to have lunch now, and will be back to keep on going. Unfortunately, if I'm going to make it by Monday I have to start finishing it up now. I still have to work on the lowpoly, bake the maps and work on the texture and shaders to call it done.
I'm aiming at a finish for his muscles and skin a mix of these references: http://www.zbrushcentral.com/showthread.php?t=060245
http://www.zbrushcentral.com/showthread.php?t=059904
As for his hands, The first guy on this one inspired me: (still a TON to do though)
http://www.zbrushcentral.com/showthread.php?t=088780
Take a look at Ravenslayer's paint over. He painted the proper shape of the bone & joint for a reverse biped like that. There's a thick heavy overhang from the bottom segment back up over the top, this provides connecting points for muscles and is basically the heel of the foot.
Also, it's a cop out to say that it's going to only use its arms for support because eventually, it's going to have to place its full weight on its legs at some point to do something. The way you have the joint now it would buckle the moment he did so.
Just look at your model, heck, take a screenshot and mirror it in photoshop and just look at your model. Now imagine it taking a swing at you with those arms. Just the act of swinging or lunging at you means putting all his weight on a single leg, let alone both. That joint couldn't handle it.
I was so worried with his back and arms that I did not notice that. I see what you mean now, the extended bone on his lower leg. I feel stupid now.
Well, that's another mistake I won't make again!
I'll fix that right away. Thanks for pointing it out
Can I assume that the rest is at least acceptable? :P
It would be nice for you to listen to me as well. I have to finish this model by monday. That gives me roughly 20 hours starting now to finish the hipoly, make the lowpoly, unwrap, bake, texture, fix bugs, pose and present.
Unfortunately some of the lessons and practices will have to be carried over to the next model. Hopefully then I'll have more time and maybe be able to get it right.
I'm starting work again now. Thanks for the help and advice you guys have been giving, and I'm sorry to be unable to execute them with skill.
Do try to take your time on the next one
this project will probably be good for you in terms of trying to find a workflow so i can only encourage you in trying to finish it
I'm not happy with his hands, but I must detail the horns and spikes and have it ready to work on the lowpoly soon.
Thanks again for the help guys. I'll come back shortly.
Take time on this piece...
I mean, you've got viens and stuff....don't get carried away.
Here's the low-poly at 4.8K
Here's the result of the quick bake test I made in xNormal after a quick UV layout. All buggy but it was just a test, I still needed to work some more on the UVs. After seeing this, I was quite happy, just a few bugs to fix and I would be ready to move on.
I went back in MAX to optimize my UVs, and when I tried to bake back in XNormal something went wrong. I tried using an exported cage, messing up with every possible setting, but couldn't find a solution.
Here's a sample of what comes out of XNormal:
I'm too tired to keep at this. I was hoping to at least have a Normal map by tomorrow, but that won't be the case.
Anyone have any idea? I can't import my Hipoly in max, maybe I should try to project it with Zbrush, never done it before though...
Just go to the lowest subdivision level and click on Normal Maps in the Tool menu (should be on the right by default) then click create normal map. Press Clone NM to make a copy of it. Then just export the texture (you'll probably have to flip it vertically first).
Workflow problem on my part. When I prepared the low poly model, it broke the mesh so I couldn't import it back in ZB. The model I used to sculpt was way over 9000 triangles so I couldn't possibly use it as a low poly and ended up making one from another version of the model. I don't know how to use the retopology tool in ZB and I thought XNormal would be the easier way to do it. I also want to use XNormal to bake the AO because it's faster.
Now, I was just about to turn off the PC when I realized. I had moved the low poly to the side before exorting the .obj from max. Since it does not take the pivot from the object, but it's position to the world origin, the meshes where not aligned in Xnormal.
Oh such a stupid mistake... I'm gonna pull an all nighter to finish this now...
I'll work on the little projection issues I'm having and texture it properly during this week.
Here's the current progress:
Here is the current progress:
Here are the final results:
Model:
Texture maps:
Rig:
Animation:
[ame]
I might do a run/walk cycle later on.
Here's the promised Walk cycle test. Now I'm going back to the drawing board to start on a new model.
First try:
[ame]
Second pass:
[ame="
[ame="