BattleTech Light Lance
This is my first time posting on a 3D art site, so please forgive any inane drivel.
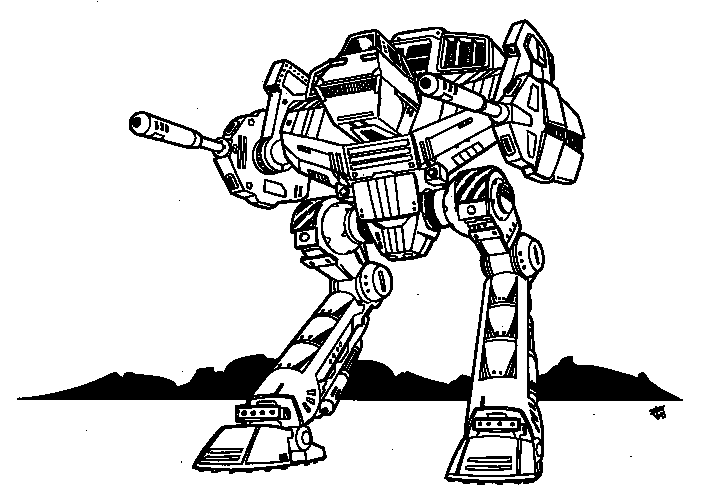
The project is for my Hard Surface Modeling class, and I've chosen to make a Capellan Confederation Light Lance of Battlemechs consisting of a Sha-Yu, a Raven, and 2 Locusts. The models are intended to be built as game assets, so I'm going to shoot for under 10k tris for each model, save for one of the 'Mechs, which will be built as a high-poly model for normal-mapping purposes and to show that I am capable of doing a high-poly object. My intention beginning this project was to model the assets as close to the original drawings found in the Technical Readout manuals as possible, as opposed to the "Living Legends" Crysis Mod that I personally don't approve of the direction they've taken the visuals, but I may just be a purist in that sense.
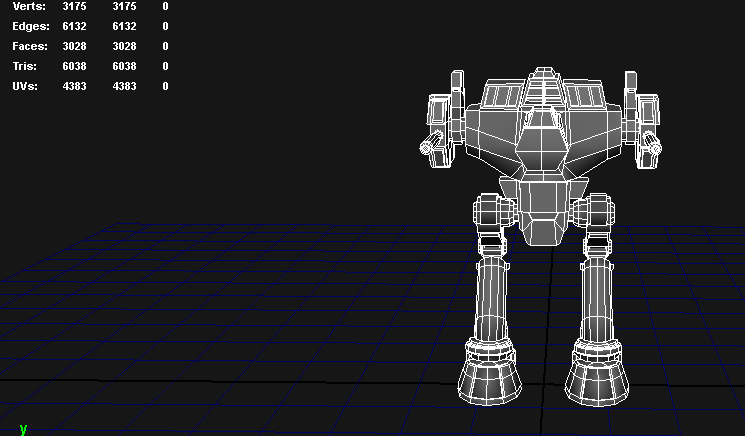
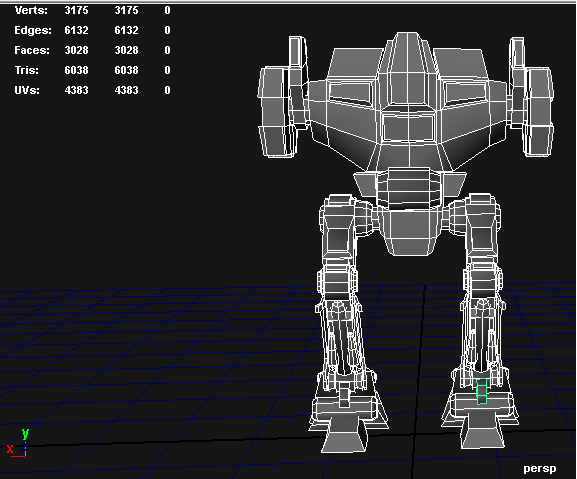
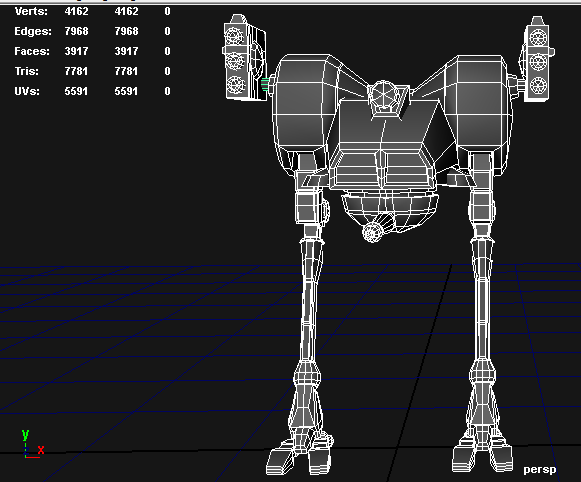
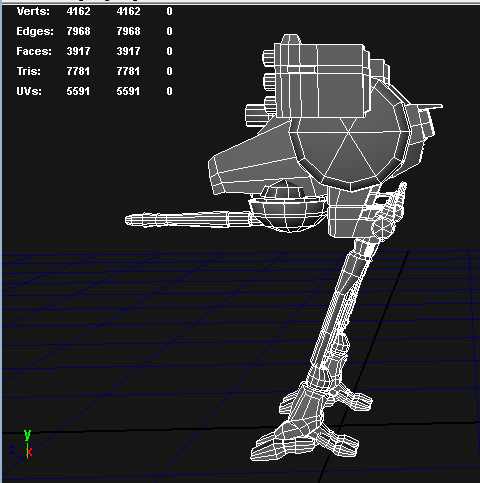
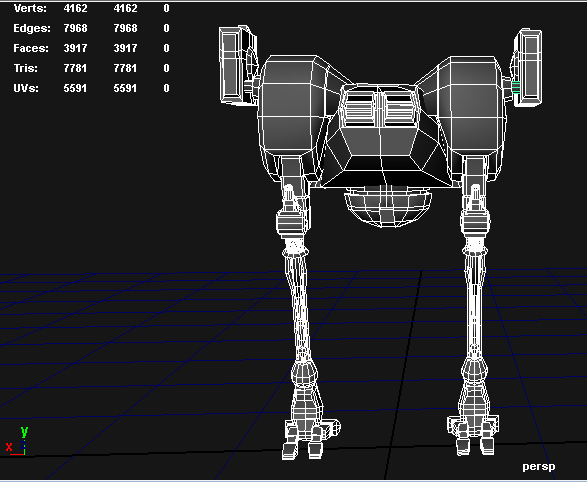
So far I have low-poly meshes for the most part completed for the Locust and the Sha-Yu chassis, which I will post wireframe shots below the reference imagery.
Sha-Yu
Locust
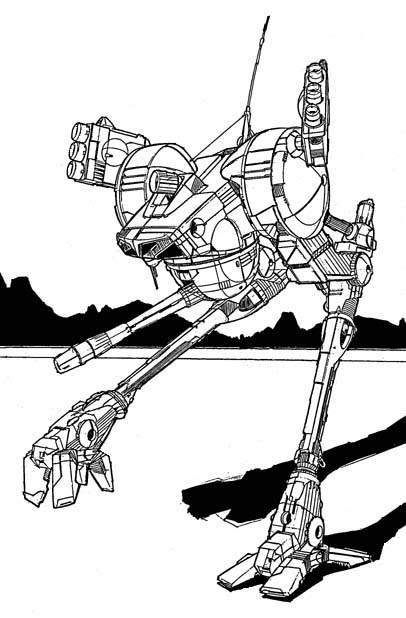
Orthographic Drawings were done by me from as many images I could find of the relevant 'Mechs. In the interest of post brevity, I've provided links instead of the actual images, as I tend to scan everything at 300 dpi.
Sha-Yu Ortho Drawings
http://img.photobucket.com/albums/v236/nam_redips/HardSurfaceOrtho_1.jpg
http://img.photobucket.com/albums/v236/nam_redips/HardSurfaceOrtho_2.jpg
Locust Ortho Drawings
http://img.photobucket.com/albums/v236/nam_redips/ortho_page1.jpg
http://img.photobucket.com/albums/v236/nam_redips/ortho_page2.jpg
Sha-Yu Wireframe Shots
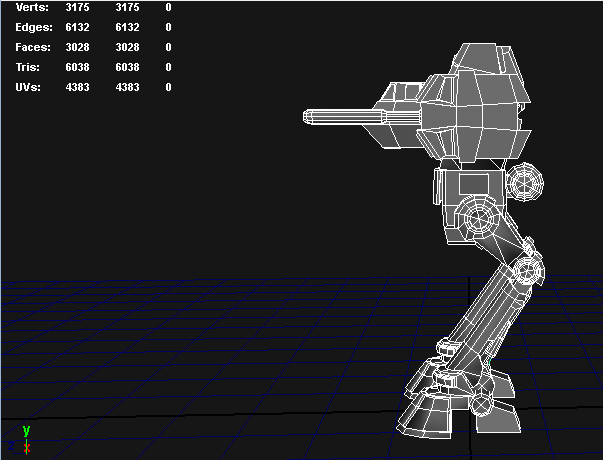
Locust Wireframe Shots
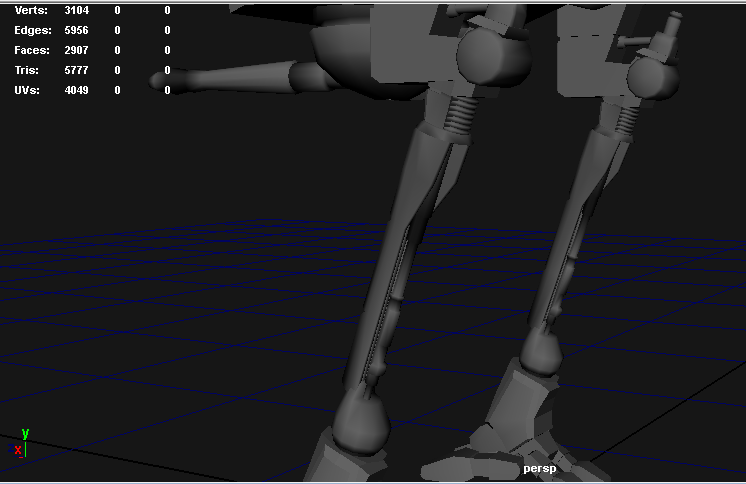
Those poly's went straight to his thighs...
I will post more as I finish, comments and critiques greatly appreciated.
The project is for my Hard Surface Modeling class, and I've chosen to make a Capellan Confederation Light Lance of Battlemechs consisting of a Sha-Yu, a Raven, and 2 Locusts. The models are intended to be built as game assets, so I'm going to shoot for under 10k tris for each model, save for one of the 'Mechs, which will be built as a high-poly model for normal-mapping purposes and to show that I am capable of doing a high-poly object. My intention beginning this project was to model the assets as close to the original drawings found in the Technical Readout manuals as possible, as opposed to the "Living Legends" Crysis Mod that I personally don't approve of the direction they've taken the visuals, but I may just be a purist in that sense.
So far I have low-poly meshes for the most part completed for the Locust and the Sha-Yu chassis, which I will post wireframe shots below the reference imagery.
Sha-Yu

Locust

Orthographic Drawings were done by me from as many images I could find of the relevant 'Mechs. In the interest of post brevity, I've provided links instead of the actual images, as I tend to scan everything at 300 dpi.
Sha-Yu Ortho Drawings
http://img.photobucket.com/albums/v236/nam_redips/HardSurfaceOrtho_1.jpg
http://img.photobucket.com/albums/v236/nam_redips/HardSurfaceOrtho_2.jpg
Locust Ortho Drawings
http://img.photobucket.com/albums/v236/nam_redips/ortho_page1.jpg
http://img.photobucket.com/albums/v236/nam_redips/ortho_page2.jpg
Sha-Yu Wireframe Shots


Locust Wireframe Shots


Those poly's went straight to his thighs...
I will post more as I finish, comments and critiques greatly appreciated.
Replies
Ah Battlemechs, brings back a lot of good memories.
I think you have a lot of inconsistency with your cylindrical shapes. It seems as though you chose 12 sides as an arbitrary amount for every cylindrical shape you have throughout these models no matter how large or small they are.
It's really evident in the large cylindrical shapes on the sides of the Locust, they look "low poly" in comparison to the other round shapes on the mech. On the other hand some of the other cylinders (especially weapon barrels) could potentially be reduced without much noticeable loss in the quality of the silhouette.
These parts look as though they could be normal mapped if you feel like optimizing further.
Other than those issues, they're both looking pretty good I look forward to seeing them textured. Keep it up
I will definitely look into optimizing the models. As far as the cylinders go, I had chosen different sided cylinders based on where they were at, and went with 12 sided ones for areas I thought would be more in the viewers eye for fear of faceting being obvious at render time. I have since been corrected by a friend of mine and will correct these mistakes in due time. I've actually talked with my instructor and will be taking the project in a different direction, but I haven't seen the last of these models.
anyway glad you'll be getting back to them and here's a list of the early battletech mecha that were cribbed from other anime series
http://brianscache.com/unseen/
To this end, I have gotten to about the halfway point on the Raven.
I've taken a more... functional approach to the mech, such as solving an issue that has bugged me ever since I started playing BattleTech at a wee age: If the ammo is stored in the torso, how does it get to the arm? Light Mech solution: Linkless Ammunition Feed that can be found on most Machine Guns/Rotary Cannons.
The lasers are... well... lasers. They go *pew pew* and aren't nearly a mechanical marvel as something that requires ammunition to go from storage to chamber.
To that end, I'm not sure how to complete the ammo feed to make it look solid without a LOT of work involving redoing the whole thing with a rig. For my time constraints it just needs to look cool, and doesn't need to deform, that will come later.
Another suggestion, from experience, is you may save yourself a lot of engineering headache down the road by placing in major masses for components ahead of time, like just boxes or cylinders for hydraulics and panels and such. You can instance the base object in cases where you know you'll need more than one, and as you build on the master copy the others will follow suit.
Looks like a solid start.
What I'm imagining I might be able to do besides redoing it entirely might be to make two curves that follow my existing geometry as "rails" and then possibly go the box deformation route (though I don't know if it will take with 2 curves) or duplicate parts the appropriate number of times and curve snap them.
I totally agree with you on building a master copy of several objects, and I plan on using that for when I start throwing panels and other detail work on it, but for this initial stage, I was really taking a shot in the dark. Most of what's been done on the more complex objects is experimentation, and I still don't have a solid grasp of what the final product will look like, pound for pound. I'm basically engineering it as I go, grabbing reference from current technologies and trying to breathe a little more life into one of my favorite BattleMech designs.
The leg is nearing completion of it's basic shape stage, and the NARC beacon is in place, waiting to be attached to the torso. I need to import the leg to my large scene folder, and am giving serious thought to redoing the ammo feed. I spent some time attempting to make rails for the feed, with no success. Even getting the curve to cooperate was a nightmare. I have the original piece that I constructed for the outside, I just need to duplicate it the appropriate number of times, construct the rest, then rig it so I have a "flawless" ammo feed.
I didn't spend nearly the same amount of time on it as I did last week, but I still have some time before my weekly crunch.
After I tie off the loose ends, so to speak, I won't be building the detail pieces to smooth due to time and frustration constraints. I might play with making them sub-d's if I have time, but the point is to add more detail, and I can always round it out once I've normal mapped the high poly. Here's the Raven as built for the "Mechwarrior Living Legends" Crysis mod, to illustrate where I'm headed with the details.
Raven Render MWLL
As you can see, the high-poly mesh isn't built to smooth, but has all the details necessary, and any banding/faceting for the normal map can be fixed by messing with the map once it's been made... or at least my last experience with the Joker has taught me as such.
While it's looking cool I'm having a hard time to imagine this on the actual battlefield.
A single Laser shot, a stray Bullet or even debris of an exploding Mech on the proximity could sever the Belt to the arm rendering the weapon, while still functional, useless.
I'd go with either a larger arm diameter to fit the Belt inside ( maybe not possible for Ultra Light Design like you mentioned ) OR design the arm in a way to be flexible enough to "fold back/inward" to get a new Refill of shells/rockets from the Torso.
I imagine him folding them in like a Bird it's wing, refueling the arm with enough Ammo for the next Salvo and then taking them back into Firing Position. ( Something like the APU's from Matrix )
If you insist on the belt like that then I'd recomment to hide it at least behind the Gun rendering it less vulnerable to attacks from the front.
Instead of tackling that, I decided to make the CASE system a little more primitive but still work in the same essential manner of keeping the entire mech from blowing up by housing the ammo externally. Now, there is definitely something that can be done about the design, and I'm definitely open to new approaches/solutions for the issue.
For now, looking cool is priority one as my deadline for presentation is Friday and at the moment, I'm swamped with other schoolwork :P