Workflow UV Issue
Hey all,
Just got directed to this thread by a friend and found tons of really useful environmental art related information. Anyways I've been doing the whole learning Maya, Zbrush, Photoshop thing down pretty well and sending it through UnrealEd3. However, heres one thing thats really bothering me and I'm sure theres something simple I'm missing. :poly122:
Build basemesh, UV map it, sculpt it really fast, make the Normals and Zapplink it with Photoshop, make the diffuse and specular, done and done!

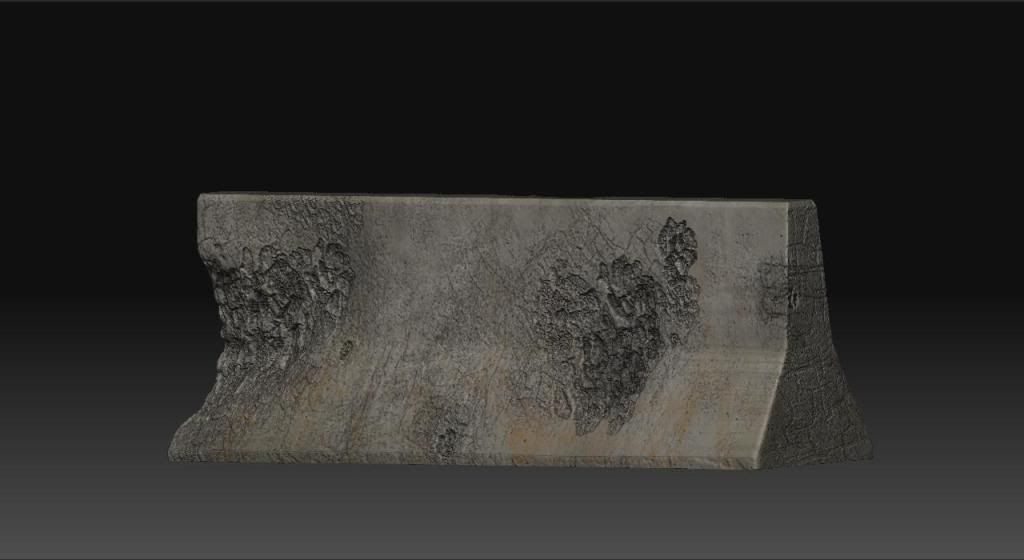
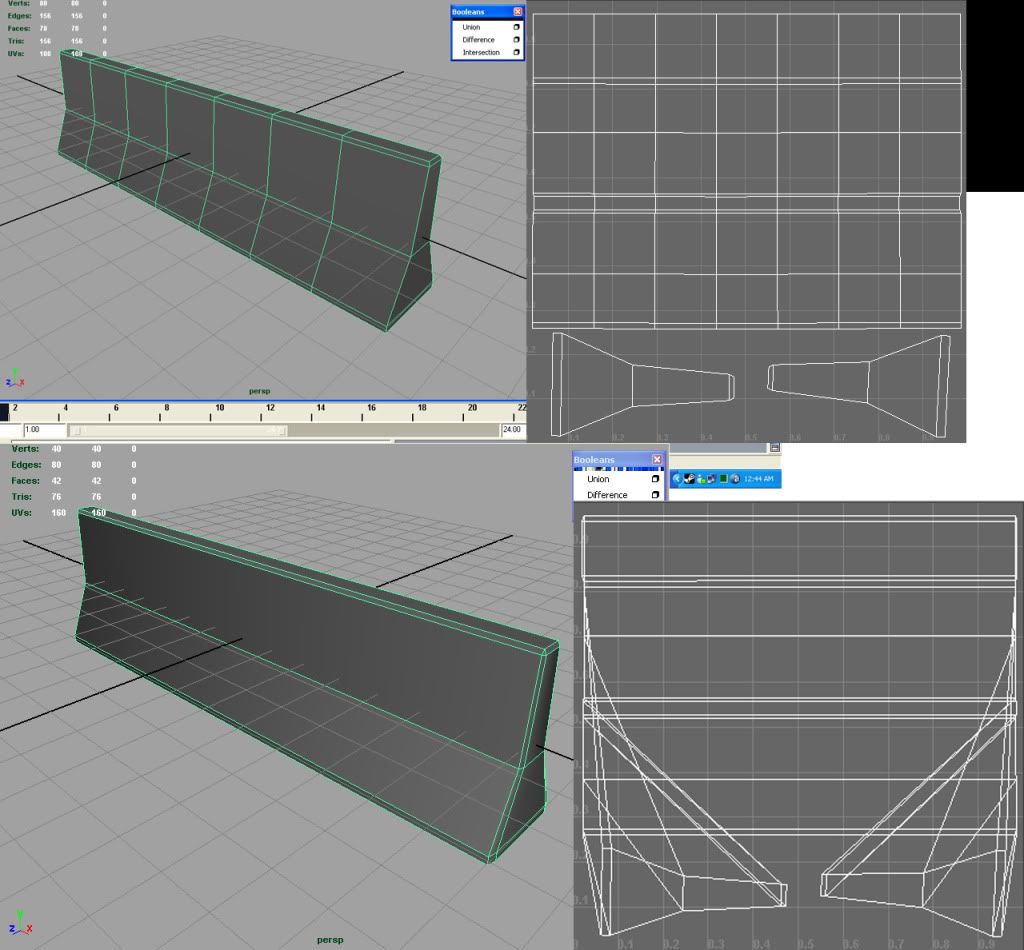
However, I wanted to try and use the basemesh to build a VG mesh the same way they built the concrete barrier in Gears of War for PC and used the Insert Edge Loop tool and deleted out what were the UV edges, but, well you can see how they fused back together.

Using some booleans to sculpt out the centers of the dividers have no problems, unless you do it on the seams and it does the same thing. Is there some way around this by just pinning the UVs down or altering my workflow?
I've been able to find tutorials for everything online on forums and videos (especially CannedMushrooms) for free how to use all these programs and such but never one for building proper VG meshes! Any help would be greatly appreciated!
Just got directed to this thread by a friend and found tons of really useful environmental art related information. Anyways I've been doing the whole learning Maya, Zbrush, Photoshop thing down pretty well and sending it through UnrealEd3. However, heres one thing thats really bothering me and I'm sure theres something simple I'm missing. :poly122:
Build basemesh, UV map it, sculpt it really fast, make the Normals and Zapplink it with Photoshop, make the diffuse and specular, done and done!

However, I wanted to try and use the basemesh to build a VG mesh the same way they built the concrete barrier in Gears of War for PC and used the Insert Edge Loop tool and deleted out what were the UV edges, but, well you can see how they fused back together.

Using some booleans to sculpt out the centers of the dividers have no problems, unless you do it on the seams and it does the same thing. Is there some way around this by just pinning the UVs down or altering my workflow?
I've been able to find tutorials for everything online on forums and videos (especially CannedMushrooms) for free how to use all these programs and such but never one for building proper VG meshes! Any help would be greatly appreciated!
Replies
Your mesh doesn't look too bad though - I don't know why you're asking for tutorials, you clearly know how to model already. The only thing you need to do here is clean up the UVs, bake the normal-map, and export it into a file format that some engine can read if you want to put it in a game.
About 10 minutes after posting this that was my very next thought, to just add one set of edge loops then push the originals back! :poly122:
The good thing about Bevel though is that it has UV Assignment options unlike a Boolean, like using Difference to muck up a buncha cubes and chop a buncha caverns into that concrete barrier (for whenever I needed it) was my idea then just triangulating the mess, but I guess I'd be better off just using Sub-Div Lvl: 0-2 of the ZBrush basemesh and just removing edge loops? :shifty: