The BRAWL² Tournament Challenge has been announced!
It starts May 12, and ends Oct 17. Let's see what you got!
https://polycount.com/discussion/237047/the-brawl²-tournament
It starts May 12, and ends Oct 17. Let's see what you got!
https://polycount.com/discussion/237047/the-brawl²-tournament
Space Helmet. .
So for my next project I'm recreating This guy's Steampunkish/retro-scifish space helmet.

Here is my lo poly, Thought I'd show it for critique before I'd continue with my hipoly.
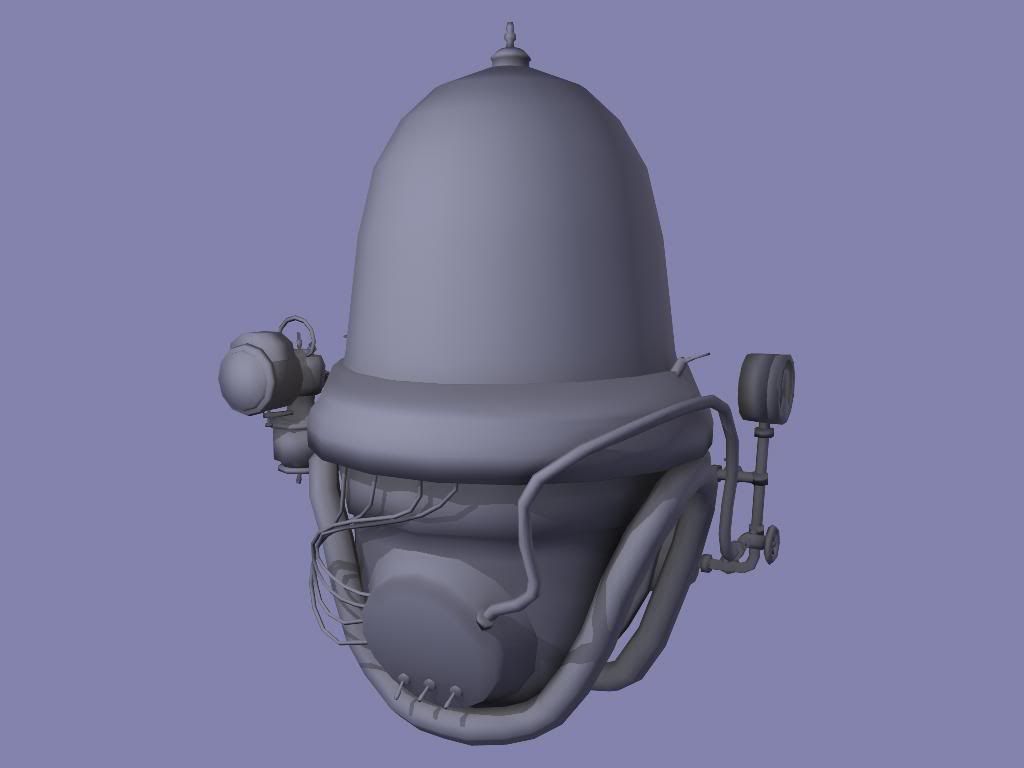
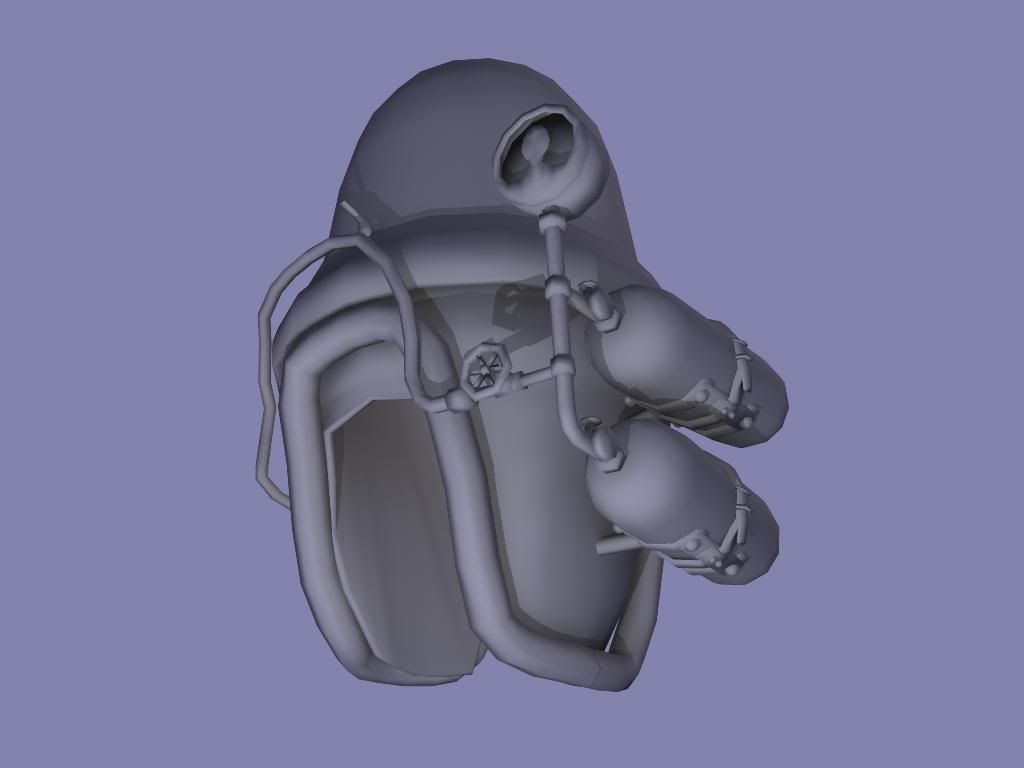
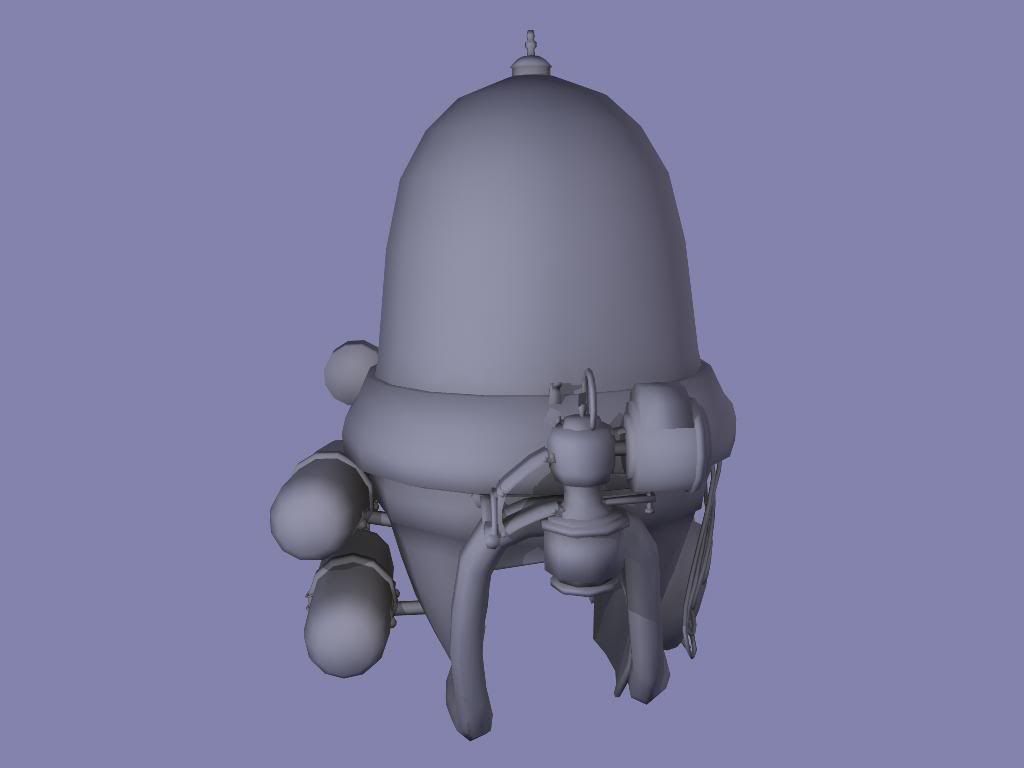
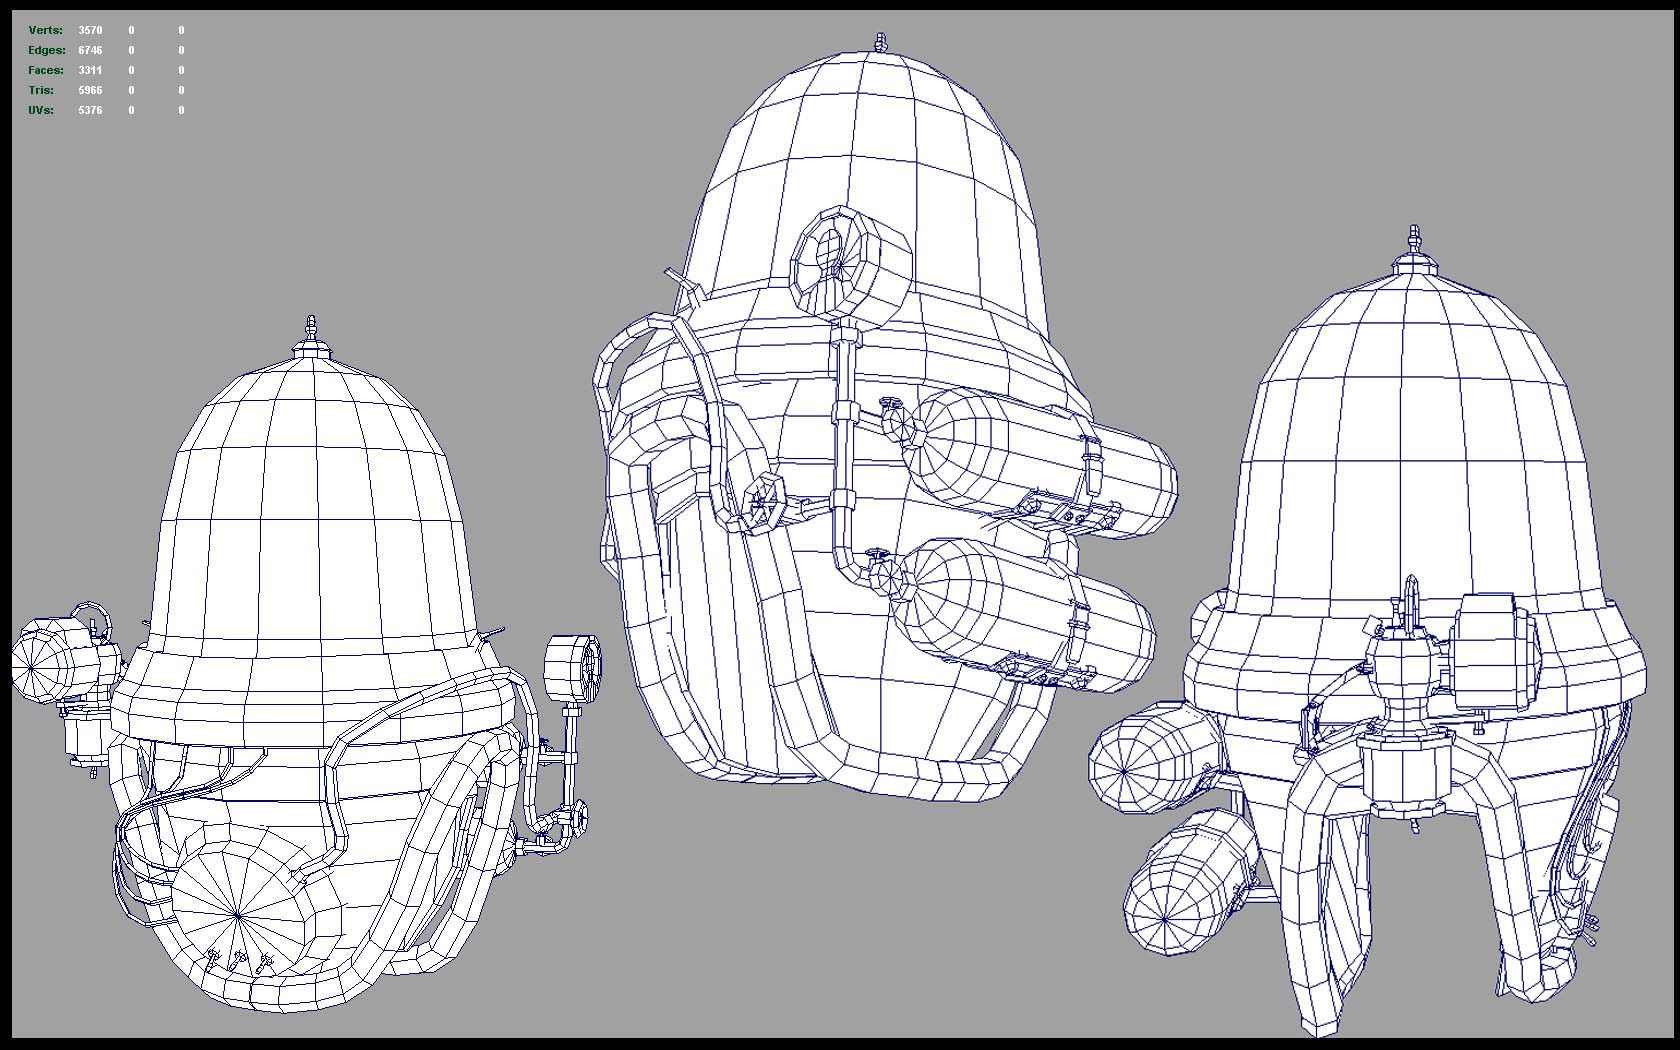
Right now it's at 5966 tris. . .which I guess is kind of hefty but I really want to get as much of the detail in to make this super nice. I haven't started optimizing and I will probably delete some thinner/smaller elements when I get my hi poly done. We will see where it will take me! Comments are totally welcomed!

Here is my lo poly, Thought I'd show it for critique before I'd continue with my hipoly.


Right now it's at 5966 tris. . .which I guess is kind of hefty but I really want to get as much of the detail in to make this super nice. I haven't started optimizing and I will probably delete some thinner/smaller elements when I get my hi poly done. We will see where it will take me! Comments are totally welcomed!
Replies
I think you should model out a few of the hose clips. I think it would be only a little more expensive (polywise) but would add some nice detail and catch a AO pass pretty well.
There also looks to be a gap around the bottom hose and the main hood plate thing?
Any plans to take it higher poly and bake down some of the details?
Everything else looks pretty legit. Keep up the good work.
Looking forward to more updates.
anyways, I'm curious how I should go about doing the gold tube on the right.
The way I'm thinking is creating just a simple long tube and extruding some 100+ loops to create the texture, then baking it out on a low poly tube and rigging it with bones to move it into shape, this is the only thing I can think of so far. . If anyone has any better suggestions, by all means!! Is there any way in maya to crate a CV curve and make a shape follow it's path?
Thanks for your time!
If you don't want to do that, you could Take your spines in its current shape, apply a morph modifier and straighten it out.....then just use a standard cylinder cut your loops and bake....then morph back into shape.
(disclaimer - ive never tried the second option,just something I came up with on the fly,just tested to see if you can add morphas to splines and you can so all good
Good luck.
john
But Alas! I will push foreward
I'm liking the saturated look to it. If you decide to keep it, make sure any grunge/scratches are strong enough to create some good looking contrast to go along with it though. Otherwise I'd say just keep doin what you're doin and I can't wait to see the final version.
Make sure no shells overlap when you do the bake, if you have stacked shells just move them over 1,2,3 etc. so they sit on the tile rather than in 0.1 space. Most of the errors you have outlined seem to be just slight issues with your unwrap. Hunt around in there and play with the unwrap a bit and you should be able to get em fixed easily.
Some very minor issues that I noticed from the reference. I know it's still a w.i.p. but here is some stuff I would have done differently.....
Like I said easy, minor issues. Past that, this is turning out great. Nice to see your putting more time into this project. Can't wait to see it finished tomorrow. Keep up the good work bud.