The BRAWL² Tournament Challenge has been announced!
It starts May 12, and ends Oct 17. Let's see what you got!
https://polycount.com/discussion/237047/the-brawl²-tournament
It starts May 12, and ends Oct 17. Let's see what you got!
https://polycount.com/discussion/237047/the-brawl²-tournament
Victor, first character, advices welcome
Hi
First, i must apologize. My English is horrible, and I will try to be as clear as possible.
This is my first post here, even if i look regularly the incredible stuff in here.
So, I consider myself as a newbee. I know how to use Max, ZBrush (at least in part), I know some technical stuff, in brief, I think I know what we're talking about.
However, my knowledge is rather superficial.
I'm making a character, here is the 2D concept. I plan to complete a scene to work out various aspects :
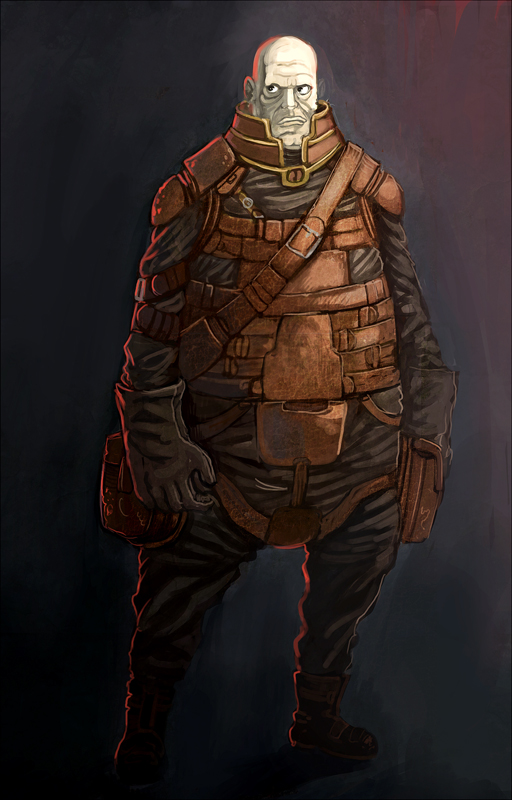
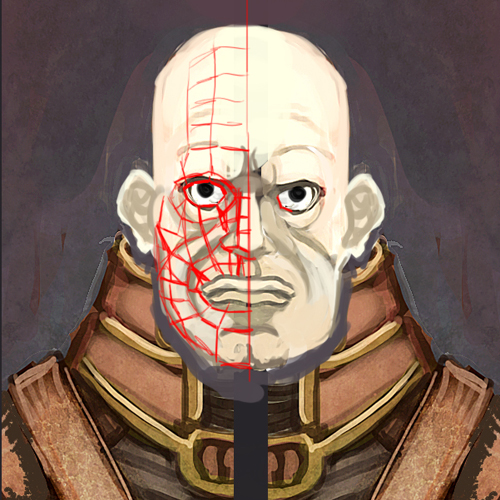
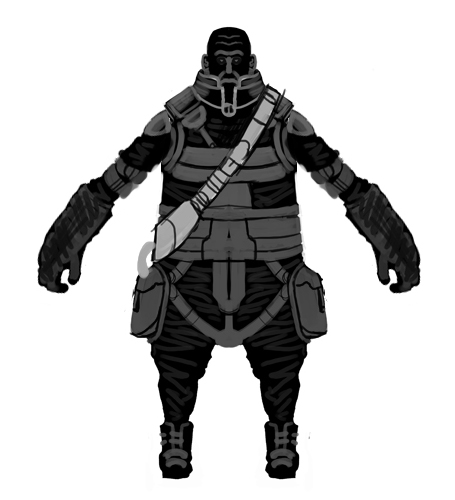
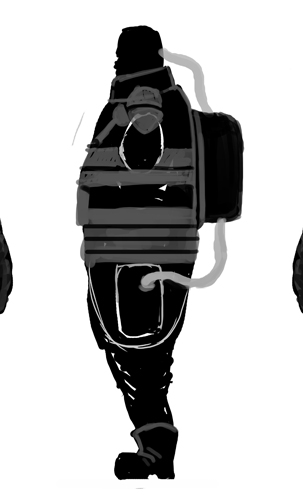
I hope i have understood the workflow. First, I made the basic shape, in order to export into ZBrush. I paid attention to have as possible only squares. Then I need to retopologize, UVs, and make a normal projection in Max.
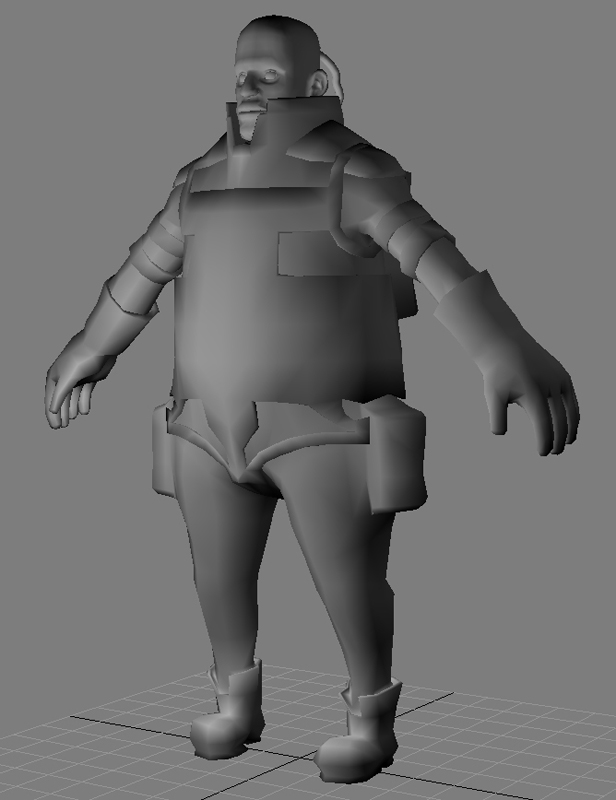
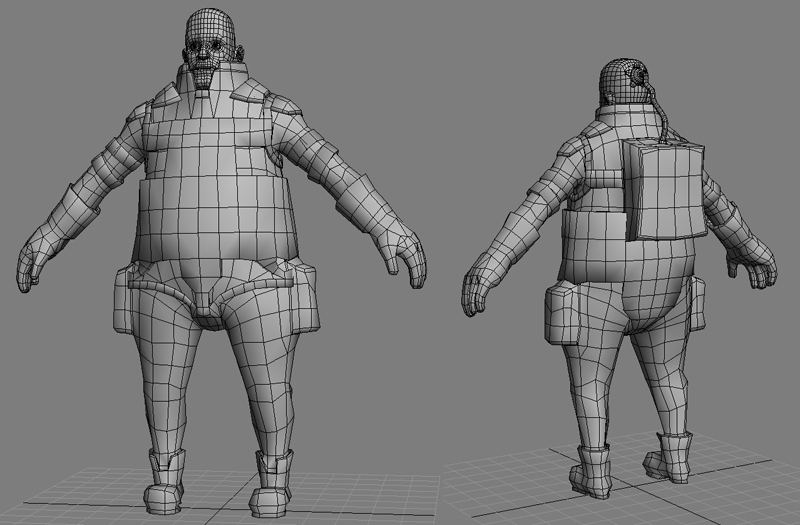
This is the stage where it is.
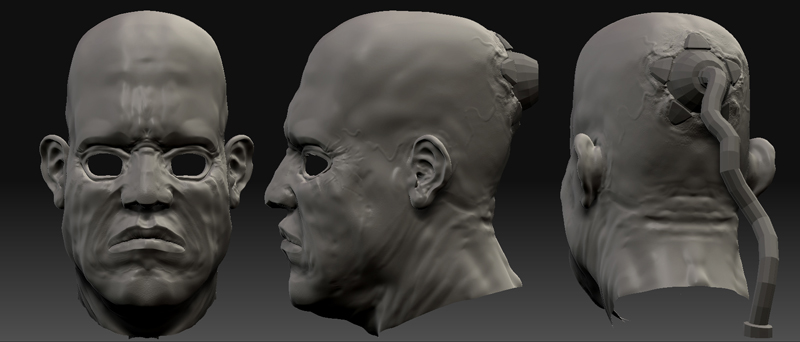
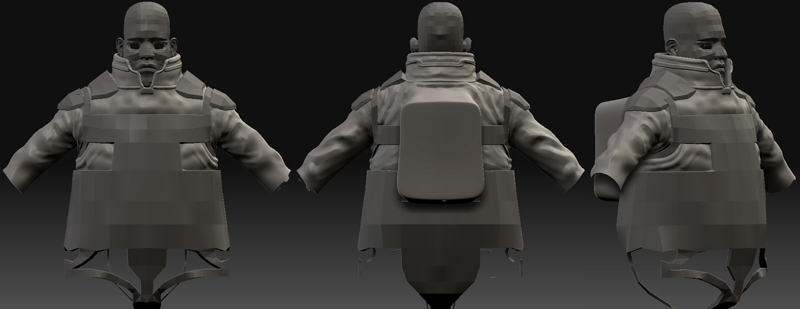
I wonder a lot of things. For example, Do I should modelize each part of the character, like body and suit, or make it in only one piece? Does it matter?
I have some problems, in ZBrush, to draw hard edge shapes, do I need to modelize them apart?
Right now, it is 8118 tris. I think I can optimize it a bit more. There's a lot of problems with anatomy, I dont know if the topology is good or not.
Well, I'm a little lost
I will try to work on this model as regularly as possible. If you have any advices, tips, criticism, I would be very grateful.
First, i must apologize. My English is horrible, and I will try to be as clear as possible.
This is my first post here, even if i look regularly the incredible stuff in here.
So, I consider myself as a newbee. I know how to use Max, ZBrush (at least in part), I know some technical stuff, in brief, I think I know what we're talking about.
However, my knowledge is rather superficial.
I'm making a character, here is the 2D concept. I plan to complete a scene to work out various aspects :


I hope i have understood the workflow. First, I made the basic shape, in order to export into ZBrush. I paid attention to have as possible only squares. Then I need to retopologize, UVs, and make a normal projection in Max.


This is the stage where it is.


I wonder a lot of things. For example, Do I should modelize each part of the character, like body and suit, or make it in only one piece? Does it matter?
I have some problems, in ZBrush, to draw hard edge shapes, do I need to modelize them apart?
Right now, it is 8118 tris. I think I can optimize it a bit more. There's a lot of problems with anatomy, I dont know if the topology is good or not.
Well, I'm a little lost
I will try to work on this model as regularly as possible. If you have any advices, tips, criticism, I would be very grateful.
Replies
The model shows maybe three times the amount of polies in the head and they aren't helping to give interesting shape to it just roundness.
Character should share a consistent level of detail especially if you are to prepare this model for sculpting.
Suggest reducing the head considerably and totally quadifiying the mesh -there are some tris in the gloves and around the collar.
Once there you can detach alike parts for instance the skin areas in max/maya and keep them as one object, same for the rest where the texture type/colours/mesh change radically.
Import the file to zbrush with the seperated objects and use the layer tools - distribute to layers (i think), that way you can work independantly on matching mesh elements which should help improve workflow/speed.
as far as the sculpt...I would go back to pushing your larger shapes..making them more refined before you start putting in any detail. I would give him a little sag as well..seems like all his bits are defying gravity a bit....cool model..good start
Thanks for the comments.
I tried to make corrections to the face and the top of the suit.
I continue to sculpt the legs, and it's really difficult to obtain hard edge shapes. When I subdivide, the edges become too soft.
For example, the shoes looks like clay.
I'll keep working on it.
how do I not have noticed ^^
well, thanks anyway.
Alex Pointer : Thanks for the reply. Actually, I'd really love to animate this guy. I wanted to explore the whole process of creating a character, including animation. Maybe it's quite ambitious at this point?
This is my topology of the face, and the back of the head. Is it okay?
Question, i don't know if it's because of my poor vocabulary, but what do you mean by "pinching"?
Anyway, thank you
Thank you very much.
You're right, there's still much work.
Actually, I try to sculpt at lower level, and then details. But I make mistakes, an corrections, and corrections, and...
So, I think I will restart from the beginning, for the head, and try to work deeper the basics shapes.
I tried to work on expressions.
And as i said, I will make a scene, as the character has a background.
I began to modelize his... tool
Thank you !
I've got some news.
Thanks to your advices, i think there's some improvements.
I've restarted the sculpt from the beginning, i think it's cleaner now.
It's still difficult to get hards edges, but it's better ^^
I'm currently trying to make a scene for the character, here is the first step. At the end, I will export it in Unreal 3.