"Huantalien"
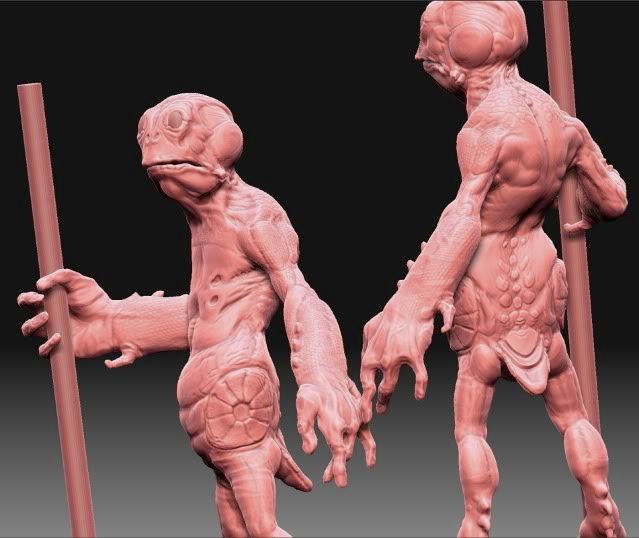
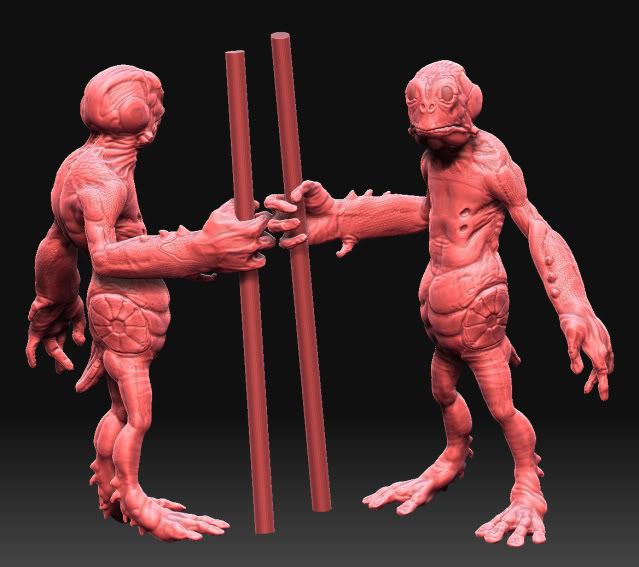
Here is the stages of my latest character, created for a class assignment. Looking for crits on the sculpt before I finish the sculpt up and move on to transferring maps and texturing.
The piece is based on a concept by Carlos Huante (looove his creatures).
First attempt at ZSpheres:
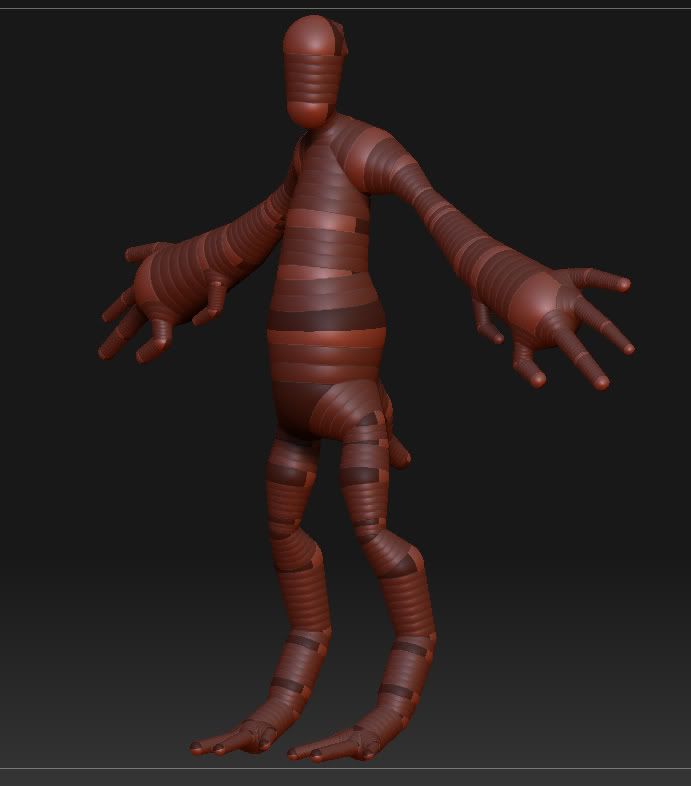
First Pass: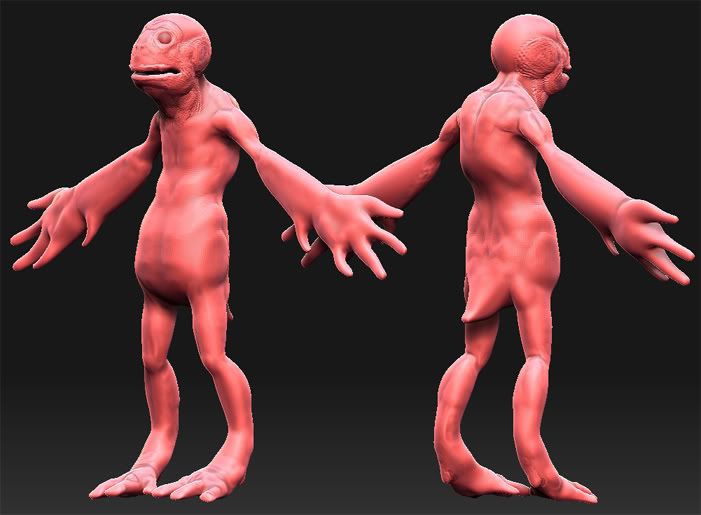
Second Pass:
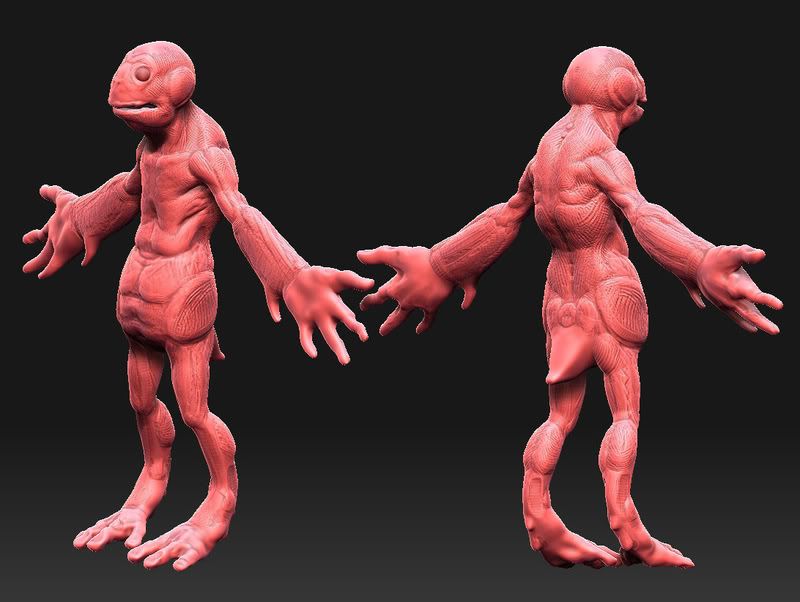
Third Pass:
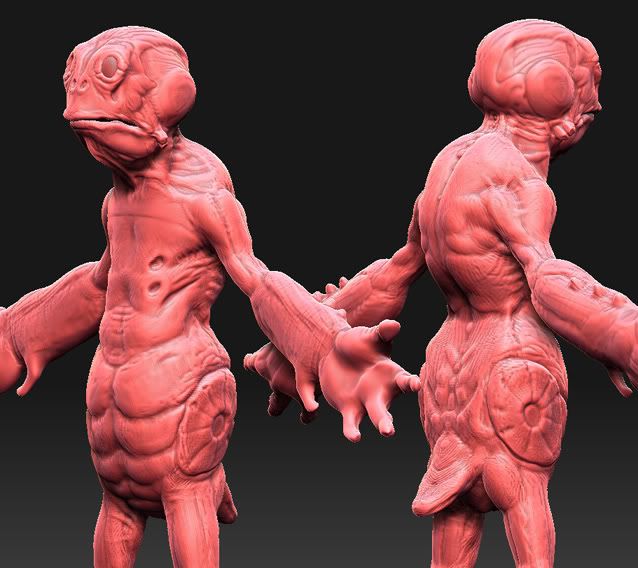
Fourth pass and posed for the assignment:
ZBrush Retopo:
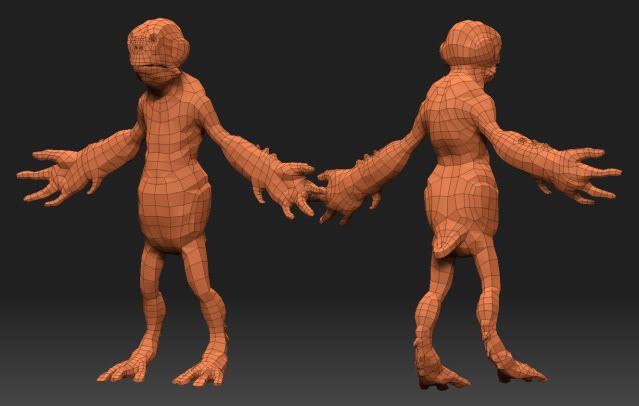
I feel like I rushed into surface details and posing too early, but had to make the assignment - I'd like to hear some crits on the matter. I'd like to improve the sculpt a little more and then go ahead and work on the texture.
The piece is based on a concept by Carlos Huante (looove his creatures).
First attempt at ZSpheres:

First Pass:

Second Pass:

Third Pass:

Fourth pass and posed for the assignment:


ZBrush Retopo:

I feel like I rushed into surface details and posing too early, but had to make the assignment - I'd like to hear some crits on the matter. I'd like to improve the sculpt a little more and then go ahead and work on the texture.
Replies
* You know zspheres ? would it be possible to use them to build my character then sculpt my character, Then retopo but then use the retopo' version as a low poly base mesh to import into max or something ? is that what its actualy doing ? Thanks alot !
If you wan't more information, check out Zach Petroc's ZBrush DVD's and Scott Spencer's ZBrush book. Those are the resources I used.
You can see I highlighted some errors in my maps. With my limited knowledge, I am guessing this is a raycasting distance error casting the arm onto the hip? Can anyone out there educate me on this point, or direct me to a tutorial that would clear up this baking issue?
My other thought is that maybe I could separate the torso from the arms and bake it that way, but then I'm concerned that I might generate noticeable seams (its pretty seamless right now).
I baked my maps in xNormal.