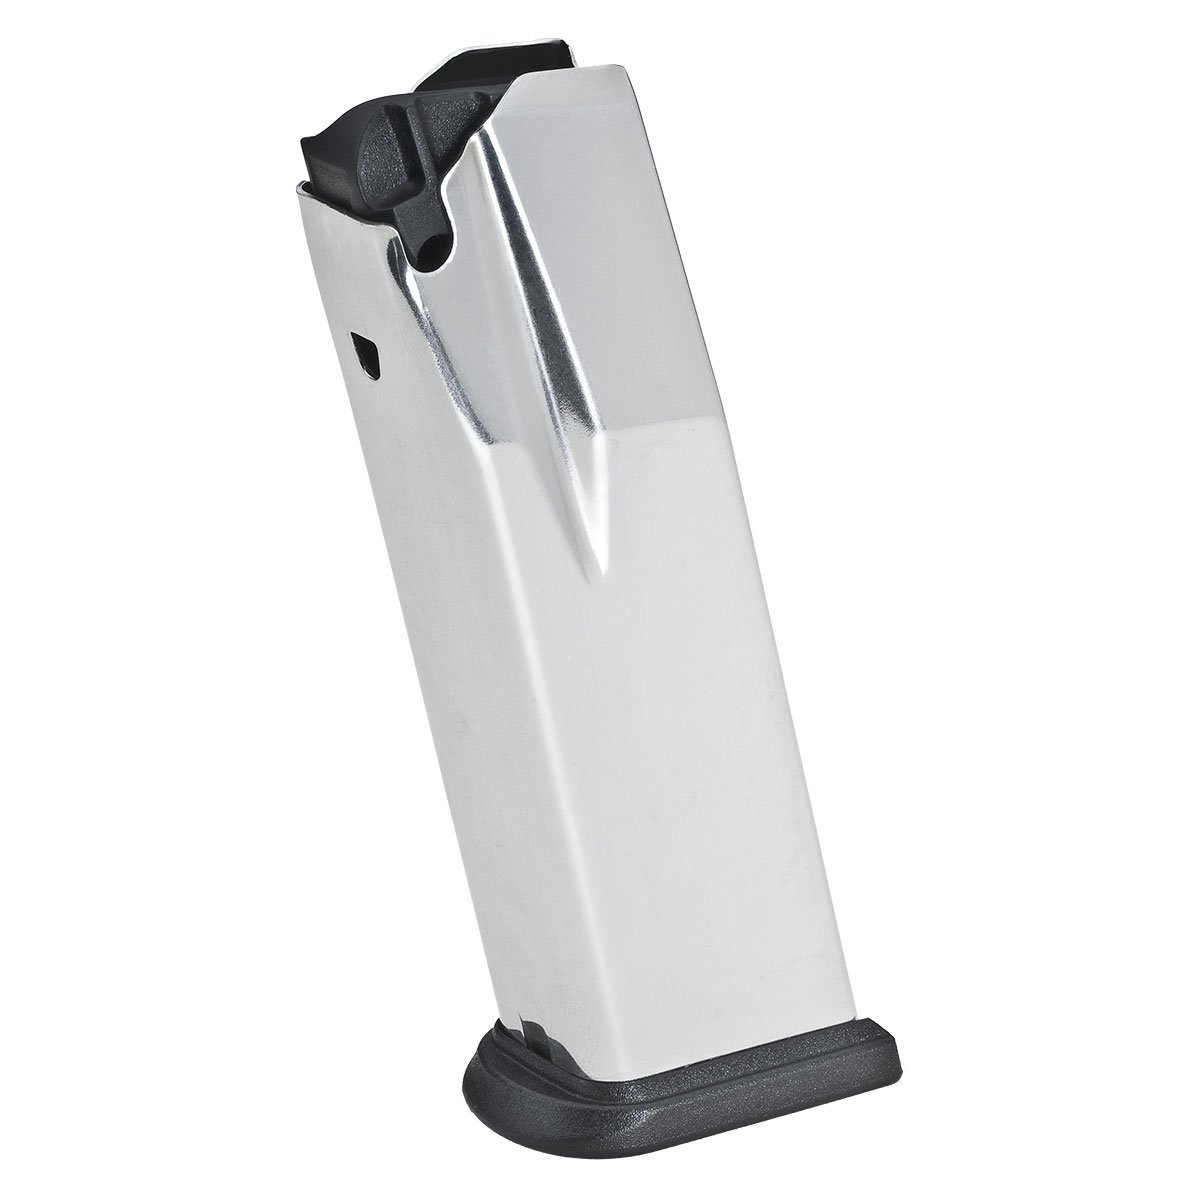
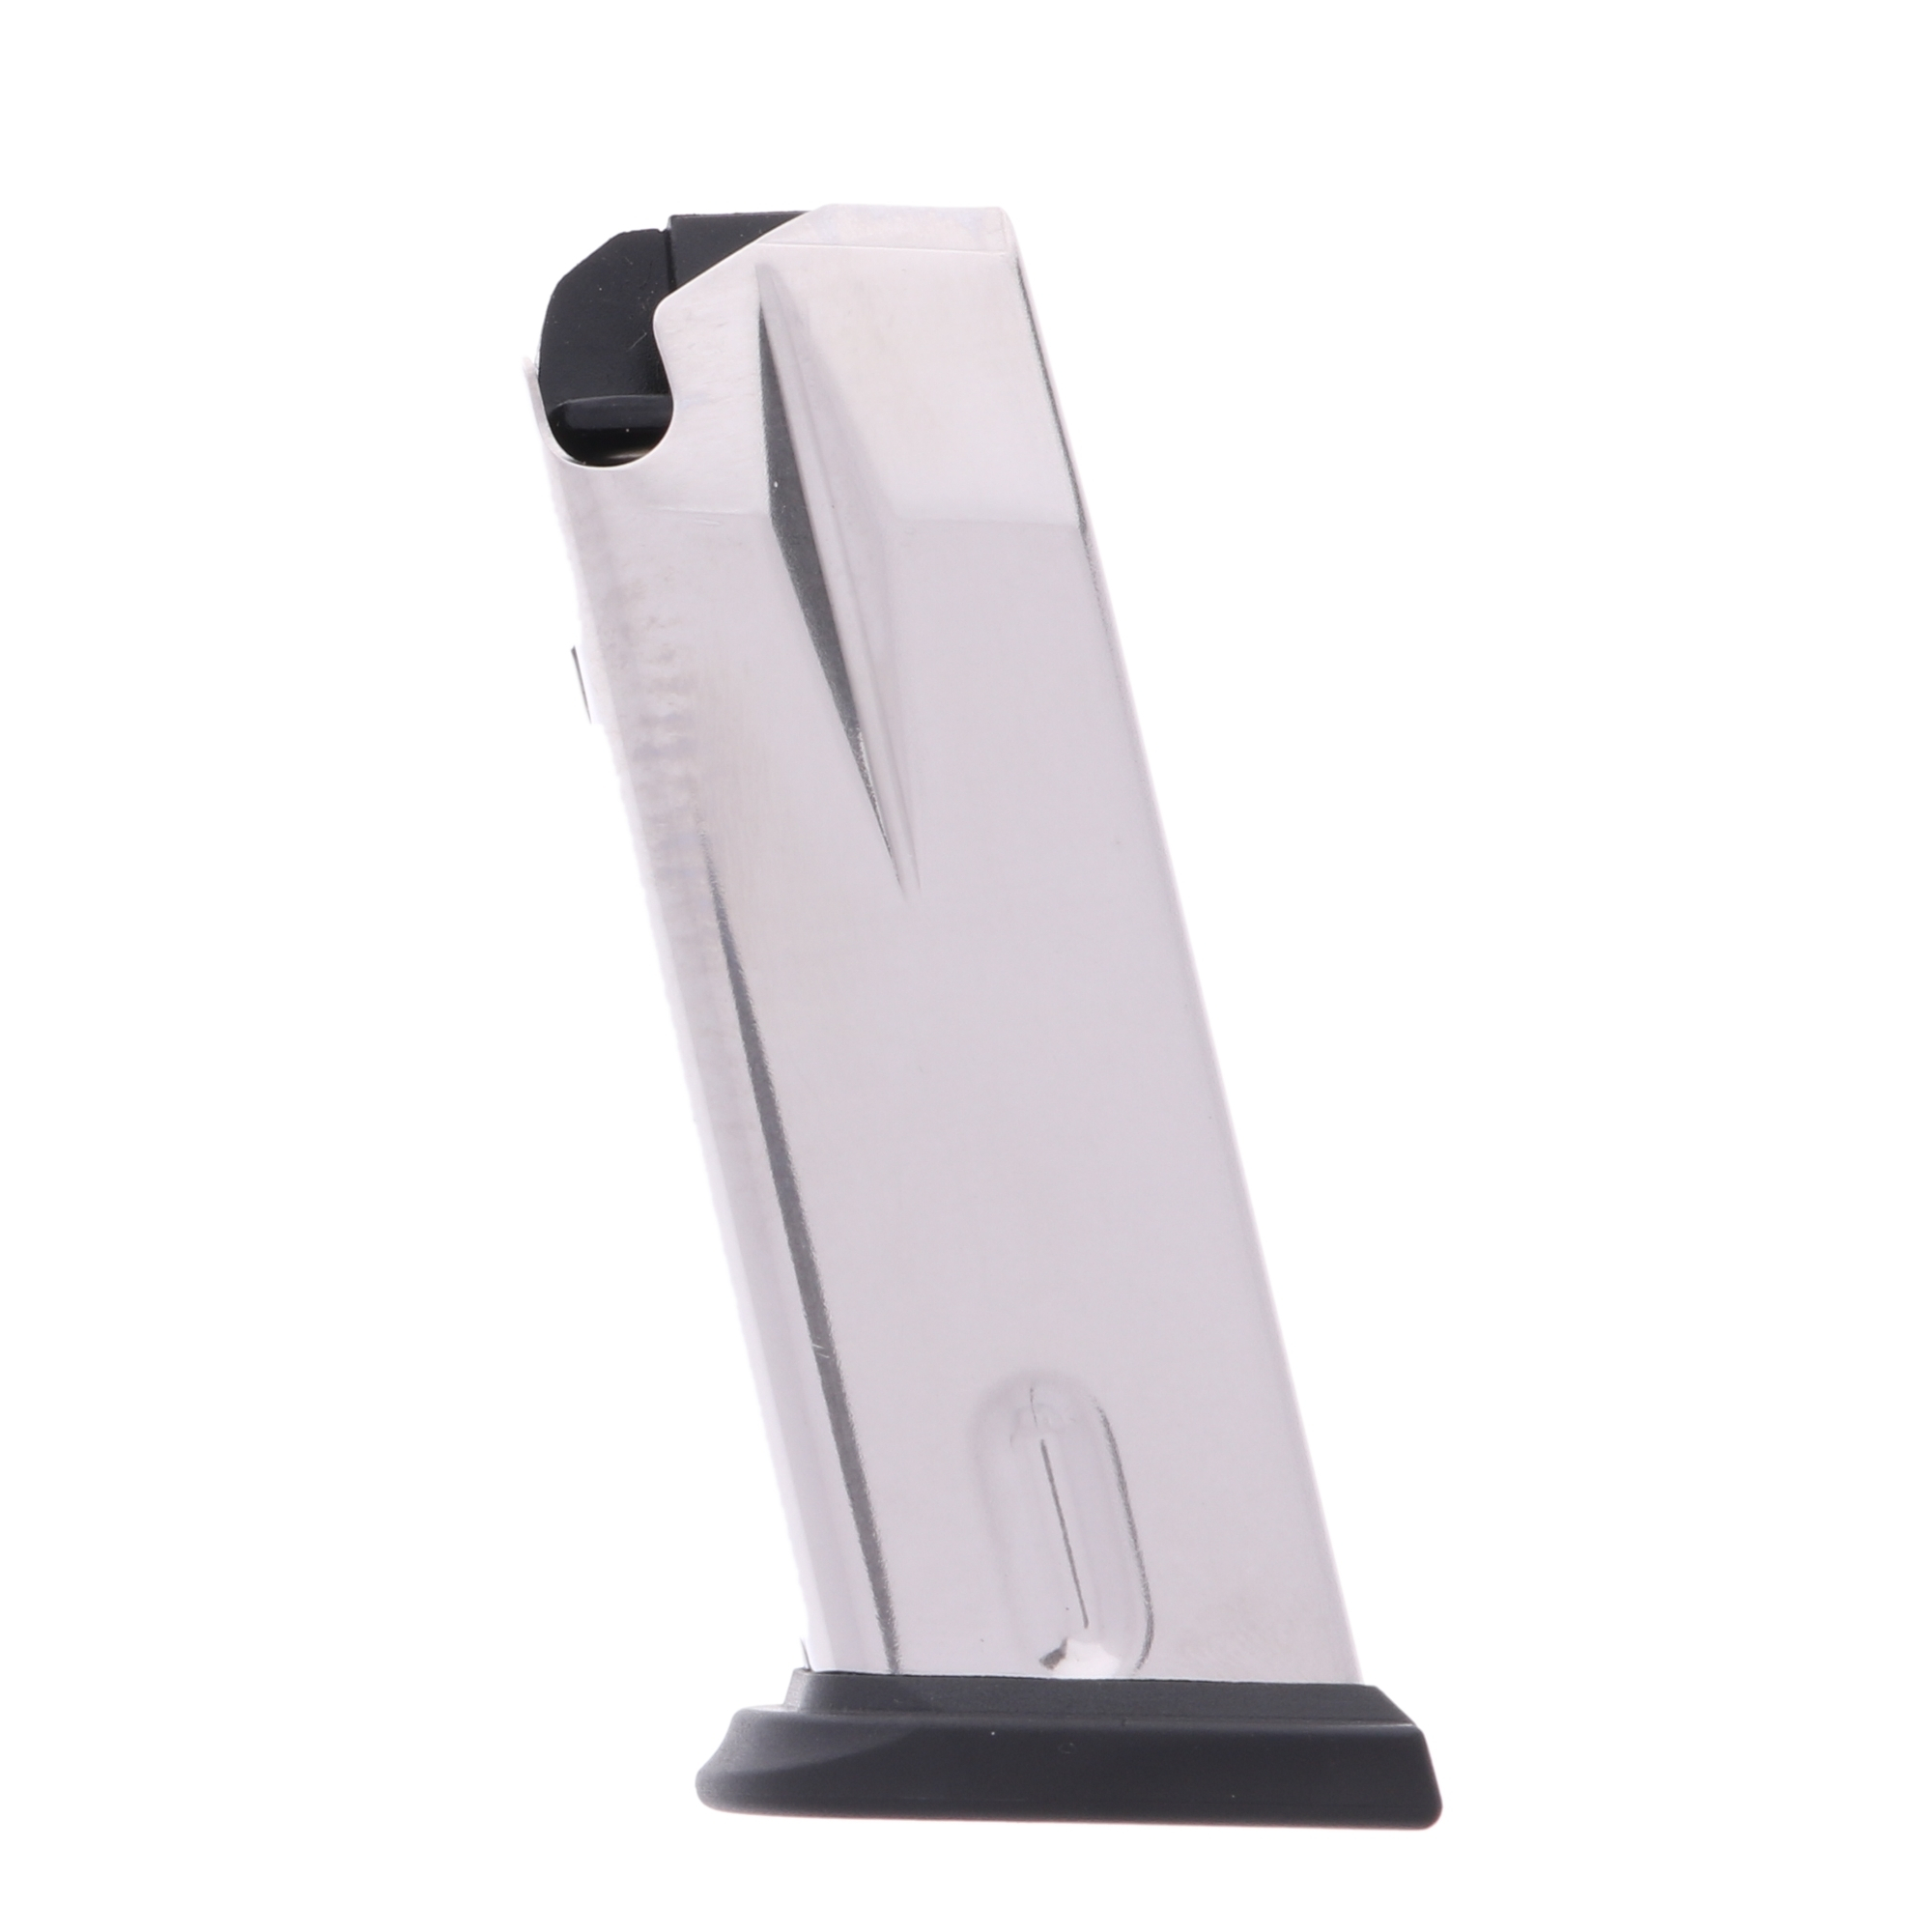
Hi Polycounters ! I want to share with you my work in progress in creating a game ready asset. a Springfield XD mod.2 handgun. I have almost finished modeling the frame and the magazine is fully modeled, now it's time to tackle the slide and the barrel which are slightly easier and less complicated than those crazy forms on the frame.
Here's some screenshots from Zbrush (this is my first encouter with the program, it is very powerful but very confusing) along with the references i used.
I'm looking for feedback, so any critic is welcome
Hello everyone ! I wanted to share with you my progress this week. So the high-poly is almost finished, i have yet to model the trigger, the sights and the small parts. Any and every feedback is welcome !
Thank you for the feedback ! very good observation ! I have a question though :Would you suggest that i re-model the low and high poly for the slide part or is there a quick fix to do it ? Because i know that the barrel has the correct proportions since i modeled it using the cartridge as a reference for which i have real world dimensions from the manufacturer - so the slide is the problem because i eye-balled it
So in my quest to get the right proportions i had to remodel, re-scale and adjust most of the parts of the gun since they are tightly related to each others in terms of dimensions/proportions - I'm aware that some small areas/details do not look 100% similar but in my opinion i got very close to the reference (hopefully haha) - is there any feedback that you can provide on this update ?
[...] so the slide is the problem because i eye-balled it
I'd caution against 'eyeballing' because if accuracy is an end goal here, then the more prudent course I'd advise.
Is to utilize better quality orthographic background images in order too extract near enough precise information which in my opinion, why you've encountered issues with proportion / scale, so far coupled with a possible novice observation competency, as well.
Thanks ! This is a really helpful advice ! And you're right I would too attribute the issues that i had to my lack of experience in hardsurface modeling and novice observation skills, also handling two new softwares at the same time didn't help haha. i'll pay more attention to use better quality references in the future since i realized fairly late into the process that i needed a better orthographic reference than this one :
Also i've noticed that my orthographic reference wasn't exactly matching with the perspective references even though it's the same gun (maybe different editions/versions , not sure) for example :
Now i have i've spent some time to adjust some details since the last reply and here's the results - Fixed the front sight proportions - Re-modeled all of the slide's details except the ejection port (that angular cut i couldn't get right) - Worked more on the grip edge flow - Adjusted the magazine base - Fixed the trigger's width - Fixed the mag-release scale
Also i've noticed that my orthographic reference wasn't exactly matching with the perspective references even though it's the same gun (maybe different editions/versions , not sure) for example :
Well at a glance, they're not the same weapon there's definitely a distinct difference between the two.
'Tan colored' polymer version on the right has a longer barrel, possibly 4" length so yes as you've guessed probably a later variant, hence the area marked in red will obviously not match in either ortho or pers view.
Mixing source material, is most likely another aspect contributing to errors already discussed.
Anyhow, too clear up the confusion just from inspecting your ref set posted in the OP - it's actually the gun on the left that you are working on at the moment, I believe...
Now i have i've spent some time to adjust some details since the last reply and here's the results - Fixed the front sight proportions - Re-modeled all of the slide's details except the ejection port (that angular cut i couldn't get right) - Worked more on the grip edge flow - Adjusted the magazine base - Fixed the trigger's width - Fixed the mag-release scale
Alright, now please align my critique's intent as an addition too @Zi0 previous comments. In terms of further constructive feedback, for revising this object's overall surface detailing plus proportional, pinch points:
Personal 'Rule of thumb' when assessing for mesh accuracy of various disparate dimensions regardless of weapon type, throughout each phase of the modeling process i.e.
- Pre-planning
- Blocking out primary shape/s
- Secondary sub-object / shape definition
- Accrued revisions
- Final detailing - refining...etc
I almost exclusively work off of orthographic views or where possible all 4 - side, top, rear and front, rarely ever using perspective due too focal length skewing when compared with a given reference.
Only leveraging pers view whilst on a high FL setting, just for checking how the finalized mesh looks in FPV.
Ok, in my opinion there's still an overall problem with the slide and upper frame assembly, despite your attempted fixes, I'm afraid which in turn is effecting most of the gun's tertiary details:
Magazine base lip protrusion, too pronounced
Trigger guard is slightly to wide coupled with thickness
Trigger (same applies plus a scaling error, as well)
Trigger guard housing aperture / opening is a bit shallow in design
Foresight length
As mentioned above, slide and upper frame longitudinally are off thus likewise all other attendant surface features
Ejection port indent needs to be deeper
Also generally, those new to hard surface or weapons for that matter would typically start modeling in their DCC app of choice, then upon completion if the base mesh was generated via a non-destructive workflow, will normally export out to a sculpting application, as an example.
So I'm curious, if there was some compelling reason for choosing a similar approach rather than relying on polygonal geometry to begin with, since you've said, are relatively new to both software and discipline?
This is a very constructive and detailed feedback i really appreciate the attention paid to my project by both of you guys @sacboi and @zi0 ! Thanks !!
In regard to the question you asked, i honestly did not fully understand what you meant but i'll try to answer it anyways : - To start from the beginning a brief presentation : i'm an archviz artist and modeling, uvs and optimization weren't my concerns, and now i've decided to push my limits in assets' creation for games and it turns out i am illiterate in 3D art up until now haha.
- So i'm following a tutorial from which i observed the artist's workflow using maya and zbrush back and forth picked up certain methods and i familiarized myself with both programs during the last month to say that i'm confortable using them both now (i was a 3ds max user) - But i cant give you a personal reason as to why i did not rely on a polygonal method since i'm a newbie in this field but i'll give you the reason from the tutorial which i agree with :
- Using zbrush live boolean feature is really helpful to visualize complex cuts and sculpting on the model directly, and most importantly it's non destructive, i can't tell you the ammount of trial and error i went through on some parts to reach the result i've got but i was really glad that i didn't have to worry about remodling the whole part - Also zbrush can handle millions of polys without so much of a frame drop which is very helpul in the high poly modeling phase .
-The workflow is like this : i model the main shapes (blocks) in a low poly state in maya at first using ortho reference then i import them in zbrush add dynamic subdivs then for the cuts i model the negatives in maya too and throw them in zbrush and live boolean. Then once finished with the whole gun i apply the boolean operation to get a high poly mesh with all the cuts applied , then dynamesh and smooth all crisp egdes and all the necessary steps for a good baking later on - then i go back to maya and import my high poly mesh and poly-model the low poly based on the HP mesh.
I hope that i provided enough informations to answer your question, if not please ask aways, i'm happy to answer
PS : My end goal in this project is to create a presentable well textured asset that can be imported perfectly fine in game engine (no animation)
Thanks for the clarification, I'll keep an eye out for future updates.
Cheers.
Edit Half the time I confuse myself, let alone others asking obviously non-sensical questions, after the fact anyway alll good more than cleared up my 'so called' query.
I just found this post and really liking how the gun is looking. What is your workflow if I may ask? Subdivision box modeling or are you using booleands and stuff in ZBrush?
Hi thanks for asking here's the answer about the workflow :
-The workflow is like this : i model the main shapes (blocks) in a low poly state in maya at first using ortho reference then i import them in zbrush add dynamic subdivs then for the cuts i model the negatives in maya too and throw them in zbrush and live boolean. Then once finished with the whole gun i apply the boolean operation to get a high poly mesh with all the cuts applied , then dynamesh and smooth all crisp egdes and all the necessary steps for a good baking later on - then i go back to maya and import my high poly mesh and poly-model the low poly based on the HP mesh.
Thanks for the clarification, I'll keep an eye out for future updates.
Cheers.
Edit Half the time I confuse myself, let alone others asking obviously non-sensical questions, after the fact anyway alll good more than cleared up my 'so called' query.
It's all good man, i'm glad you asked ! All feedback and criticism is welcome i look for a fresh eye to help me improve my work because i tend to get tunnel visioned once i deep-dive into something, it was really helpful to recieve others' perspective on my work
So basically i had to re-do the whole mesh from scratch, i'm not sure if it's 100% accurate but i'm satisfied with the results and i think it looks way better. Here's a side by side comparison :
Hello everyone, i need help in the baking phase of the model - i have encountered some issues and i couldn't figure out what's causing them When i bake the normals i've got these problems :
First this is the model baked :
- Here's the whole UV layout
For this part which is the upper surface of the slide i got a weird shape even though i have no seams or hard edges or weird topology
Also i don't understand what's causing this issue in the inner part of the slide :
Theres a thin triangle there probably. Try adding more topology from side to side. Also make sure you enable triangulation when you export. If you export with quads or ngons it will triangulate them in substance or marmo but the triangulation algoritm might differ. So it might look ok in maya but in other apps it could look different. Second problem comes from the baking depth and the fact that you have a very thin shape there. Try lowering the depth or distance or whatever its called and look for issues in other areas. By lowering the distance a ray travels you might get misses i.e the low poly mesh is too far away in some places from the hp.
Thanks for the feed back i'll try those tips and see what will happen, as for the triangulation i'm holding on for now to keep the model easily editable then after i resolved the big issues during the test bakes i'll triangulate it and do a clean final bake in marmoset.
I just found this post and really liking how the gun is looking. What is your workflow if I may ask? Subdivision box modeling or are you using booleands and stuff in ZBrush?
You should check out Eugene Petrov if you are interested in doing weapons, he is really good and has tutorials too. He is the one who taught me this workflow with booleans in Zbrush.
Theres a thin triangle there probably. Try adding more topology from side to side. Also make sure you enable triangulation when you export. If you export with quads or ngons it will triangulate them in substance or marmo but the triangulation algoritm might differ. So it might look ok in maya but in other apps it could look different. Second problem comes from the baking depth and the fact that you have a very thin shape there. Try lowering the depth or distance or whatever its called and look for issues in other areas. By lowering the distance a ray travels you might get misses i.e the low poly mesh is too far away in some places from the hp.
@teodar23 Hey man many thanks for the tips and advices you provided, the baking worked marvelously (well .. with a lot of sweat and tears fixing the little small details that are connected to everything else ergo redoing the unwrapping again and rearranging the uv islands in a better and optimized way and repacking again and again and some modeling and the bunch of import/export errors in-between arrrgh the pain, okay it's not important ) Here's the screenshots :
Bake looks amazing!! I am also doing baking my character right now, and I am totally feeling the same pain of import/export errors you mentioned lol. I guess it is really rewarding to see that crisp bake in the end haha. Good job and keep it coming!
Oh the times i was gonna give up and leave it on stand by for another week hahaha; thanks for the support !!
Hello good people of Polycount !! Does anyone has a clue as to why is this happening in marmoset and not in substance painter and maya using the same normal map and the same exact mesh ?
"Does anyone has a clue as to why is this happening in marmoset and not
in substance painter and maya using the same normal map and the same
exact mesh ?"
Yep as teodar said, they're not the same, hence may read the triangulation differently.
Hello again friends ! I have an issue with changing the shader type in Substance Painter mid painting, i have created the basic materials for all the sub-meshes of the model (Diffuse, metalness, and roughness for some) and then after exporting the maps to test how it looks in Marmoset i realized that i was working in Metalness/Roughness workflow while Marmoset TB uses a Spec/Gloss workflow. Then two issues presented themselves :
- First the conversion of the gloss map to roughness map do not give the same results and it looks ugly in marmoset like this pictures below - Second when i change the shader in Painter from Metal/Rough to Spec/Gloss all diffuse and specular information is lost and i get a white model with height information.
I am wondering if anyone knows a solution to this problem, is there a possibility to change Marmoset workflow ? Or am I missing something in Painter after changing the shader, or is my map conversion not correct ? I'm confused
The problem with the roughness map : MTB Version
PAINTER Version
MTB Version
PAINTER Version
The problem with the shader switching :
All the materials are preserved but do not show on the model in material mode
Yeah, you should setup marmoset in Metal/rough too. In the reflectivity texture slot you have to change Specular to metalness by clicking on the triangle next to it, and on microsurface you should change from glossiness to roughness
Keep in mind the PBR guideline and avoid pitch black colors in albedo
Of course ! But i never use pitch black colors , the lowest value i use is between 2 and 5 , if you mean the metal parts that's because i still didn't work on them yet , i only worked on the plastic parts which are the frame and the magazine base
Also the slide is manufactured from steel so will have a metal finish not plastic!
Eventhough coated in Melonite which is used to both strengthen and as a anti-corrosive treatment however during the completion phase is then polished too restore the part's original surface.
Also the slide is manufactured from steel so will have a metal finish not plastic!
Eventhough coated in Melonite which is used to both strengthen and as a anti-corrosive treatment however during the completion phase is then polished too restore the part's original surface.
Hahahaha yes man i'm aware of which part is which it would be weird if i didn't know which material corresponds to which part of the gun, imagine making the slide plastic it would be a toy gun lol.
The slide has too much edge wear and its too uniform. Too many fingerprints, reminds me of my phone. The lower is too rough, should have some more roughness variation also
So i re-worked the materials from scratch, i'm not sure what i can add more, i still have to create a different material to the barrel, and texture the magazine and cartridge
Hello polycounters, at last i finished my game-ready asset: The Springflield XD Mod.02 Handgun Thanks for all the people who provided a helpful advice or a critique during the time i was working on it or when i asked.
I think it could be refined even more but it's time for me to focus on a new project. This was a blast, i had a lot of fun and a lot of pain too haha
Many thanks to EUGENE PETROV for sharing his workflow on making guns for games, please check his course it is very detailed and educative.
Infos : Tris : 16 120 4k Texture for the whole gun
High poly sculpted in Zbrush Low poly modeled in Maya UV mapping done using Headus UVlayout and Rizom UV Texturing in Substance Painter Rendering in Marmoset Toolbag
Replies
Hello everyone ! I wanted to share with you my progress this week.
So the high-poly is almost finished, i have yet to model the trigger, the sights and the small parts.
Any and every feedback is welcome !
Thank you.
I have yet to polish the sharp edges and then i'll tackle the low poly phase
The low poly phase is done - time to tackle the uv mapping and texturing
I have a question though :Would you suggest that i re-model the low and high poly for the slide part or is there a quick fix to do it ?
Because i know that the barrel has the correct proportions since i modeled it using the cartridge as a reference for which i have real world dimensions from the manufacturer - so the slide is the problem because i eye-balled it
i'll pay more attention to use better quality references in the future since i realized fairly late into the process that i needed a better orthographic reference than this one :
Also i've noticed that my orthographic reference wasn't exactly matching with the perspective references even though it's the same gun (maybe different editions/versions , not sure) for example :
Now i have i've spent some time to adjust some details since the last reply and here's the results
- Fixed the front sight proportions
- Re-modeled all of the slide's details except the ejection port (that angular cut i couldn't get right)
- Worked more on the grip edge flow
- Adjusted the magazine base
- Fixed the trigger's width
- Fixed the mag-release scale
In regard to the question you asked, i honestly did not fully understand what you meant but i'll try to answer it anyways :
- To start from the beginning a brief presentation : i'm an archviz artist and modeling, uvs and optimization weren't my concerns, and now i've decided to push my limits in assets' creation for games and it turns out i am illiterate in 3D art up until now haha.
- So i'm following a tutorial from which i observed the artist's workflow using maya and zbrush back and forth picked up certain methods and i familiarized myself with both programs during the last month to say that i'm confortable using them both now (i was a 3ds max user) - But i cant give you a personal reason as to why i did not rely on a polygonal method since i'm a newbie in this field but i'll give you the reason from the tutorial which i agree with :
- Using zbrush live boolean feature is really helpful to visualize complex cuts and sculpting on the model directly, and most importantly it's non destructive, i can't tell you the ammount of trial and error i went through on some parts to reach the result i've got but i was really glad that i didn't have to worry about remodling the whole part - Also zbrush can handle millions of polys without so much of a frame drop which is very helpul in the high poly modeling phase .
-The workflow is like this : i model the main shapes (blocks) in a low poly state in maya at first using ortho reference then i import them in zbrush add dynamic subdivs then for the cuts i model the negatives in maya too and throw them in zbrush and live boolean. Then once finished with the whole gun i apply the boolean operation to get a high poly mesh with all the cuts applied , then dynamesh and smooth all crisp egdes and all the necessary steps for a good baking later on - then i go back to maya and import my high poly mesh and poly-model the low poly based on the HP mesh.
I hope that i provided enough informations to answer your question, if not please ask aways, i'm happy to answer
PS : My end goal in this project is to create a presentable well textured asset that can be imported perfectly fine in game engine (no animation)
Cheers.
Edit
Half the time I confuse myself, let alone others asking obviously non-sensical questions, after the fact anyway alll good more than cleared up my 'so called' query.
When i bake the normals i've got these problems :
First this is the model baked :
- Here's the whole UV layout
For this part which is the upper surface of the slide i got a weird shape even though i have no seams or hard edges or weird topology
Also i don't understand what's causing this issue in the inner part of the slide :
Second problem comes from the baking depth and the fact that you have a very thin shape there. Try lowering the depth or distance or whatever its called and look for issues in other areas. By lowering the distance a ray travels you might get misses i.e the low poly mesh is too far away in some places from the hp.
That part where it was messy, now it's slick !
Here's some with and without the normal map
Glad i could help and i hope that you have learned something for future projects.
Now lets texture this baby!
Does anyone has a clue as to why is this happening in marmoset and not in substance painter and maya using the same normal map and the same exact mesh ?
MARMOSET VERSION :
MAYA & PAINTER VERSIONS :
Weirdly enough it didn't work with Maya tangent space or any other option available except with Mikk / xNormal
I have an issue with changing the shader type in Substance Painter mid painting, i have created the basic materials for all the sub-meshes of the model (Diffuse, metalness, and roughness for some) and then after exporting the maps to test how it looks in Marmoset i realized that i was working in Metalness/Roughness workflow while Marmoset TB uses a Spec/Gloss workflow. Then two issues presented themselves :
- First the conversion of the gloss map to roughness map do not give the same results and it looks ugly in marmoset like this pictures below
- Second when i change the shader in Painter from Metal/Rough to Spec/Gloss all diffuse and specular information is lost and i get a white model with height information.
I am wondering if anyone knows a solution to this problem, is there a possibility to change Marmoset workflow ? Or am I missing something in Painter after changing the shader, or is my map conversion not correct ? I'm confused
The problem with the roughness map :
MTB Version
PAINTER Version
MTB Version
PAINTER Version
The problem with the shader switching :
All the materials are preserved but do not show on the model in material mode
Polymer and black plastic 50% done , still have to add scratches and dirt here and there
Eventhough coated in Melonite which is used to both strengthen and as a anti-corrosive treatment however during the completion phase is then polished too restore the part's original surface.
Hahahaha yes man i'm aware of which part is which it would be weird if i didn't know which material corresponds to which part of the gun, imagine making the slide plastic it would be a toy gun lol.
Does the frame's texturing look conviencing enough ?
The lower is too rough, should have some more roughness variation also
Thanks for all the people who provided a helpful advice or a critique during the time i was working on it or when i asked.
I think it could be refined even more but it's time for me to focus on a new project. This was a blast, i had a lot of fun and a lot of pain too haha
Full project : https://www.artstation.com/artwork/v2oVVd
Many thanks to EUGENE PETROV for sharing his workflow on making guns for games, please check his course it is very detailed and educative.
Infos :
Tris : 16 120
4k Texture for the whole gun
High poly sculpted in Zbrush
Low poly modeled in Maya
UV mapping done using Headus UVlayout and Rizom UV
Texturing in Substance Painter
Rendering in Marmoset Toolbag