UVing meshes for trim sheets in Blender 2.8
Hello,
MY PROBLEM
I'm new to trim sheets, but have a basic idea of how they work. What I don't really know is how to UV objects for them in Blender efficiently, and I haven't really found suitable tutorials for UVing non-symmetrical objects (videos I find are for things like symmetrical pillars, circular objects, etc)
My understanding of trim sheets is that you layout an object's UVs onto a texture(s) with tileable "sections", aka the trim sheet. This way you can use the same texture for the entire object. However, currently I only know to manually select the identical faces I want to have the same UV, and align them on top of each other. This becomes slightly easier with help from "Select Similar", but it's limited in what it can do.
Tutorials have mentioned "Follow Active Quads", but it only applies to adjacent faces when I've tried it, and I can't really find good documentation on how to use it properly.
MY ATTEMPT
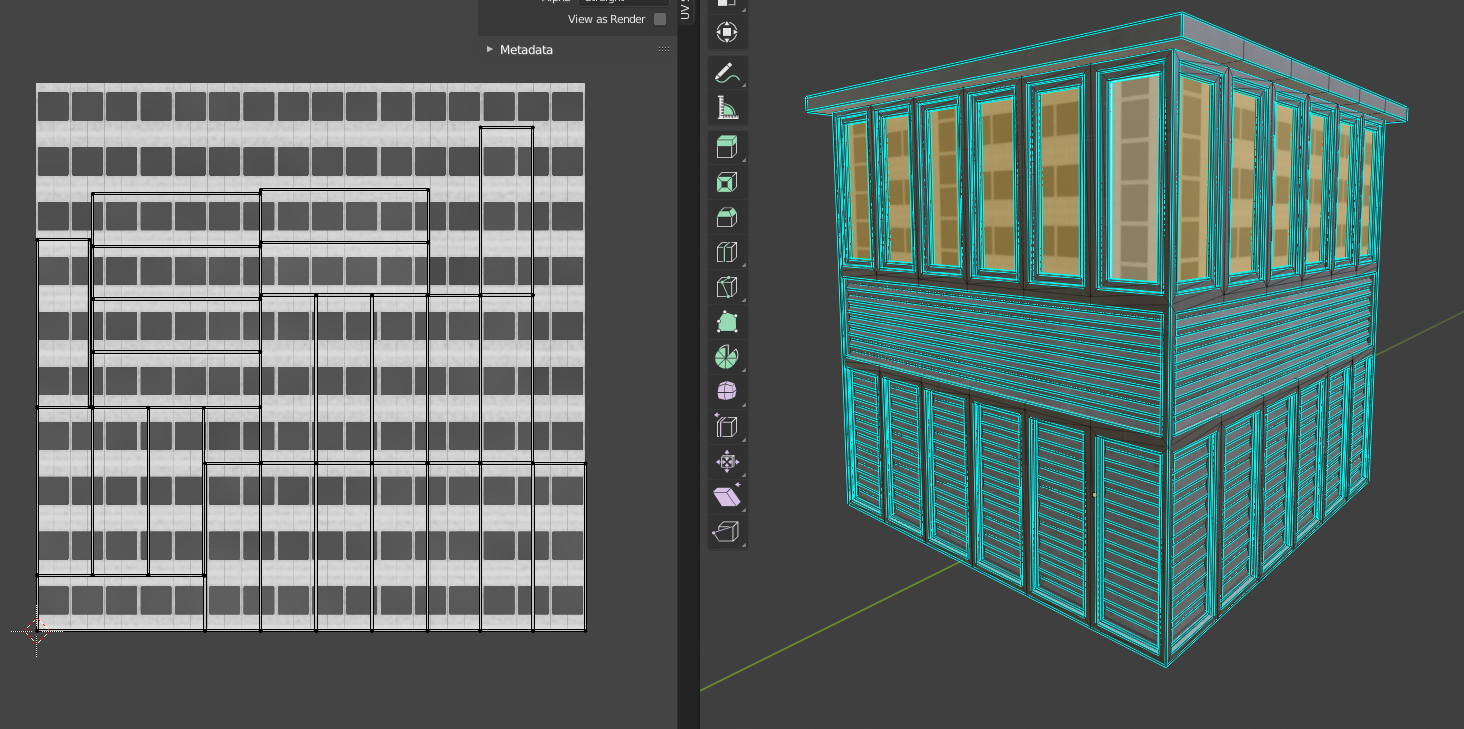
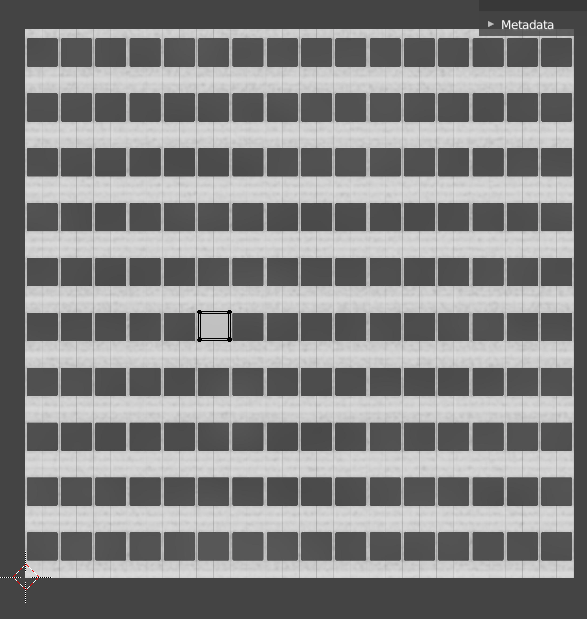
For example, I want to have these windows use the same UV. They're not adjacent to each other, so Follow Active Quads only pieces their UVs next to each other.
So, what I've been doing is re-aligning each window's UV on top of each other to get this:


This is different from what I've seen of examples of trim sheet UVs, as there is some method of "assigning" the same UV to identically sized faces such that you only need to have one of those faces on the 0-1 grid. My current method is also extremely slow and I might as well have gone the regular route of marking seams and texturing them individually.
Additionally, while this object is relatively small, there are still lots of small faces that I want to have the same UV on the trim sheet, but selecting them with "Select Similar" doesn't work that great, as it often selects extra faces that fit the parameter (i.e. area, perimeter, coplanar).
MY QUESTIONS
1. How do I UV for trim sheets efficiently?
2. Is there a way to select identical faces (like the windows i mentioned) quickly and more accurately than "Select Similar"?
3. The object in the pictures was not made by me, so I was wondering why the edges are all marked sharp? The only time I've used that is for when I'm using Auto-Smooth, which is not the case here. Does that have something to do with how trim sheets are used?
Thanks for the help!
MY PROBLEM
I'm new to trim sheets, but have a basic idea of how they work. What I don't really know is how to UV objects for them in Blender efficiently, and I haven't really found suitable tutorials for UVing non-symmetrical objects (videos I find are for things like symmetrical pillars, circular objects, etc)
My understanding of trim sheets is that you layout an object's UVs onto a texture(s) with tileable "sections", aka the trim sheet. This way you can use the same texture for the entire object. However, currently I only know to manually select the identical faces I want to have the same UV, and align them on top of each other. This becomes slightly easier with help from "Select Similar", but it's limited in what it can do.
Tutorials have mentioned "Follow Active Quads", but it only applies to adjacent faces when I've tried it, and I can't really find good documentation on how to use it properly.

MY ATTEMPT
For example, I want to have these windows use the same UV. They're not adjacent to each other, so Follow Active Quads only pieces their UVs next to each other.

So, what I've been doing is re-aligning each window's UV on top of each other to get this:


This is different from what I've seen of examples of trim sheet UVs, as there is some method of "assigning" the same UV to identically sized faces such that you only need to have one of those faces on the 0-1 grid. My current method is also extremely slow and I might as well have gone the regular route of marking seams and texturing them individually.
Additionally, while this object is relatively small, there are still lots of small faces that I want to have the same UV on the trim sheet, but selecting them with "Select Similar" doesn't work that great, as it often selects extra faces that fit the parameter (i.e. area, perimeter, coplanar).
MY QUESTIONS
1. How do I UV for trim sheets efficiently?
2. Is there a way to select identical faces (like the windows i mentioned) quickly and more accurately than "Select Similar"?
3. The object in the pictures was not made by me, so I was wondering why the edges are all marked sharp? The only time I've used that is for when I'm using Auto-Smooth, which is not the case here. Does that have something to do with how trim sheets are used?
Thanks for the help!

Replies
1. I just make UVs thinking of strips, this depends really on the shapes that you are using on your Trim Sheets. Generally i think of Trim Sheets as a normal map with a group of strips with bevels. You can do other complex stuff that i still hadn't figured out such as a two UVs workflow. Also if you are using detailing/decals, you need to cut your geo to the desired shape of your decal and then adjust your UVs
2. In Blender I use SHIFT + G-> Select Similar-> Perimeter. More precise than Area, or Normals generally speaking if you have two mirrored faces on opposite sides. If not you can press L->F9-> Seams if you already have your seams marked. If not you can limit by sharp, normals, etc.
3. I think just to make sure shading is OK. Also if you are going to bake this, is always better to have everything that needs to be sharp, to be marked as sharp in that way you can avoid artifacts on your baked maps
And IDK why some of the window UVs are 90 degrees rotate vut i just "reset" them (completelt from 0,0 to 1,1) and then just scale and position them to one of the (very few) window texture areas (if only one.. thenall at onece)..