[UN4] Breakdown Of Environment Level "Escape"

Hi all, my name is Steven Zhu, I am a graduate student at SCAD, This is my first post in Polycount. so today i want to share my personal work "Escape" with you.


This is the link to the cinematic video.
As a big fan of “Prometheus” and “Alien” series, I have always wanted to make a project that is related to it. To challenge myself, I had decided to make it in different stages ”before” and “after”. It was something i have never done before.
Reference
Having
that in mind, I started to gather some references from the internet. I
looked up a lot of alien category movies, tried to get some idea of what
the alien creatures and space station would look like. These are some
of the references I found useful. I quite enjoy looking at these dark
references. I have always enjoyed the dark Sci-fi stuff. I want to make
my environment express two completely different moods. Storytelling was
my main focus. Being able to tell stories through a piece of art, I
think it's the biggest achievement for an artist.
Sketch
In my opinion, It's very important for an artist to visualize work on the paper first. After collecting hundreds of reference pics, I started to draw some pencil sketches on the paper.

From here, I tried to get an overall look of my level for both stages.
3D Modeling
After having a general idea of what the level would potentially look like, I began my next process which is modeling. In here, I used maya and zbrush for all the modular hard-surfaces and organic models.


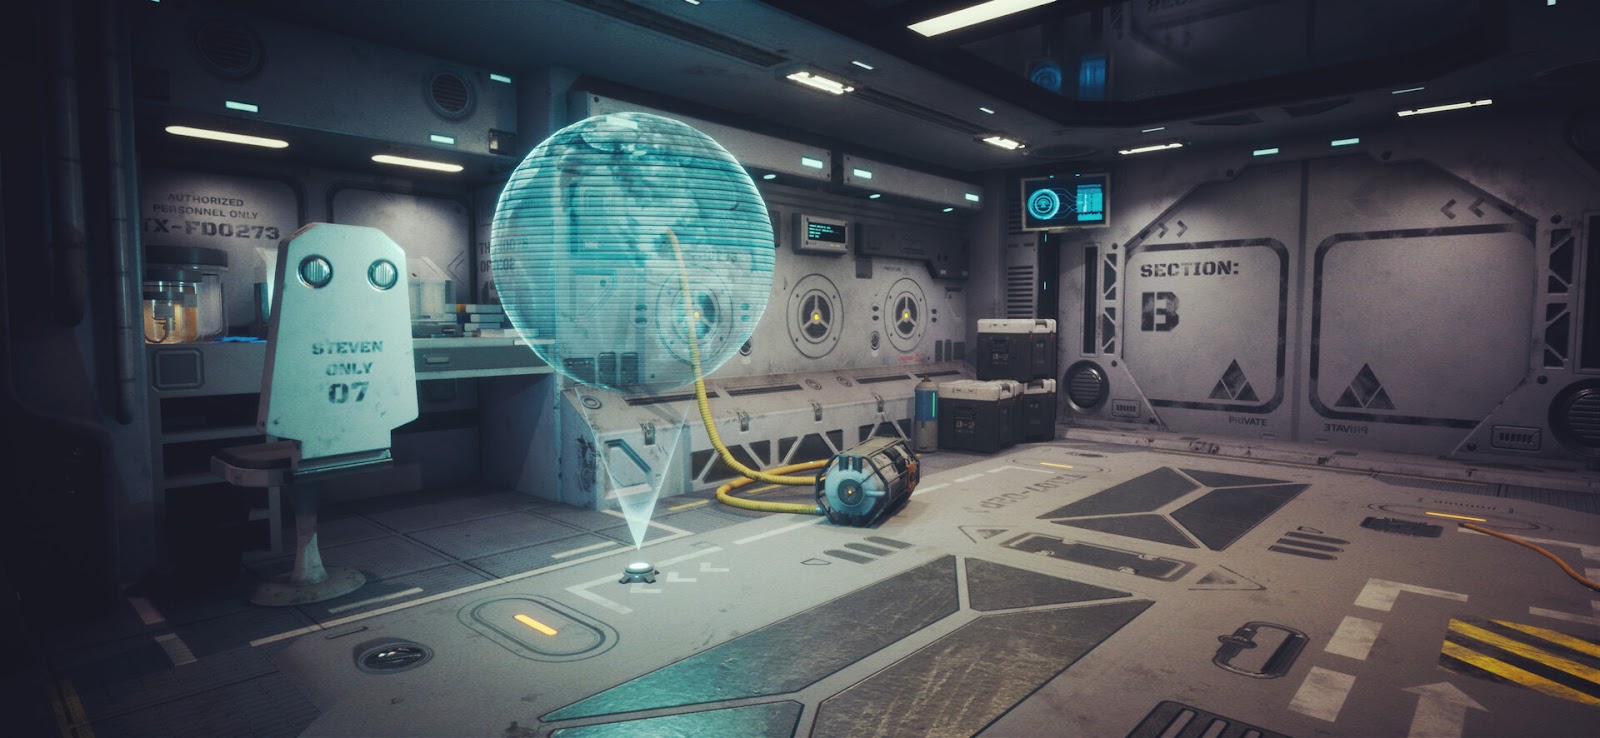
At this stage, it is important for me to get the feel of the space and make sure all the scales are correct. When I work on white-boxing in UN4, I usually like to add a few spot lights in the scene, that gives me a general idea and mood. I blocked out the entire scene with a few camera animations, so I had a clear idea of what my final sequence would look like.

3D Texturing
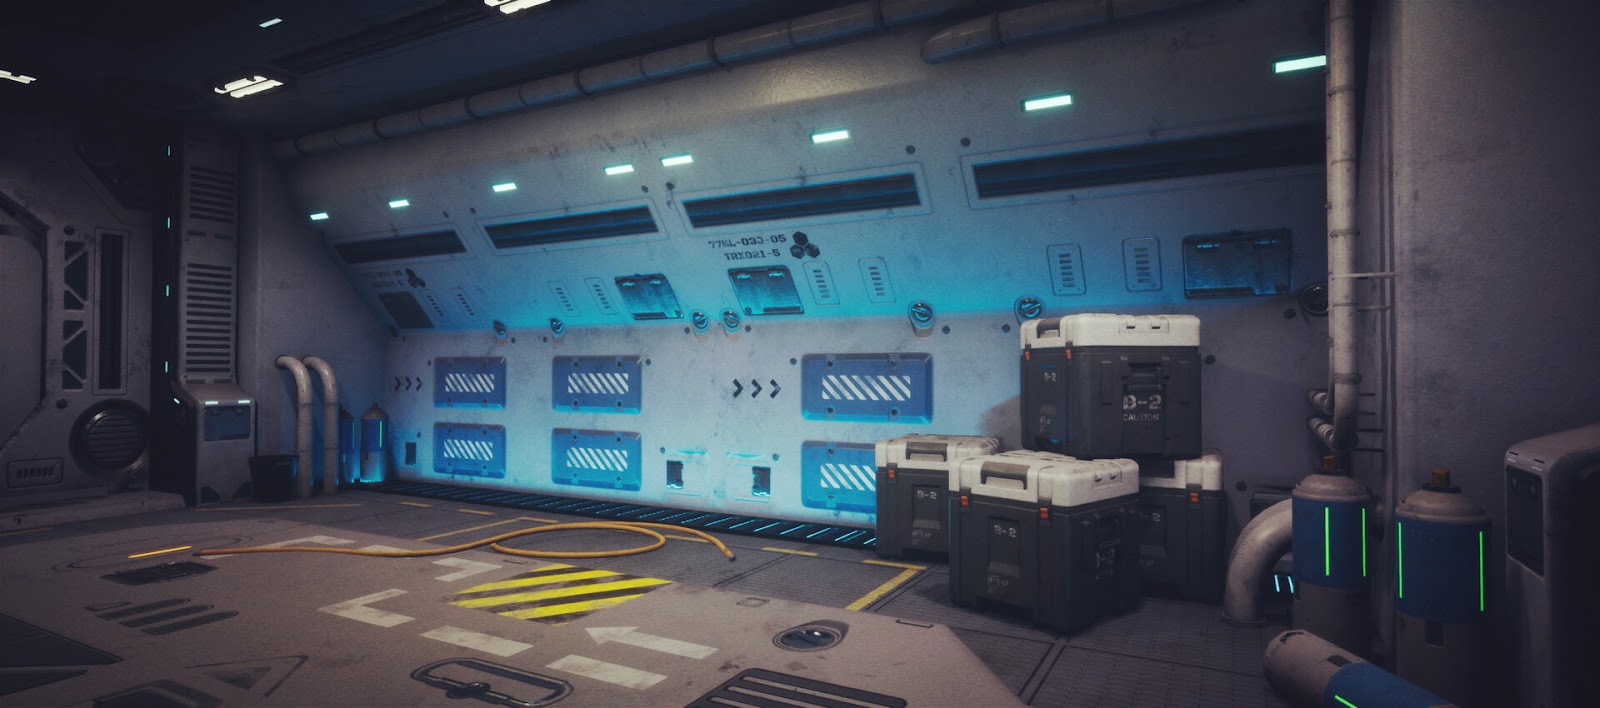
For this “Before“ version of the level, I figured it should contain some lighter value colours as the main colour, because a scientist is living here, no one will design a human living place with a lot of dark metals. It was very important to make sure all the modular models look consistent, so I imported multiple mesh to Substance Painter and textured them at the same time.


I also made a few materials in Substance Designer for Fabric, Creature flesh, and metal ground metal.
Creature Flesh:
Working with Substance Designer, I always start with Height, then color. You want to have the basic form of the materials, and then work on the details. That way, your material graph will be more organized and its easier to find the problem nodes when something just doesn't work correctly.


Unreal Engine 4 setup
In UN4, I knew exactly what I wanted to do for my scene, so I created a few master materials to speed up my process.

This master material was made for getting general texture setup for any object. It has several parameters you can adjust: UV x and y offset, rotation, scale, roughness and emissive intensity.
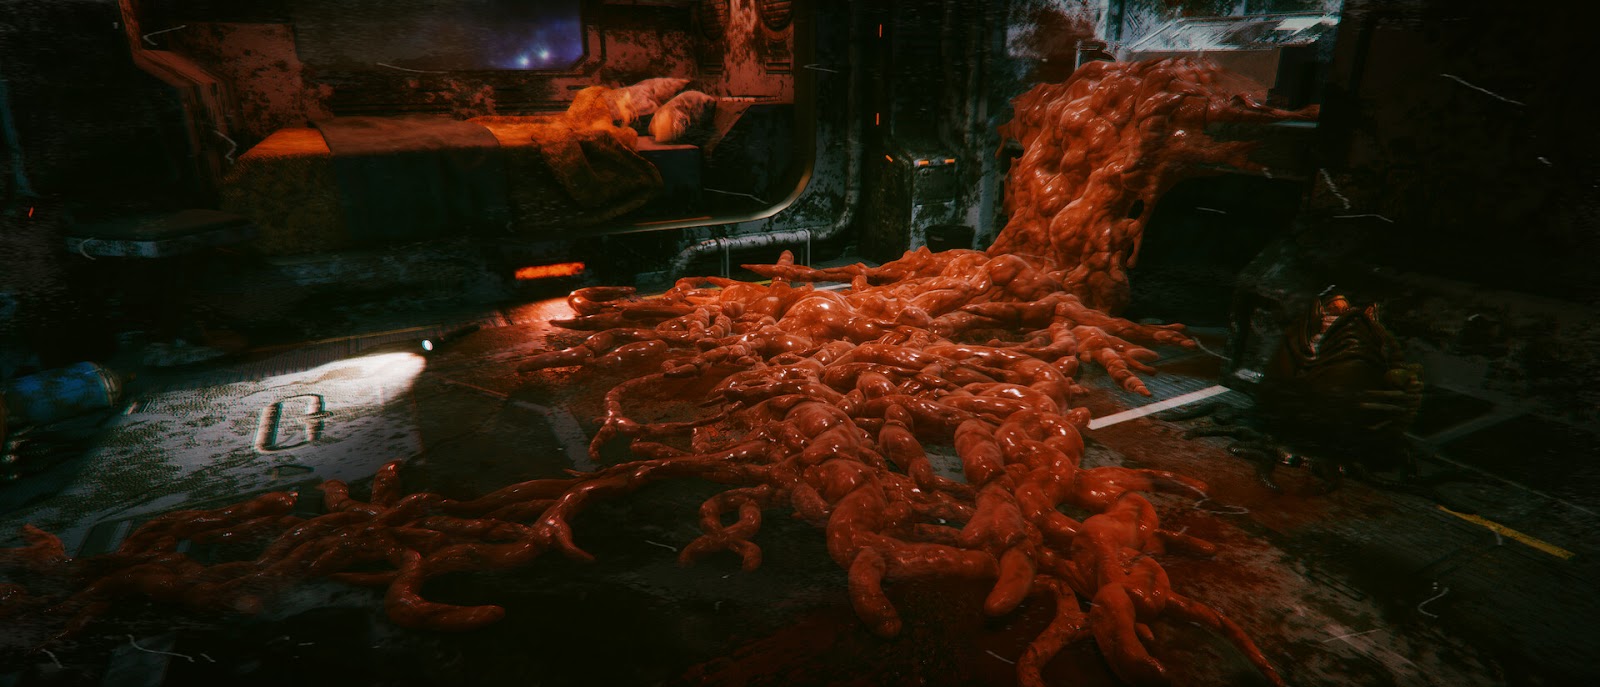
In order to make the creature flesh move, I created a material simply using two "panner", then combined them with X and Y axis.


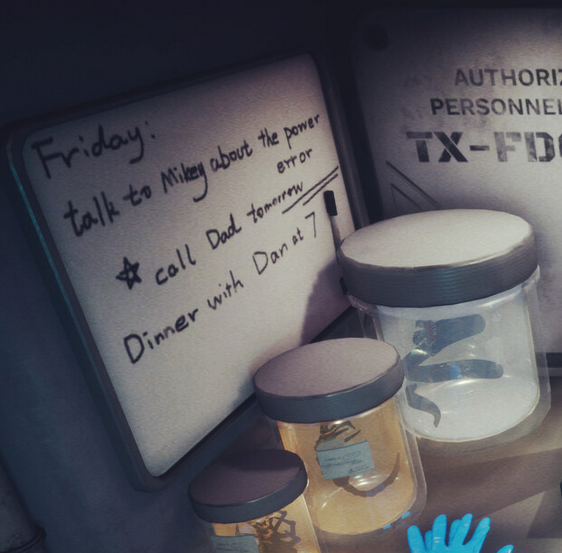
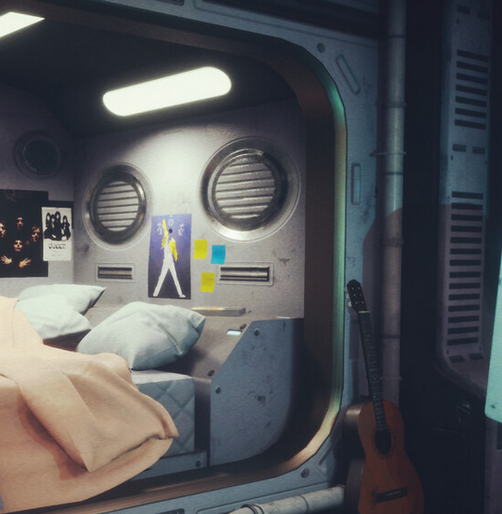
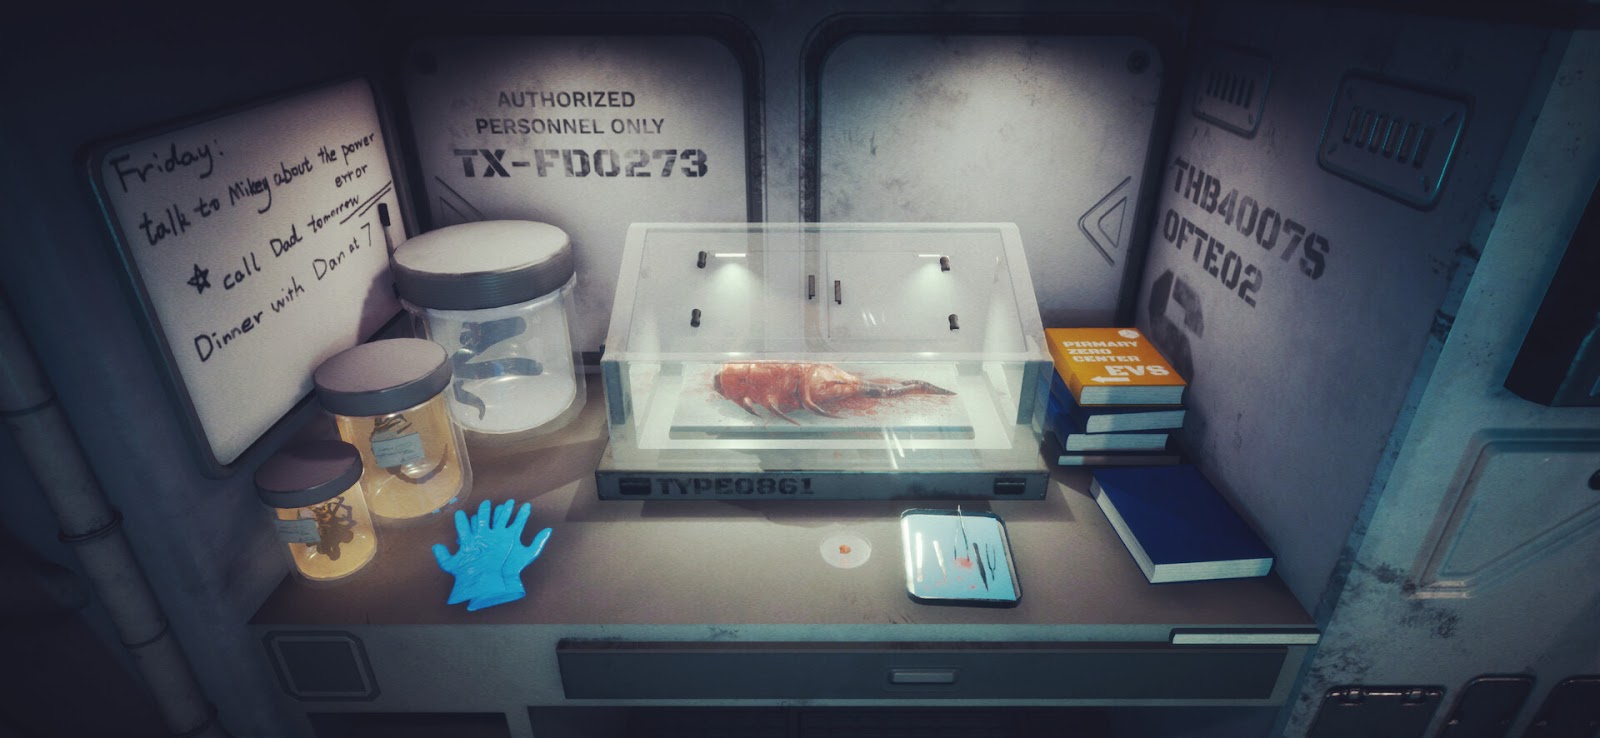
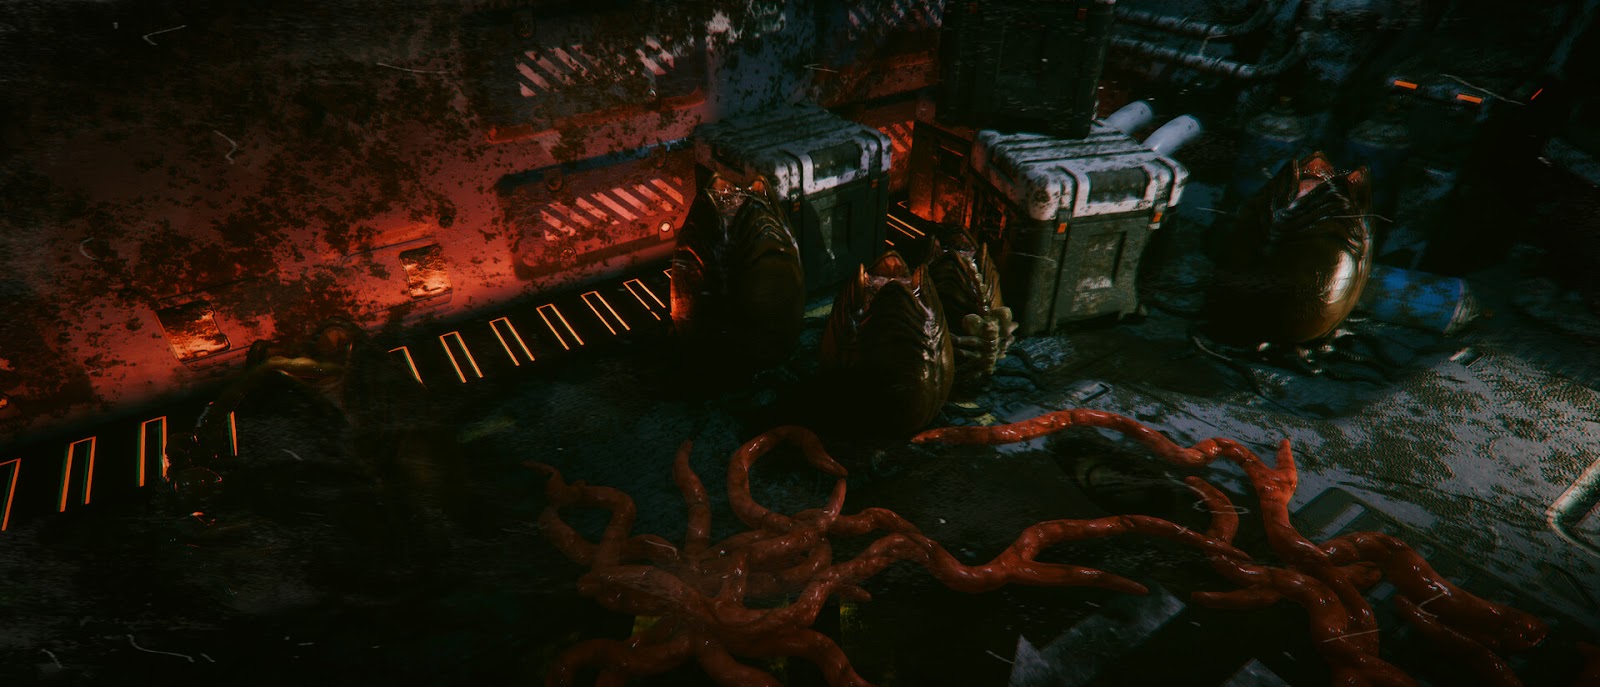
In this stage, I put a male model in the scene to make sure the scale was reasonable. Then I added more details to the scene, for instance, pipes, crates, oxygen tank, trash can and books etc. In order to show more of the narrative, I added some Queen posters, and I hand wrote some words on the boards and sticky notes in substance painter. So that people would know Queen is this scientist favorite band, and something is about to go wrong.
Lighting
Lighting is my favorite part, I used a lot of spot lights mainly to light up the scene, and a rectangle blue light to break the symmetry.
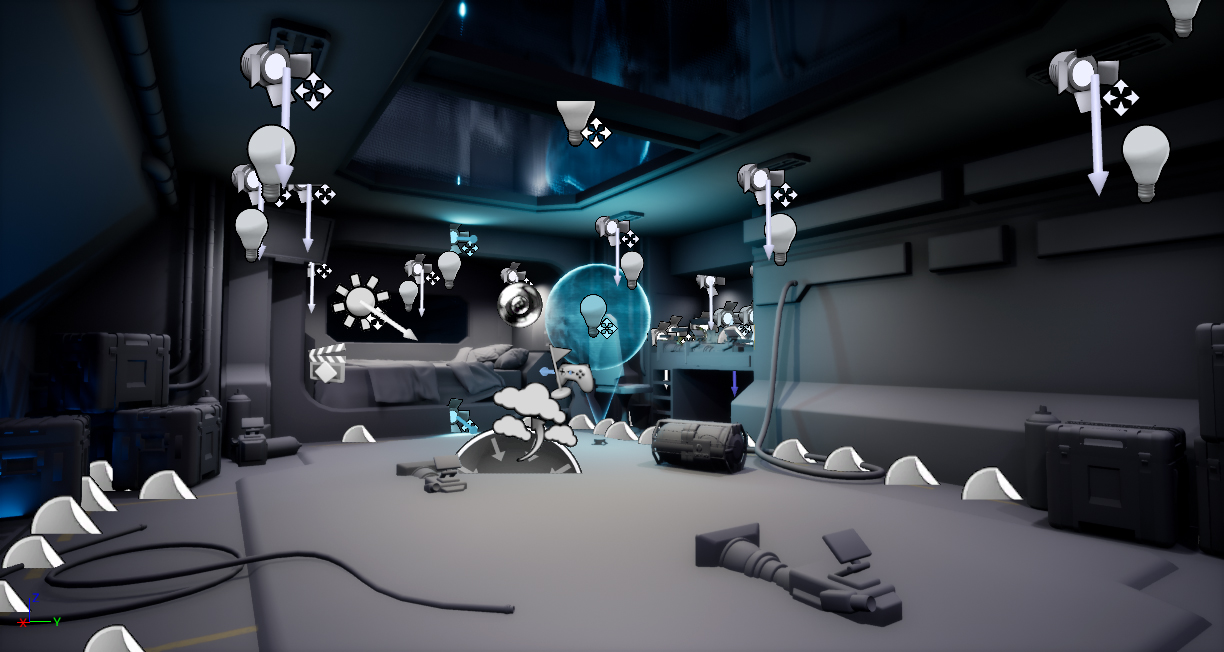
When working with lighting, it's important to think what would be the main light source for your scene. For my scene, ceiling light is the main light source for both stages. Sometimes the preview is kinda tricky, the scene may look good before you bake it. But a lot of time after you bake the scene, you might find you lose some of the lighting details. One way I usually do to fix it is to add some point lights, set them with super low value and turn off “cast shadow“.
For the “Before” scene, I used more bright colours to show a clean feeling, because I wanted to show that “everything is fine right now”.
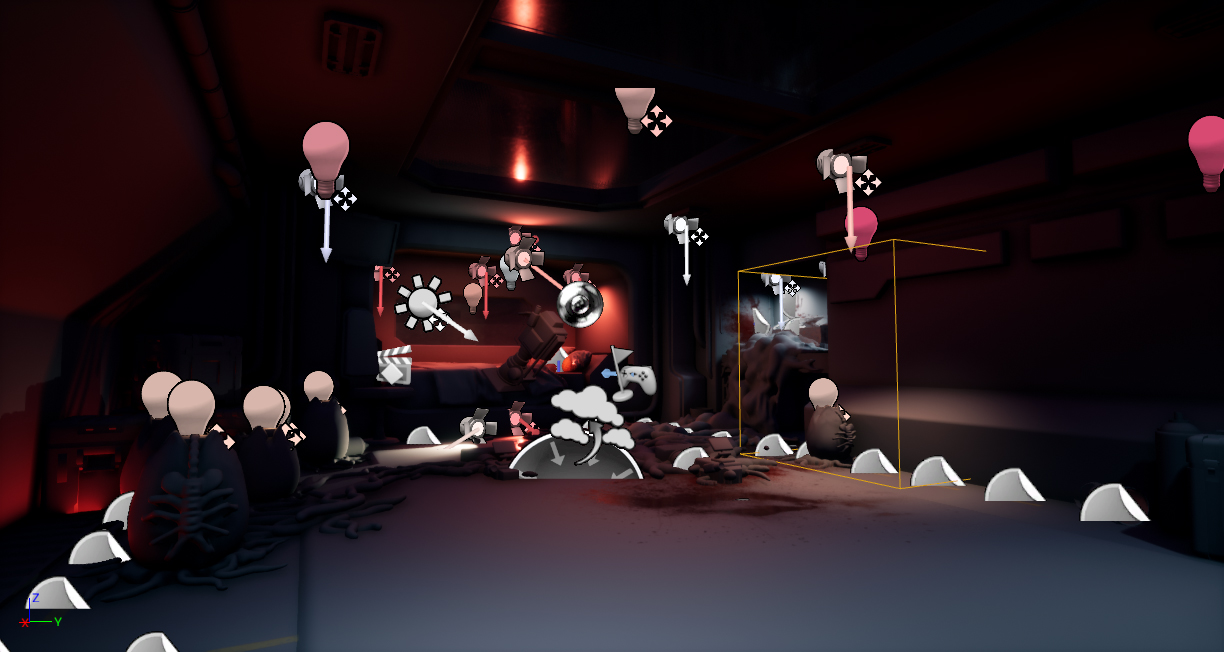
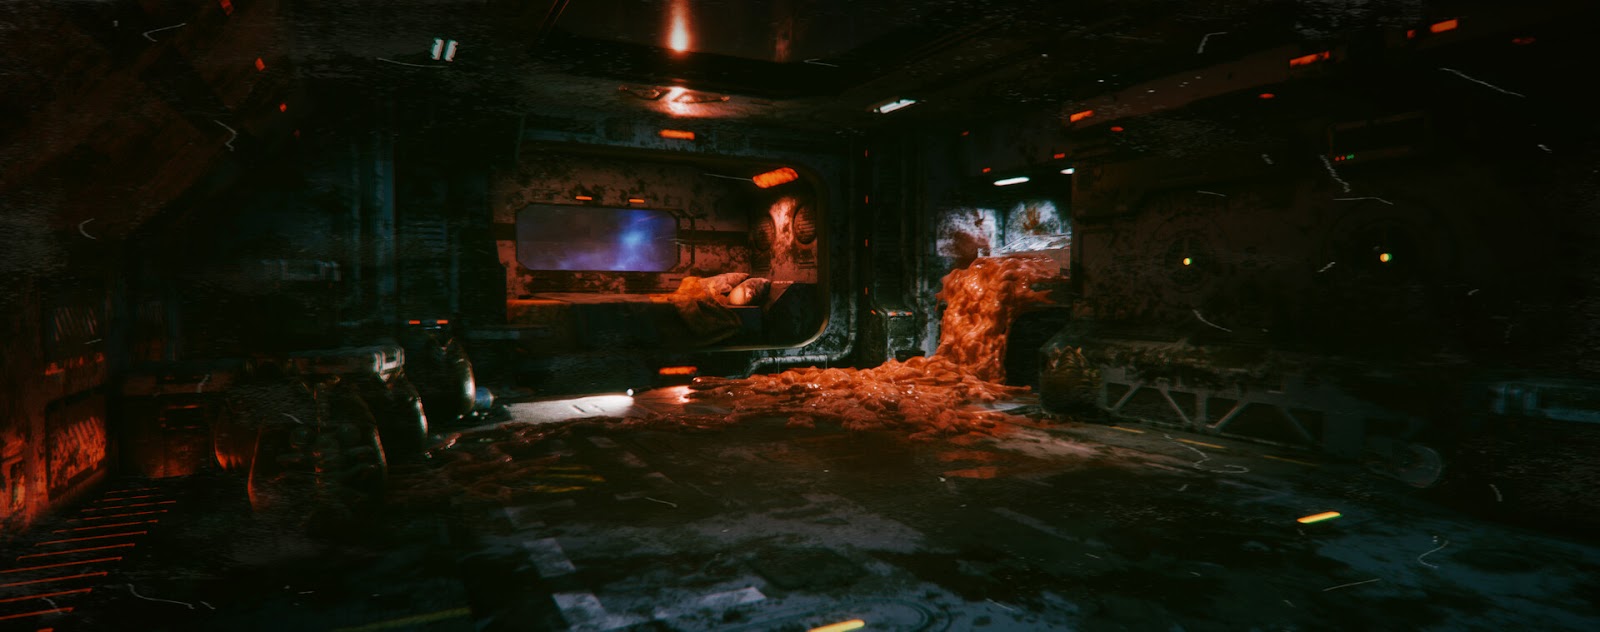
For the “After” scene, I tried to present a feeling where “something went wrong, errors appeared” So having flicking light and some red light will do the magic here.
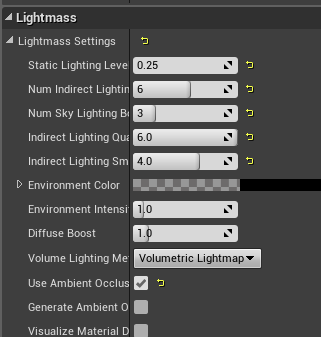
Final step of lighting is to bake it. But you bake it, it's important to adjust the lightmass in the world setting. No matter what you do, for interior, static lighting level x Indirect lighting smoothness should = 1. I learned that from Ryan Manning.
Rendering
Finally, adding post process value to the scene. This is what it looks like with and without post process volume.
Without post process volume.
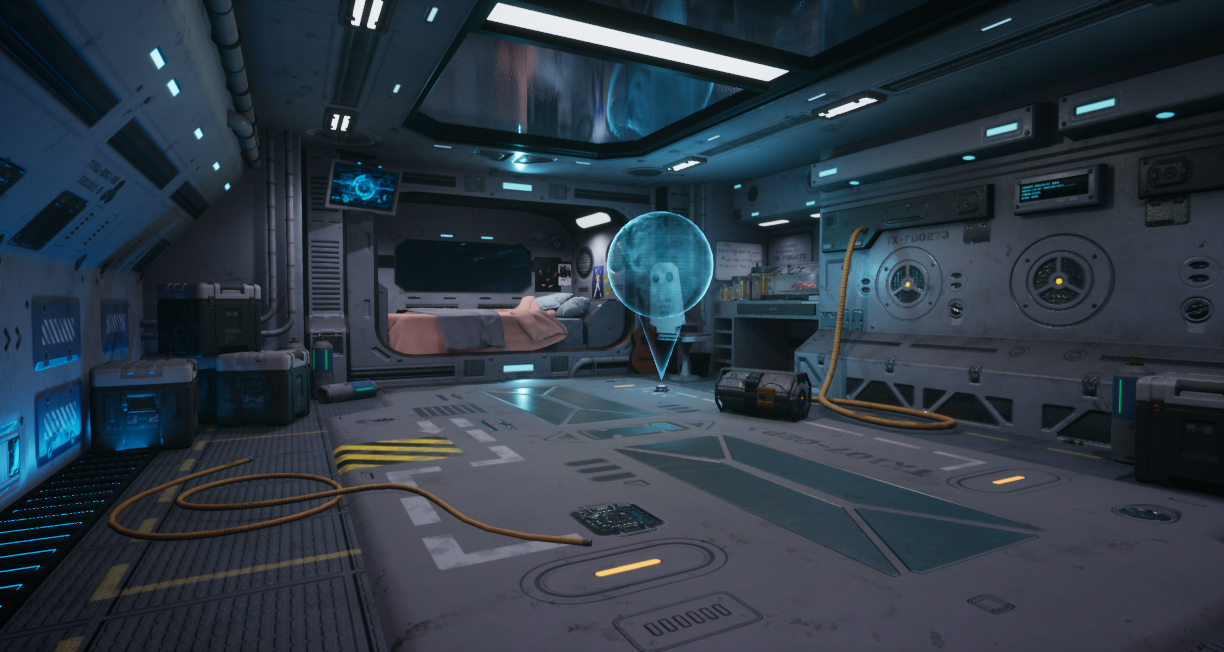
With post process volume.
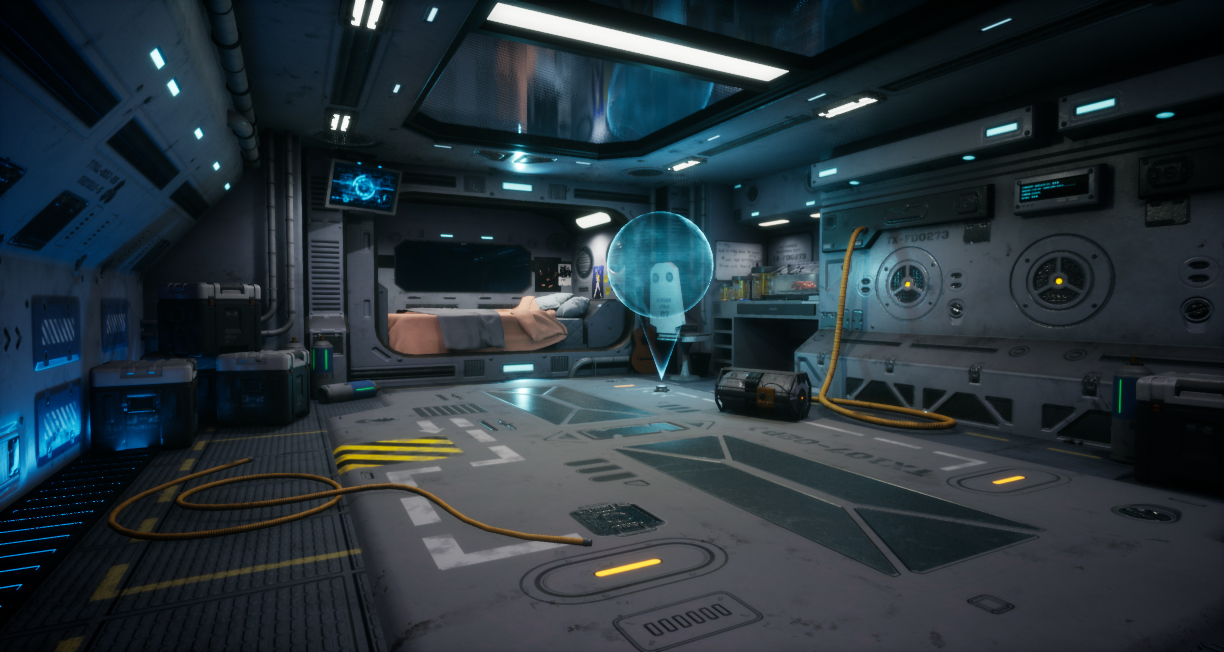
As
you can see here, post process volume helps to add a lot of definition
to the scene. In this case, I mainly increased the AO value and adjusted
the contrast and colours.
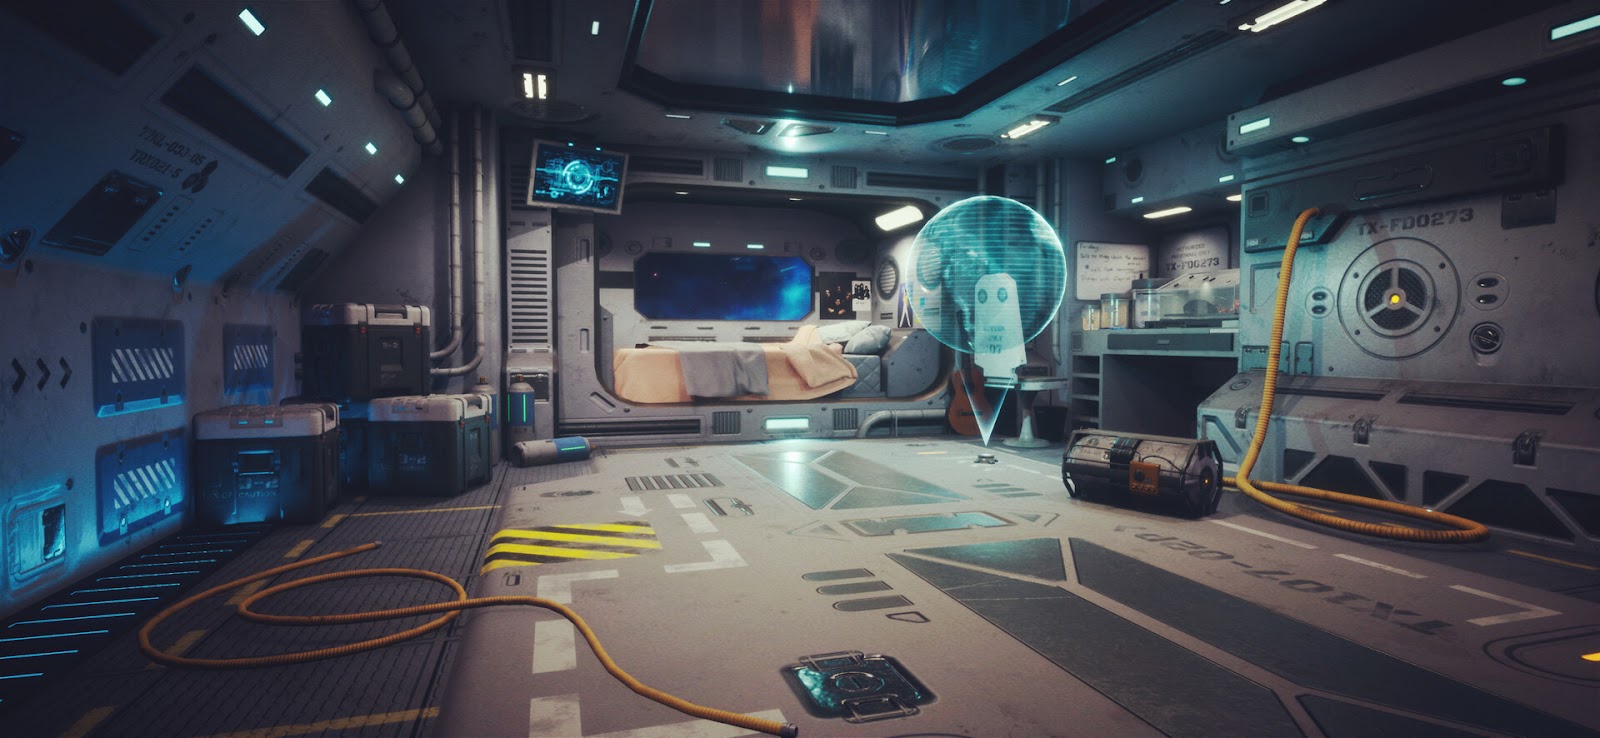
Final render:
After adjusted some value in Photoshop, here is the final result:
Replies