[UE4-Marmoset][WIP] Saint Seiya Ophiuchus Odysseus
Hi again,
I'm big fan of Mr Kuramada Saint Seiya, I think some people who is over his 30 age will remember about the knights of the zodiac anime classic series... It's way too popular Brazil, rest of Latin Americas, Italy, France, Indonesia, Japan, Mexico and some other countries I don't remember right now.
I'm big fan of Mr Kuramada Saint Seiya, I think some people who is over his 30 age will remember about the knights of the zodiac anime classic series... It's way too popular Brazil, rest of Latin Americas, Italy, France, Indonesia, Japan, Mexico and some other countries I don't remember right now.
About this character:
Odysseus is the 13th gold saint of zodiac from XVIII century on saint seiya timeline, he gets the gold cloth from Asclepios and this was the first saint wear the ophiuchus gold cloth on mythological era, his constellation is Ophiuchus and he made his first debut on Saint Seiya Next Dimension. Odysseus was a healler and also a silver saint, but due to the events of Next Dimension, he ressurected and got the gold cloth of Ophiuchus, his mission is to kill the time traveler Goddess Athena from present era that came to the past in order to save seiya after the battle against Hades events.
The challenge:
I'm not character artist, but I'm trying to do this for fun  this is been quite hard task so far, but lets see how things is going on... So far, so good, I have my posed base mesh and modelled his gold cloth on top of it, righr now everything has a status of blocky and temporary meshes to work on under zbrush, I'm making his version with cape, so, no big snake tail and the cloth wings.
Right now the whole character looks like a lego toy, it has 60 subtools/objects to work on, it will be stand posed and not rigged.
His hair was and will be a real crazy challenge to do, I'm going to use atlases cards, hair is separated in 3 parts:
Base
Front
Back
Each part has some amount of hair chunks I have separated, for example:
Front_A, Front_B and so on
each chunk part have at least 3 mesh cards on it to use with different density and sizes
Will it work and look good? God help me, if not I will be so sad.
The plan on this artwork is having it real time rendered on unreal engine 4 and marmoset, I'm going to render Odysseus on both marmoset and unreal, but on Unreal there is a big plan for his render... I'm going to try make his whole zodiacal temple, version with him burning his cosmos, version with his temple in dark with his constellation on sky, but that only will be possible if I make my attempt on this worth of going further. So to have the sanctuary environment under work, I have to make the guardian of the temple first!
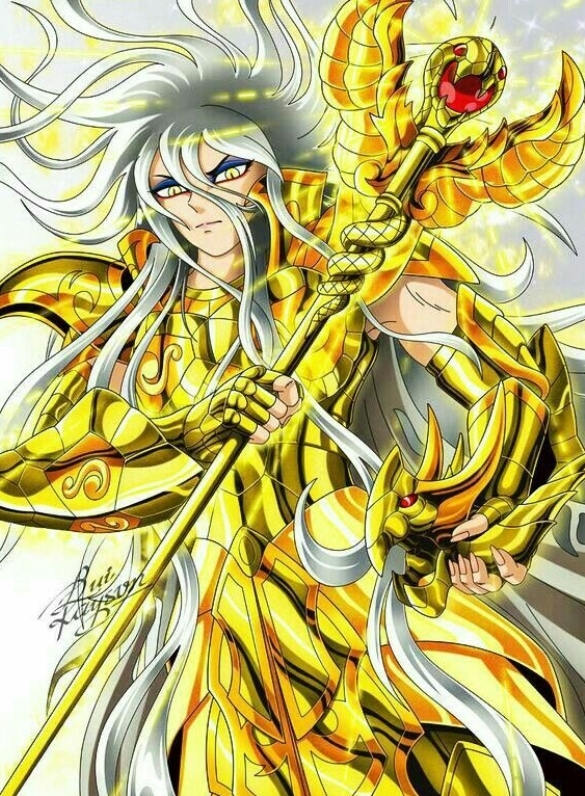
This is Odysseus: (don't remember who made this draw, but it's awesome) and he has a goddamn crazy haircut
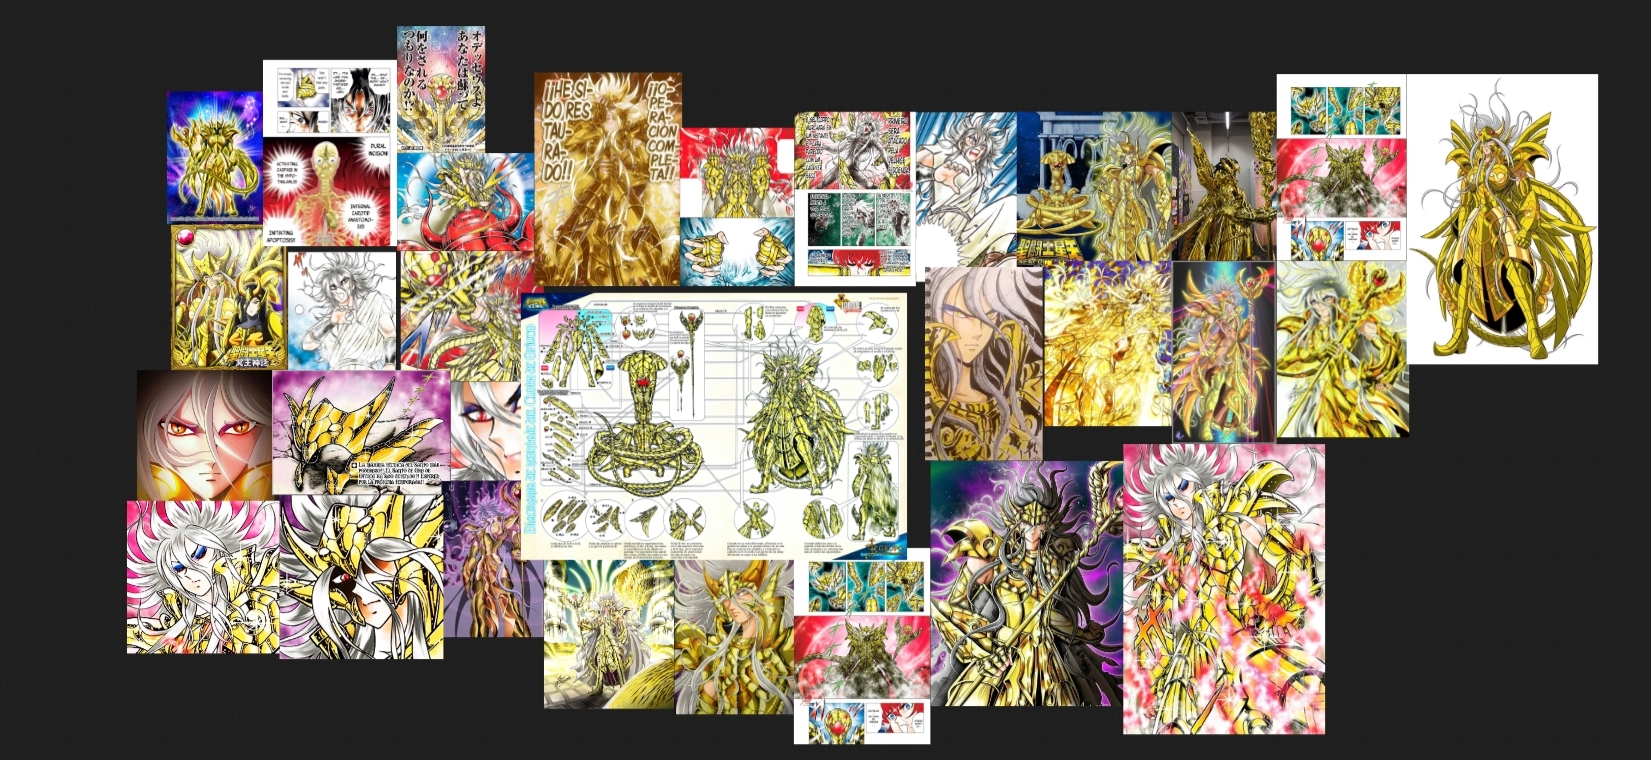
I also made a refference board on my attempt, this will guide me so far to try bring this artwork to life
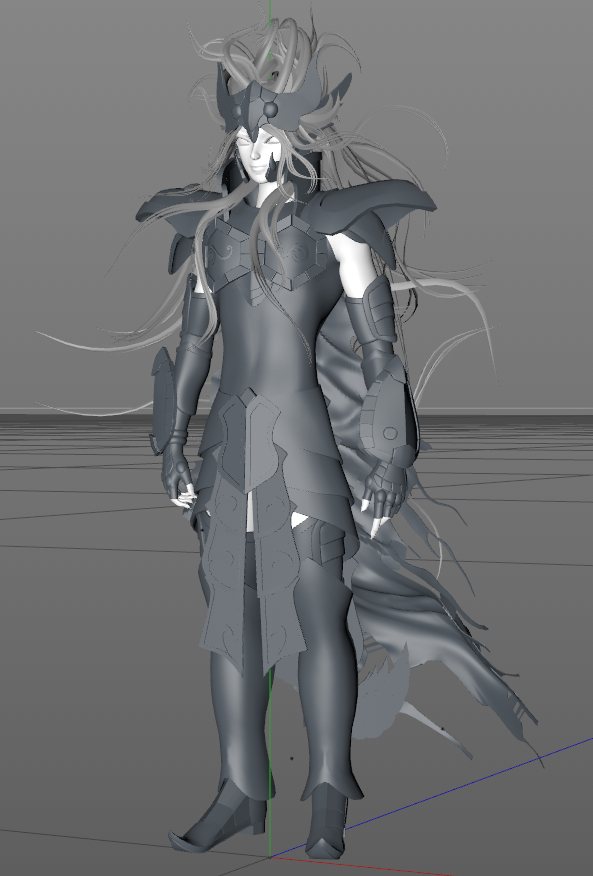
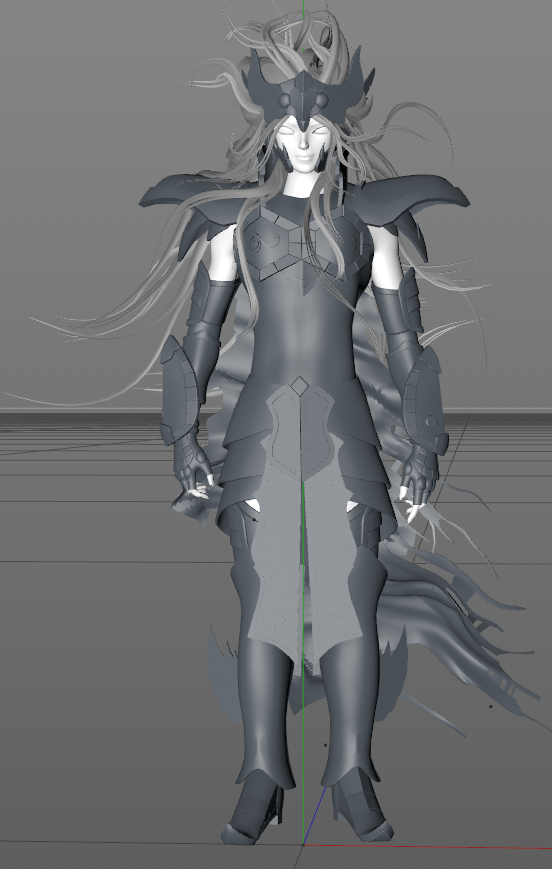
And here is the current progress: All blocky was done, time to do refinements on his cloth and cape
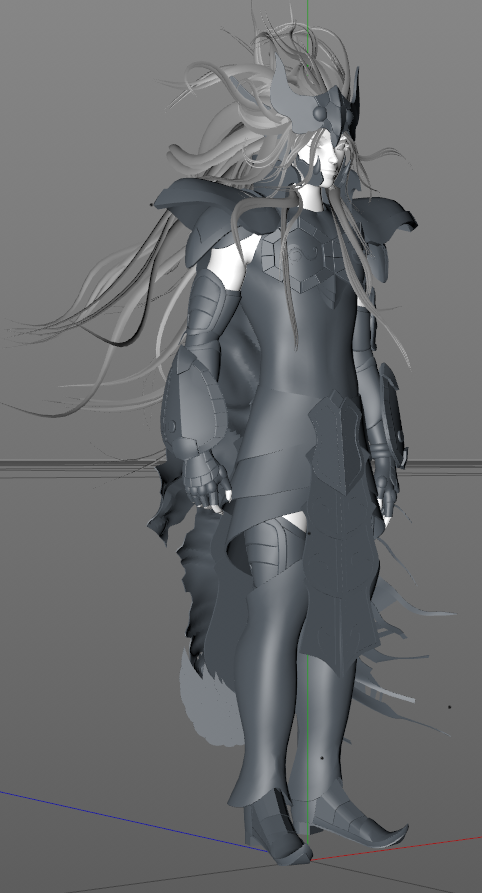
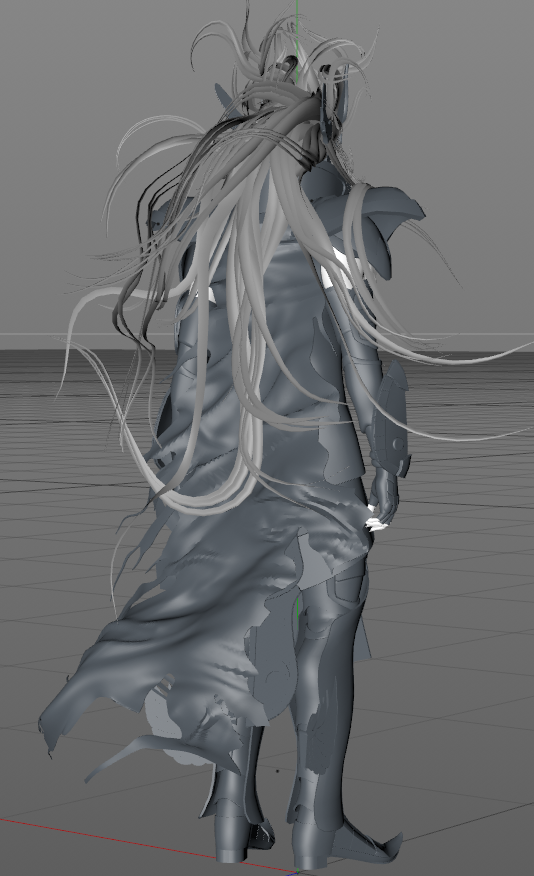
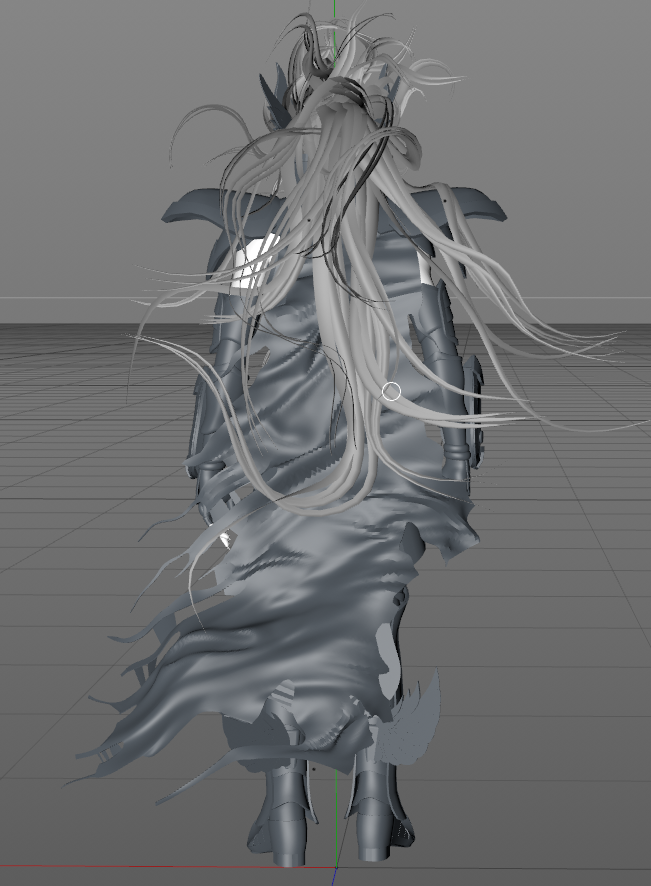
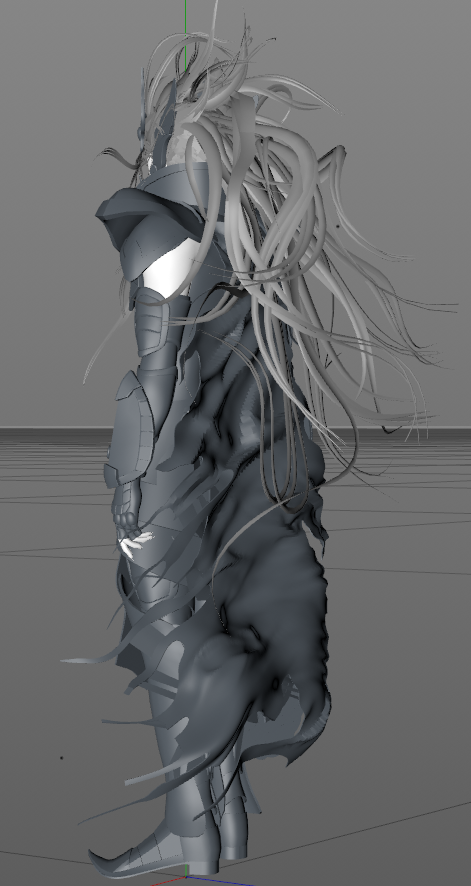
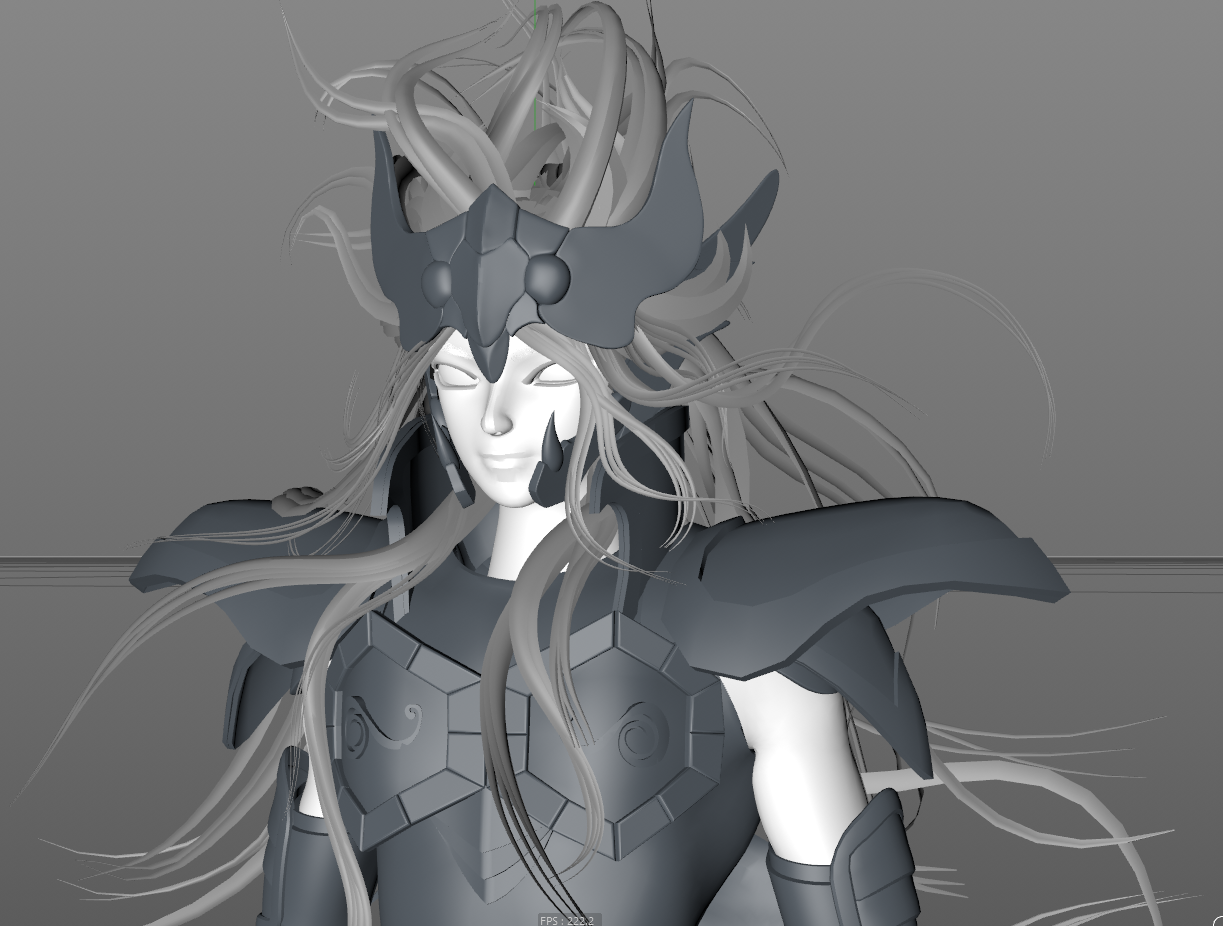
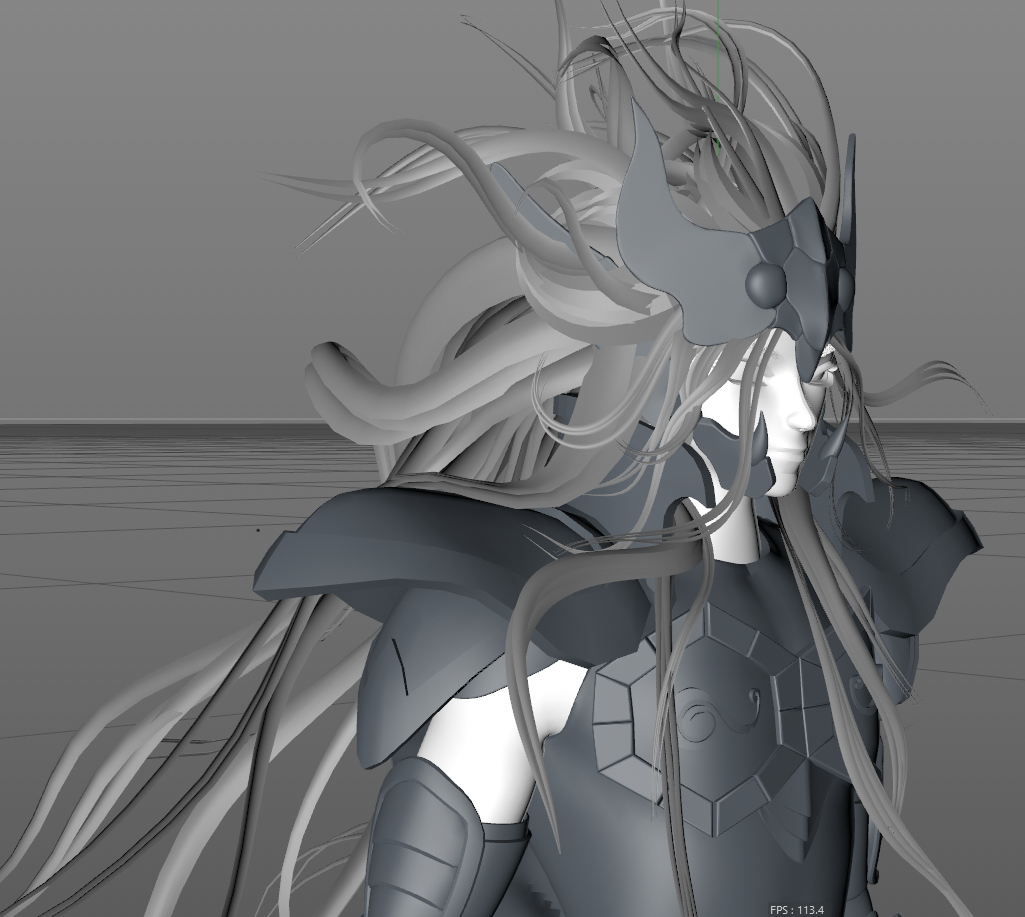
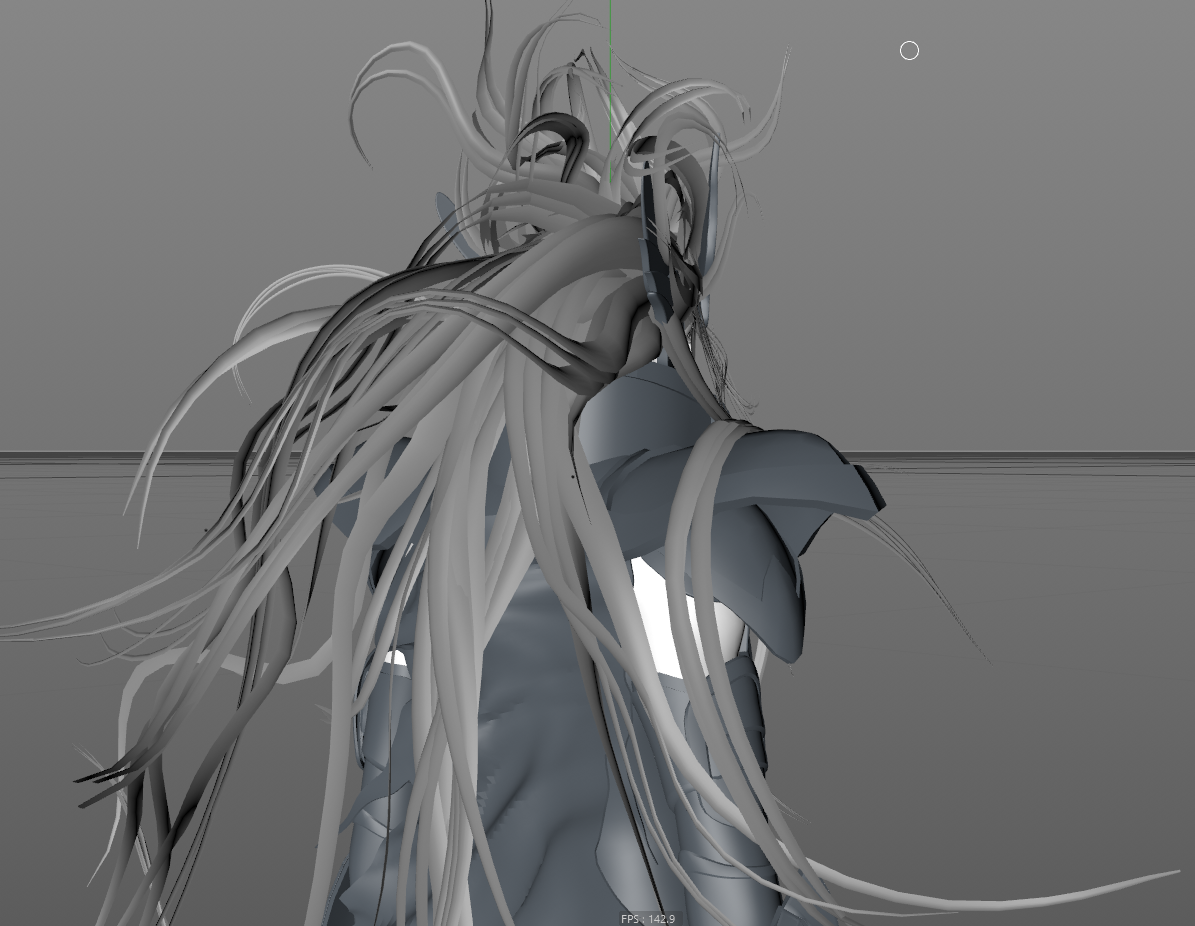
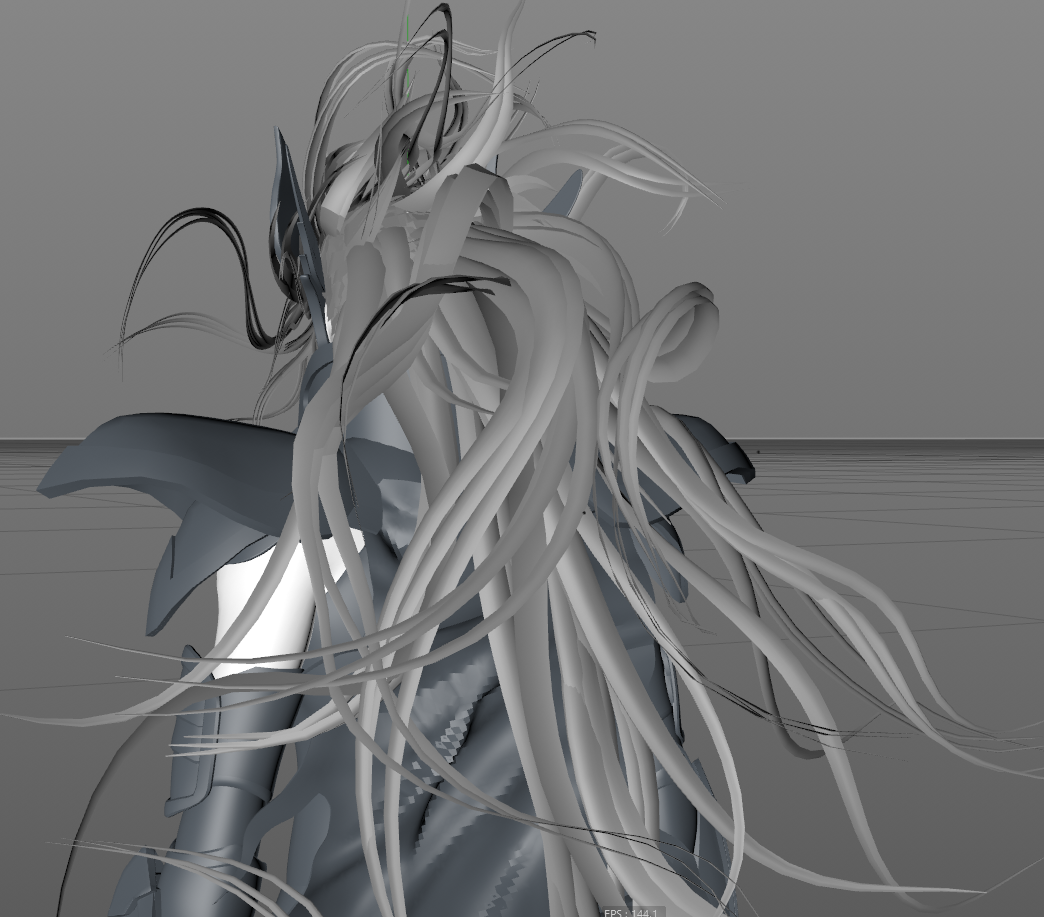
When I have more things to show I back with news of this artwork attempt!
Right now the whole character looks like a lego toy, it has 60 subtools/objects to work on, it will be stand posed and not rigged.
His hair was and will be a real crazy challenge to do, I'm going to use atlases cards, hair is separated in 3 parts:
Base
Front
Back
Each part has some amount of hair chunks I have separated, for example:
Front_A, Front_B and so on
each chunk part have at least 3 mesh cards on it to use with different density and sizes
Will it work and look good? God help me, if not I will be so sad.
The plan on this artwork is having it real time rendered on unreal engine 4 and marmoset, I'm going to render Odysseus on both marmoset and unreal, but on Unreal there is a big plan for his render... I'm going to try make his whole zodiacal temple, version with him burning his cosmos, version with his temple in dark with his constellation on sky, but that only will be possible if I make my attempt on this worth of going further. So to have the sanctuary environment under work, I have to make the guardian of the temple first!
This is Odysseus: (don't remember who made this draw, but it's awesome) and he has a goddamn crazy haircut

I also made a refference board on my attempt, this will guide me so far to try bring this artwork to life

And here is the current progress: All blocky was done, time to do refinements on his cloth and cape


When I have more things to show I back with news of this artwork attempt!

Replies
now I still have to remodel a part of leg I did a mistake, noticed that by review the references on manga, then import the parts and this is what will be left from this stage to be finished
I messed up with cape by accidentally delete the high polymesh version of it, and looks like now I will have to redo the whole cape, lol
the old version of cape was like this:
nothing big deal I wasn't 100% happy with the first cape after all. Will redo to something closer than we have draw on manga, the cape is bigger also and wider, and the fabric wasn't too torned like this.
and here is some few zb viewport screenshots of the current progress of this stage.
now working on some scene parts for the marmoset render
For marmoset render with character I need just some more parts of ruins, for unreal scene I far from the even start it, I have evaluating my ideas, and I will need the scorpio back temple
but yeah, get things done so far so good.
I will start substance odysseus tomorrow and leave the hair texture for the very last, this will be painful and probably will need to be a redo task.
tried 8 eyebrows, just one pleases me
tried 3 eye shade, just one makes sense for me and not looked like a facial makeup, it looks a facial painted make but no matter what I do, but since this is layered on painter, I will put under my personal review and try to change later
one eye brow is full 3d, other one is hand paint with normals direct on his face texture, booth looks fairly convincing, but I will have to decide later which one to use
also full finished his skin and facial skin, painted sss and now still have to review if put some more detail or not, will post when I have everything pretty much setup, for now, I have this for share
facial micro hair for him, because why not?? not sure how it will looks on marmoset and unreal, but kinda worked under painter...
yeah I know, this is a really creepy mask of cards lol
https://imgur.com/WZH3VIY
there also some skin roughness issues
also, SSS not showing as expected on marmoset
and the eye crystal is not what I expect to be on marmoset, this will be a long way rely on trial and error..
But I decided to import all stuff and start to see how it is looking like, if things are okay or needing some attention
so far, so good to me
also, after finish his cloth I will start working on cape torns and fabric.
the hair will be the very last thing I will work on.
now """""only"""""" hair remaining.
gyazo link: https://gyazo.com/b021017790f4be87ebd6d0ed24c6f834
The hair as I know needs my full atention, the initial cards I tested here didn't looked as I expected and I will have to redo, so when I got more free time I will do this and update the project
and start looking at his hair, if everything look good as expect I will post soon the results
also will review some of his textures, like cape (it's too clean, like recent washed out from lawndery lol) and will review his skin, it's too tan and odysseus is very white, the kind of person who don't like sunbath too much.
2/4 segments done
I think it loses volume, this is something I expect, but not way to much, the mesh guides serves well but would be easier if I make ALL the planes sharing a same atlas, for now, this gives me the double work in order to make it happen than make by a single atlas
so it's work, yeah, but not efficiently or kinda fast as it should.
https://www.artstation.com/artwork/1ndZZo
first: the odysseus temple is massive big compared to all other 12 houses of zodiac on sanctuary, it's really bigger, and we don't have any size references about how big it is in meters, so what I do to have a very rough idea?
get the sizes in SHUNS, lol.
1x andromeda shun = 1.65 meters
so, taking the rough reference on a manga post, I have the width and height of some things
This little fucker over there on stairs is our shun, by taking one shun above the other, I now know the temple full height is something around 51 meters and the temple full width is around 41 meters
unfortunately I will never have the temple depth in meters so this will be random guessed, since I don't have exactly values, it's fine, after all everything is rough and just an approach to have a start point when starting modeling and sculpting the stuff.
Also i'm lacking a lot of images from odysseus interior temple, from first appearance to now it changed in design, so will work with what I have.
the plan is:
1) use megascans to make the sanctuary rocky stuff
2) modelling and sculpt all parts of the temple and ruins
3) not going to make the whole sanctuary, only the part between scorpio and sagittarius, is where our temple is
4) making this with fixed cameras
5) get use of pre made landscapes, this is for way too distant background vistas and only when camera is from inside to outside of the temple.
6) test various light setup and conditions, it's day light and clean wheater on manga when the temple returns with odysseus
7) import my made odysseus to put him in front of his temple
8) make the guardian of temple inside the temple with his cloth box
9) try effects like constelation of ophiuchus cosmos volume for his gold cloth and guardian
so that's a lot work to do, have no idea when going to finish this and i'm not in a hurry.
Valeu mano!!! obrigado mesmo pelo feedback
Comecei a fazer o blocking do templo, se liga
deixei apenas visível os assets que vão ser repetidos pra fazer a composição total da cena, tem muita coisa que vai praticamente ser instância, tipo caminhos, pilastras, colunas
Ta faltando blockar agora umas pilastras no interior e deixar pré preparado o teto, onde não achei informação de referência nenhuma, então decidi fazer por minha conta uma abertura no meio do teto onde vai passar uma luz do céu fazendo um lightshaft para ilumuminar o meio do templo, no meio vou botar a serpente guardiã com a urna a armadura de ouro.
the guardian serpent is also finished, my version the eye of serpent is a bit bigger... considering back and make it look like the manga reference, but I have to see it built first.
here is a screenshot high res of a part of entrance/exit of the temple
going try to finish all baking and textures this weekend, and I will have to stop again to do some work, when finish I back to import this all stuff under unreal and start building up the scene.
also did this cobblestone floor with mixer for use on the temple interior, It's not exacly look like to manga reference, but tried to make it closer as possible, and wll finish by scattering and using decals.
thanks for the tipo Lewis
all textures from temple is finished, tomorrow will review if need more details
also finished the asclepio gold cloth box
now only the guardian remaining
but started build things on unreal and see the shape of things
I decided to cut off the big serpent, it not looked like good as I expected, great serpent for normal size but not awesome giant ones.
I will back to substance painter and redo the materials of ruins, it's too clean for my judgement, and I need to dirty it out in order to make a great look and variation. Some dirty, dust and scattering things can be achieve by decals, but not these ones.
The sanctuary canyon is currently the major challenge, make that mountain using a bunch of megascan assets and effort to look convincing is getting harder than expect,
I currently manage to make the front part of canyon ok, now I have to make the back part
Camera angles will be super limited because of this
After finish this, I will start looking for the atmosphere and light/sky composition, will try to use a mixture of baking light with ssgi
but until mid july this is what I have so far
start adding new megascans vegetation
also, making debrits to the whole scene
made the background sanctuary canyon composition
also trying to achieve some damage to stairs, like we have on manga, but I didn't made the main stairs with damaged mesh, so i'm improvising like this:
I want some epic's volumetric clouds on canyon sides (this temple is really high on canyon, I do follow the artist vision of manga, same as sanctuary from netflix kotz, where the higher temples are above the clouds) and want to use the first GPU lightmass bake from epic, this scene could get some good results with baking, the currently gpu lightmass is giving me out of memory error and i have to figure out what is happening.
So, I imported Odysseus to his temple, he looks like an ant, lol
but the golden cloth material is not rendering as expect like it did inside marmoset... This is something I have to working on and keep testing the results
until that, I will keep improving the interior of temple, the main entrance.
current entrance
also worked on small scattering and sides
to this and will back on him when light is built and finished
now is much better, that was a metalicity and roughness adjustment on material, metal power was too weak and roughness was too high.
also did the adjustment on left side of interior, I do decided to camera dof the back part of the temple where exit was shown.
for the floor I will try to use some parallax occlusion in order to have some bumpping
now will do some fixes and adjustments, rebake and tweak post volume
them wait for 4.26 volumetric clouds
this is a really very old earlier stages of what we will have on ue 4.26, but to have a better idea of cloud composition on the background, I place some on the scene and tried to match best as possible with the hdri skybox.
https://www.artstation.com/artwork/J9we5m