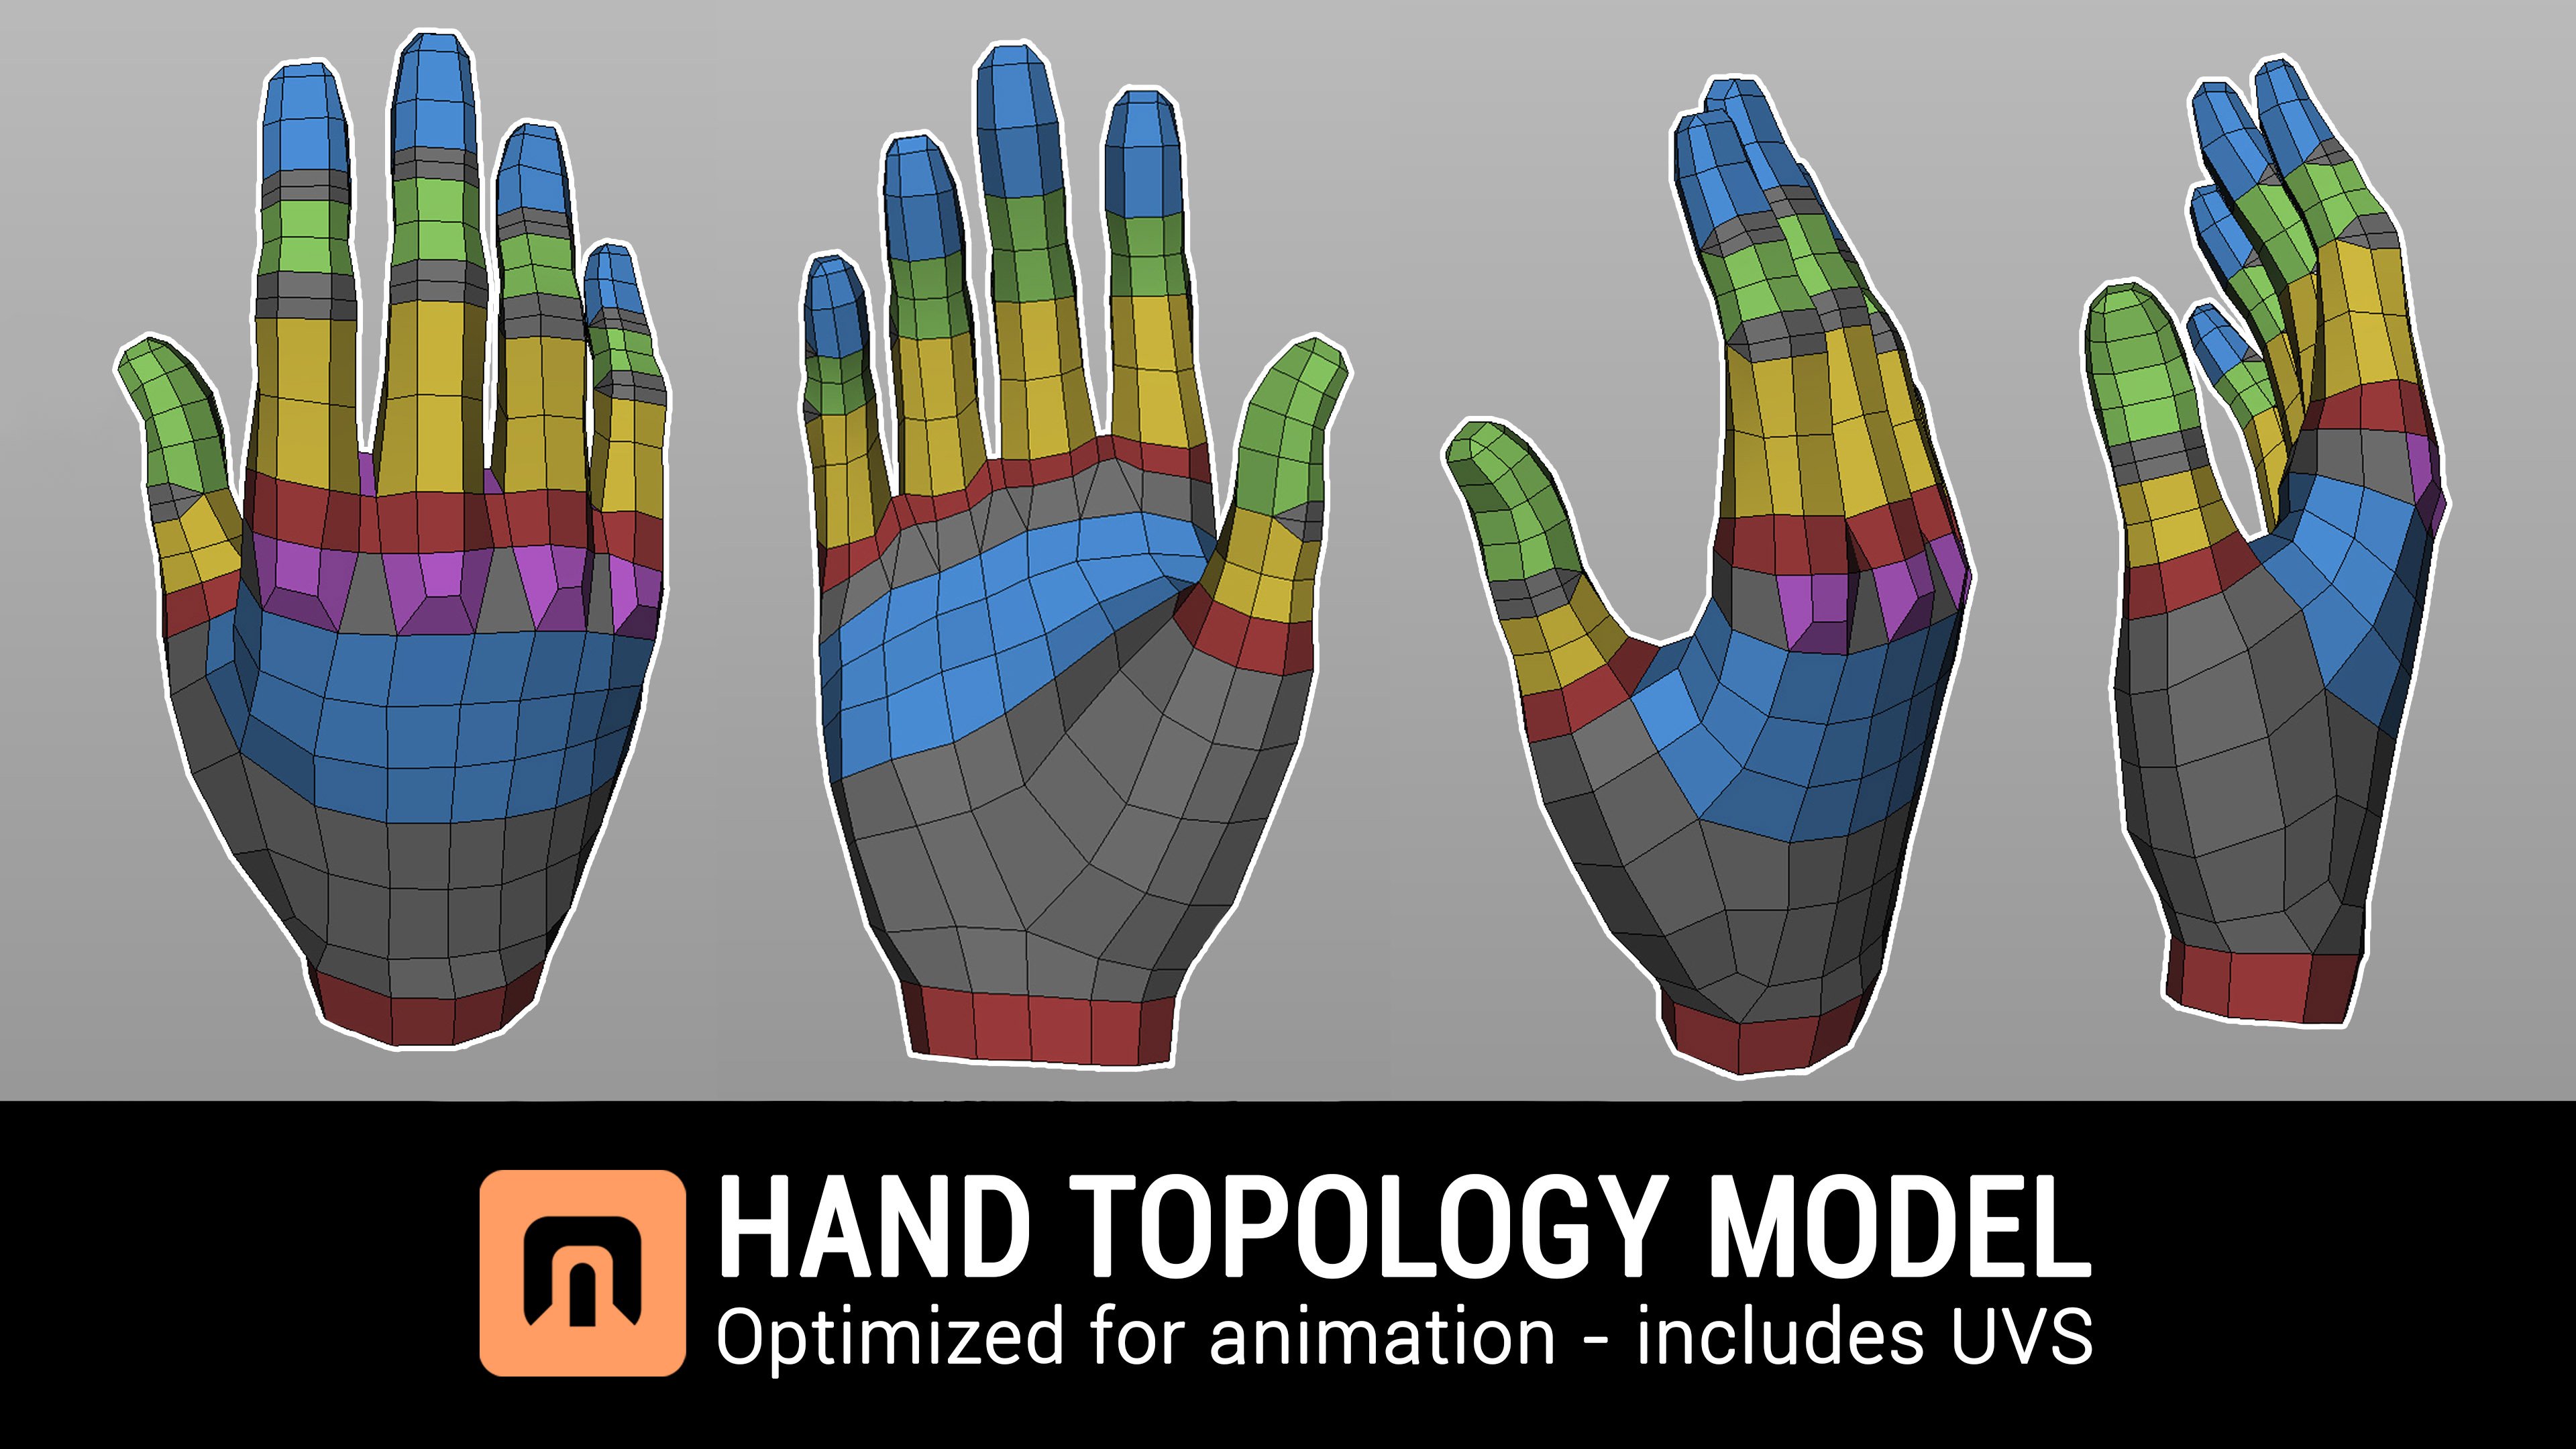
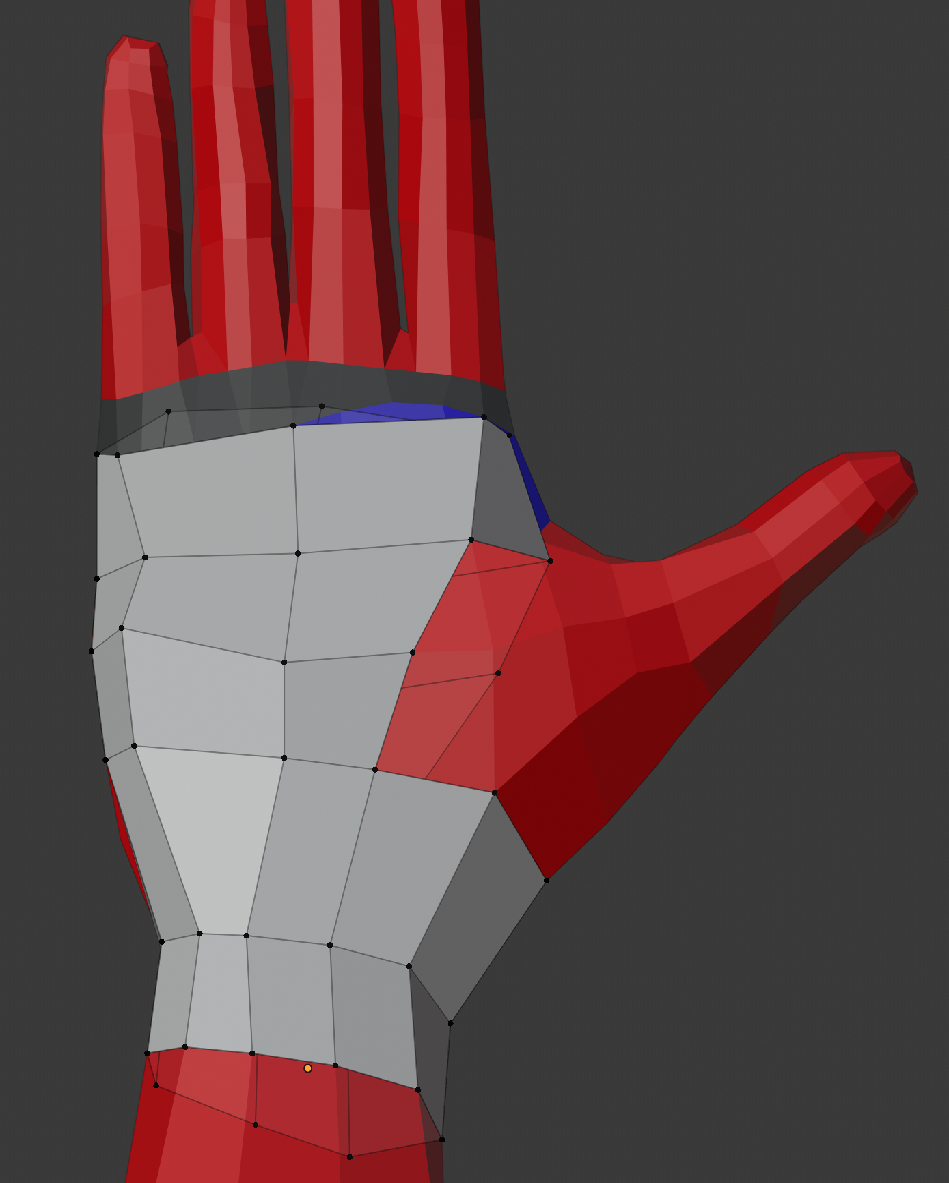
How do I go about creating this geometry with what I have now?
I want to give my low poly character a high poly hand since they will use their hands a lot. I want to use this hand...

But I do not have the sufficient geometry at the base of my hand, the wrist, to create it. I have 9 vertices whereas they seem to have 11 or 12.

So how would I go about salvaging what I have into something like this? I have to stick with what I have because it is connected to the rest of the body and I don't want to recklessly add loopcuts on the whole body just for the hand.

But I do not have the sufficient geometry at the base of my hand, the wrist, to create it. I have 9 vertices whereas they seem to have 11 or 12.

So how would I go about salvaging what I have into something like this? I have to stick with what I have because it is connected to the rest of the body and I don't want to recklessly add loopcuts on the whole body just for the hand.

Replies
With the concept art you draw exactly what you want and what the character should look like. But when it comes to modeling it, you need to do some engineering and think of how to best arrange your topology to represent the forms and flow that the design suggests.
That's why most people like to do it in two separate steps: sculpting the character in a high-res mesh, worrying only about the forms of the character, and then doing retopology to create the animatable mesh, worrying only about the geometry and topology while stealing the form from your high-res sculpt.
Here are some of my notes:
- Your meshes will mostly have quads (4-pole vertices).
- You use 3-pole and 5-pole vertices to reroute edges loops. Most of the time the 3- and 5-pole vertices are the natural result of an extrusion and not something that you created on purpose. However, there are cases when you do force them in places on purpose because you want the mesh to flow in a certain way (so that it deforms better when animating or gives you the flow necessary to make a certain form like a clavicle etc.).
- If you think that some spot of your mesh could be better, it's sometimes much easier/quicker to just delete that spot and recreate it with the exact poles/edge flow you want and weld it to rest of the mesh, than trying to rearrange the loops of that spot using edge cuts and edge dissolves.
- Make your own library of humanoid parts to quickly get started when modeling new characters, you just reshape these parts according to the design and do minimal changes to the geometry.
But you should keep your own notes.