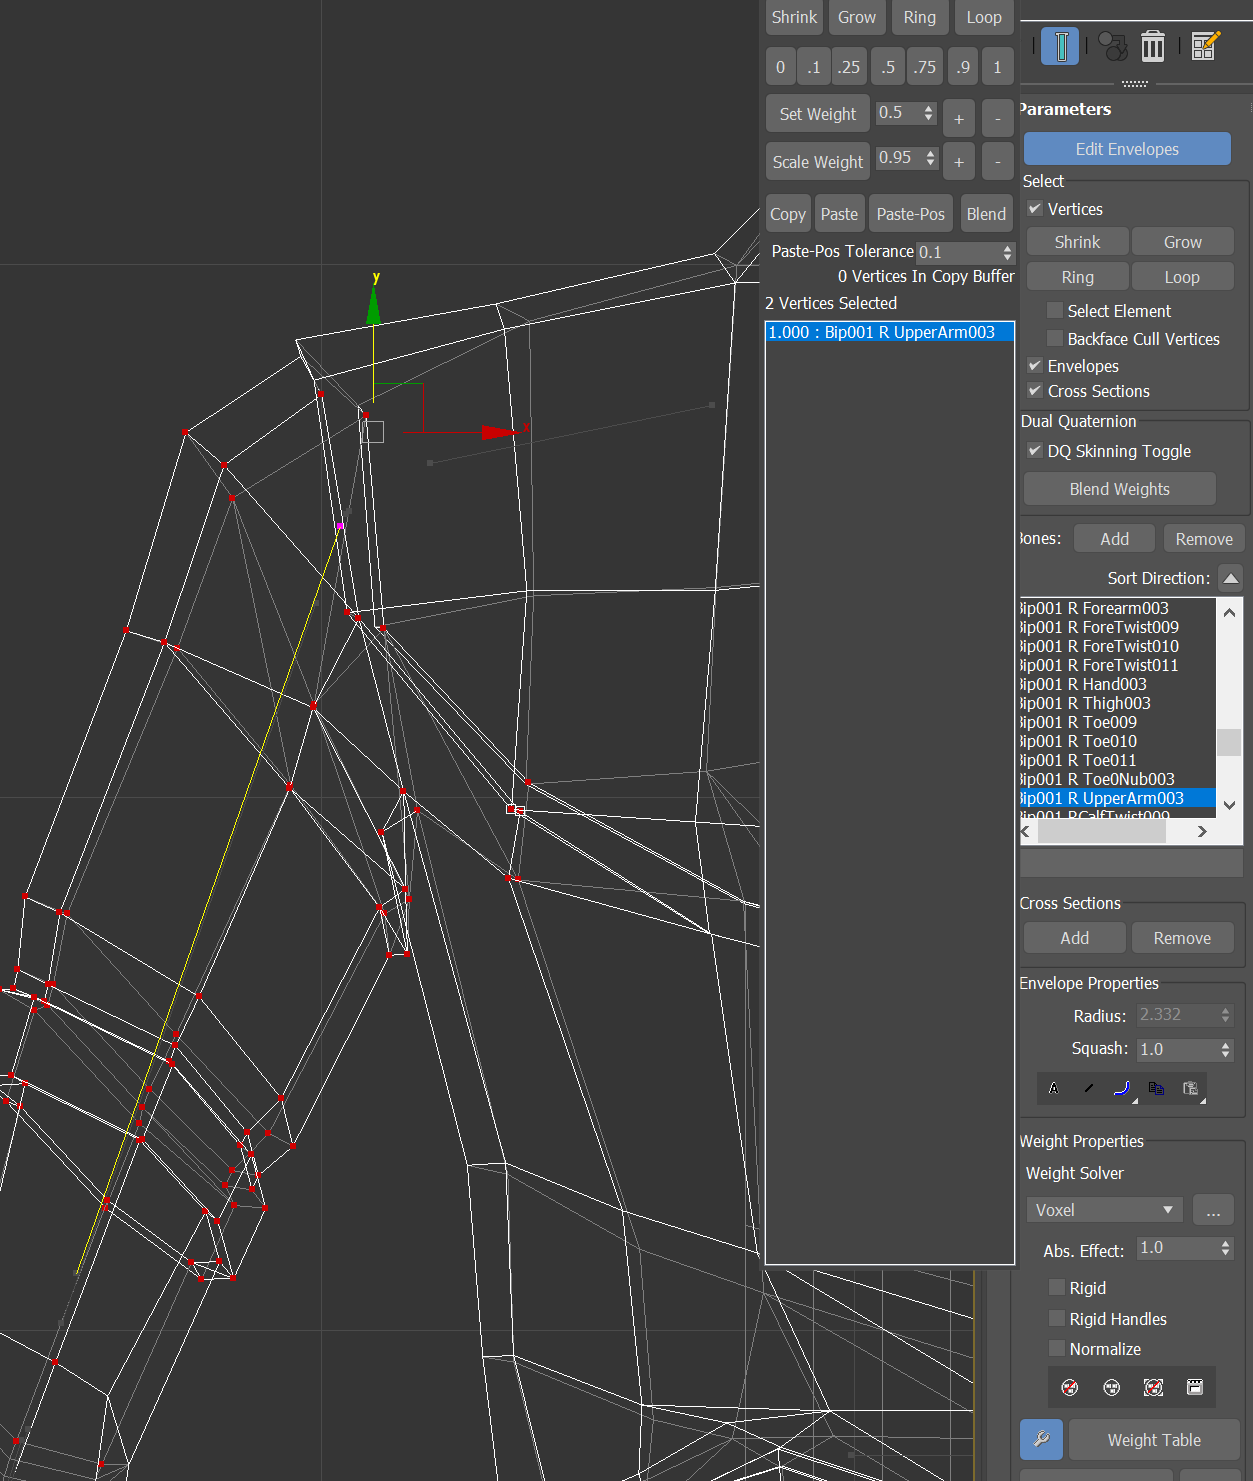
[3DS Max] Why does normalize screw up my vertices abs effect?
So while I'm editing the vertices on my mesh after applying voxel solver, some of them need to have normalize turned off in order to change the abs effect. A few of them work pretty smoothly, but most of them do crazy stuff like this:
 The first image is the vertices selected with abs effect on 1.0. Second is the same vertices with abs effect on 0. Not sure why this happens. Is there a reason and solution for this?
I have tried playing with the rigid and rigid handles options as well, but those don't seem to effect it in a way I want it to. Rigid just makes a vertex jump from 0 to 1, and I'm not sure what rigid handles does but it didn't seem to have any effect.

Replies
If you have a vertex which is not weighted to any bone and the model is offset from the initial pose the skin modifier was applied (due to animations or you moving it around) the vertex will stay at the initial position. This seems to happen here
To check: simply disable the skin modifier completely. Does the model snap over to the location indicated by the "strange" vertex in your last position?
update: Had to turn always deform back on so I can move the mesh with the skeleton again.