Home Technical Talk

Photogrammetry workflow

LosRe
polycounter lvl 4
Offline / Send Message
LosRe polycounter lvl 4
Hello,

i have been given a quite a complex model created with photogrammetry (or videogrammetry i think) and it's quite a mess. I have an fbx and 40 diffuse maps that go with it. My model has 40 different UVs if i understand correctly. What i want to achieve is to get it into zbrush, pass the diffuse info into polypaint, clean my geometry, fill the holes, create fewer and simpler UVs and bake the polypaint info to new texture maps. There are somethings however that i don't get and i can't start with it.

My model seems to have some color info even if i don't set any texture map on it. Even if i just import it in 3ds max/zbrush/unity my model is colored. Where does that information come from? Is it from vertex colors? As you can see in the 2 screens 3ds max and zbrush both has color information but in zbrush is a lot more blurry.
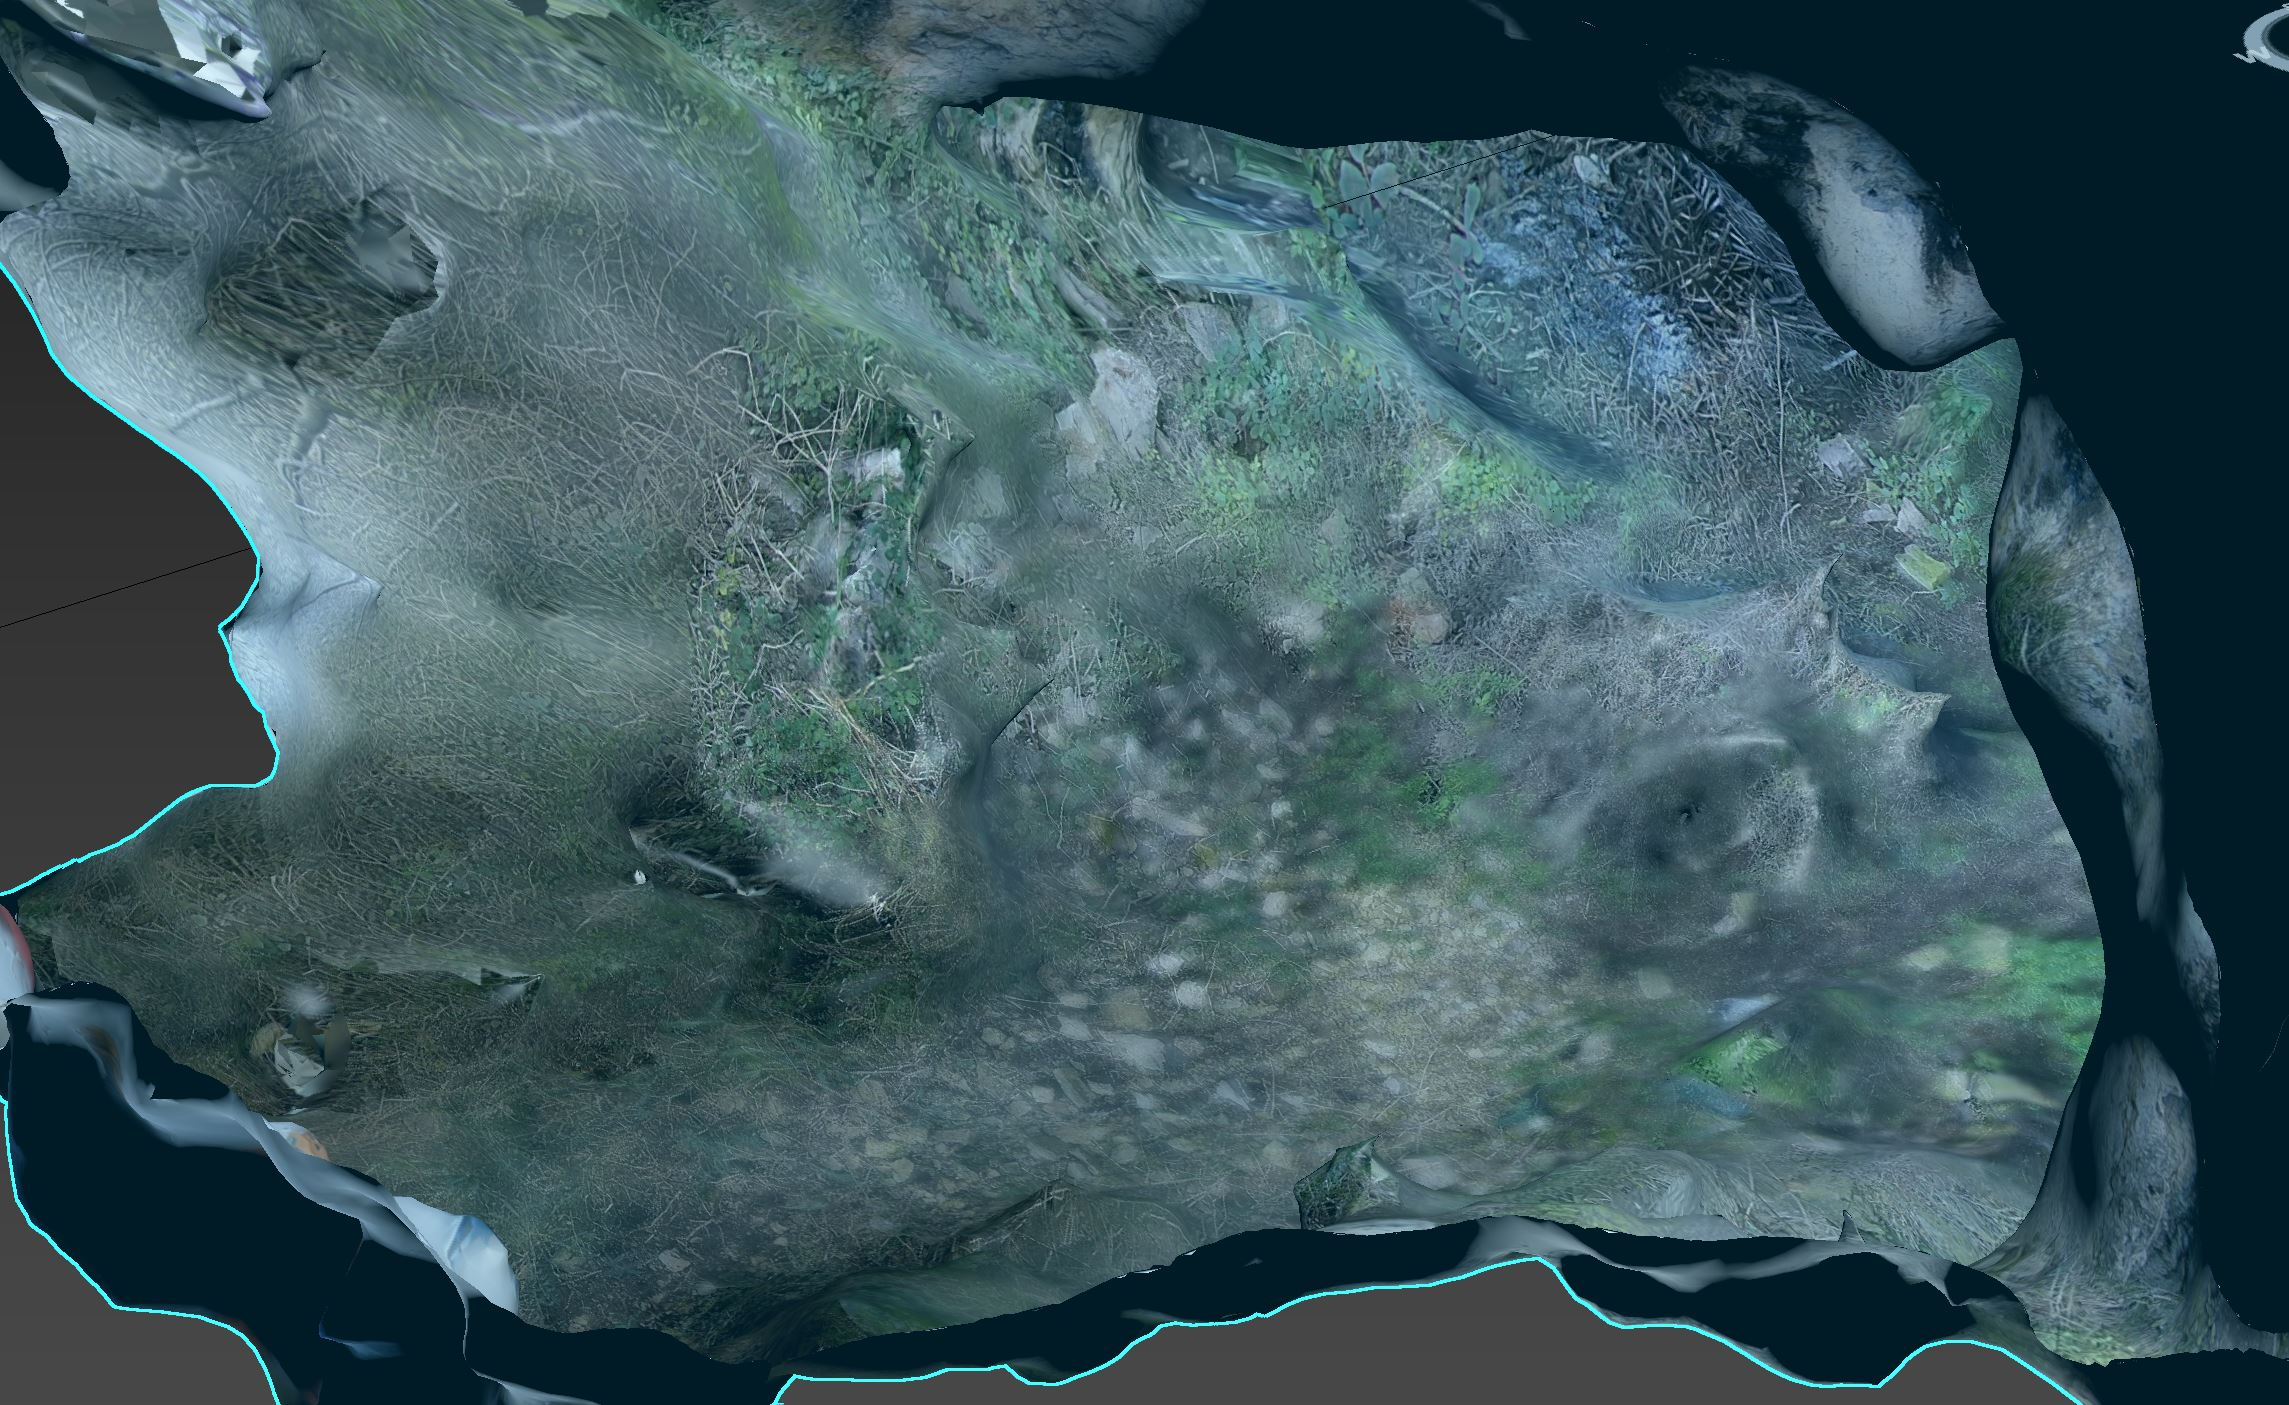
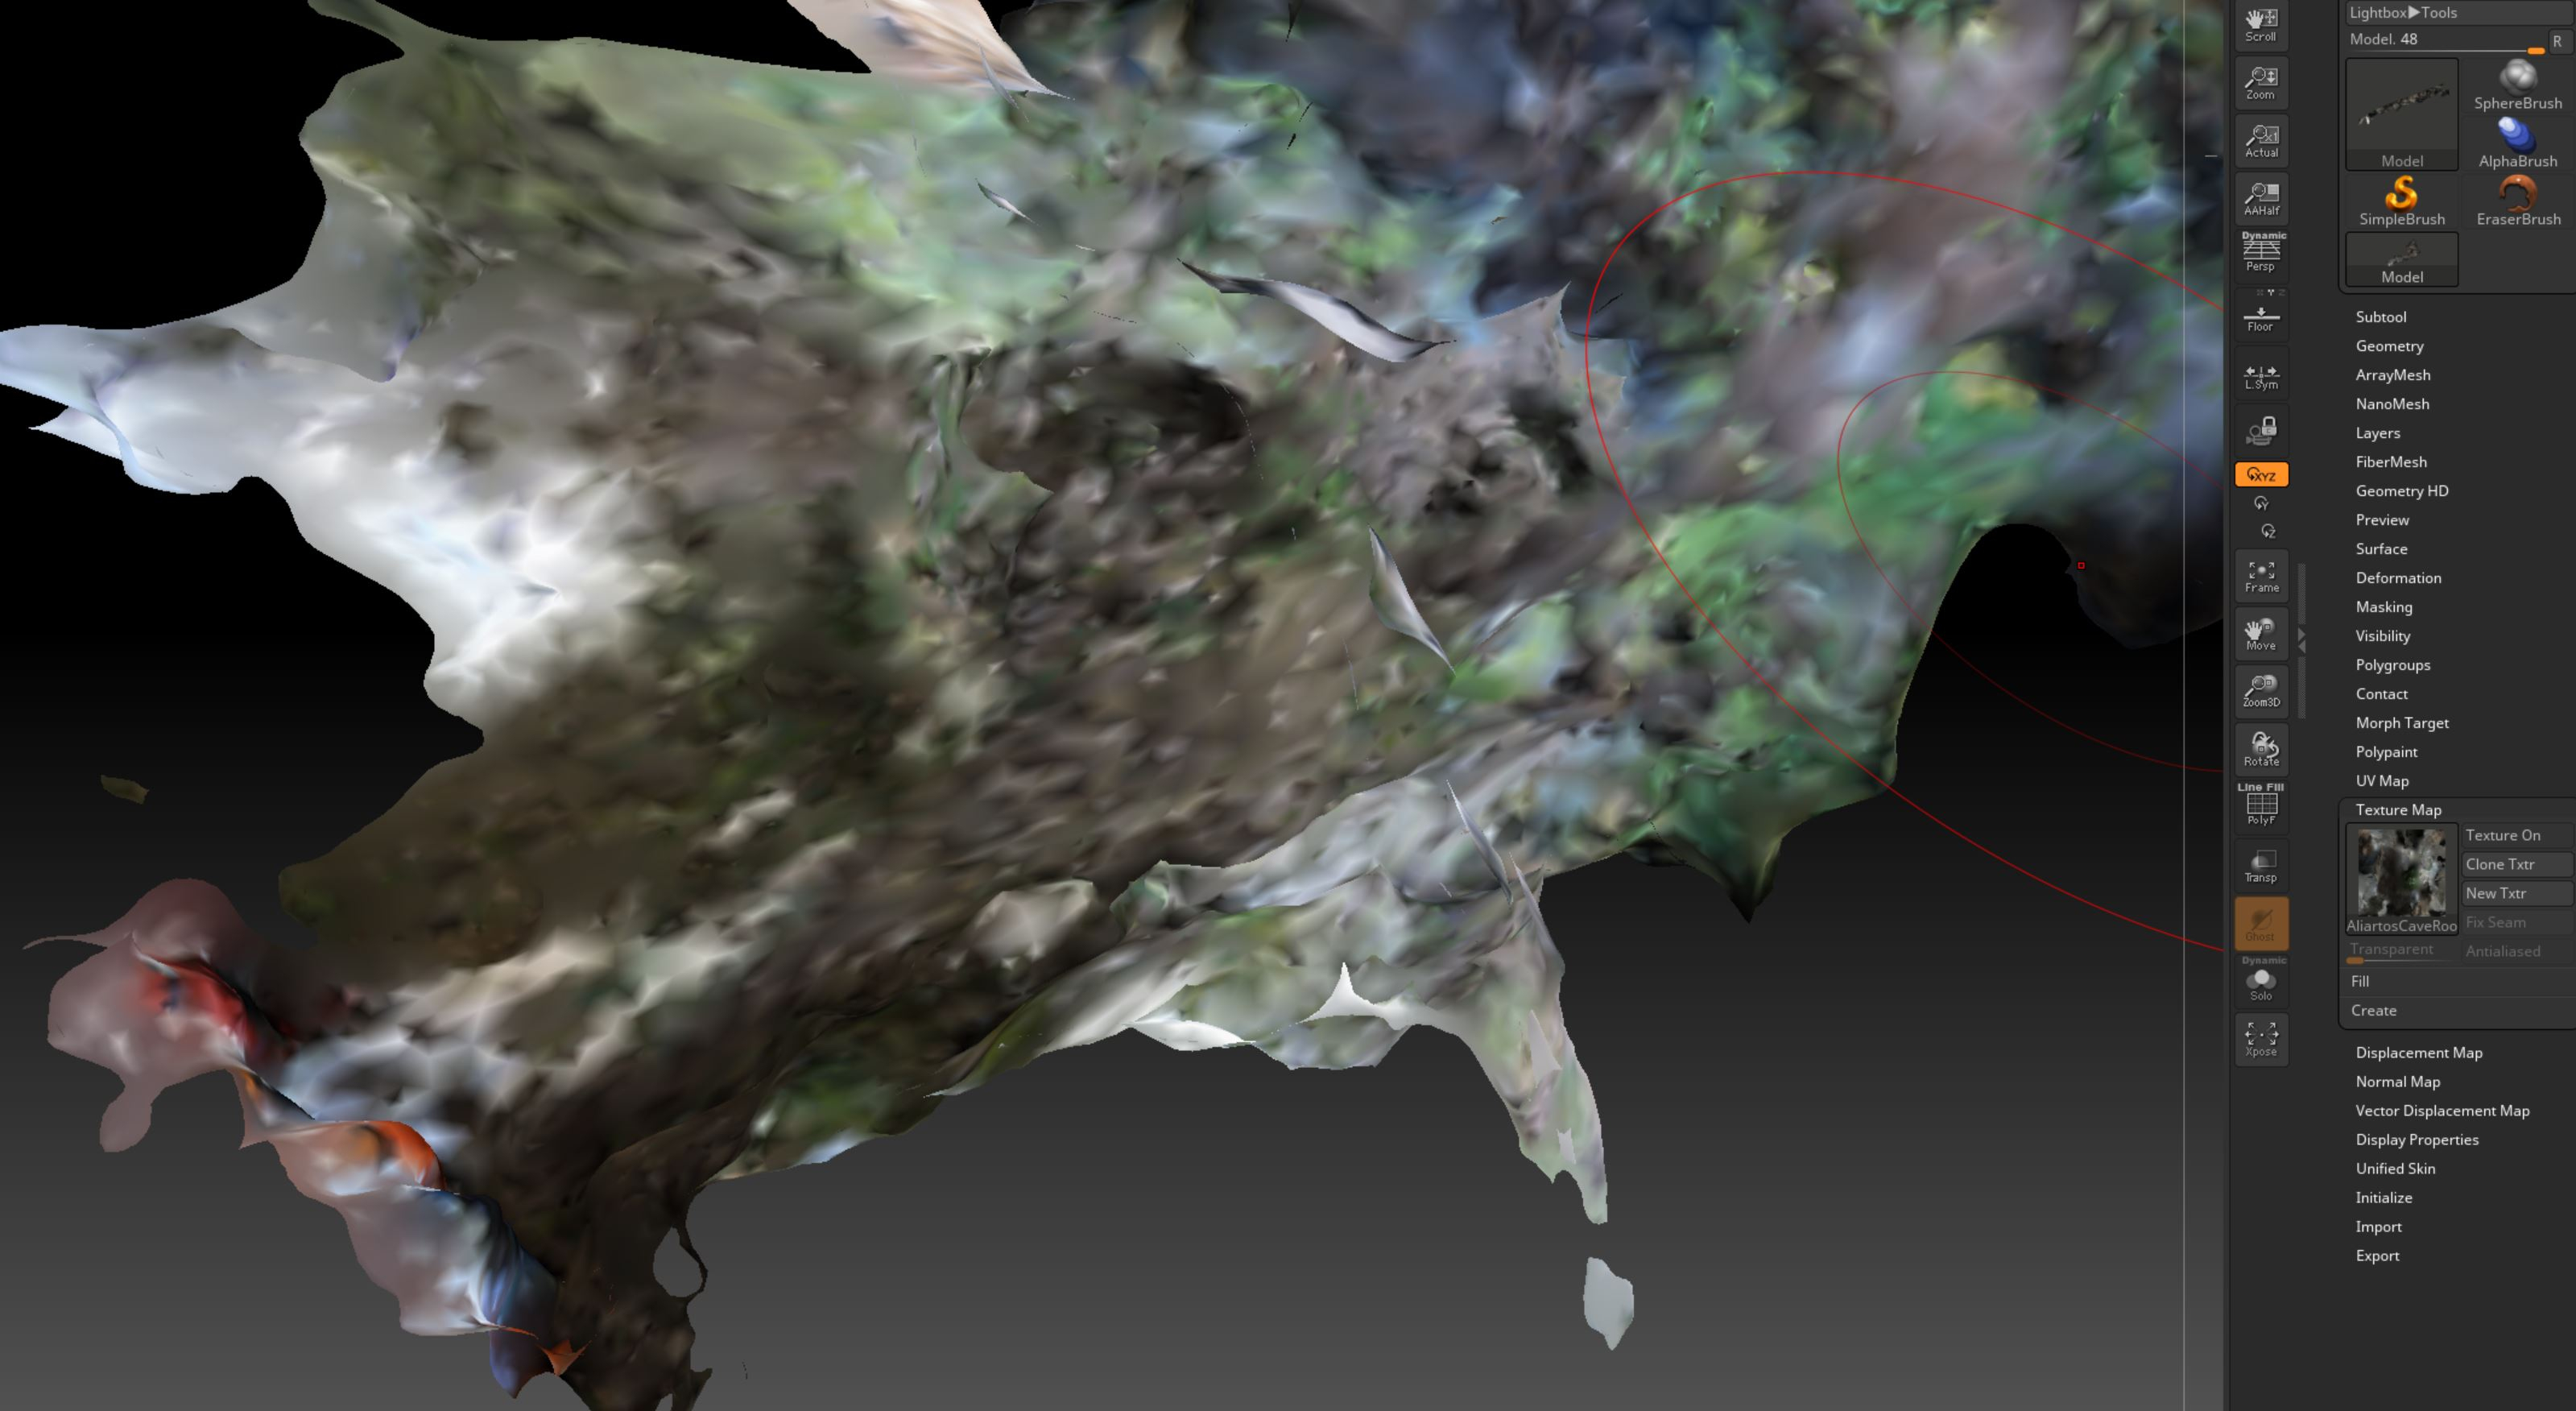
Any ideas?

Replies

  • rollin
    Offline / Send Message
    rollin polycounter
    This is really a mess..
    Anyway.. In max there is material with textures on the object (use the picker tool in the material editor to get a reference to it) and in zbrush this is polypaint / vertex colors what you see when I'm not completely wrong
  • SnowInChina
    Offline / Send Message
    SnowInChina interpolator
    import your model into your maya/max/blender and assign all diffuse maps correctly
    create a new uv channel and make a new unwrap
    bake the diffuse maps to the new map

    a second way would be to duplicate your mesh and delete all uv channels except the first, re-unwrap and use the first one as a "highhpoly" and the second one as a "lowpoly", bake it in xnormal/marmoset

    there's propably a ton more ways to do it, but this should work just fine
  • LosRe
    Offline / Send Message
    LosRe polycounter lvl 4
    rollin said:
    This is really a mess..
    Anyway.. In max there is material with textures on the object (use the picker tool in the material editor to get a reference to it) and in zbrush this is polypaint / vertex colors what you see when I'm not completely wrong
    You where absolutely right. That's why zbrush was so blurry. It doesn't have enough vertices to show the color information good enough.

    import your model into your maya/max/blender and assign all diffuse maps correctly
    create a new uv channel and make a new unwrap
    bake the diffuse maps to the new map

    a second way would be to duplicate your mesh and delete all uv channels except the first, re-unwrap and use the first one as a "highhpoly" and the second one as a "lowpoly", bake it in xnormal/marmoset

    there's propably a ton more ways to do it, but this should work just fine

    Alright, so my model has 40 different uvs/maps with it. Is it possible to duplicate it, unwrap it much less (i want around 10 uvs) and bake the first model into the other one? What i want, is to have much less uv/maps on my model and have them much more organized. Is something like that possible in max?
  • rollin
    Offline / Send Message
    rollin polycounter
    The answer to your question is "yes" or "what SnowInChina said"
  • LosRe
    Offline / Send Message
    LosRe polycounter lvl 4
    Alright, i duplicated my mesh, cleaned it up in Zbrush, unwrapped it in 3ds max and then i applied a projection modifier on it. Picked my old mesh as a reference geometry, and then used render to texture for the bake. As you can see in the screens i have some issue. My mesh is very difficult (it's a cave so all my mesh is kind of inside out), so in the new texture all the faces that are on the top of the cave or in a very tight spot are getting baked as black.

    Is there an option i'm missing or i'm totally screwed? Thanks again for your time!


  • GreyJke
    Offline / Send Message
    GreyJke polycounter lvl 2
    For your next shoot bring some markers. Piece of paper with contrast pattern (not repetitive) will work. It will help software identify camera position.
  • rollin
    Offline / Send Message
    rollin polycounter
    The image you posted is not the unlit diffuse output. So hard to tell what's going on. Also this is just the entrance, isn't it?
  • LosRe
    Offline / Send Message
    LosRe polycounter lvl 4
    GreyJke said:
    For your next shoot bring some markers. Piece of paper with contrast pattern (not repetitive) will work. It will help software identify camera position.
    I didn't do the capture procedure, hope i get into that at some point. Thank you for the advice tho!
    rollin said:
    The image you posted is not the unlit diffuse output. So hard to tell what's going on. Also this is just the entrance, isn't it?
    Yeah sorry about that. You understood correctly, i'm trying one piece at a time until i get it to work. I hope these screens make it more clear. I put them side by side for comparison. You can see the black spots.
  • LosRe
    Offline / Send Message
    LosRe polycounter lvl 4
    Alright i think i got it. I adjusted my original material to self illumination 50. From what i see it's all worked out. I guess after that i do an old fashioned photoshop pass to close the holes and all the scrappy areas. Do you think there is a better workflow, or this is the best i can do?


  • rollin
    Offline / Send Message
    rollin polycounter
    Are you using the lit render output or the diffuse output? Bc you should use the diffuse without any lighting information. Max shows you only the lit output in the render window. The other outputs will silently be written to the location you have set. Bc it shouldn't be necessary to deal with material illumination 
  • LosRe
    Offline / Send Message
    LosRe polycounter lvl 4
    These are the settings that i have, tell me if you need something else cause i have no idea where i set this up.
  • rollin
    Offline / Send Message
    rollin polycounter
    If you open the Object001DiffuseMap.tga from where ever max saved it.. does it contain lighting information? It should not. If there are black spots on it there might be something other wrong with the model. Being able to fix it with a self illuminated material would be odd.. But who knows..
    The last time I checked the map you see in the render output is the "Complete Map". Not sure with the newer versions of max though.
  • LosRe
    Offline / Send Message
    LosRe polycounter lvl 4
    Alright, found some time to work on this file again and you were absolutely right (again). Searched for the diffuse map that 3ds max exports and as you can see in the picture is 100% with no light information. It's really weird for max tho that i can't see this output on the render window. Anyway it works so i'm good to go.

    One final question: after i apply the baked textures, there is a gray line where the 2 uv maps connect. Is there a way in the bake to make it put some color for some pixels around each island so i don't get that bleeding? Sorry if i can't explain it better in english, i'll put a second screenshot that have exactly what i want so you understand what i mean. 


  • rollin
    Offline / Send Message
    rollin polycounter
    This should be the padding option in the render to texture dialogue. If max didn't improved here don't expect the nice color bleeding from your 2nd image though.
Sign In or Register to comment.