Vector Normals, Cross Planes, and The Attempt To Make Lower Poly Trees Look Good
I know this is a topic covered fairly extensively in the wiki. I've read through most of them already. Yet despite this, I cannot for the life of me make my cross plane foliage look good. It's the one thing that's held me up the most as an occasional 3D modeler. I'll make my trees, see they look like absolute crap, then give up on the whole affair.
This time, I'm bound and determined to figure out exactly what I'm doing wrong. Whether it's my technique, or something misunderstood, I will know why, and I will make smooth low poly trees!
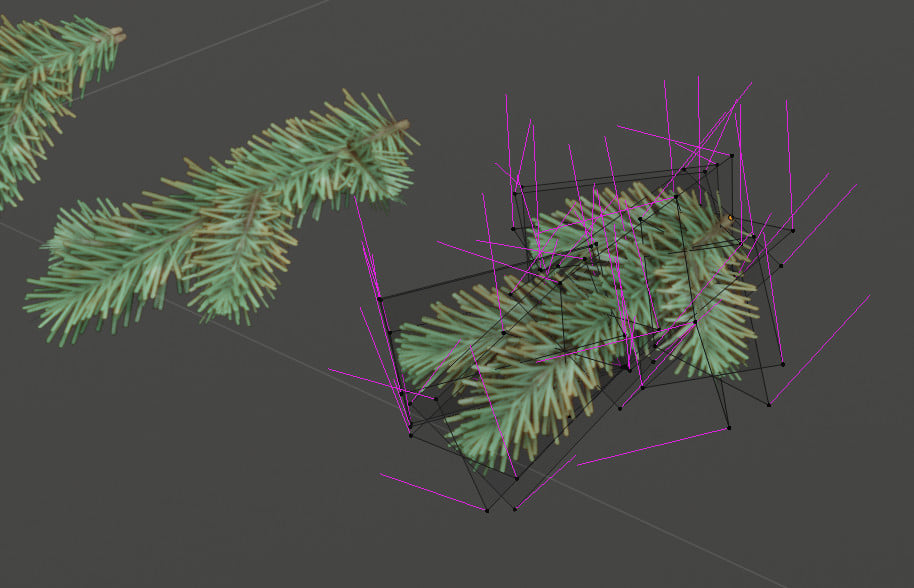
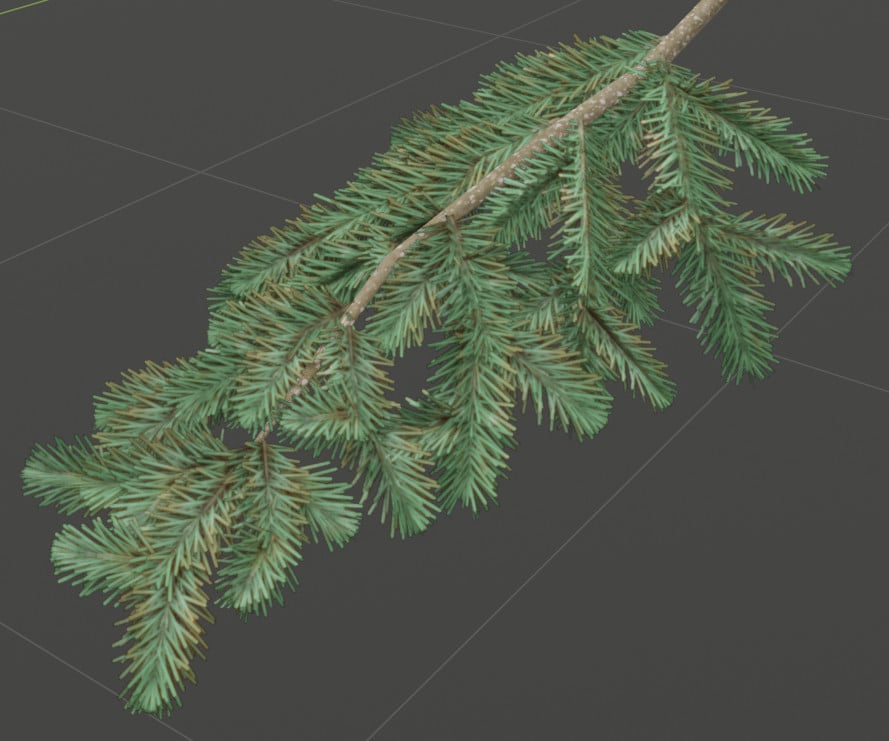
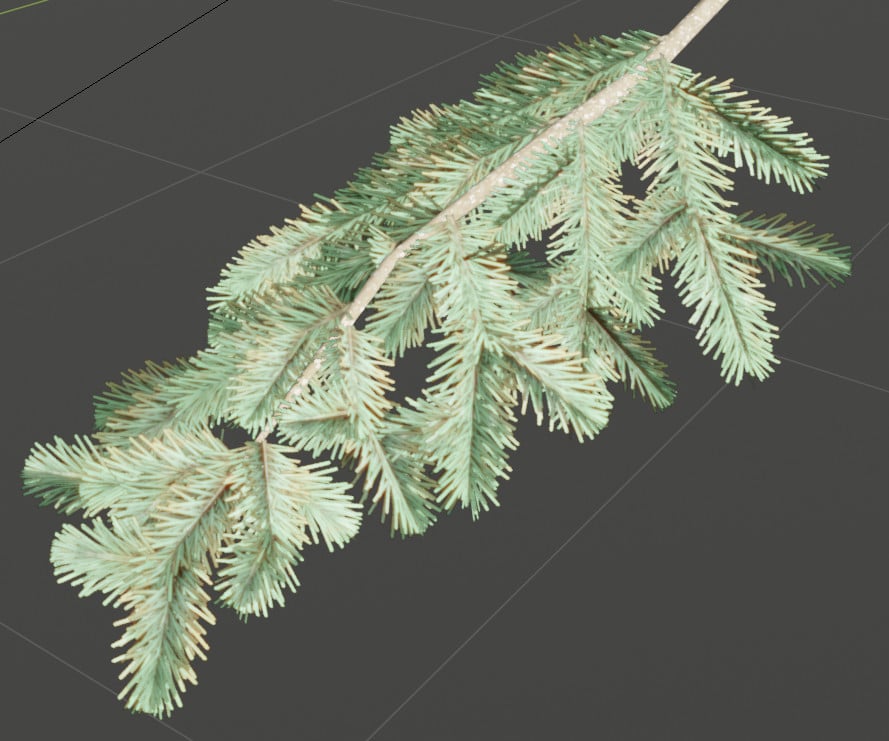
Okay, so on to my current issue. I'm making a pine tree. It isn't meant to be photorealistic, but I still want some heavy detail, make it look full and bushy. What I've done is baked down the diffuse, AO, and normal from a few spruce sprigs I modeled, dabbed some details on the resulting textures in Affinity Photo, and brought it all into Blender. Once I put my sprigs together into a 3 part cross plane, and constructed them into longer branches it did look pretty good.
...at least until I try to light it, then it becomes a splotchy, messy lump of ugly. My usual results when I attempt anything like this.
And so here we are. I've tried manually editing the normals, which gave me meh results. Tried taking a sphere, placing it around my geometry, then using a Normal Edit modifier with said sphere as the source. It didn't give me those nice, smooth, outward facing normals I see in the screenshots. Didn't matter if I were in Blender 2.79, or 2.8, it always ends up making things worse.
I'm now here for some suggestions. I'll post some screenshots, showing my basic setup, and maybe, hopefully you all will be able to provide me the answer I've sought so long.
Help me make my trees!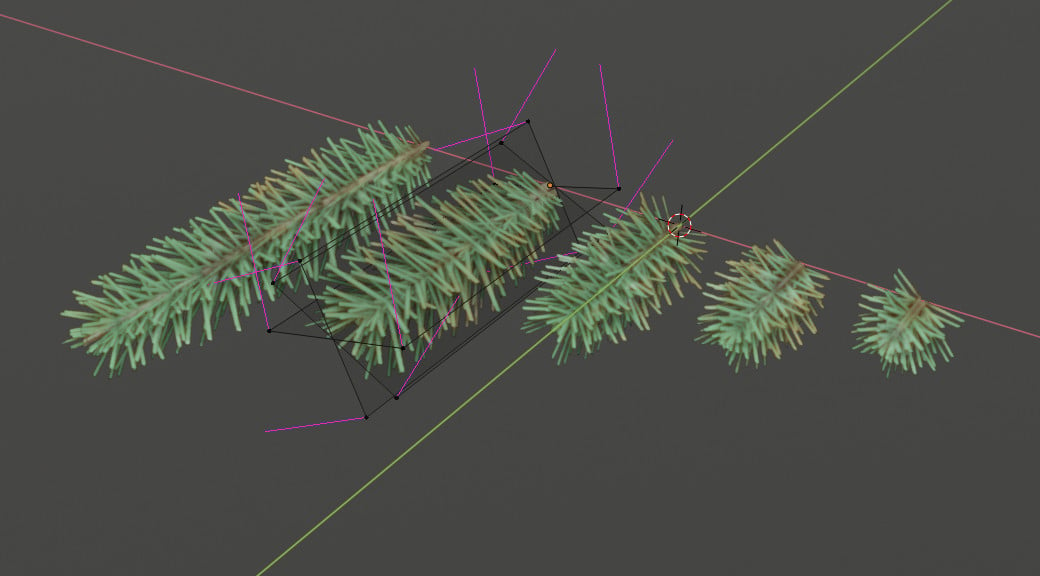


Replies
https://forums.unrealengine.com/community/community-content-tools-and-tutorials/125884-spherical-normals-for-trees-blender
For a better example of what my problems are, I quickly banged together a tree top like what's illustrated here:
https://simonschreibt.de/gat/airborn-trees/
This isn't exactly difficult to pull off. This, coupled with the link you provided, should take me about roughly 10 seconds to get the desired results. Like I said, it almost, but not quite works.
So I make my spherical base, use a particle emitter to randomly distribute some x planes across the surface, run the Normal Edit modifier, make my sphere, scale it til it fits snugly around my bush, and...
...well, the normals are pointing how they're supposed to, but it's still got that faceted look I'm trying to avoid.
With the textures on, it doesn't look absolutely terrible, but it really only works, cuz it's such a dense mesh. On a more threadbare model, it'd look a bit more janky.
But if I turn off backface culling:
...there it is. What I want. Problem is, trees made out of single sided polygons will look like crap unless I load them down with leaves.
It seems the core of my issue is getting my backfaces to behave. They always want to point away from me, even though ever tutorial I've seen doesn't consider this an issue once my normals have been modded.
I've gotta figure that either I'm missing some very important step, or Blender just has trouble rendering x planes at the same quality that, say, UE4 would. Considering the tutorials I've read above, it's gotta be the former. Though hell if I know where my problem exactly lies, since I've followed all these instructions about to the letter.
From a quick google search:
"Try multiplying the normal map with "TwoSidedSign" node (or whatever the name of that node was) before plugging it into the normal map slot."