(Maya) Curves to polygon not working?
Hi there!
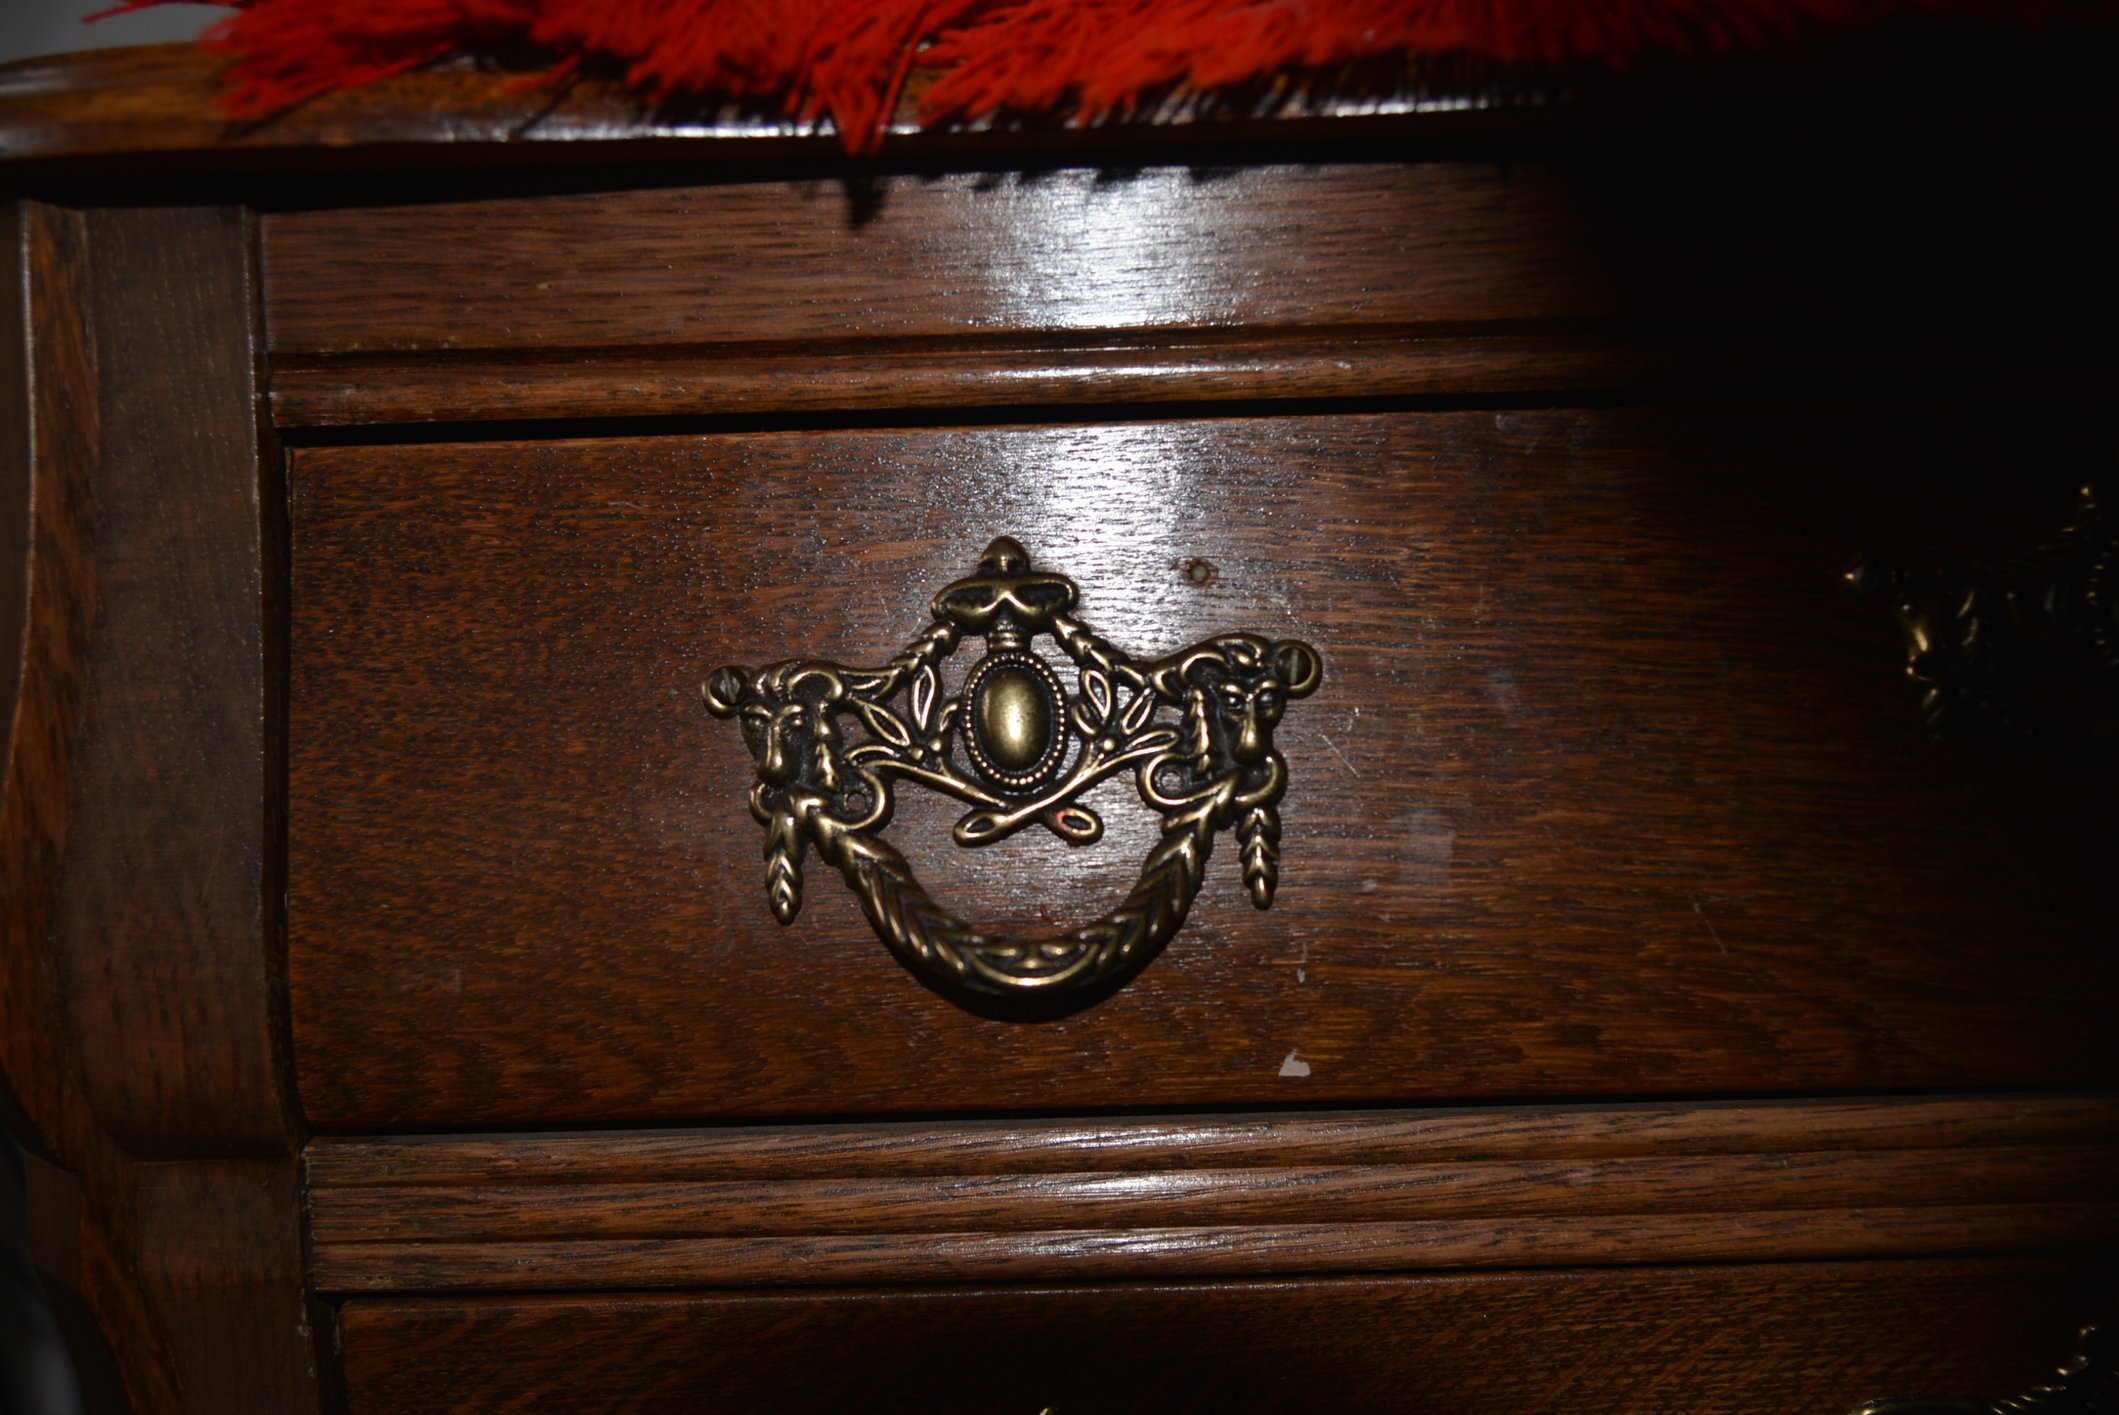
I'm currently trying to recreate this object:
But since I have limited time and am not that proficient with sculpting, I thought I'd try making it with curves in Maya. Which I have some experience with but not much and tend to struggle with it.
I thought the best option was to make one side with the bezier curve tool, then mirror it (which I found out wasn't really possible with curves in the way that you can with polygonal objects)
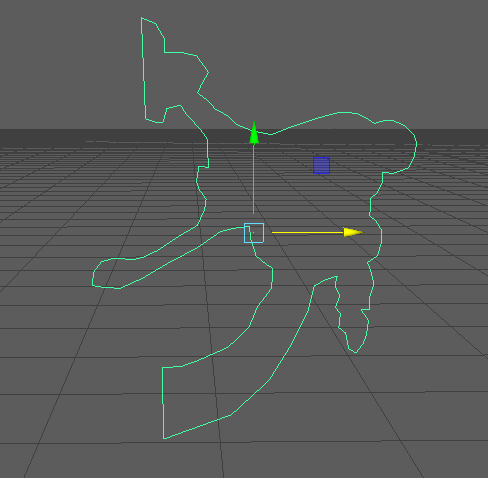
Anyway, by looking up explanations on the autodesk sites I tried to find out how to turn this into polygons, and with the convert option I turned it from bezier curve into nurbs, and from that I wanted to convert it into polygons. However, I got the following error;

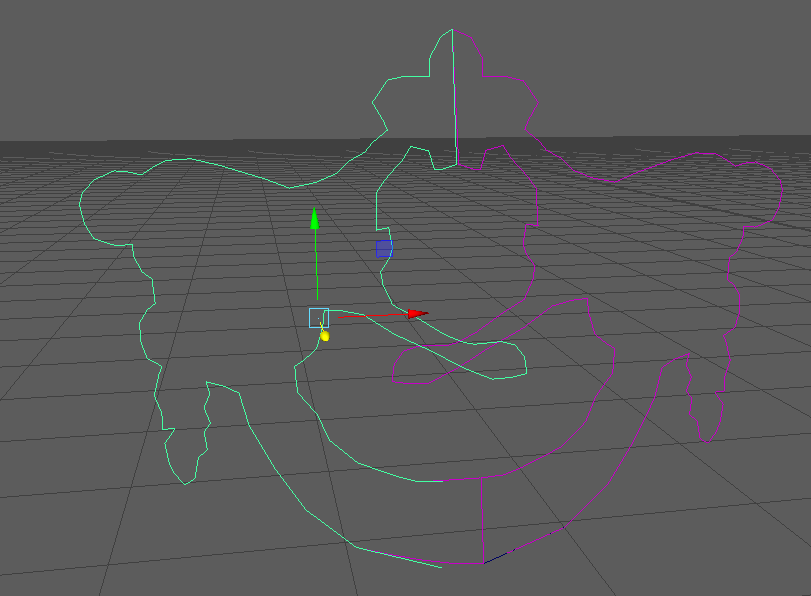
I don't know how to fix this, and from that moment on I tried some other stuff as well, such as trying to connect the two curves by flipping one and then using the Attach and Stitch options, which got me this half purple thing;
So I'm not sure if they are attached or not because some parts move seperately.. and I still can't turn them into polygons.
This is what my outliner looks like btw:

So my question is... how do I turn it into a polygonal object because logically the curves to poly convert option is working but it's just... not and I'm kinda lost right now. Thanks in advance!
I'm currently trying to recreate this object:
But since I have limited time and am not that proficient with sculpting, I thought I'd try making it with curves in Maya. Which I have some experience with but not much and tend to struggle with it.
I thought the best option was to make one side with the bezier curve tool, then mirror it (which I found out wasn't really possible with curves in the way that you can with polygonal objects)
Anyway, by looking up explanations on the autodesk sites I tried to find out how to turn this into polygons, and with the convert option I turned it from bezier curve into nurbs, and from that I wanted to convert it into polygons. However, I got the following error;
I don't know how to fix this, and from that moment on I tried some other stuff as well, such as trying to connect the two curves by flipping one and then using the Attach and Stitch options, which got me this half purple thing;
So I'm not sure if they are attached or not because some parts move seperately.. and I still can't turn them into polygons.
This is what my outliner looks like btw:
So my question is... how do I turn it into a polygonal object because logically the curves to poly convert option is working but it's just... not and I'm kinda lost right now. Thanks in advance!
Replies
To convert to a polygonal surface you must create a NURBS surface and then convert it. At the moment you only have curves.
You can create a surface using the curves as boundaries ( they will be the edges of your mesh ) by selecting the curve ( must be closed ) and going to: Surfaces---> Planar.
After that select the surface that Maya created and choose Modify---> Convert---> NURBS to Polygons or simply select "output geometry polygons" in the planar settings---> retopo as needed.
For the mirror part do it after making the polygonal surface and after the retopo by using the usual mirror tool.
To use that planar function your curve must be snapped to the grid, so if you made it on an orthogonal view you are ok, otherwise snap all the vertices to the grid so they are flat.
You can also make that shape in Zbrush using masks. You can active "see through" while having the reference open so you can see it and then simply paint a mask by tracing the shape of the ornament.
After that invert the mask and use the panel loops feature or maybe the inflate deformer+inflate baloon and do some retouching with the brushes.
https://polycount.com/discussion/167070/whats-the-best-way-to-to-make-filigree-and-ornamental-3d-objects/p1
...outlining straightforward techniques that are not only efficient but more effective IMO than utilising such a convoluted workflow to begin with.