Substance Painter - Problem with Normal Maps in UV seams
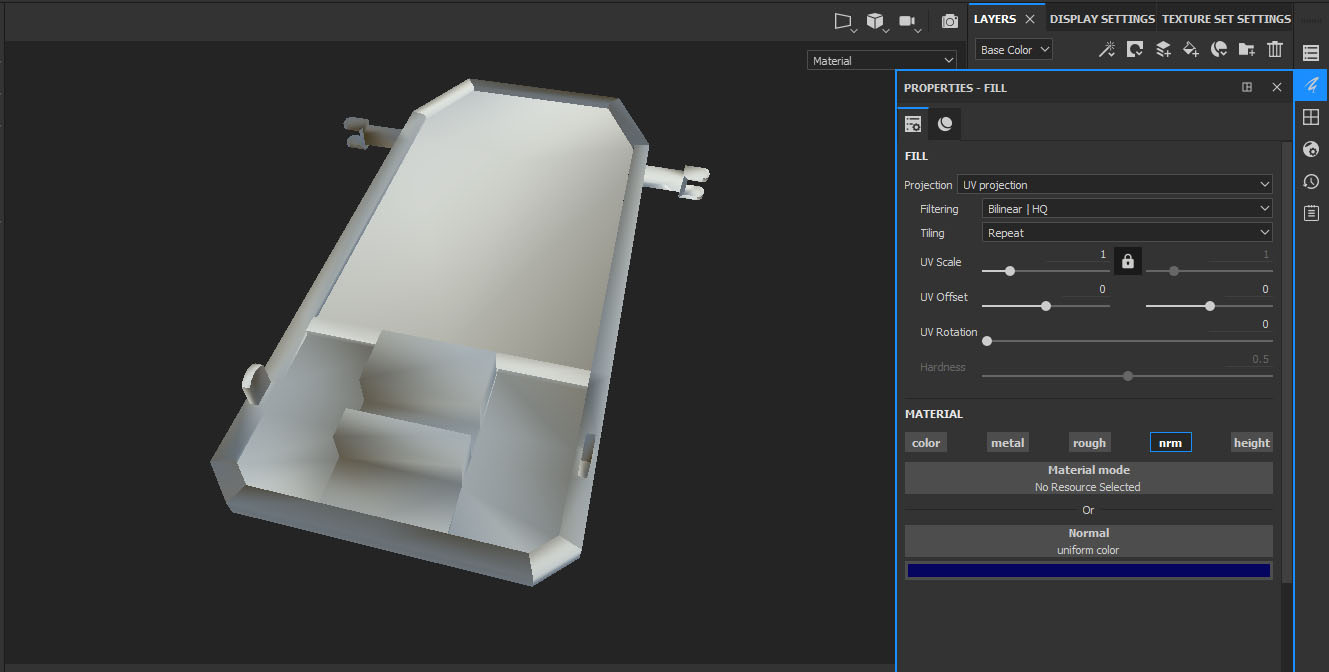
I was doing a customizable go-kart but I have problems baking the normal maps in Substance Painter. In some perspective, the result looks nice:
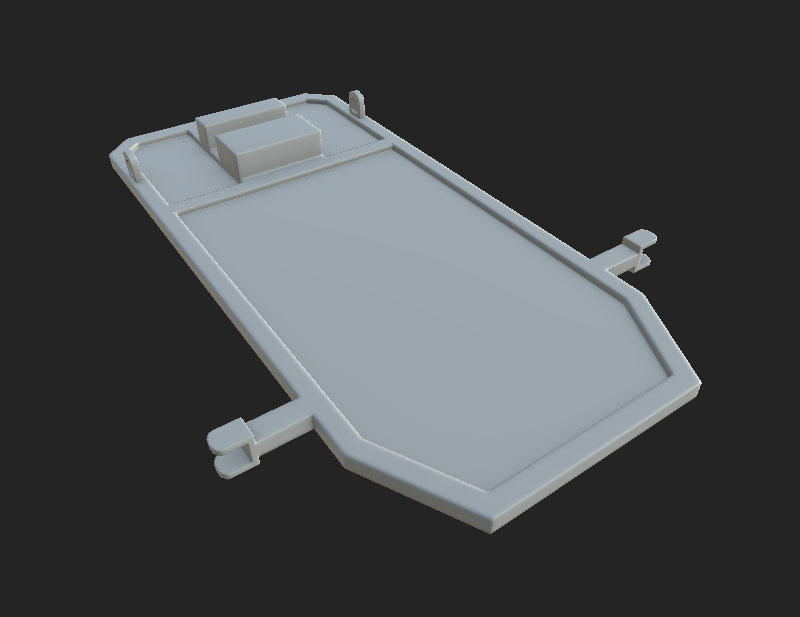
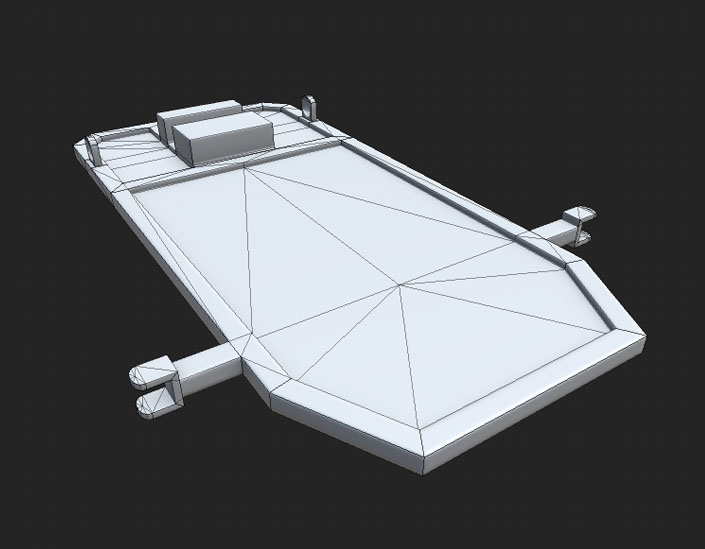
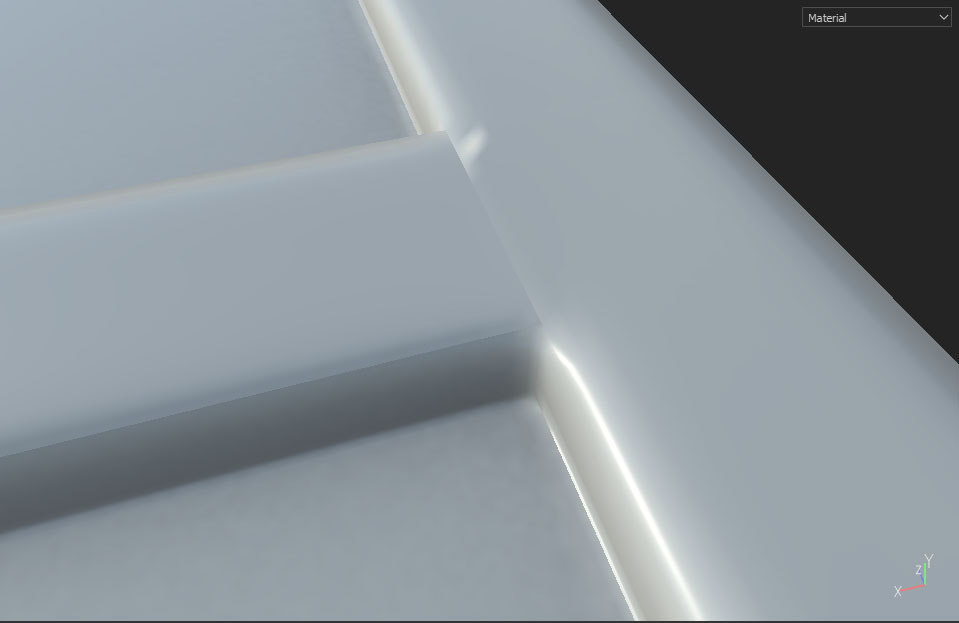
But from closer or behind, you can see distortions in the UV seams:
And the result looks worst in 3ds Max or the 3d Viewer of Windows 10.
Another curious thing: the problem is more evident if I add a Fill Layer (on the layers menu) and change the color of the normal even before baking the normal map.
I was looking for a solution since two days ago and nothing worked.
Details:
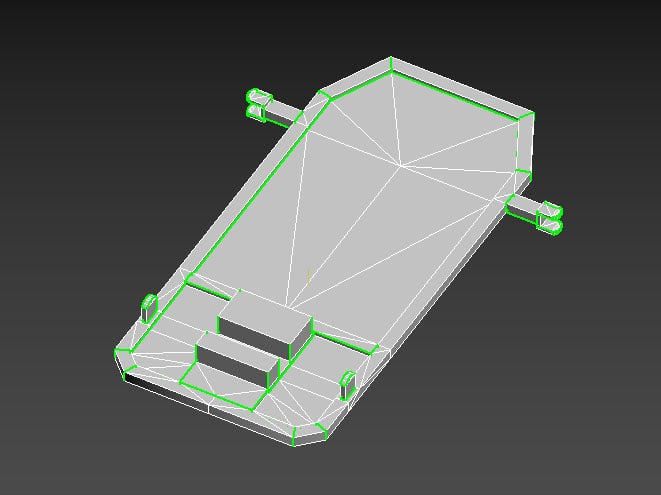
- The model has different smoothing groups in the 90º angles. I also tried to use a single smoothing group. Nothing changed.
- The model is a single piece with all the elements welded.
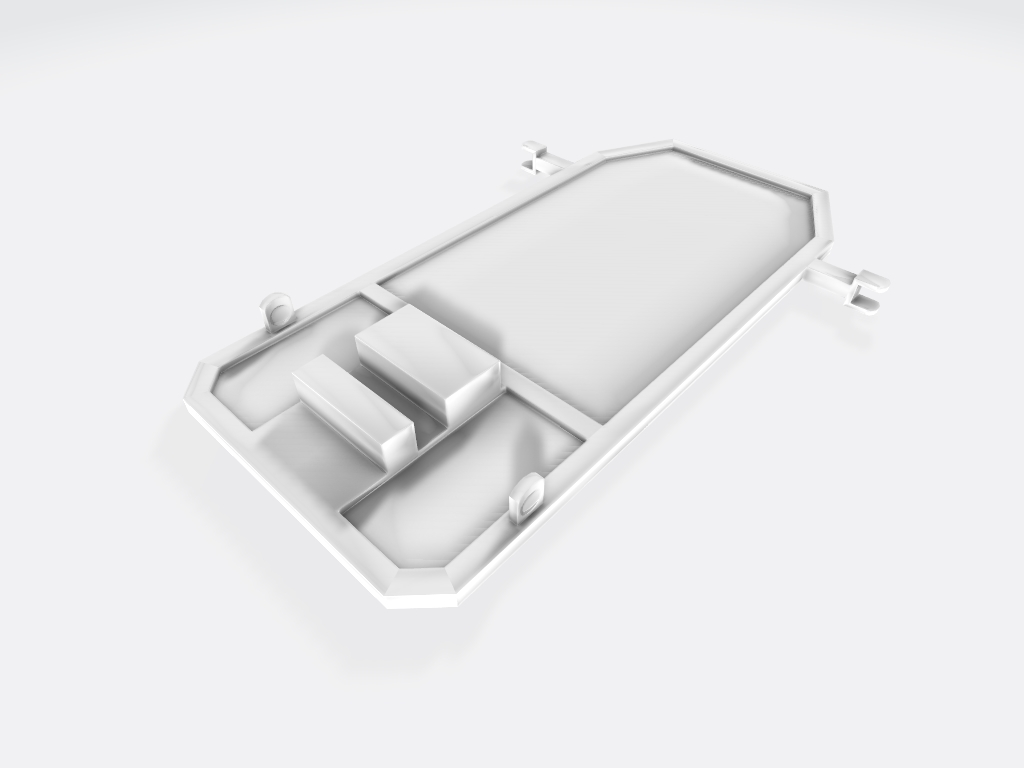
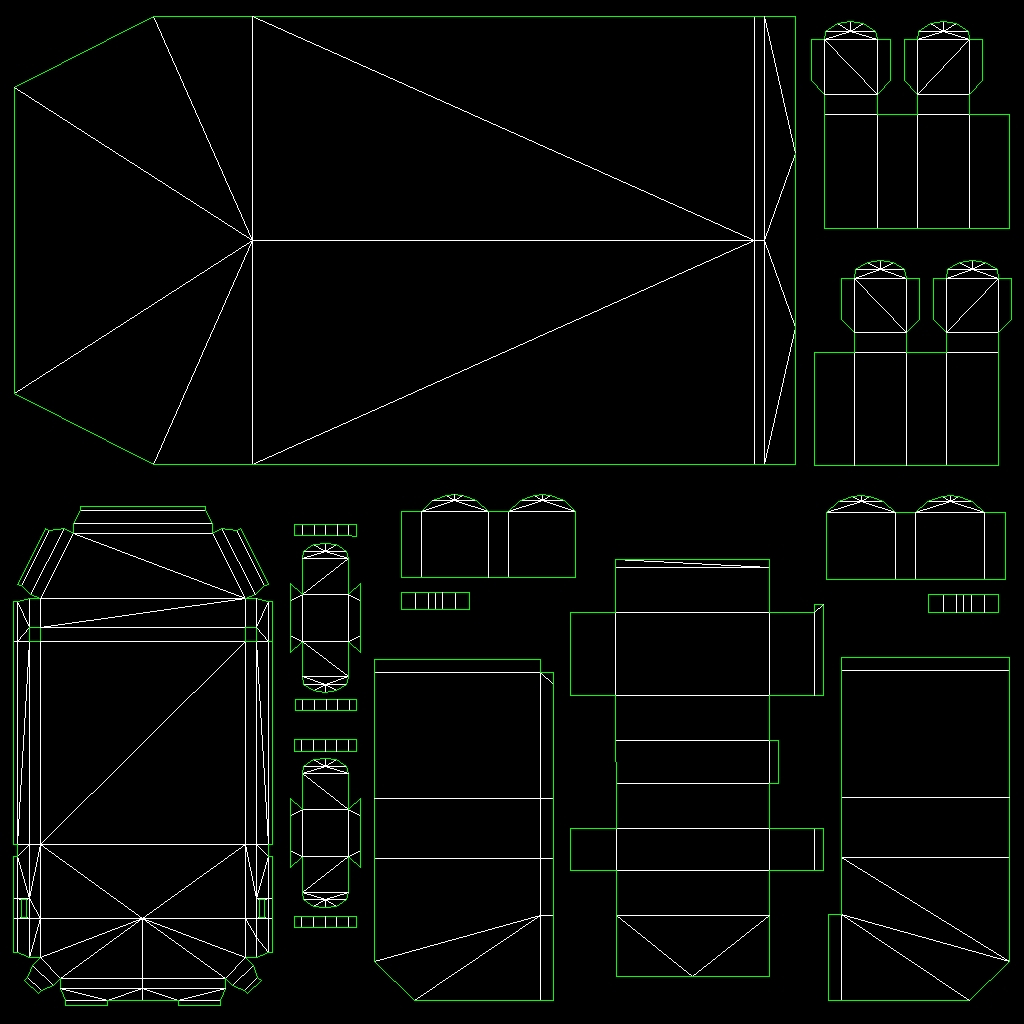
- This is the UV:
Thanks in advance.


But from closer or behind, you can see distortions in the UV seams:


And the result looks worst in 3ds Max or the 3d Viewer of Windows 10.
Another curious thing: the problem is more evident if I add a Fill Layer (on the layers menu) and change the color of the normal even before baking the normal map.

I was looking for a solution since two days ago and nothing worked.
Details:
- The model has different smoothing groups in the 90º angles. I also tried to use a single smoothing group. Nothing changed.
- The model is a single piece with all the elements welded.
- This is the UV:


Thanks in advance.
Replies
if you zoom in on any uv split, you'll see a seam, totally normal. However, your UV splits aren't optimal at all. Make sure your texel density is pretty uniform (unless of course, you are shrinking some islands as you know they wouldn't be so visible with other go-kart elements in the way).
Giving it all one smoothing group for the main frame part, and one uv shell with a good relax should do the trick, but would give you some gradienting which isn't the most ideal thing to have.
You'll end up having elements of the gokart on top, which would naturally hide the seams with other geo.
If you don't already, definitely bake with padding (8px if 1024, 16px, if 2048 etc.).
Changing the 'color' of a normal map does nothing, and obviously exacerbates the issue, since you can see all the seams being pointed in different directions due to the wonky normal map you just gave it. (Normal map colors are a certain tint for a pretty specific reason)
In Substance Painter the normal map doesn't look so bad, but in other softwares the result is horrible.
- 3ds Max (viewport):
- 3ds Max (viewport, changing the tangents):
- 3ds Max (render):
- 3ds Max (render, reducing the intensity of the normal value):
- 3D Viewer (not so bad but the seams are visible in the small corners of the octagonal frame, because the shading is different to the adjacents polygons):
- Substance Painter (that corner doesn't look so bad, just from closer):
But the seam is more visible in the T shape of the frame:
I'll check if there are problems in the UV and try some things to improve it. Then I'll upload the results.
The last image seam appears to be a different kind of baking artifact not seam related, high res vs low res images would help
-> "How are you applying the material in 3ds max to view your normal map? "
1. Open the material editor (M)
2. Add a standard material
3. Go to the Bump slot
4. Add a normal bump map
5. Click on the Bump slot again.
6. And finally click on the Normal slot to add a Bitmap with the normal map.
-> "high res vs low res images would help"
-> "Show us your substance bake settings"
I have touched all the bake settings and nothing changed. These are the settings I was using:
-> "to sum this up. Every edge having adjacent faces 90 deg to each other should be either:
Yes, I have read that too. But I think if I do that now, I just will add more seam marks on the normal map. But I'll try to redo the UV like that.
Max and substance use different tangent spaces so you'll see seam artefacts.
I'll admit your results are a bit more fucked up than I'd normally attribute to this but it's a good starting point.
Put your dilation width to 8-16px. That'll help loads for your seams, at least.
-> "Bump to 100 instead of 30 on your material,"
Actually... the bump value was in 100. Those screenshots of the material menu were taken on a new scene to show you the steps I do to assign a normal map to a model.
-> "Put your dilation width to 8-16px."
Sure, I'll try that.
UPDATE:
The dilation width didn't solve the problem.
-> "Disable average normals and see what happens. "
I think I tried that too, but I'll try again.
UPDATE:
I disabled it and nothing changed.
-> "Max and substance use different tangent spaces so you'll see seam artefacts. "
I don't remember to have that problem with the previous model also baked in Substance Painter. So, I think isn't a problem of tangents.
Is that normal or is related with the problem?
Here are the low and high poly models in .obj and the normal map:
UV's were also destroyed, possibly from importing/exporting, or moving uv channels around.
Decided to optimize your model a bit more too, can definitely get rid of a bunch of triangles (which sometimes makes baking/UVing easier, too)
Unwrapped like so, respecting SG's
Bakes came out fine, and looks normal in 3ds as well
Attached the new files for you
Thanks a lot, you did more than I expected (I thought you were just going to tell me the problem). But I would like to know what was the problem or what you did in detail, so I can do it myself next time and avoid the same problem again. For example, the settings to export the model or to bake it.
About the mapping, I think I have uploaded an older model that wasn't mapped yet. Sorry about that.
Also I wanted to ask what version of 3ds Max are you using (if you are using 3ds Max). Because I have installed the version 2018 some days ago and the rendering engines changed.
I feel like a noob now...
Better unwraps
Use padding
Export triangulated
As for the break in 3ds max viewport, dunno. Most likely is just coming from the gradient/wonky normal maps from substance.
-> "Using Max 2020."
I think they have added the engine Arnold in 3ds Max 2020. In the 2018 version they replaced Mental Ray by ART. I don't like it at all. I used the 2014 version with Mental Ray before, but that version didn't have the quad chamfer option (very useful one).
-> "Better unwraps"
So, the problem was just the UV?
I'll try to redo it again with the tips you told me to see if I can solve the problem by myself. I'll use the file you sent me just as reference. Also, I want to use the file you sent me to check if the horrible normal maps I had in 3ds Max weren't caused by a setting in my version of 3ds Max.
-> "Use padding"
I remember you told me to use a padding of 8px in textures of 1024x2014. I'll do a silly question: where I do that? I haven't seen any option to adjust the padding in the baking options of Substance Painter.
UPDATE:
Another cause of the horrible normal map was the lighting in my scene. The default renderer and visualization in the viewports of 3ds Max sucks a lot (or maybe I don't know how to improve the quality).
Default renderer and viewports:
ART renderer with a sun light (good result but too slow):
I used the files you sent me on these renders.
But yeah, issue could of been the UV's in conjunction with a bad bake/no padding.
Also, you could try using your old normal map, but the UV's are completely different, and the gradient's will probably give you similar looking errors.
-> "there's a slider at the top called 'dilation width'."
Ah, thanks!
-> "you could try using your old normal map"
Tomorrow I'll do again the normal map for practicing, following all the tips you mentioned. Besides, I forgot to add some elements in the model. So, I'll need to do again the mapping anyway.
P.S.: I could improve a little more the visualization of the normal maps in the 3ds Max viewports and the default scanline renderer.
Before:
After:
It's not perfect but it's better than before.
Here is the result (604 tris). Thanks for the help.