Super fast bakes - aka - teodar's baking method
Hi,
I would like to share a bit of info about my process of baking (no, this is not a cooking tutorial) which some of you might already be using, or at least, be aware of - at least as a work-around.
First off, this is not my usual baking process, its something that I find faster in some scenarios (eg: hard surface props) and as any process has its pros and cons.
So here goes:
I usually start modeling a 'mid poly' model that can be easily converted to a low poly by removing some edges or verts. This mid poly model can also be turned into a high poly by adding some support loops and if needed a turbosmooth. I say 'if needed' because depending on the model or model part you can sometimes get away with just a chamfer modifier on top of the 'mid' or low poly model.
Here's an example:

OK, so we have the low version all cleaned up and UV mapped and the hi-poly (which is the low + support loops). Now we can bake, right?
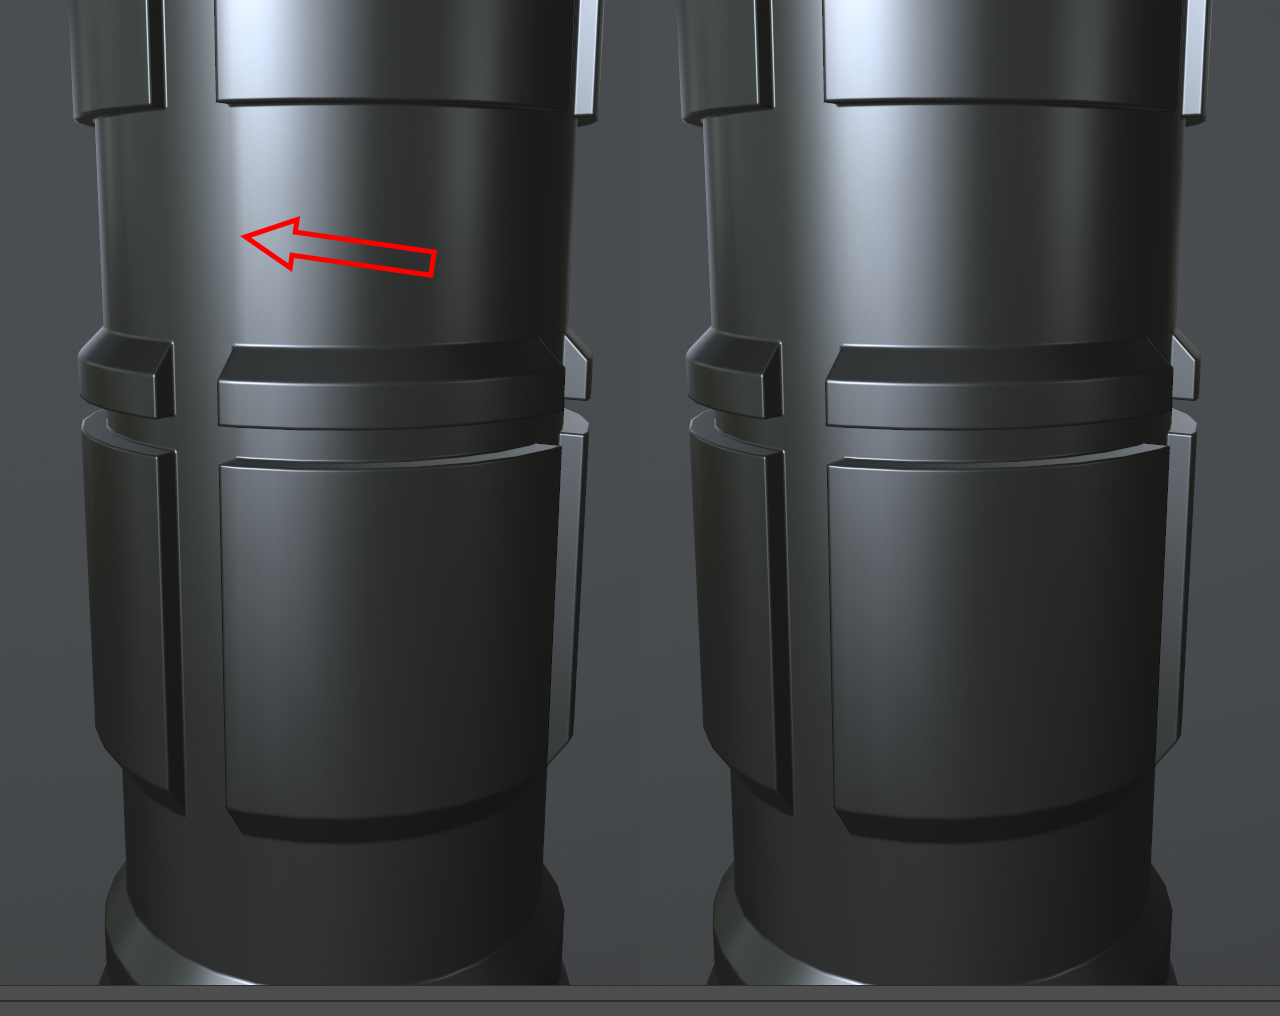
Wrong! If we take a look at our hi poly we can notice some shading artifacts:

These are minor to some, but if you want that perfect bake, there's a solution.
Obviously the smoothing issues are created by the extra geometry introduced by the boolean operations that were performed when creating the model.
No worries, we still have a copy of the model before boolean ops and we can also use primitives (cylinders in this case) to bake proper smoothing back into the low poly. All we need is a mask to blend between the 3 normal maps (A, B and C). We can create such a mask by generating a UV islands map or - what i ended up doing - a vertex color map that is generated from the high poly model. The vertex colors were as follows: blue for where i want to use the normal map from the non-boolean or exterior cylinder (B), red for the interior cylinder (C) and black for the high poly normal map (A). In retrospect this could have been done better but whatevs.

This seems like a lot of work but its not. For this model it took ~30 secs to bake all the maps in Toolbag and a couple of mins to fiddle in Photoshop.
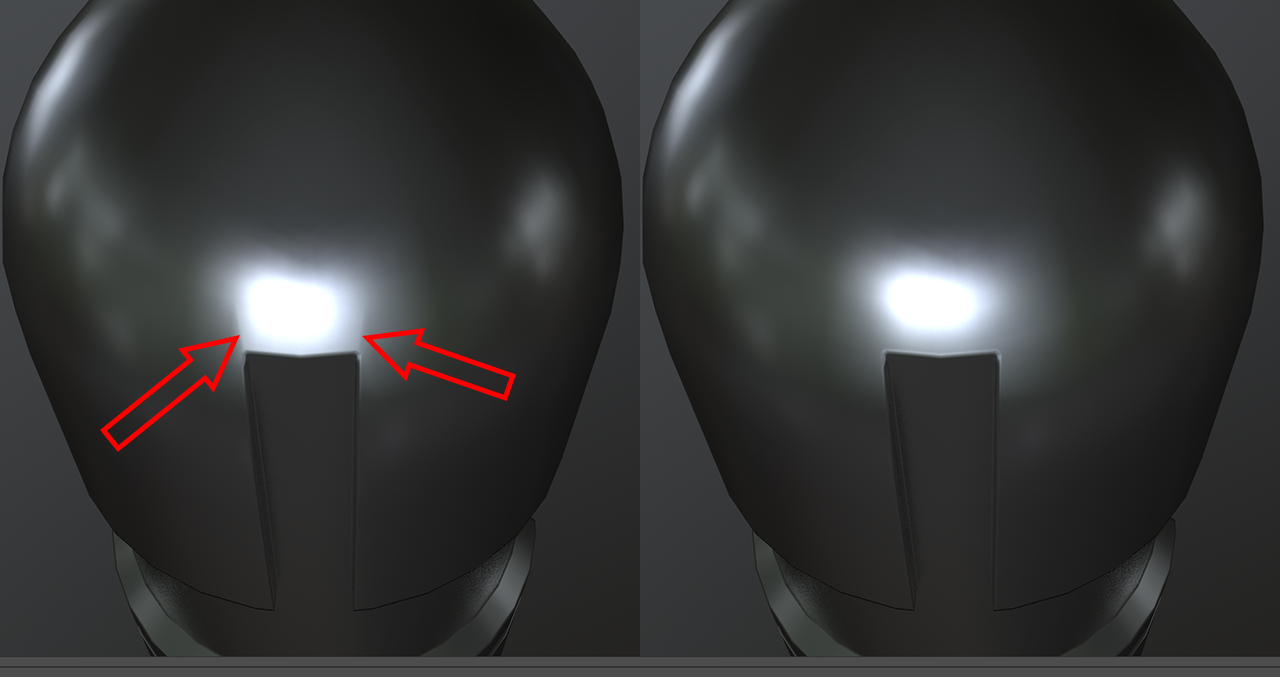
After blending the three normal maps this is the result:

Of course the gain is minimal and the artifacts can be ignored in most cases. Of course there are better ways of creating that perfect bake.
But i find that this method is fast and less of a mess than other traditional ways.

Replies
Each to his own though.
I get it's personal/portfolio only, but these sorta habits would never fly in production. I always think about "what if someone on my team needs to use my mesh and doesn't know that one hacky fix that I came up with?'", or, "what if i get back to this later down the line because I noticed a design flaw/error/etc' and I would have to go through all those steps again just to bake out my normals...
I'd much rather spend the time & time to work the topology to get a proper looking high-res mesh that bakes perfectly fine in one go.