My First Texturing - Please Critique
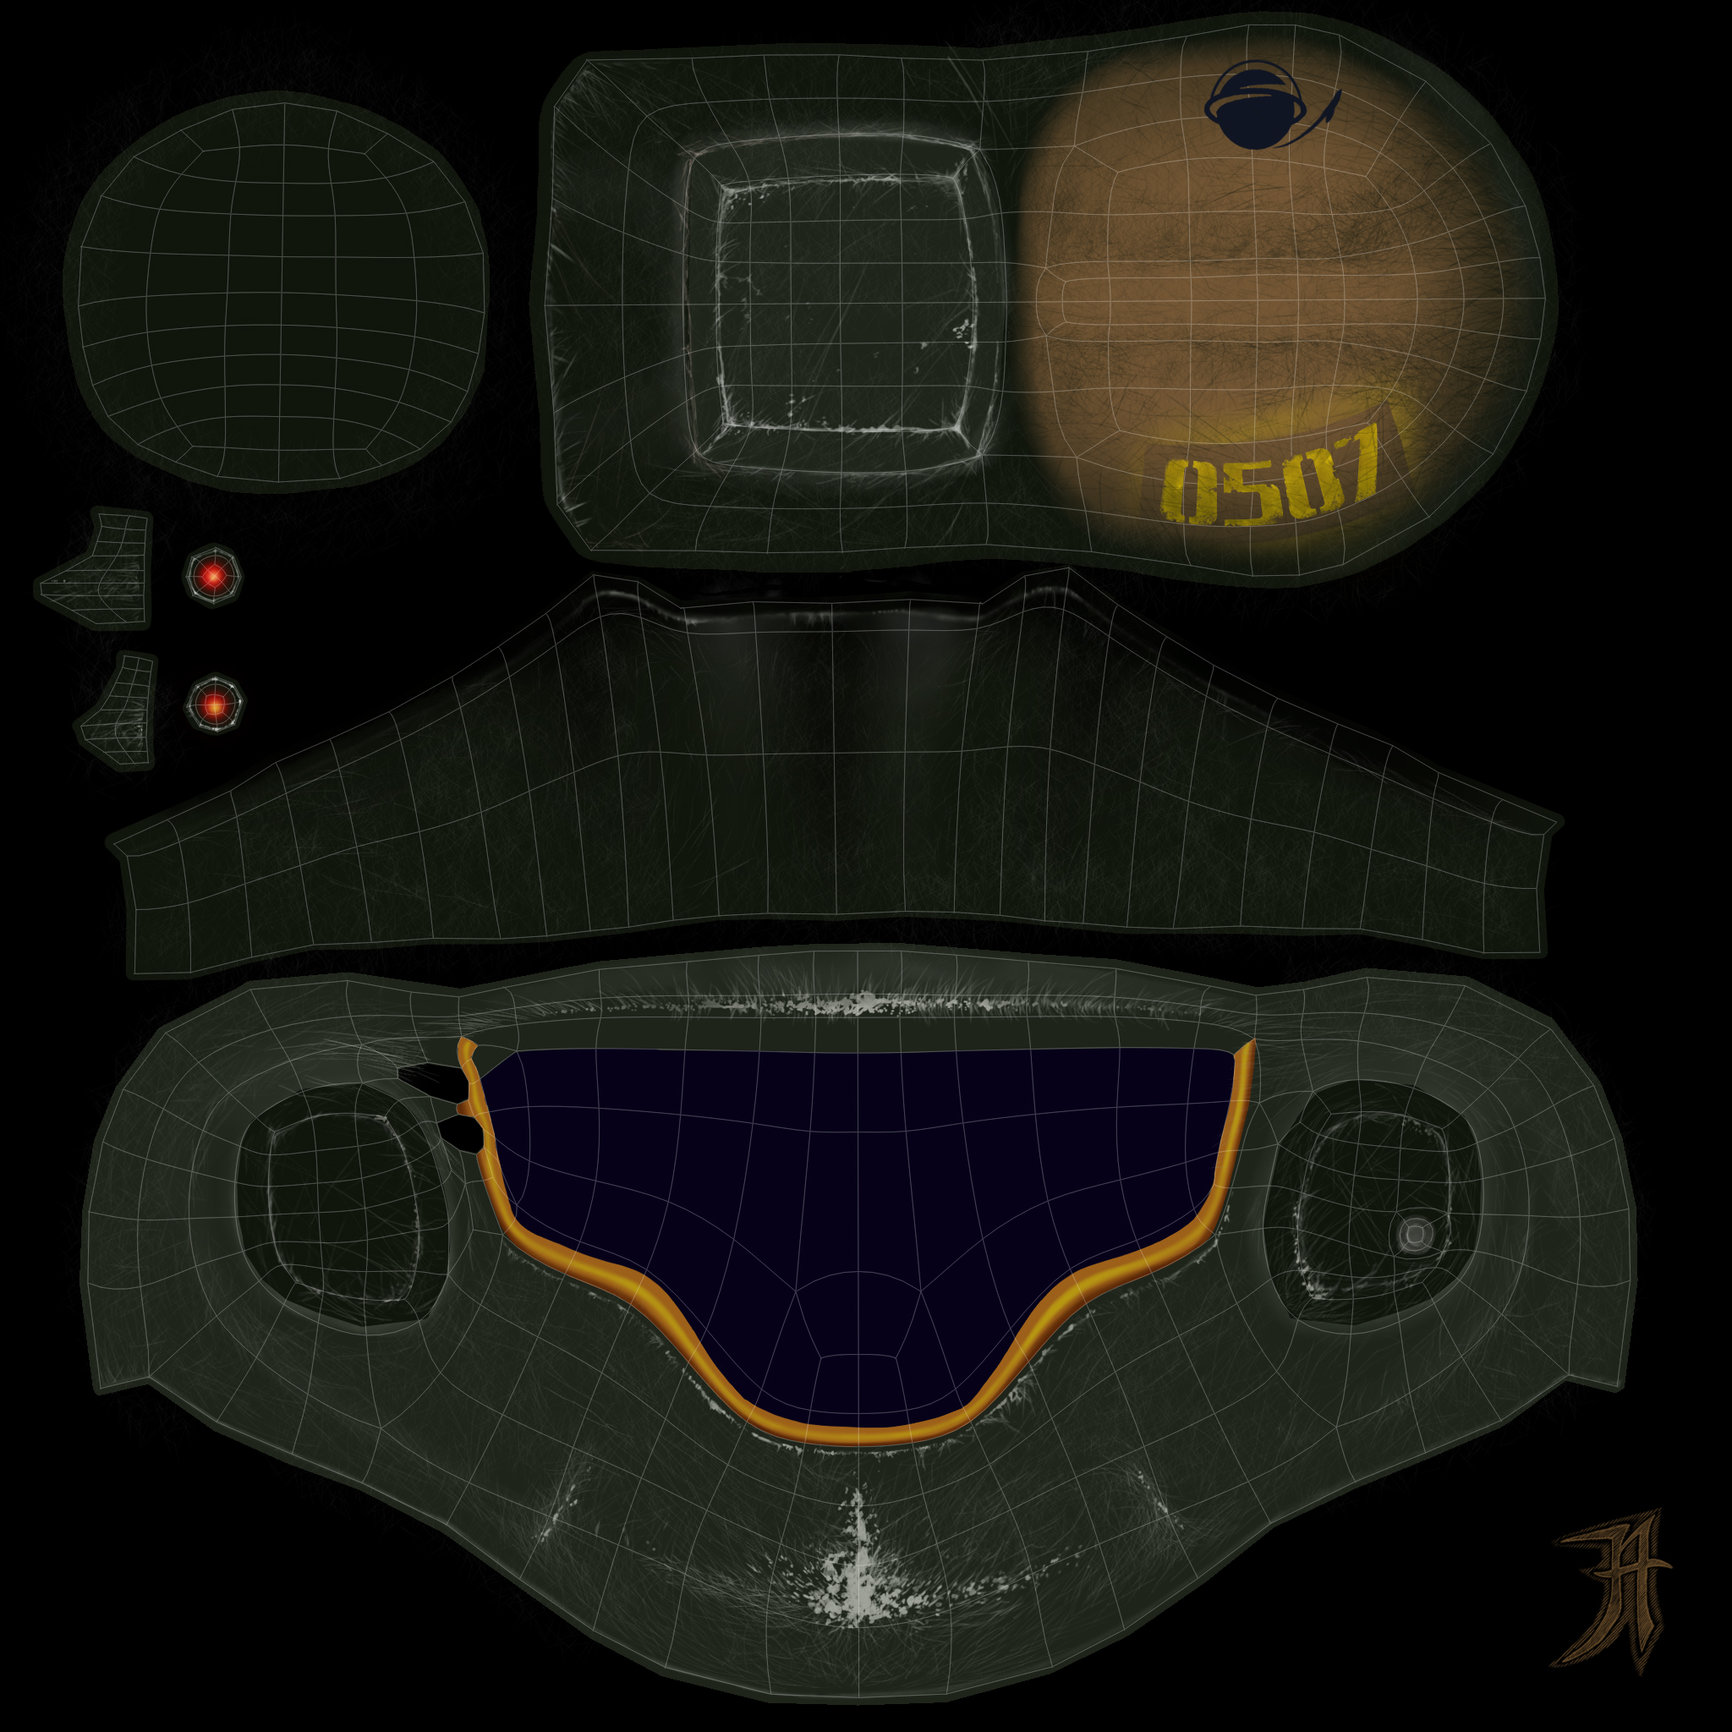
It's rough and nothing really special (I'm a better painter than currently a texturer) but it is my first serious attempt at texturing (mainly because I finally figured out a working ZBrush-to-Maya workflow pieced together from all the online workflows that IMO often contradict each other or throw in some 3rd party software) and I'm looking for ANY critique and suggestions anyway.
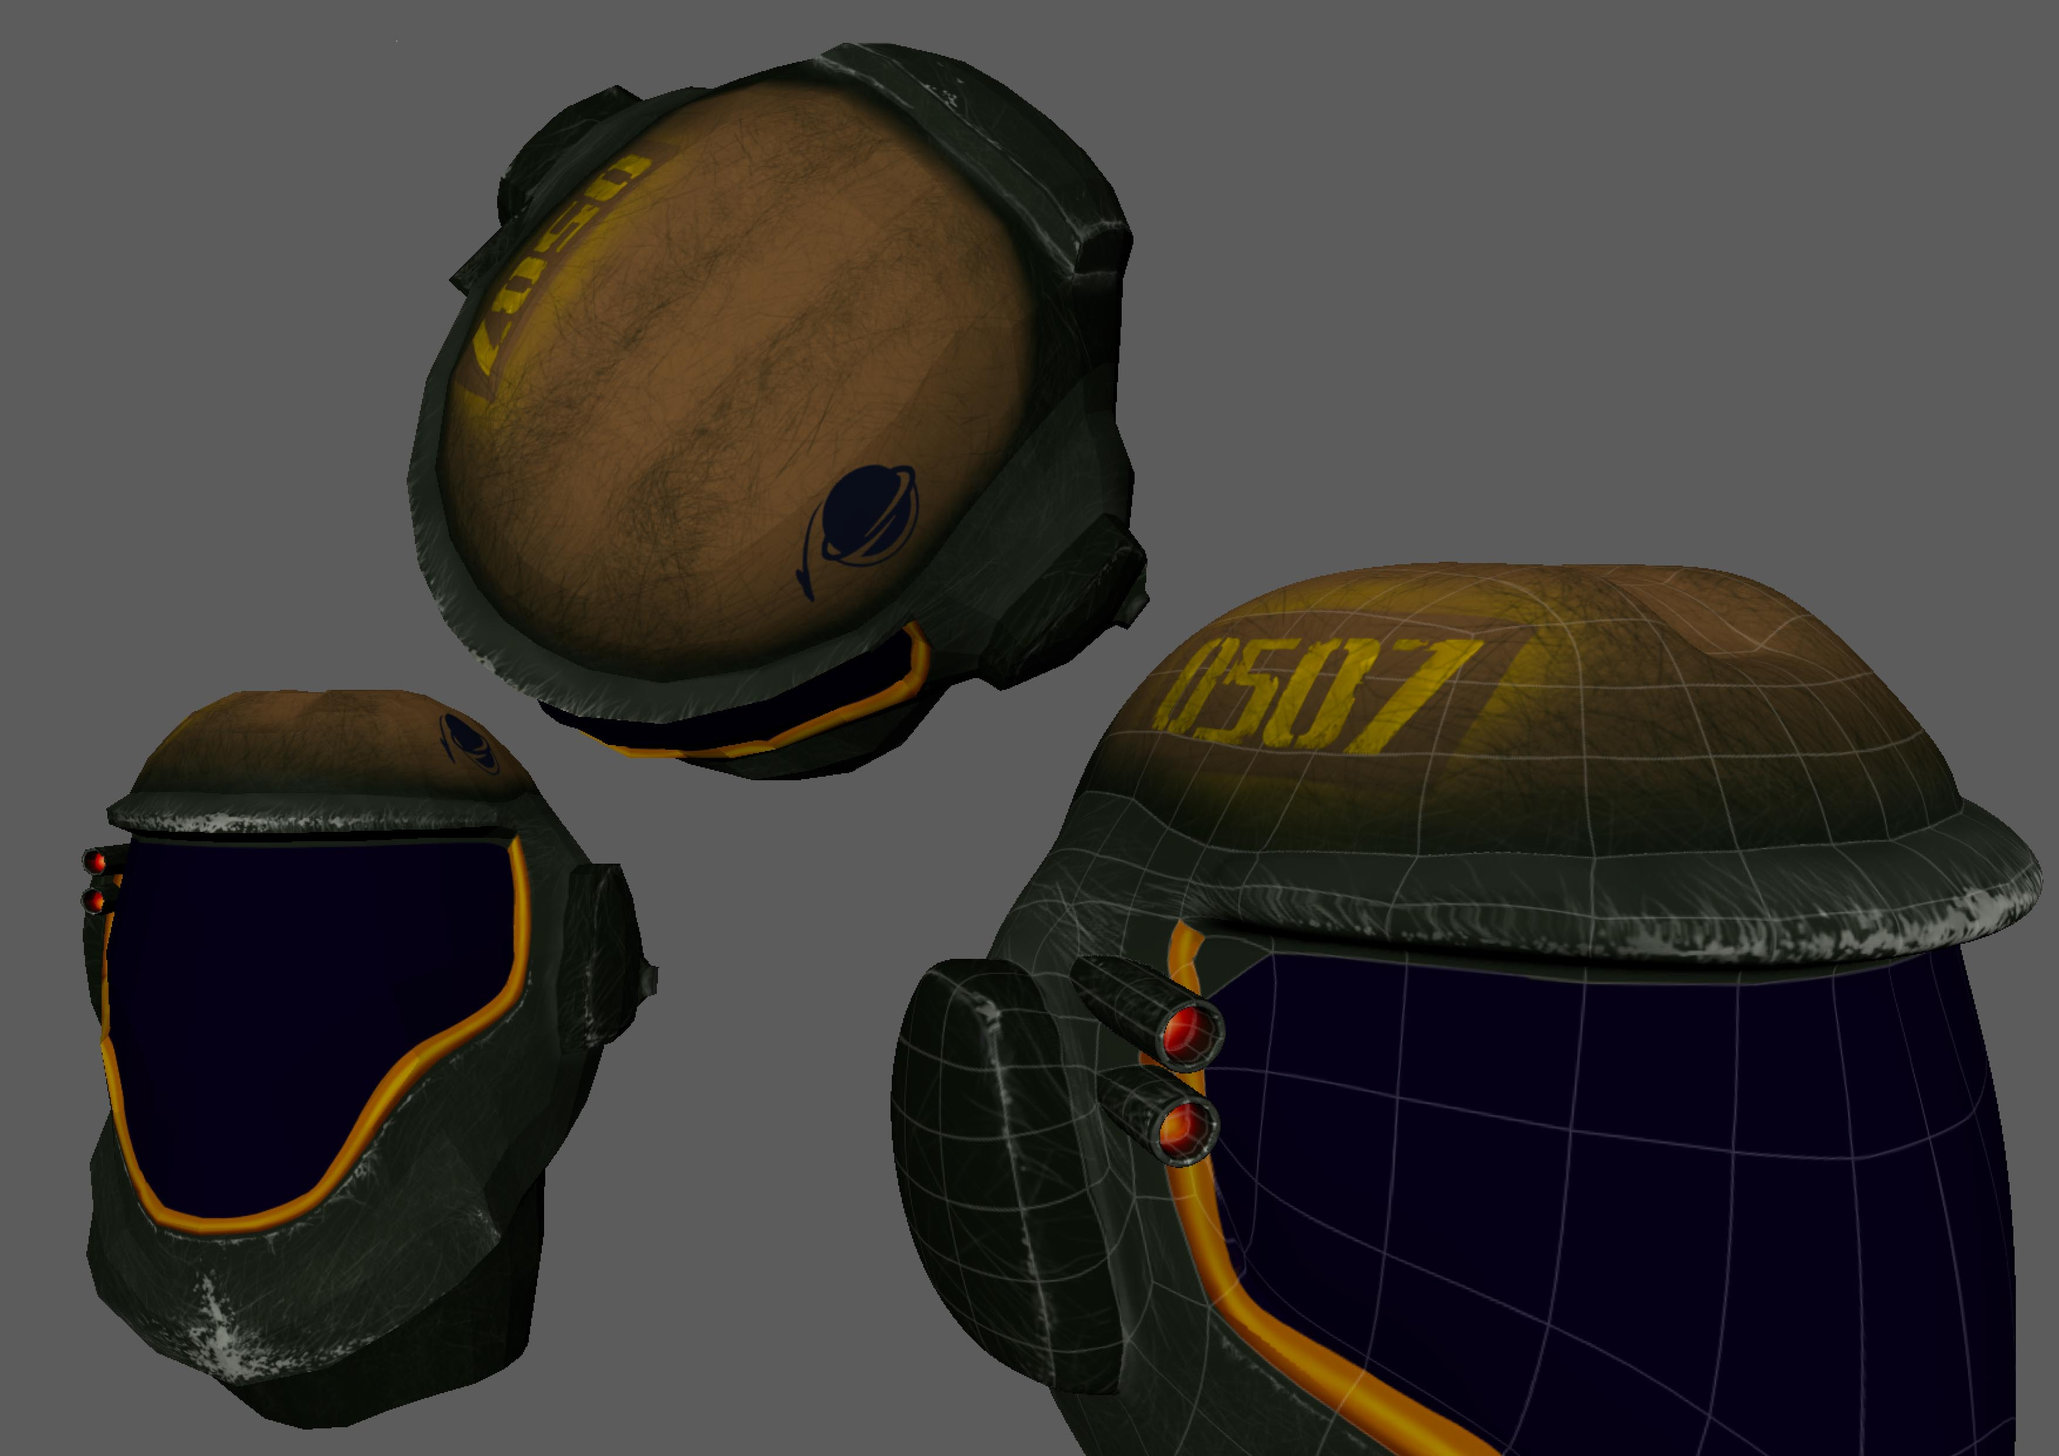
I'm a concept artist/illustrator by trade and so I've been studying modeling and topology little by little for the past two years, finally breaking into texturing. I own ZBrush 4R8, MayaLT and full version of Maya2013 and AdobeCC of course. No money or time for Substance Painter or Marmoset or any others right now. Also don't currently have the luxury to grab and learn a 3D engine to test stuff....time is scarce. I placed shell seams where I knew I could safely make texture breaks without looking "wrong" like between the green part of the visor and the tan part where scratches meet.
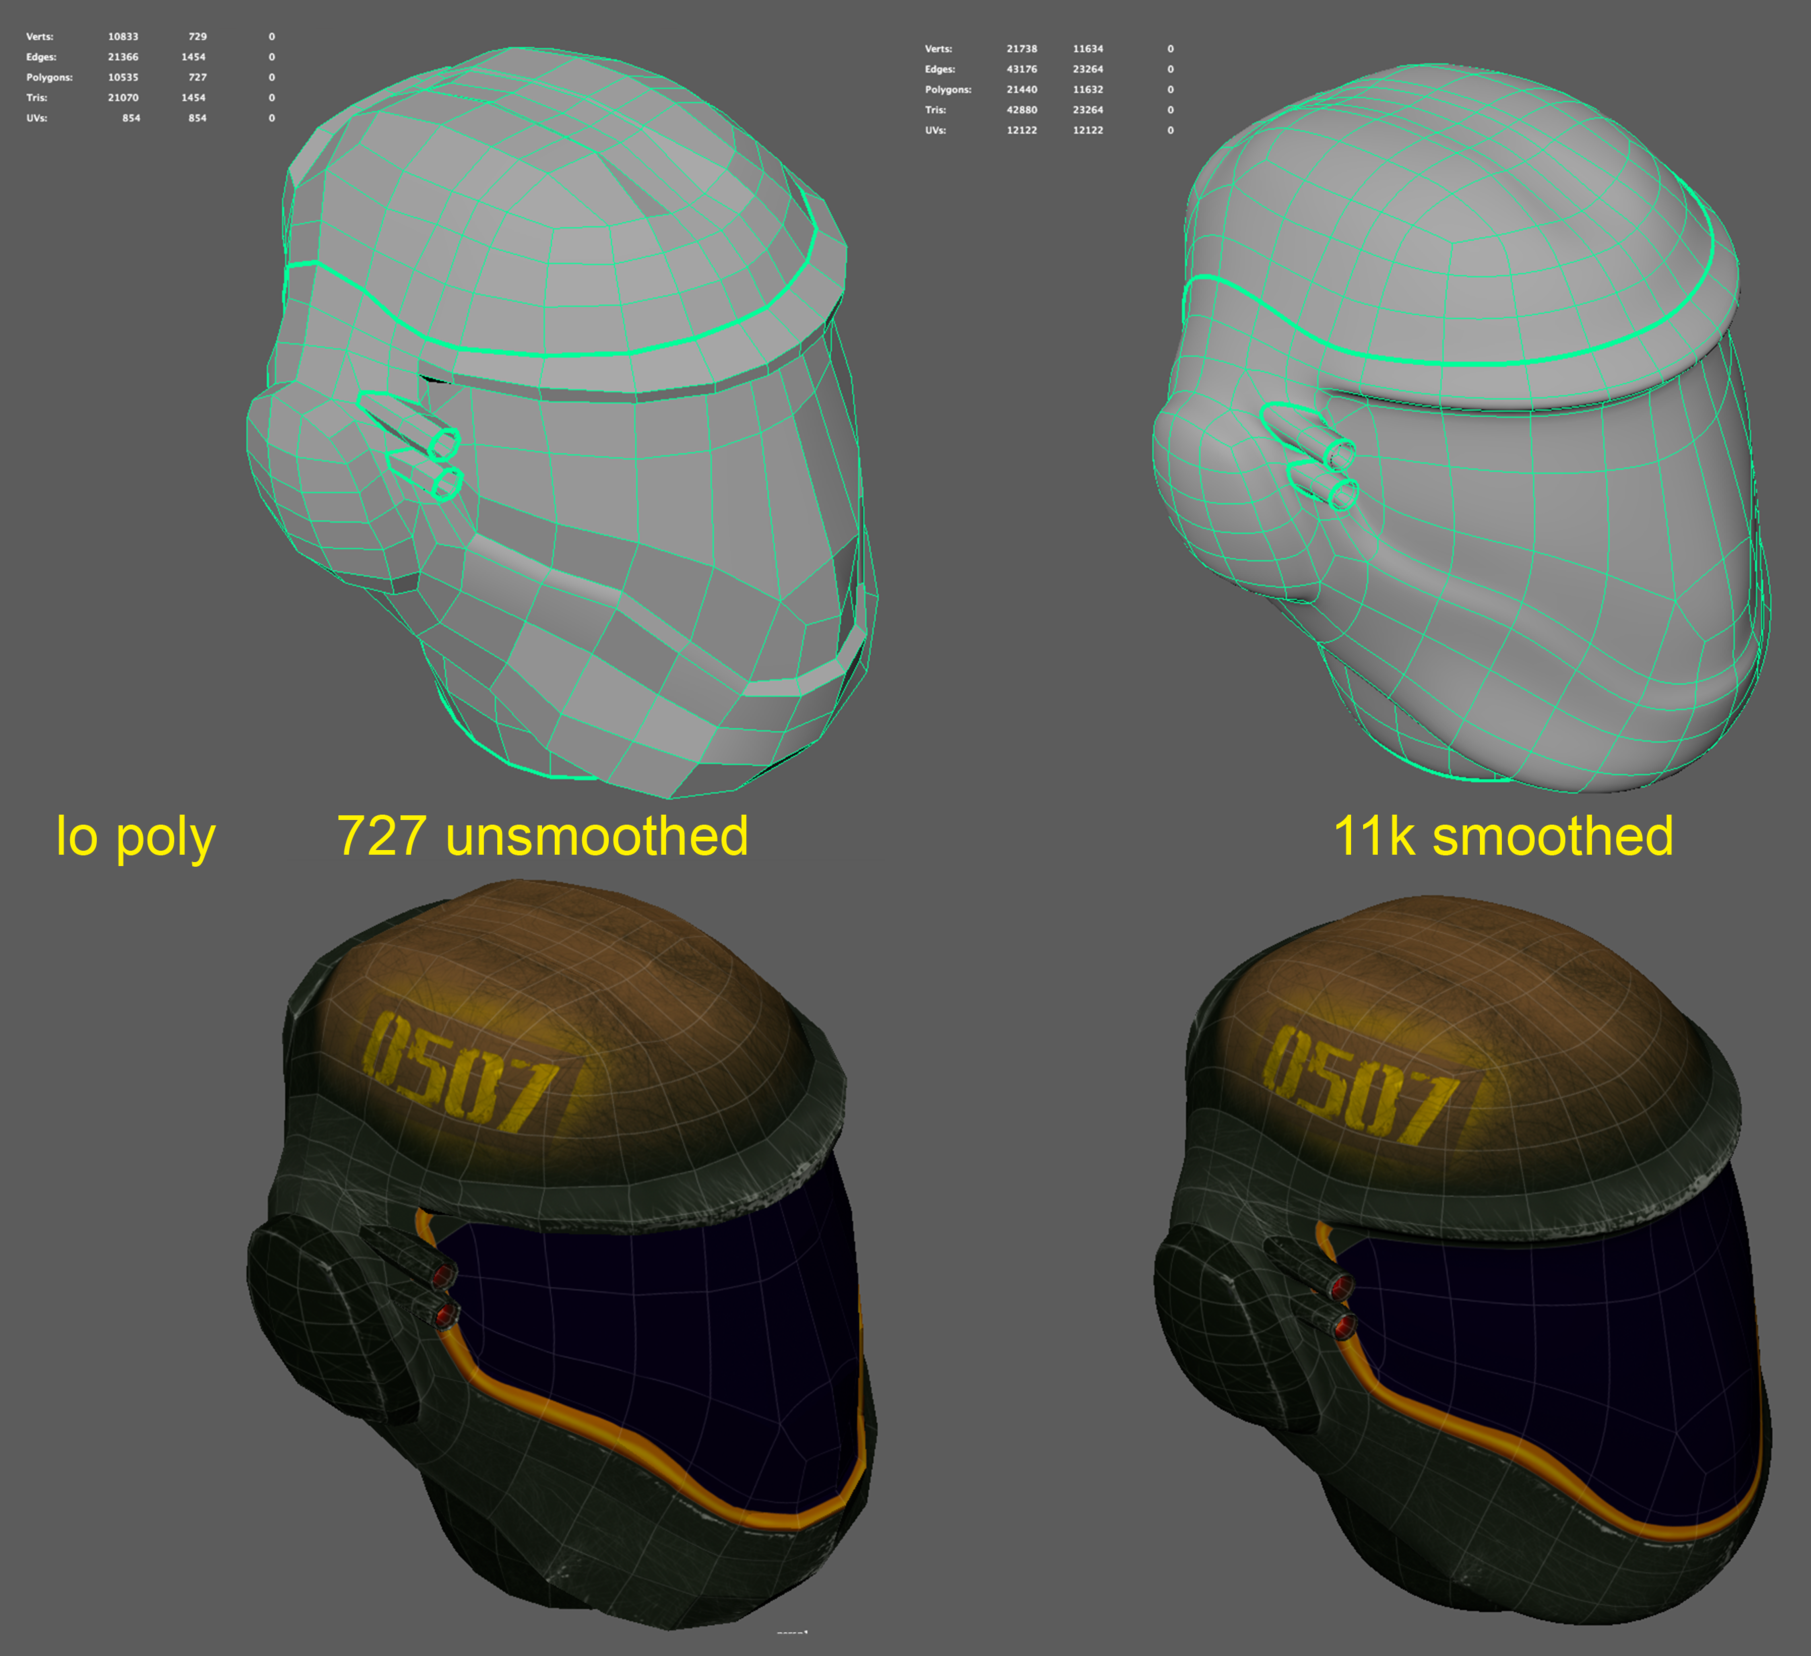
Lo Poly: 727
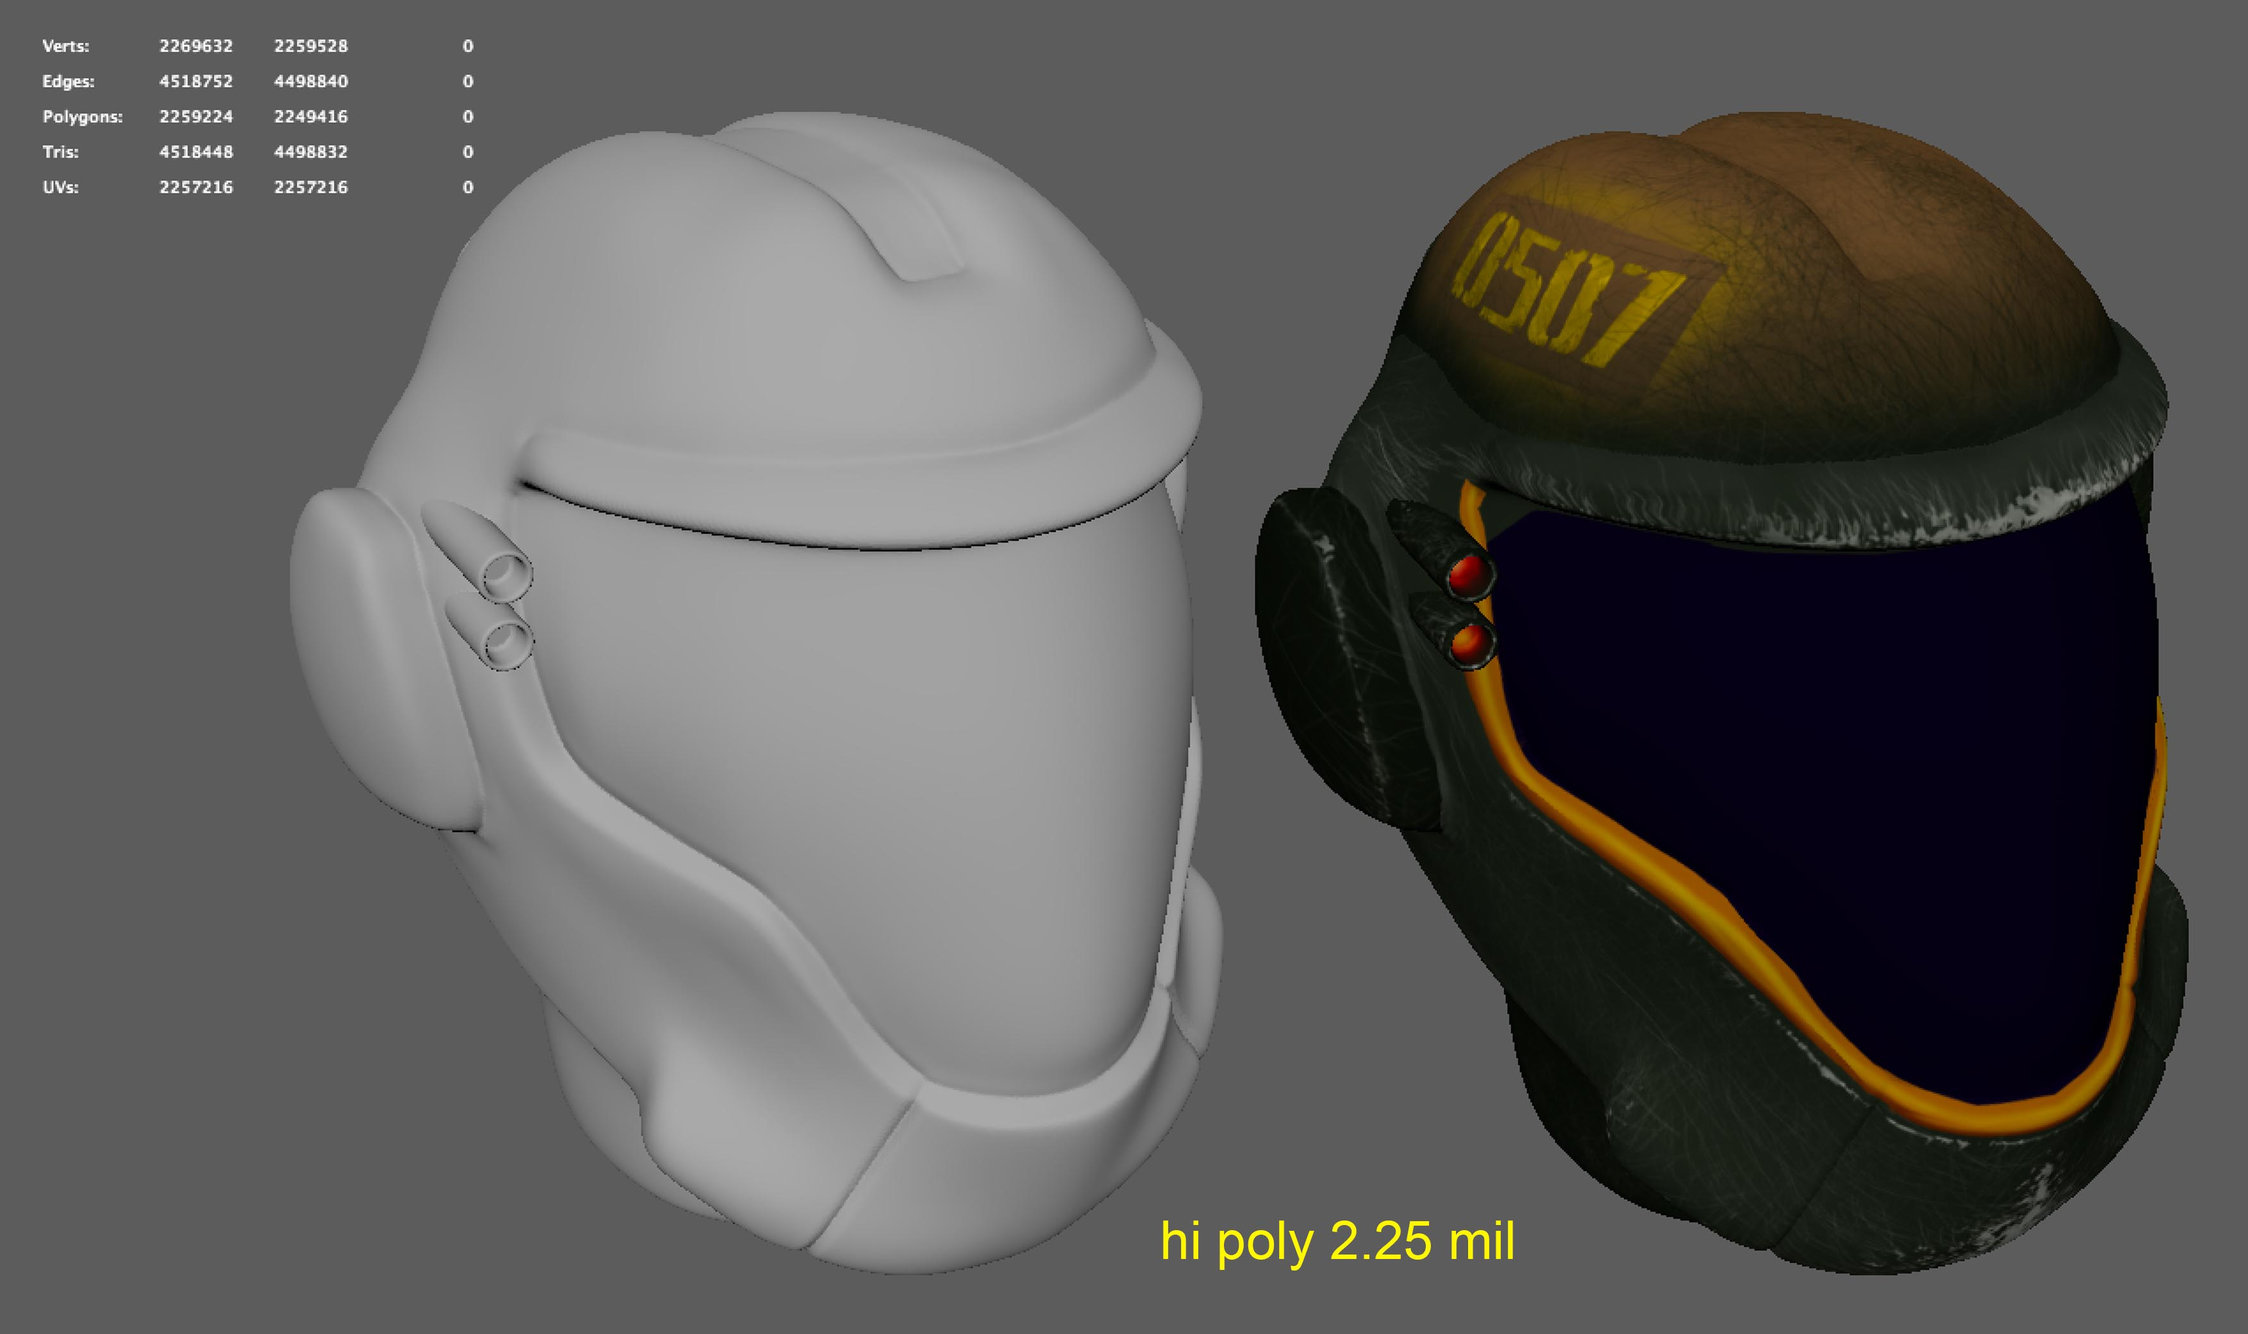
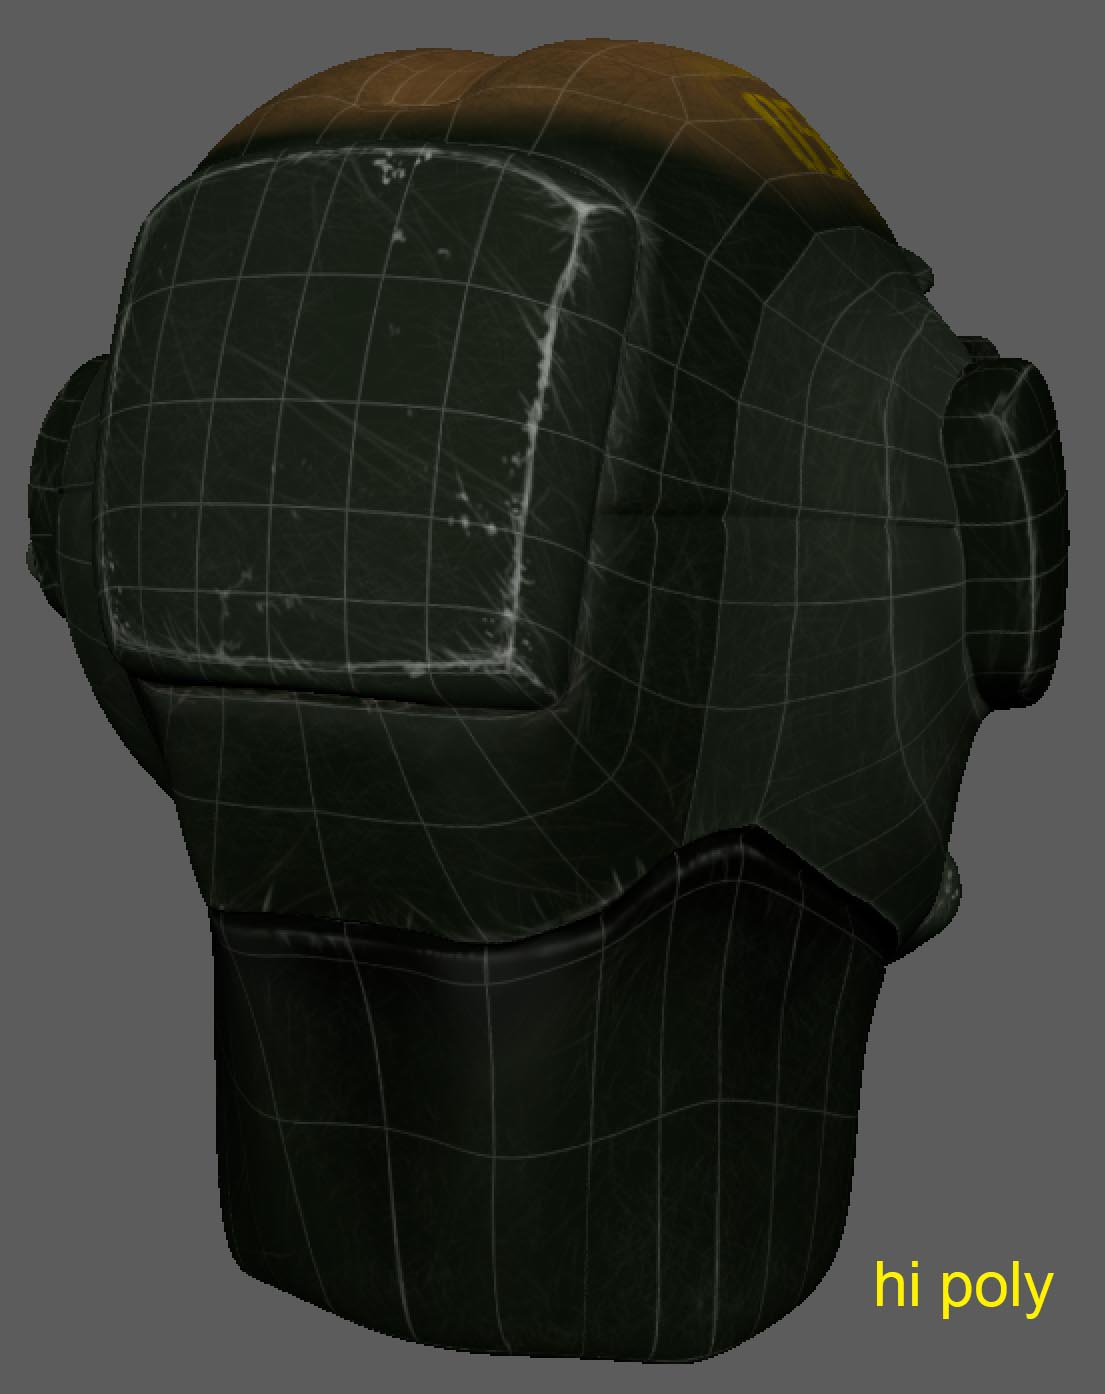
Hi Poly: 2.25 mil
Known issues with this mesh:
There are a few incongruencies in the texture transferring to the hi poly from the lo poly UV throughout, where I'm guessing the low poly is too low (I'm still learning about when lo poly is too low). There is one triangle between the left ear and visor on the lo poly.
My Current Workflow:
I start off with hipoly in ZBrush 4R8, then export obj to MayaLT for lo poly retopology (sometimes ZBrush retopology, I like both) and unwrap UVs in MayaLT, then I bring retopologized mesh back into Zbrush and project original hipoly detail onto hipoly subD model (end up with half the polys in subD mesh), export subD hipoly back to MayaLT, transfer UV from lopoly mesh to hipoly subD, then photoshop for texture painting. AM I DOING THIS WRONG?
My biggest hangups and problems:
(1) Figuring out what the best workflow is for what I want to do; primarily for 2D concept but very interested in concept that may easily apply to deformable models for game or film of course. I become very undecided between peoples' suggestions to start with lo poly and then subdivide because subD meshes aren't as easy to model in detail in ZBrush as dynameshed meshes, while others suggest starting high then goin low....I guess I combine both but as you can read above, my process is long. I've learned proper/good topology for deformations (especially for heads and hands) but this helm model will be part of a full body model for a static sitting space pilot to later design cockpits and ships around, with the ships themselves being my main goal and focus. I only started to texture the helmet just to see if I could.
(2) Knowing what to do with ideas for modeling where little bits protrude from original model once I'm getting into low poly retopology. In this case, the two little lights next to the visor on right side of helm and single knob on left side of helm, which ended up throwing much topological symmetry off. I am torn between including these in main mesh of model or just modeling/texturing them separately and just jamming them into the render later... Is this what game asset designers do? Jam several uncombined meshes into each other and then export as one unit into a game engine? Or is a unified mesh ALWAYS the end goal before putting it into a game engine? This is info that is so hard to find on the web. YouTube is full of "how to's..." but very little on pipeline process and simple 3D asset theory.
***(3) Figuring out how to handle larger poly models in Maya just enough to get them textured when Maya is not even designed to handle high polys. This drives me nuts. I know there is the whole normal map route, but that is still so new to me and the Maya normal map process seems convoluted to me but regardless, I still have to bring the 2 million polys into Maya just to create the normal map to begin with. This hi poly mesh has 2.26M polys how does anyone get around this in the texturing phase without a normal map? I guess I'll be checking out 3rd party normal map freeware soon. I probably get into stuff too advanced too soon (I should be learning on crates and barrels)...but that's how I am I guess. Oorah!!...
Thank you in advance for any and all input!


Replies
My first suggestion since you lack fundage is Mari Non-Commercial license. I forget what the limitations are but they are more than enough for a beginner and would have worked excellent for this project. They also have a ton of videos on their website to help learn the software. Substance painter is a bit more user friendly with a little less learning curve, but free is free.
My second suggestion would be to use a PBR (Physically Based Rendering) workflow. It's pretty intuitive, and you get great results.
Now as far as your project I think the biggest thing that stands out to me is that it get's confusing as to which parts are what material. From the back it looks like it could be painted metal. From the front it looks like maybe plastic. And then the top looks like it might be leather? Then the blue face shield just looks very flat, and more like a black hold where the face should be. Just some things I noticed.
On to your points and questions.
Your Workflow
1. After you retopo your high poly in Maya to get your low poly. Create your UVs and then import into Zbrush. Re-project your high poly detail to your low poly mesh and then use Zbrush to bake displacement and normal maps. (This is where you need to figure out your minimum polycount). While Maya isn't great with high millions of polys it can certainly do a lot more than 800. If not it might be time to think about a new machine or upgrading. From there you should be able to take your low poly mesh (at almost your high poly division level and import it into Mari for texturing. Mari can handle pretty high poly count meshes.
Questions:
1. As far as dynamesh vs subD IMO it all depends on what your'e modeling. If you're modeling a person or something really organic I would start with low poly dynamesh and slowly increase the resolution as you need more detail. However, when I'm modeling a face, for example, I usually retopo and UV at the stage right before I would be adding high frequency details like pores and skin texture (If I'm going to do that in Zbrush). Because you will lose some of that detail when re-projecting. Instead, after I retopo, UV, and re-project I then subdivide even further to add the high freq. detail and then create the displacements and normal maps. That said the last few projects I've done I did the skin detail in Mari.
2. You need to add more edge loops around those areas
3. Zbrush Normal Maps - There is a free plugin called mulit-map exporter, I thought it installs automatically with ZBrush. BTW if you own Zbrush 4r8 then go download the upgrade free for people who own Zbrush.
Good luck!
Thank you for taking the time to reply at length! I will be trying a different workflow.
With regard to my #2 concern, it's not the 'how' to include small bits but whether or not they should be modeled into the main mesh at all being that they wreak havoc on retopologizing what would otherwise be a simple, symmetrical mesh.....rather, wouldn't it be just fine to model such parts (like the lights) as individual meshes and just insert them loosely into the model as uncombined objects 'as though' they were part of the same model?
I mean, isn't this the normal process with making complex models like ships, guns, character accessories, etc? Multiple independent meshes grouped together into one 'model'?
2) Use floating geo. You can intersect uncombined meshes into each other and export it out as one, yes.
Professional game artists do it all the time. It just needs to LOOK correct, not functionally be correct.
Bake based on groups in Marmoset Toolbag.
3) We handle high poly geo usually via a sculpting program like Zbrush. Or at least, I do right before I get it all decimated and exported out for baking and retopology.
I prefer to use Toolbag to bake my maps since it's a more visual baker, can handle heavy meshes, and you can make adjustments to cages, skewing of the normals of the bake, etc. on the fly IN Toolbag.
Brian, you have helped me resolve an uncertainty I have struggled with for the last two years regarding the intersection of meshes. Thank you!!!