Photogrammetry Textures
polycounter lvl 2
So I've been into photogrammetry for a few years now and have been slowly upgrading my equipment to the point where I feel I'm ready to show off some of the results I've been getting.
I got myself a color checker a few months ago and definitely realized that was the missing puzzle peace. Now all my scans can be blended together and used in the same environment and I feel like the colors always work well together.

I've been mostly concentrating on making textures. But lately I'm diving into getting some photo-scanned models. I'm slowly accumulating them til I eventually plan on blending them together to put into UE4 and make an entire photo-realistic scene.
My workflow so far is taking usually around 100 photos of of something that I feel would make an interesting texture. I avoid anything that has too unique of details so they can be tiled nicely. DICE released an hour long presentation on how they did the photogrammetry for Star Wars: Battlefront and it was definitely a good watch. They talk about how they delit the photos using object space normal maps and the results are pretty amazing. Much easier than using Epic's method of the chrome ball, which are hard to come by.
After I took the photos I pre-processed the images in Adobe Camera Raw and made a color profile from the colorchecker. I adjusted the exposure and shadows to de-light the photos as much as possible to speed up the process down the line. I then took these photos into RealityCapture to process them. I use reality capture mostly for speed, plus I end up with getting meshes upwards of 50-100 million polygons which is great for getting that micro detail into the 4k texture maps. Once I export a high poly and mid poly model I take the mid poly and make a baking plane. I then bake the textures in X-Normal. I use X-Normal instead of the substance bakers because they don't handle these dense meshes that well for baking. I bake out a height, normal, base texture, and AO map. So far this is a pretty standard workflow for photogrammetry.
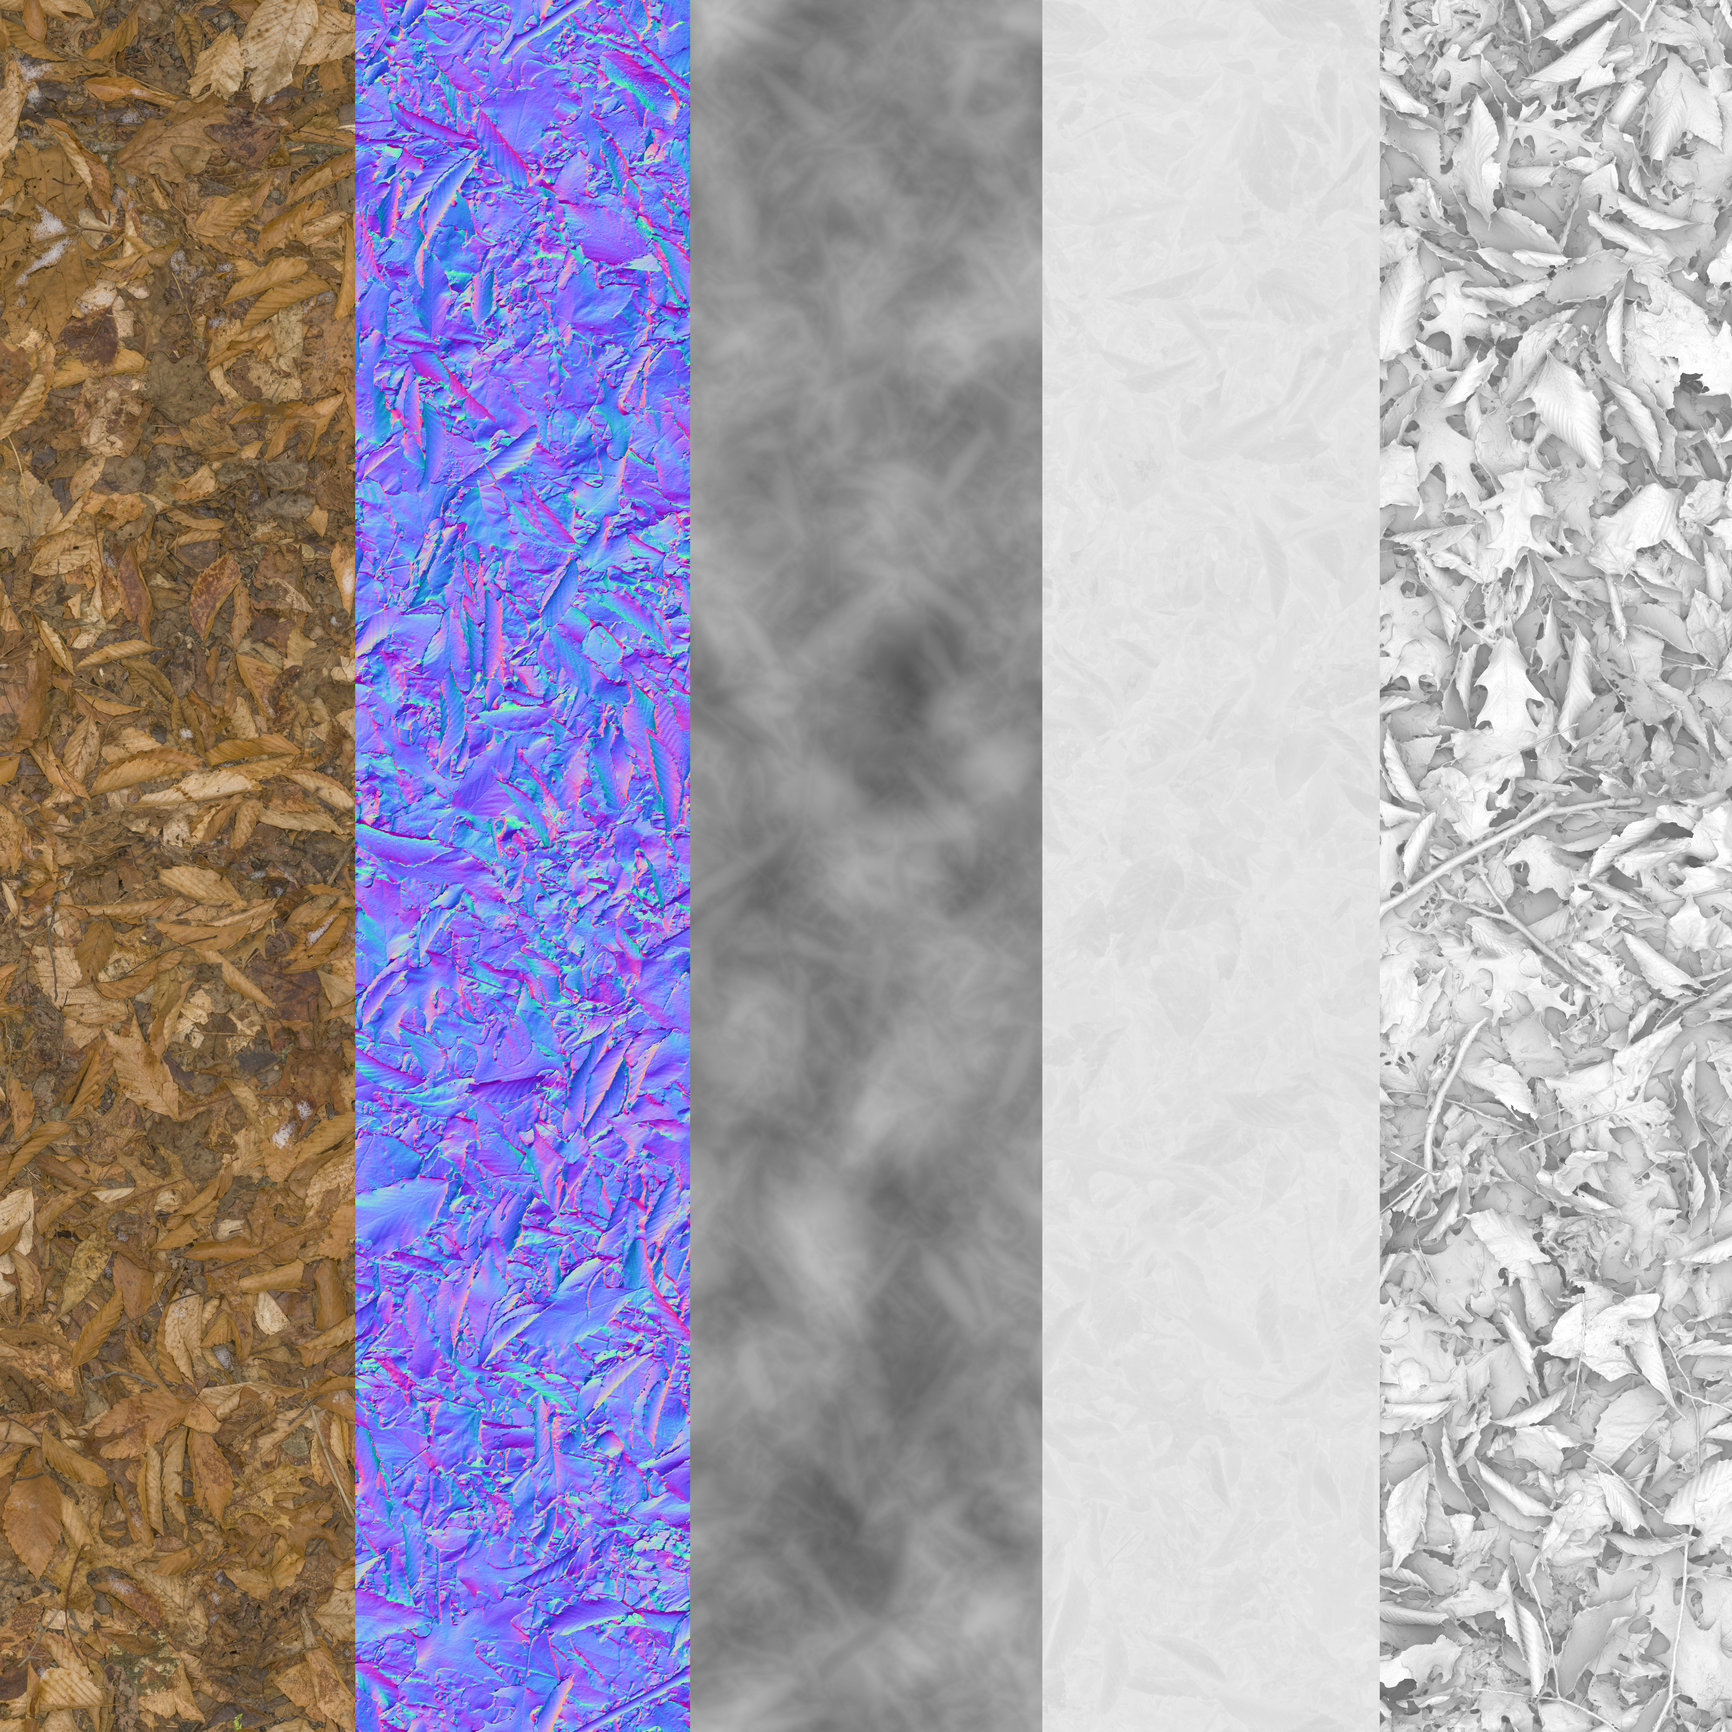
After I get the maps I take them all into Substance
Designer. This where I begin my delighting process. The baked ambient
occlusion map plus substance's AO cancellation node works most of the
time. Sometimes I still need to do a couple more blends and adjustments
to get rid of a little more of the AO in the Base Color map. I also make
adjustments to any of the other maps if needed and make a roughness
map. Then I make an SBSAR file and move on over to Substance Painter for
the tiling phase. I made a Tiled plane in my modeling package that I
use in substance Painter so I can keep an eye on how the material tiles
while I work.
Using 2 fill layers, I set the top layer blend mode to "Replace" and offset the layer by 0.5. I then make a White mask and mask off the seams. I find this gives much sharper results then the clone stamp tool. The clone stamp seems to give a bit of a blur around the edges. Plus you can combine multiple Scans to achieve even better, and endless results. The results are taken back into Substance Designer for some final cleanup.
Here's a few of my scans in Unreal Engine:


And Some Marmoset renders of the Same Scans:


Any thoughts, questions, or comments are greatly apprecieated! I will hopefully keep adding more scans and info to this thread as my scanning progress continues.
I'm currently in the process of trying to get a good "Fresh Snow" Material that can be blended with these existing scans but the process is quite difficult being that snow doesn't have a lot of features for the Photogrammetry software to align the images to.
These Scans are also available on my CG Trader for purchase By Clicking Here. I will be adding more constantly as I'm always at it