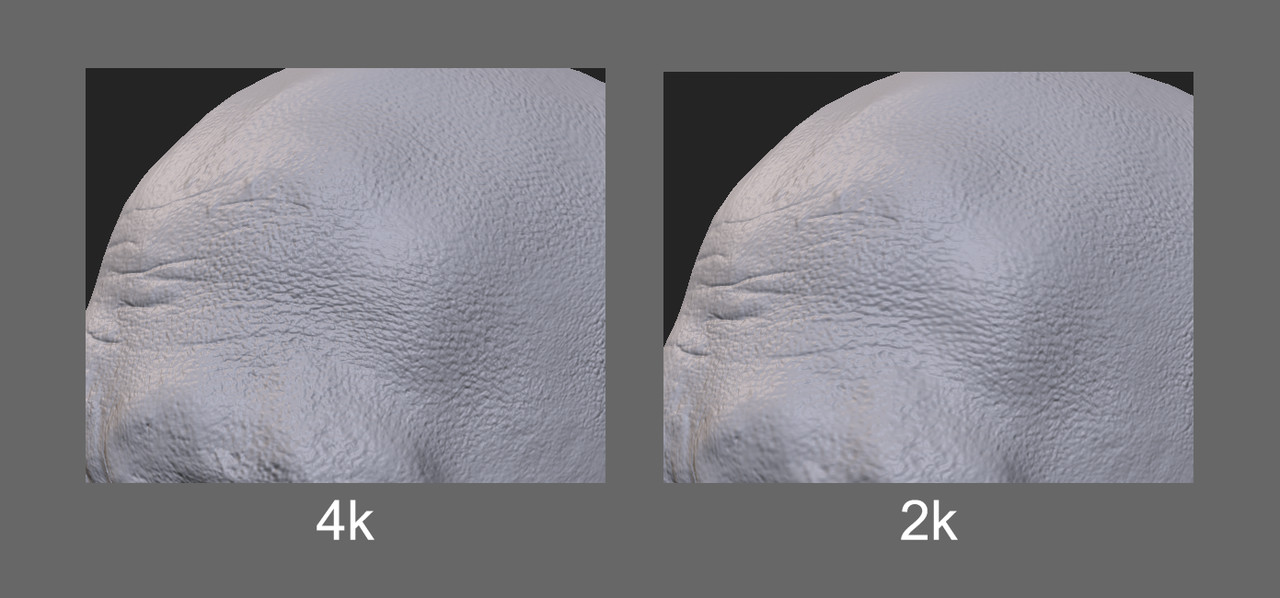
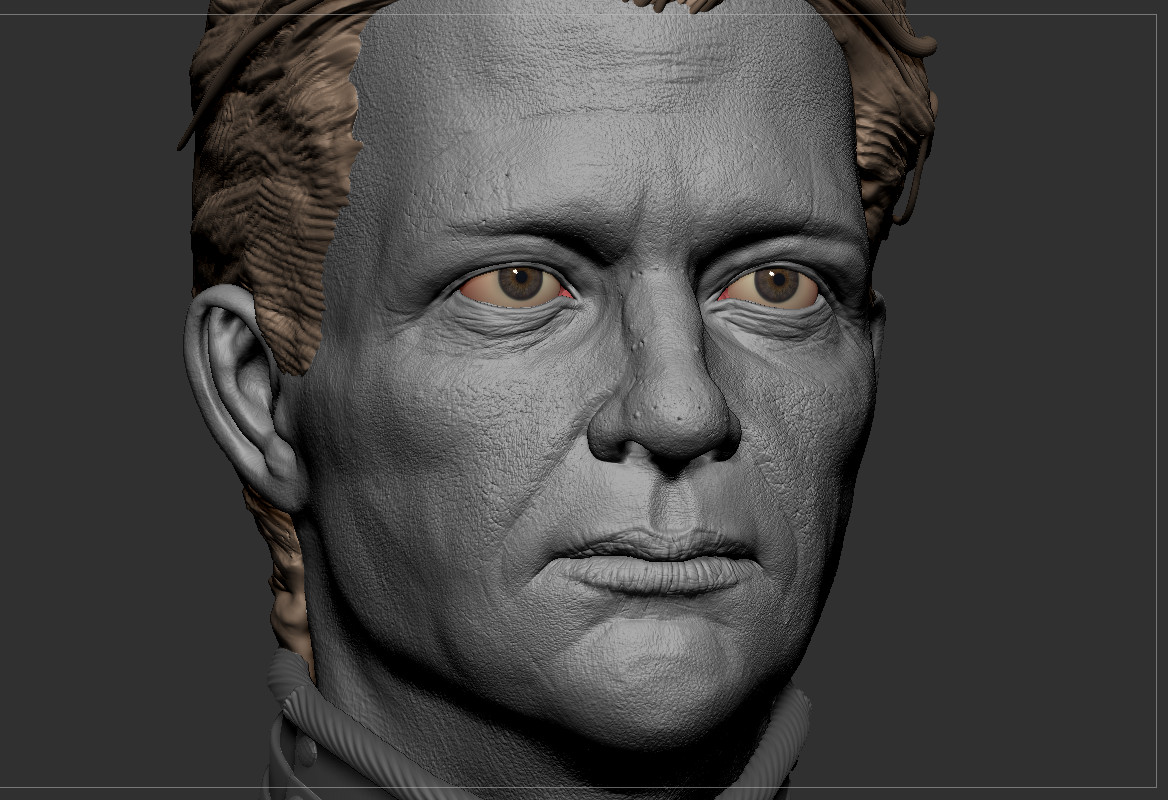
Zbrush HD geometry for video games (TUTORIAL/TEST)
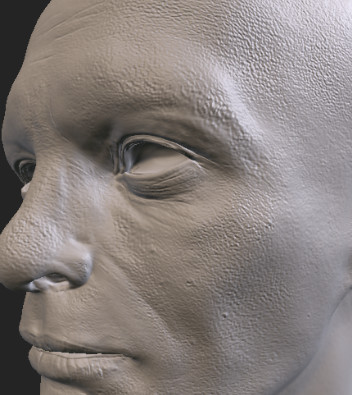
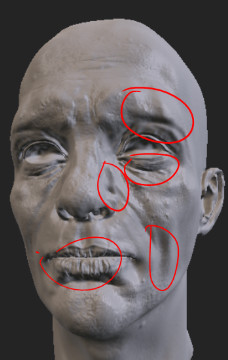
After watching Kris Costa zsummit session, explaining how he utilized the feature “HD geometry”. Where he created amazing extreme high detailed portraits. I wondered if the feature would be useful for a video games pipeline.
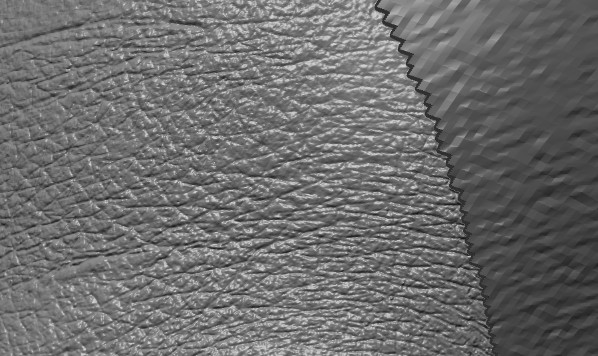
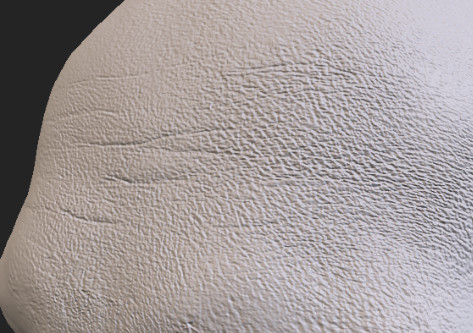
I wanted to see if I could get high quality skin/pore details, whilst doing this all on one texture set. Not using extra tools or techniques such as a detail map or Mari. Zbrush gives you much more control over those details as you can sculpt on top of the detail. The main problem is that you lose resolution of that detail, either from not enough polys or baking normal maps.
Side note:
I haven’t used Mari but from what I understand it does a much better job of this.

Images from Kris Costa instagram: @theantropus
How this HD geometry works
HD geometry allows you to sculpt up to a billion polygons it does this by storing the extra polys virtually. Not allowing you to see or sculpt in the viewport, you have to actively select it.
Prerequisites of doing this:
Quad Topology
UVs you are happy exporting maps with
Good secondary forms (A coat of gold on a turd doesn’t change the fact it is a turd)


You have your model which you feel is ready for the detail pass. You should have this model at the max subdivision level.

Then go to Geometry HD in the Tool palette. Hit Divide HD, and boom now your model has HD geometry. You should see the increase in total points but not active.

To sculpt just hover your mouse over the model and press “A” (sculpt HD hotkey). If you press A on the canvas zbrush will render a preview of the model, similar to BPR.
General Tips
HD Geometry increases your point count 4 times rather than the normal 2 times. So it is worth using a mesh not over 2 million to actually reach a high point count but not too high.
To delete HD Geometry you have to duplicate the subtool and the duplicate will not have the geometry.
Using the SubD slider in the HD geometry box will change what subdivision you will be working/rendering at.
RadialRgn just changes the default selection ring to a square
If you isolate select a polygroup and press A on that, zbrush will allow you to sculpt HD on that entire group, also this is more accurate.
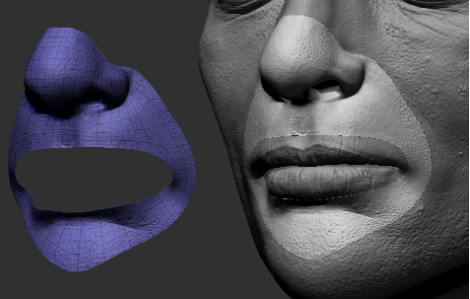
Zbrush Advantages
The main attraction of HD geometry to me was keeping the project manageable and less laggy at a super high resolution.
Since HD geometry doesn’t store the extra polygons in real time Zbrush doesn’t lag. This was a great benefit as I could work on details for the face whilst still having other areas in block out. Before this I would bring everything up to the same stage to avoid a dense project slowing down the process.
HD geo gives you far more resolution to work with on your sculpt which is very useful for sculpting and working on micro surface detail.
The way I created skin details for my project was by dragging xyz alpha textures, onto the mesh. I would need to lag my project out to not lose too much information when using alphas. With the huge amount of resolution, from HD geometry, this wasn’t a problem.
Zbrush Disadvantages
You can’t see all of your model at the same time in the viewport
You have to do a quick preview which you have to wait for. Making this not as flexible to view at different distances and angles.
Longer load times when opening the project
Zbrush still needs to load that extra geo. If you crash zbrush will save and then load, this can take a few minutes.
I found that dragging alphas, on the mesh, you might hit the border of Sculpt HD.
This wasn’t too bad but did take a bit more time matching them up.
You can scuff your UVs if you need to do some big moves in your sculpt
I reworked a few forms and that kinda came back around on export as the UVs had screwed up a in a few areas.
How I tried to integrate it for Video Games workflow
This was the experimental part of my character workflow as I tried to make to make use of the exporter in Zbrush. While didn’t get the quality of skin detail I wanted in my texture I wanted to share the results.
This is just my tests and I am still learning. Very open to suggestion.
How to export
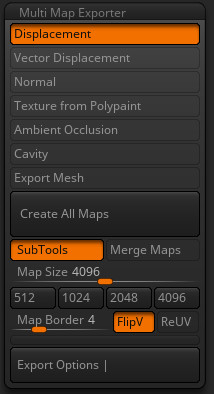
To get your maps out of zbrush you need to open Multi Map Exporter in the Zplugins palette. Then export the maps you want.
How I tried to make this work to
The two methods tried were:
Export as Normal
Export as displacement
Normal
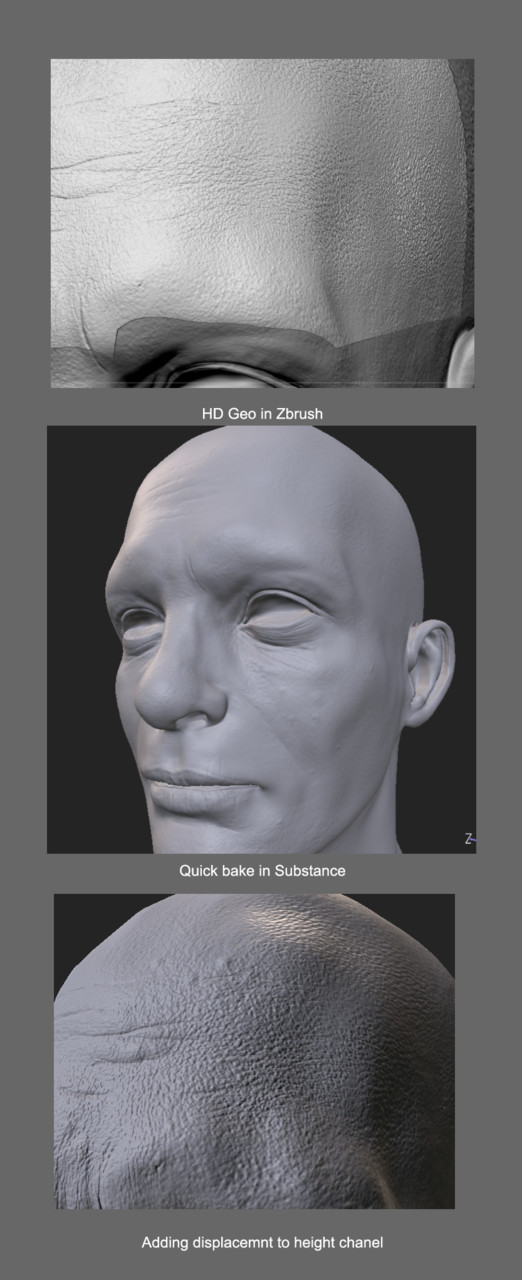
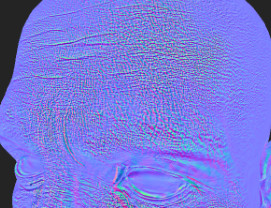
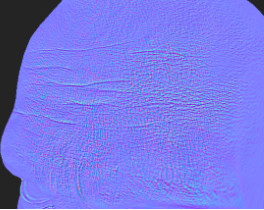
Normal map straight up did not work in the normal channel as it blasted out the actual bake from Substance and didn’t replace the nice forms which were baked down. However, putting the same map into the height channel produced semi decent results.
Throwing on the map into height on its own sucks, but reducing the opacity of amount and you get a much better result.
It is not perfect but kinda works.
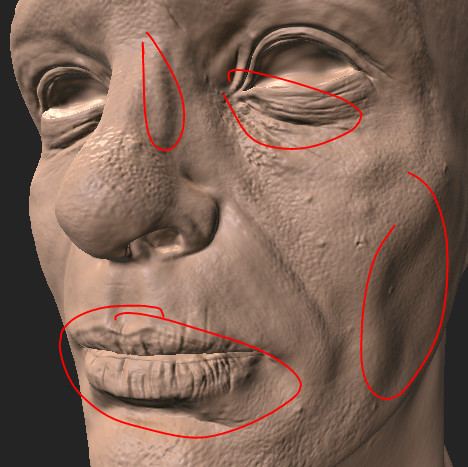
Another drawback was that the normal information was too intense in some areas. However, you can use Painter's white masks to mitigate the problem. Using opacity on the mask brush I was able to paint out the problem areas.
(Final result)
Overall it captures the detail, but It takes a bit of fiddling and the skin detail loses a bit of quality.
Displacement
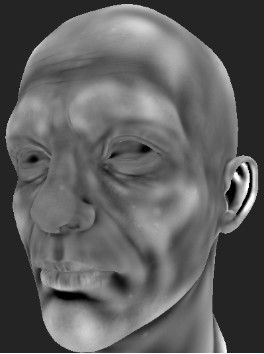
The other way I tried to get this to work was exporting the displacement map.
This did worked better than the normal map in some areas, but failed badly in others.
Since the displacement has many tone shifts it can create a bunch of issues to the normals with the height information.
But all the detail is there uncompromised in the texture.
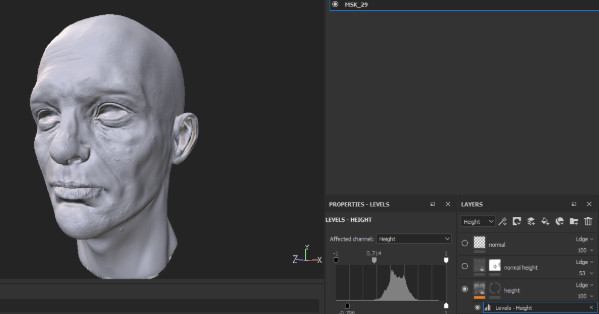
You can use levels to balance this out.
Again, you can use the white mask to reduce the intensity in any real problem areas.
As you can see some of the details has nicely come across, however there are some problem areas which are really messing with the normals.
The compression on the displacement option retains a lot of the information.
Conclusion
Overall I did not like the result I got. However, think this has some use case scenarios. For example, if you wanted a certain area of the face to have detail which wouldn't be possible if you just baked down the highpoly. Perhaps I am thinking specific pores or a unique scar. It might be worth the extra effort of getting that detail across to substance, using the displacement. Then painting out everything you did not want.
If HD geometry could be much more utility. A heightmap export option would make this much more usable, or if substance updated to actually use displacement maps. Right now the result you get is way too imperfect to really be worth it.
I would say that Mari is your best option, or just bump up your subdivisions in Zbrush and suffer the resolution loss.
Ultimately I ended up starting over, on the face, and redoing the detail for the model on a subtool divided up to 18 million polygons but it was a fun experiment.
Hope that was helpful
Louis Squara
Go check out Kris Costa Zsummit its very informative and he is a great artist
https://www.youtube.com/watch?v=Lfen-BSwWcE&t=1028s
My artstation: https://www.artstation.com/squary101

