CGMA - Organic World Building in UE4 progress

We are on week 3 and I started to document my progress from week 2. This is what I got so far, I will keep you updated with the progress.
I wanted to take some minutes to document my process and share with you my experience with the class because so far it's been amazing and I feel it is worth sharing! I will try to put my biggest takeaways on the course since I feel those are the "Aha!" moments we are all looking for and they really worked for me.
The course is heavily focused on organic world building (yeah, I know), but unlike any other course, this is really about BUILDING a world. A world that actually works in a game production environment and while learning the workflows to be able to decorate a big world. Of course we don't have enough time to create an MMO or something like that so instead, we are focusing on creating a small portion of our game environment by doing a vertical slice that has most of the assets we will be using and can be easily be placed in the rest of the level if we intend to create a larger world.
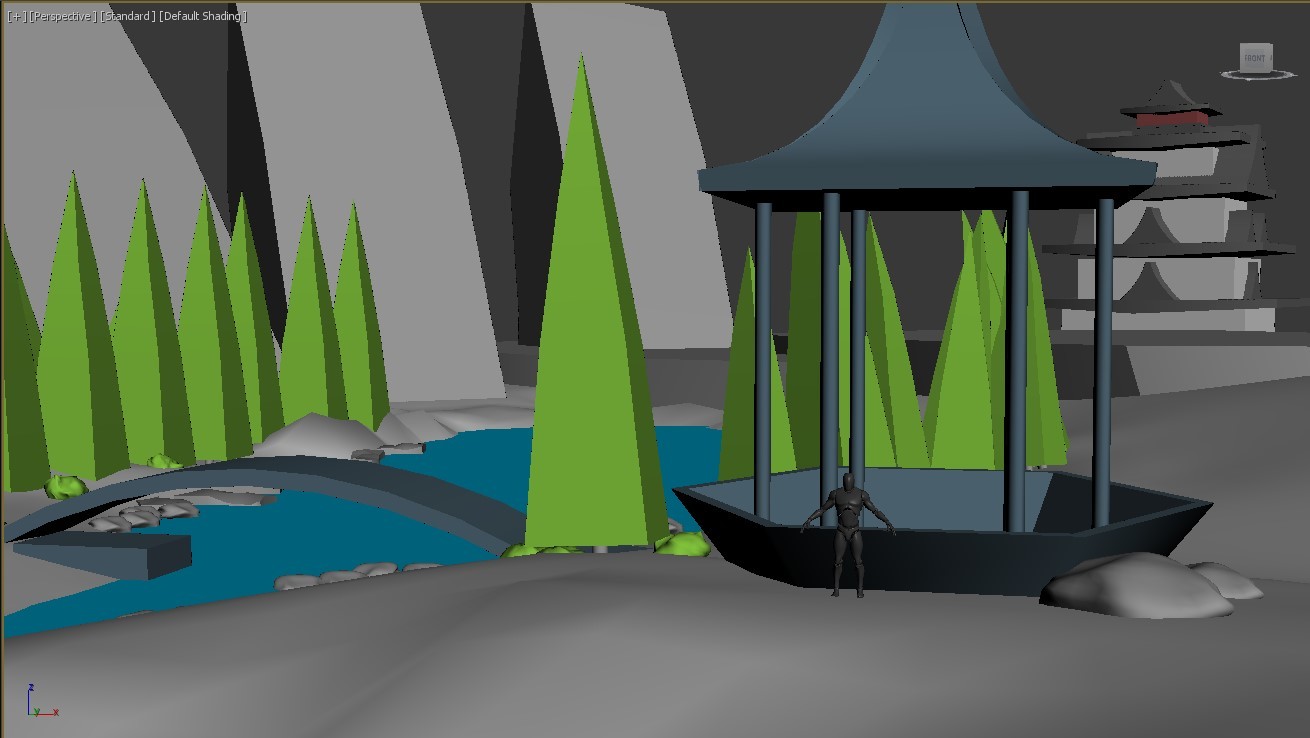
I'm working on a snow environment with some Chinese elements on it. The AS challenge will end much earlier so I decided I would just focus on pushing this piece a little bit more and don't join this time. Also, since I want to get the most out of the course, I may not have enough time to model man-made elements since I want to focus on the organic stuff.
This is what I've got so far in these 2 weeks:
On week 1 we started creating our blockout in a 3d modeling package, I was a little bit skeptical about this process since I didn't see the point of doing it and then redo it in Unreal with the Landscape tool. I must say, I will do this again for the next Environment I'll work on.

So, how did making a blockout in another program helped me to create the environment in Unreal? Especially if it looks a little different than intended?
First, we need to create a small asset list that we will use for our project after we checked our reference. We learn to break down the reference in Primary, Secondary and Tertiary elements. Having those 3 is really important to create a nice rhythm and transitions in your environments and make them feel natural.
This is what my plan looked like in Week 1:
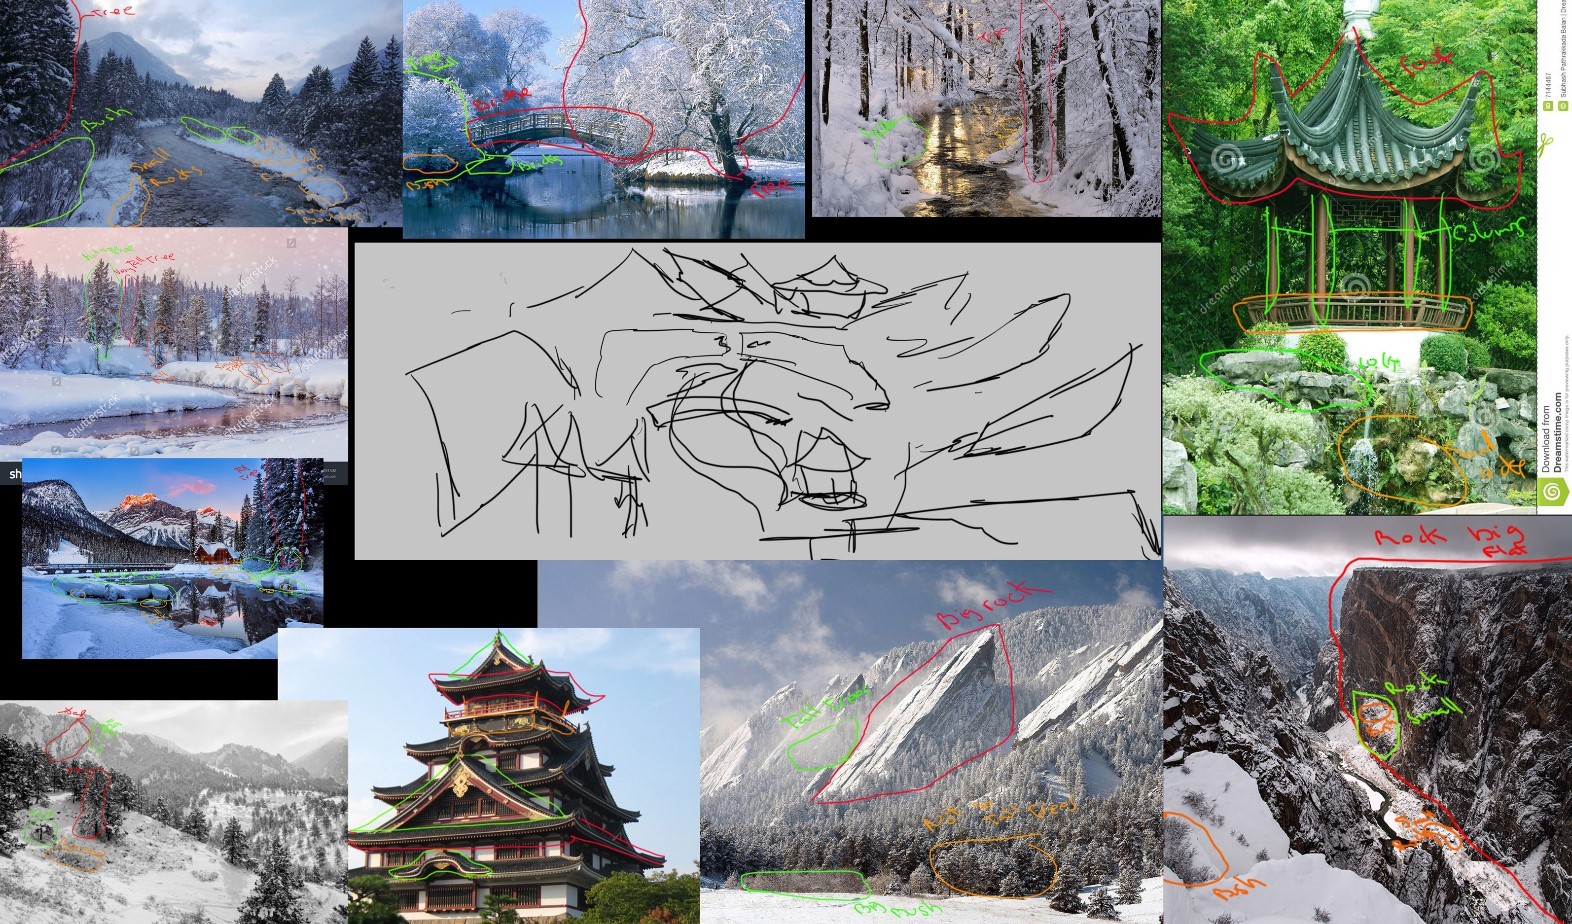
By learning to break down the reference into these 3 elements, I was able to create a small number of assets that I know can work together. This is so important because it will save lots of time by not having to create unnecessary assets by knowing you have your 3 elements covered.
Using these elements to create the blackout helped a lot to have the transition to Unreal 4. I can import everything as a whole, and the bigger shapes individually to start blocking it out in the engine. I will share my biggest takeaways by the end of the post but this helped a lot in figuring out the space and working in a small section of your environment.
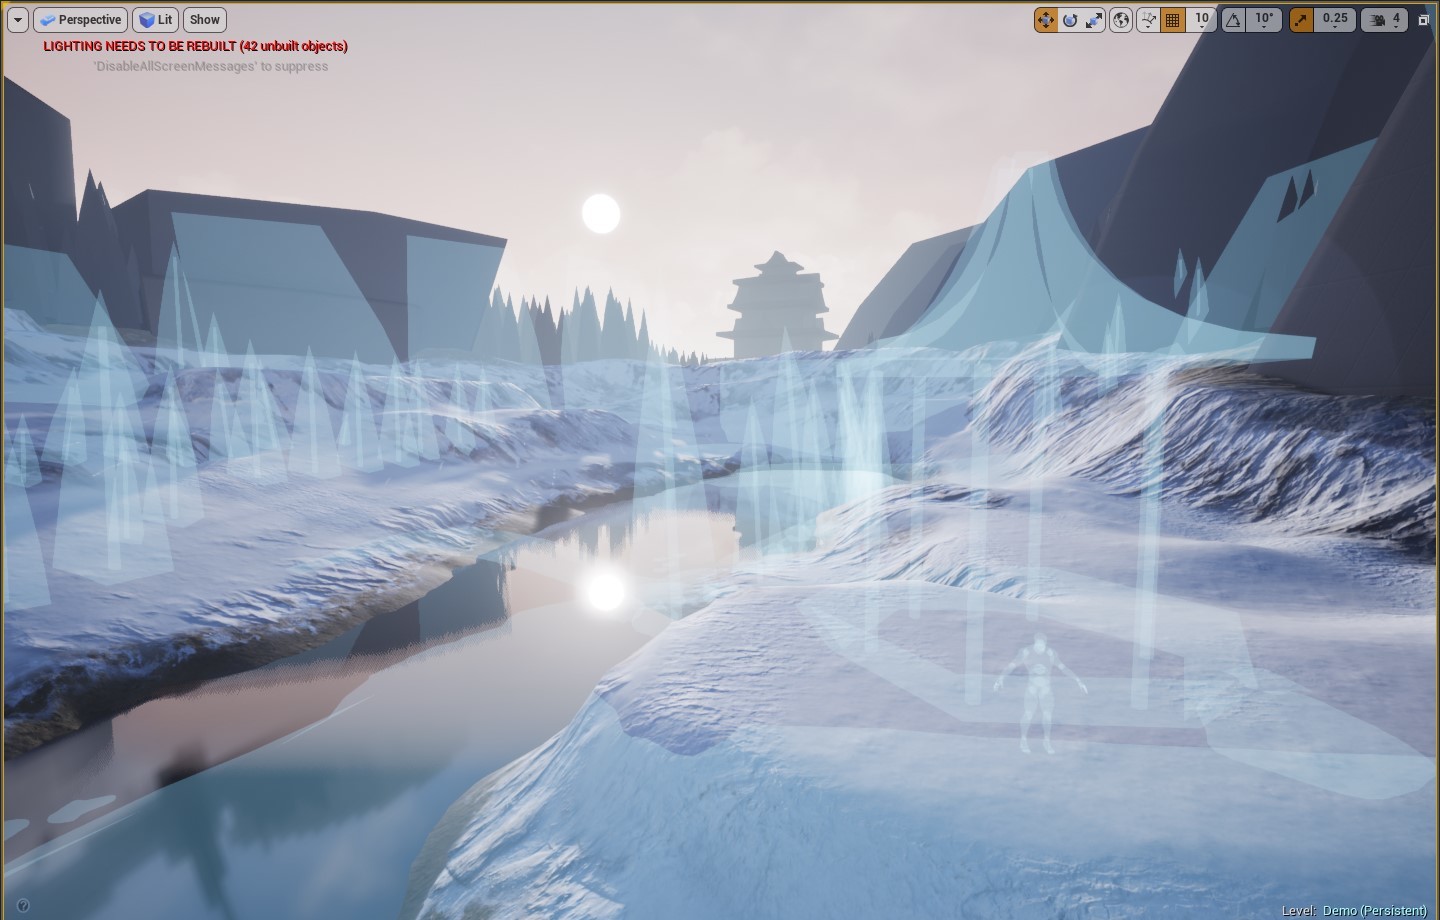
I can use a transparent material to have my blockout there while I sculpt the environment:
This brings me to my next biggest lesson in this course:
Unreal Engine 4 Landscape Tools are amazing for game development
Sure, I knew they were powerful and you could create beautiful environments by using the landscape tools. We are suggested to use Unreal 4 landscape tools instead of going to a program like World Machine and generate beautiful heightmaps. Again, I was a little skeptical about it since World Machine creates beautiful landscapes. But I went with it and I learned a big lesson: Unreal landscape tools may not be the best for creating beautiful images, but they are incredibly powerful when you want to create an environment that is actually playable.
This is so important. As a level artist, you can't skip the process of level design. It is not common to use World Machine to start creating a game, it is nice for a portfolio piece and maybe it can work as a starting point but when creating a game you need to design an actual playable level.
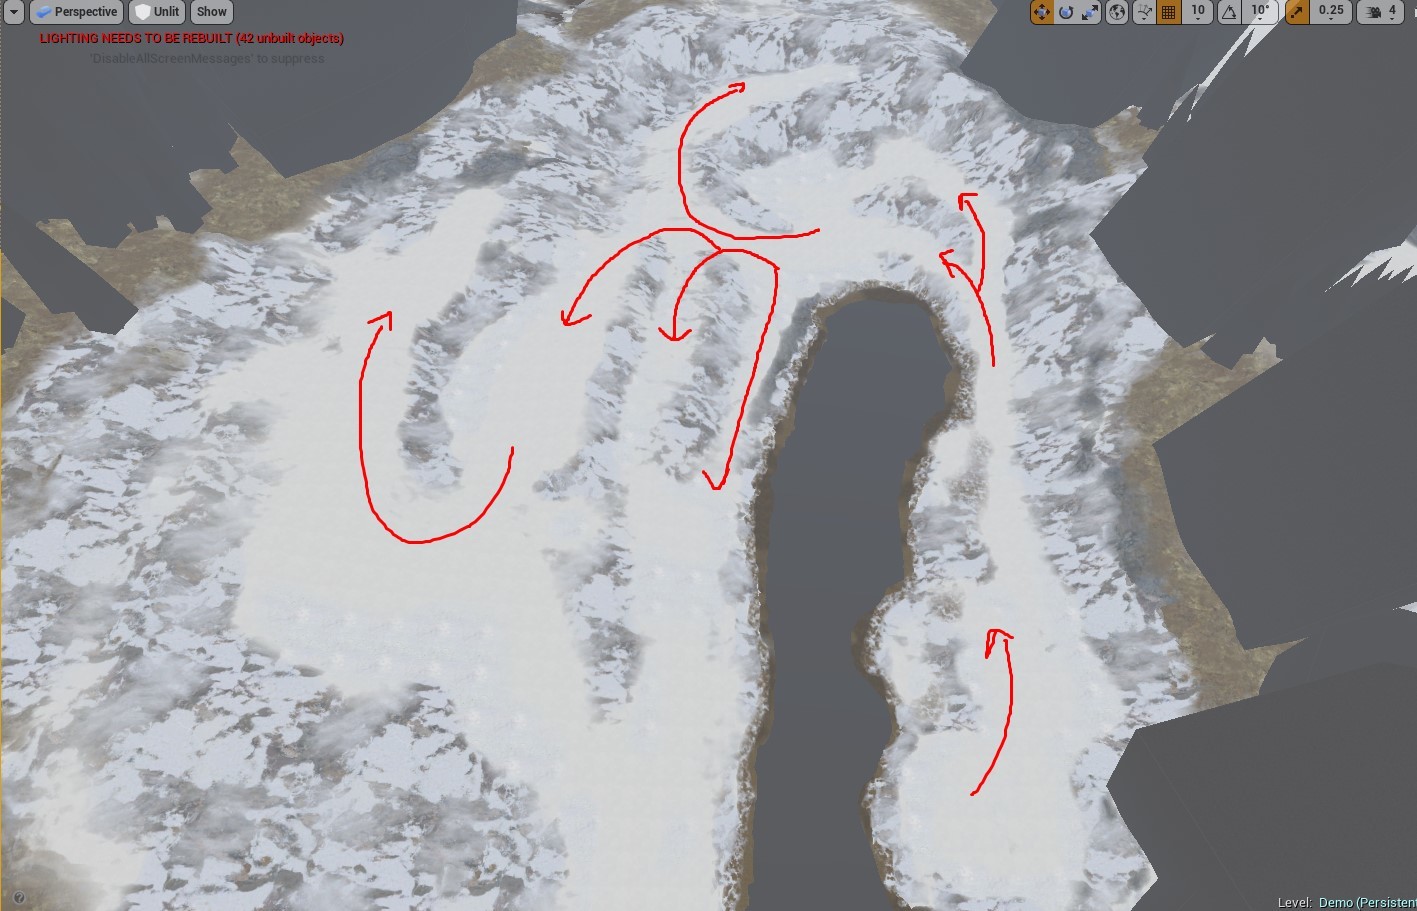
Unreal landscape tools not only helped me to sculpt the playable terrain but painting with different layers helped tremendously to design the level and actually differentiate the paths that you can walk and the paths that you are not supposed to go. When creating an environment, our goal as an environment artist is to guide the player from one objective to the next one. Creating a big world can be a problem because the player has so many choices and can get lost easily.
By using the painting and sculpting tools you are not only creating a great environment by using Unreal's powerful material shaders. But you are also designing the level as you sculpt and paint. This is so much fun, I actually found it more fun that sculpting on Zbrush! It is like killing 2 birds with 1 stone: level design and level art that actually works.
There is still a lot of insights learned in the course and it can take a while to write a detailed article about them, so I want to put my biggest takeaways so far. Feel free to ask any question or comment below if you want me to explain in more detail.
Biggest takeaways:
- The job of the environment artist is to enhance the design of the game by helping the player moving from one objective to another
- Working with designers is key to create good environments
- Transitions in the materials can make it or break it
- Unreal's landscape tools are designed to create game levels and they make a great job
- Focus on primary, secondary and tertiary elements for your game environment
- Creating a blockout in a 3d modeling package will help you to start building your actual environment in UE4
Until next time!
Replies
We just wrapped up week 3 and there are some cool insights I wanted to share with all of you.
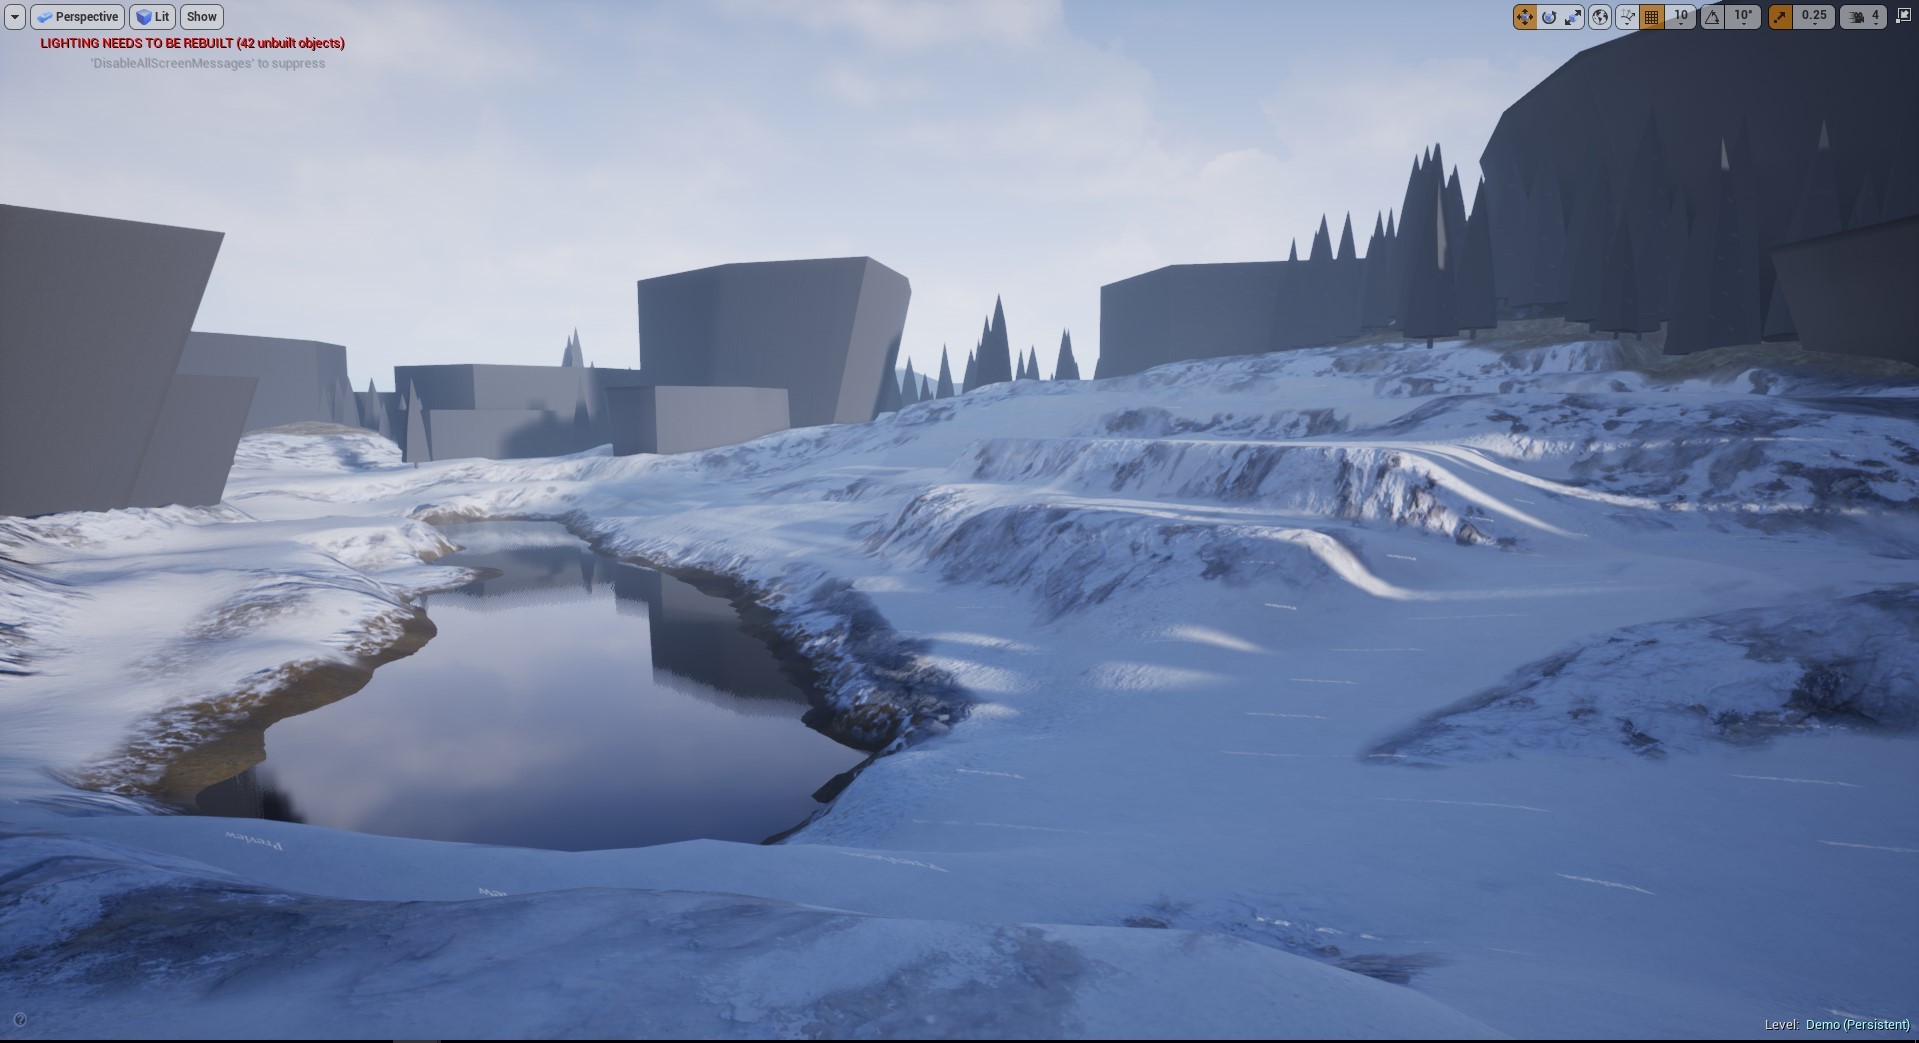
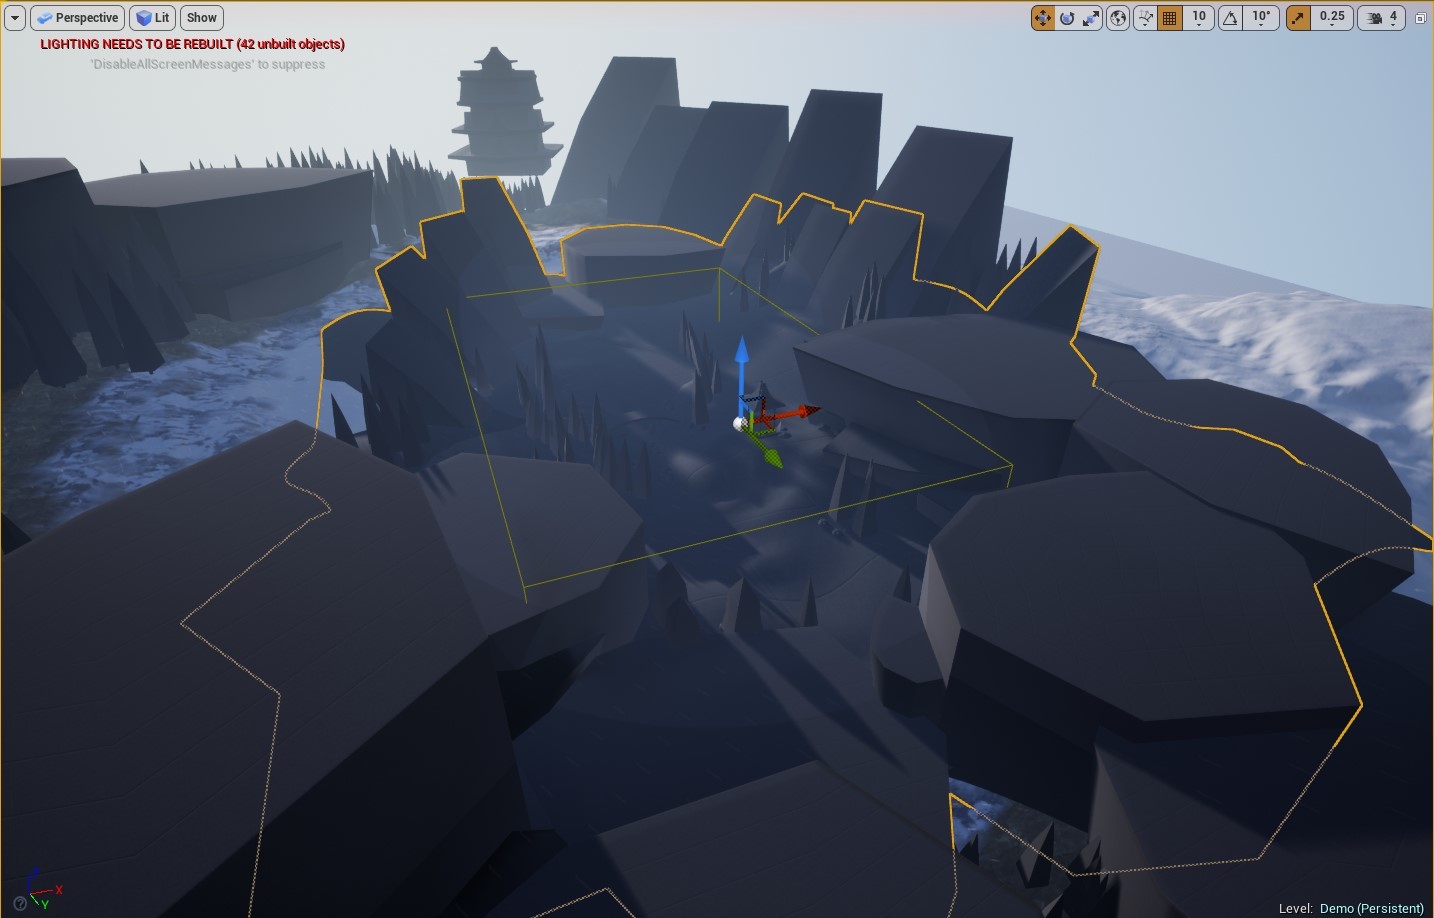
On week 3 we focus on creating a hero rock piece and 2 small rock boulders for our scene. We create the low poly version of these meshes and bake the maps to have our game-ready rocks.
It is amazing how much you can get with just a few rocks. Here is the current progress with the scene placing some of them:
I'm far from being an expert when it comes to rock creation but I learned a lot during this week and I will share my insights later. For this scene I will be creating 3 rocks:
The hero rock
Here is what my sculpt of the hero rock looked like inside Zbrush:
Again, I'm far from being an expert but I tried to make different forms and level of detail for each side of the rock. It is important to remember that this is a game asset and it can be used in different situations. Also, it is recommended to create this hero rock for big assets like cliffs, many people create this big rocks out from many smaller rocks and they don't look that well inside the game. If you study real life rocks you will see that they are somewhat smooth and don't have many micro details.
For this asset, I'm aiming at 10k triangles since it will occupy a lot of space in the scene. To create the Asset you could use any tool you wish, but Decimation Master for me did a great job, it didn't only reduce the polycount but it gives the asset this hard edge look on it and it works like a charm with rocks.
This is how the Hero rock looks inside Unreal Engine 4:
Boulders
The boulders will be used to populate your scene, you can place them next to your big rocks to create rhythm and have nice transitions in your environment. These rocks won't use a custom normal map instead, they will use a material that will blend some textures. I couldn't help myself and decided to bake some small 1k normal maps just in case, but you can get away with it without baking any map.
These are the 2 boulders I created:
I got some really cool feedback after I finished them so I'm planning to remake them if they can help the scene look better. I prefer to see the asset in the game and check how it will really look and then decide from there. A cool thing I learned during my mentorship with Ryan Benno is that you don't necessarily have 1 way to solve a problem. You may have a sculpt problem but perhaps you can get away with some cool shaders or adding some decals in your scene, it is all about having an open mind to find a way solve your problems and get the assets in the game as quick as possible.
I used the same technique to generate the game ready meshes for the rock boulders. But, this time I aimed at a 3k triangle count:
Also, I recorded the process of creating these assets if you want to take a closer look at the workflow:
https://youtu.be/FjP_vqX20XU
https://youtu.be/I1IOwUiSk6s
Here are some insights I can share with you from what I learned in this week:
That's it for this week, until next time!
Mauriccio
Here is week 4
In this week we were focusing on the shader creation of our rocks. I wanted to experiment with the new experimental feature that was released in Unreal Engine 4.19 called Material Layers. We also needed to create rock pile assets to help smooth the transitions of the environments.
Here is the latest update:
Rock pile
To create the rock pile asset I sculpted some small rocks that will be used to duplicate them across the surface.
I didn't focus on creating tons of details since these will be small and also be covered with some textures on top of them.
After that was done, I created a simple model to use as a base for the rock pile.
After doing that, I created some alphas using Quixel Mixer so I could add some surface detail. I would quickly create a material and then export the height information to create an alpha brush.
I would then create a little photoshop script to automate the process of creating a blur mask to my alphas inside photoshop.
The action is really simple, I would simply create a radial gradient and then use it as a mask to isolate one part of the texture.
Here is a video showing the script in action. It can save a lot of time if you have lots of textures. I used this method to create all the alphas for the rocks.
Then I would use the Standard brush with DragRect stroke to create the details:
This is how the surface looks with some alphas:
After placing the rocks I created before this is how the final result looks:
After the High poly is done, I would use decimation master and then make some planar UVs and then relax them to avoid stretching in some areas.
Once I apply the materials, this is how it looks inside UE4:
Material setup
For the material, I used Material Layers to test the workflow. I must say it really saves a lot of time once you start getting used to it. This is how it works:
Material Layers
These layers will help you to create a big library of assets to use in your project. This is the library I created to use in the rocks:
The material setup is really simple, I would use some basic tiling features and change the roughness and albedo values. I also change the normal intensity, just in case I need it. As for the material functions, I have a personal library I use for my projects. I highly encourage you to create your own library because it can speed up the workflow by not having to create the same logic over and over. If you want, you can download my Master material for free here, you can have most of the material functions I use day to day.
The great thing about Material Layers is that you can create Instances from them, unlike Material Functions. That way you just have to create a Master material and create a huge library. This is how a Material Layer Instance looks like:
Material Layer Blends
These layer blend assets allow you to create masks that you can use to blend different layers. How you use them is up to you, they can be really simple or really complex. I created some vertex painting blends, Slope mask, and material ID mask.
This is my library of Material Layer Blends:
The vertex paint material looks like this:
I'm plugging a texture mask and manipulate the values to add some texture to the vertex painting. After this one is done, I can just create child materials and create a layer blend all the channels:
I can also change some parameters and create a new layer blend if I'm happy with the results.
Master material
The Master material is really simple. It uses the Material Layers node and blends that with a baked normal I got from the High Poly models. I don't care about how they will blend because I can change the types of blends in a Material Instance. The only thing I added is a Slope mask to put snow on top of the mesh. I got some errors while attempting to create the same behavior with material layers but it is definitely possible to create all the blends there, it happens that I deleted some assets and the system got buggy, I guess that is the price of working with an experimental feature since It worked well before, just keep that in mind.
If you are curious about the Slope mask, here is a screenshot:
After that is done, it's only a matter to play with some parameters in the material instance. This is how my Hero rock material instance looks like:
I'm using 3 layers: 2 types of rock and 1 snow layer. The first blend will use the red vertex paint of the mesh to apply the rock in those areas. The second blend will use the green vertex paint of the mesh to apply snow.
After that is done, I can just apply the same instance and modify some values for other types of rocks.
For the rock pile, I applied the same material. But this time I made a small change to the Layer Parameters. But it was really fast! Let me show you how.
The green vertex channel stays the same since I still want to have the ability to paint snow on the mesh:
But I changed the Layer 1 Blend Asset to use an ID Mask instead of the Red Vertex channel. Also, I changed the background layer to use snow instead of rock so it can blend with the ground nicely.
It really is that fast!
I made a video to show the process to create the materials. This was recorded before adding the snow layer but the process is the same.
Final thoughts
I hope you can find some value on this, Material Layers are pretty amazing and I find them a little bit buggy sometimes so use them at your own risk, it is an experimental feature. I wanted to post the current process of the scene but I ended up making a small tutorial. I'm not entirely happy with the textures, but this workflow enables me to just create another material layer and apply it really fast to see the changes. Feel free to ask me anything if something is not clear and I will do my best to explain.
Until next time!
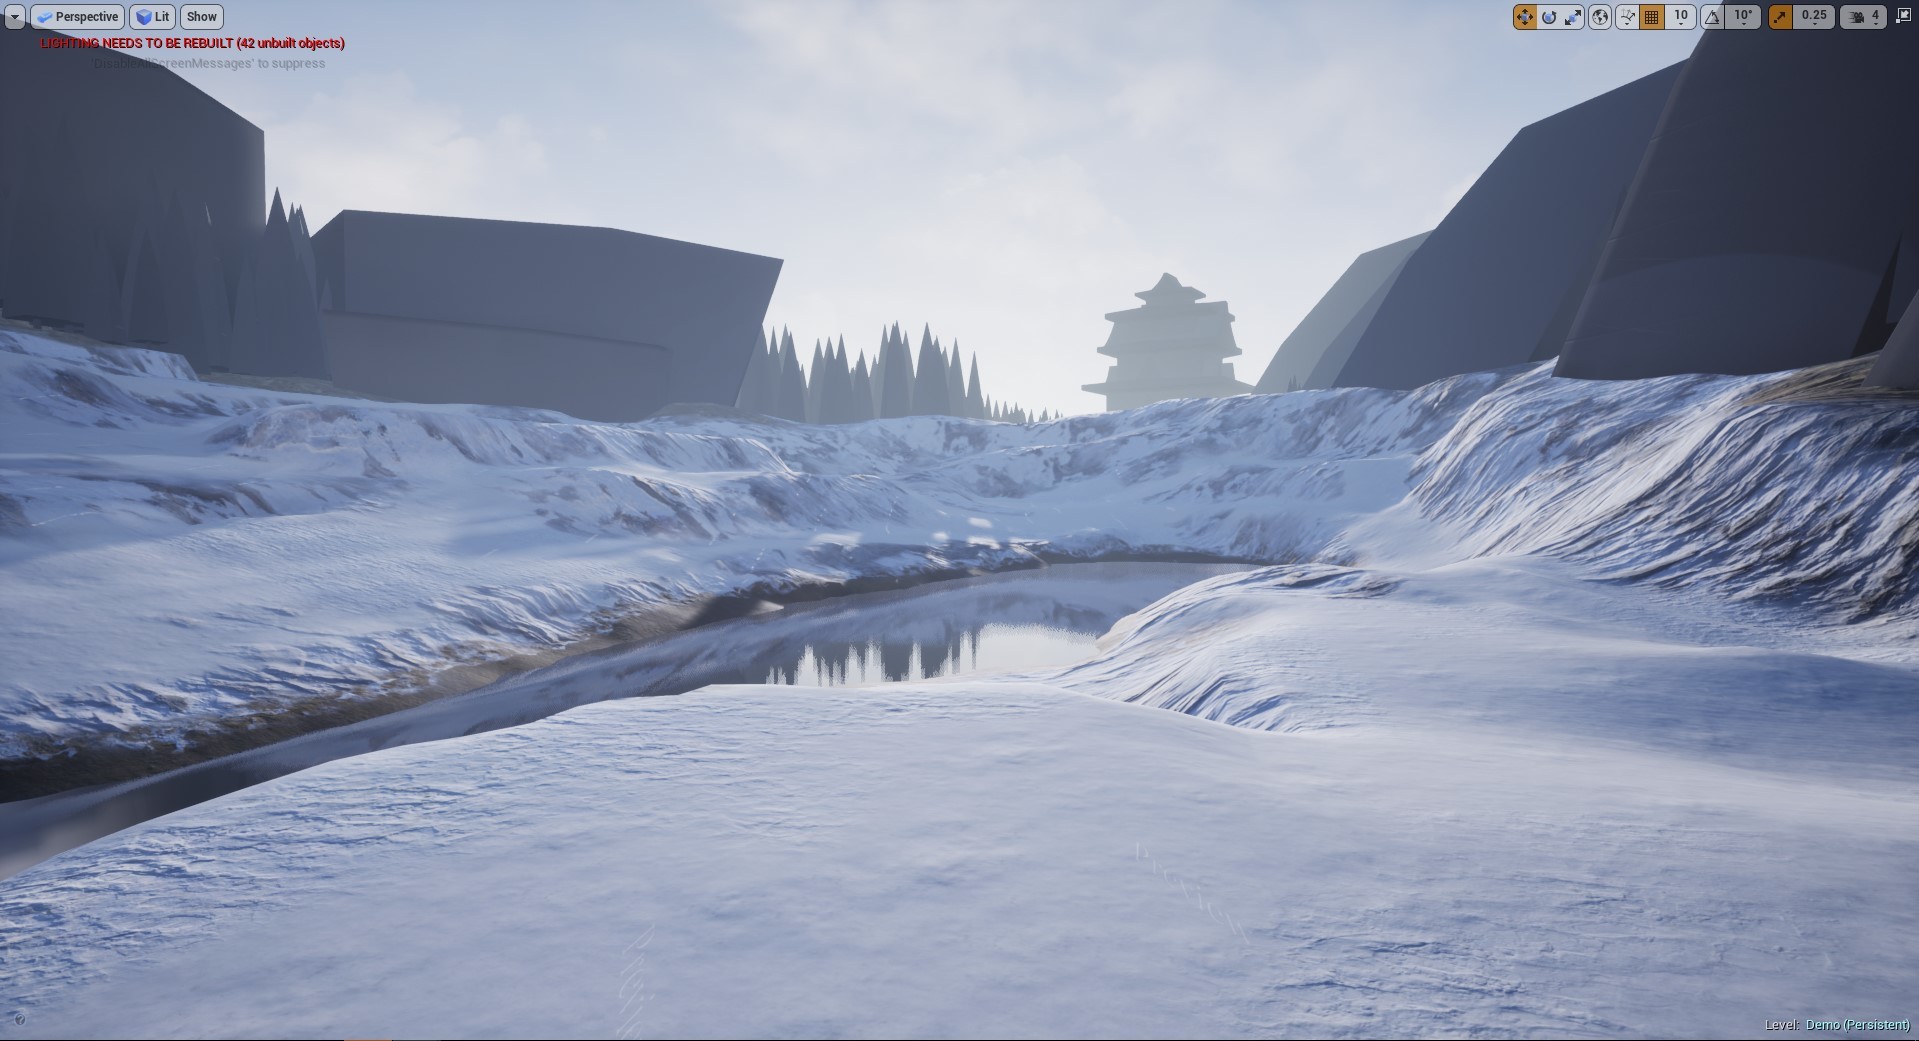
In week 5 we focused on rocks and watched some techniques to take them to the next level using shaders. We focused on adding more details to the rocks, work on the slope vector shader, mesh vert displacement shader and Parallax / Bump offset shader.
Here is how my scene looked in week 5:
The slope vector shader really adds a lot to the scene. In the last week I created the initial setup but in this one, I adjusted the parameters to make it look better.
Detail textures
Also, I added more details with the detail normal shader so when the mesh is really close to the camera you can really see the up-close details. It is also important to work this way for 2 reasons:
One thing I need to change in my scene is the color of the textures because they look really flat, the good thing is that by using material layers I can just swap a texture and it will propagate on all my instances.
Vertex offset shader
This is a really cool feature to offset the vertices of the mesh that has snow on top. That way you can show your rocks with snow that has been accumulated and is just not a flat surface. Here are 2 screenshots, one without the vertex offset and the other one using the vertex offset using the snow mask:
Without vertex offset:
With vertex offset:
It's a really neat feature and it doesn't cost that much in shader complexity. It is really simple to do, here is the graph:
One thing to keep in mind is that it can break the mesh when it finds a seam. You can hide it using multiple assets but it is best to not put extreme values using this feature. It adds a little more details to the scene and it's very easy to do.
Parallax / Bump offset shader
This is a really cool feature when you can fake depth on a surface by blending two materials and give a nice 3-dimensional look. This is mostly used in flat surfaces like ground or walls but it has other applications for sci-fi textures where you can stack different UI elements on top of each other giving them different depths.
It doesn't work quite well on meshes with different angles since it can look a little bit weird but it works like a charm for ground textures. In this example I'm blending the snow material on top of the ground material:
Using the vertex paint I can give the surface the look as if the snow is on top and it has a subtle but nice touch on the ground because it seems like it actually has some depth but in reality the surface is flat.
Here is how the graph works:
I'm basically blending 2 textures using the Height Lerp node that I showed in Week 4 but this time I'm using the BumpOffset node as my UV coords for my ground texture. It's a really simple trick and it can add a lot of depth to your scene.
Then I can just put my Snow height texture to blend between the black and white areas where I want to put my ground.
Biggest takeaways for this week: