Problem with Texture Sets in Substance Painter (Beginner)
Hi there,
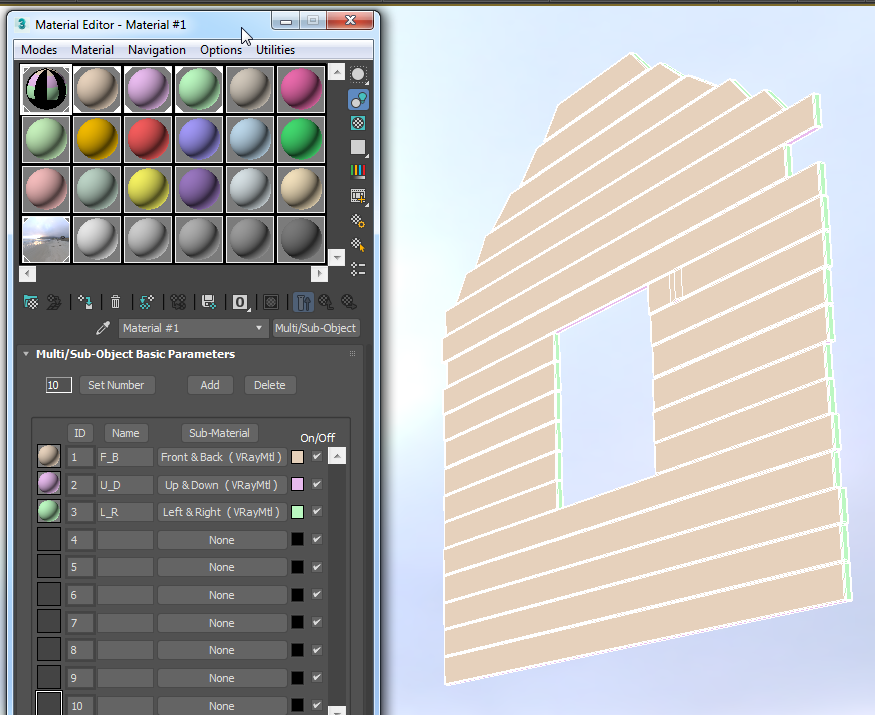
i've built a basic wooden hut in 3dsmax and preparing everyting for texturing in substance painter.
So, to make my life easier i created a tileable texture for the height-information for the wood grain.
But the wood-grain should only be applied to the front and back of the wooden wall/wooden planks.
So i used color-ID's for front&back, up&down and left&right sides.

Now in Substance-Painter i can have tileable textures seperated for each side. Now the issue is of course that i can only paint at one texture set at a time.

So apparently there is no way around with this setup to paint on all layers at once. Can you give me a hint how else to set up this scene for Painter to easily mask-out sides for texturing?
Is there a way to create one ID-Map with different colors, instead of in this case 3 ID-Maps, one for each set with just one color on each?
i've built a basic wooden hut in 3dsmax and preparing everyting for texturing in substance painter.
So, to make my life easier i created a tileable texture for the height-information for the wood grain.
But the wood-grain should only be applied to the front and back of the wooden wall/wooden planks.
So i used color-ID's for front&back, up&down and left&right sides.

Now in Substance-Painter i can have tileable textures seperated for each side. Now the issue is of course that i can only paint at one texture set at a time.

So apparently there is no way around with this setup to paint on all layers at once. Can you give me a hint how else to set up this scene for Painter to easily mask-out sides for texturing?
Is there a way to create one ID-Map with different colors, instead of in this case 3 ID-Maps, one for each set with just one color on each?

Replies
So if you switch to using one texture set, you'll then want to take advantage of the masking features. You can right click a layer/ fill/ or group and add either a black or white mask. From there you should be able to easily select the faces and either hide them from a layer or reveal them. Allegorthmic has some great tutorials: https://www.youtube.com/watch?v=D6KBEiFOL3o
You can also stick to your original approach, material break up, but instead bake out an ID map. You can do that just by going into the Substance Painter bake options, enable ID map, and under setting you'll most likely want to change your color source to 'material color'. You'll also need to load in your uniquely applied material file .fbx into the 'High Poly' option under common parameters. Using this approach, you might need to 'explode' your mesh too as the rays when they bake might overlap with other meshes giving you an odd ID map.
Good luck! Hope it makes sense.
Alternatively, if you had it all in one texture set, don't bother with ID mask but rather use Substance Painters mask to separate your mesh either by individual polygons, UV islands, entire meshes, or even use any brushes to apply the mask. After applying your black or white mask, press 4 to get the polygon fill options, and then F1 to see your UV layout beside your 3d view. Now you can use any of the tools -- polygon, UV island, or mesh island fill -- to select which parts will be selected or not. Very fast and easy. This, to me, is the fastest, least hassle method for easily controlling fill layers. When I make my UV layouts, I keep in mind which parts will receive different types of fill layers, and I usually separate the shells like that.