Why can't I get a seamless lightmap even with the most simple geometry?
This is something that has driven me INSANE over the past few years working with Unreal Engine. No matter what I do, no matter what tutorial I follow, I cannot get a seamless lightmap. In this tutorial for example 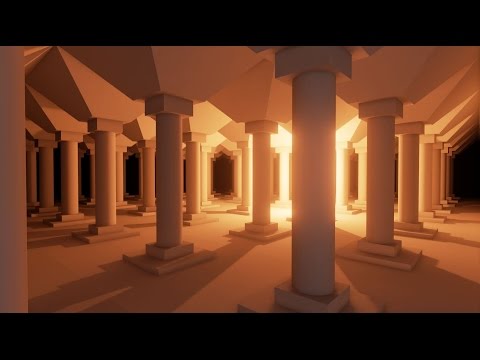 https://www.youtube.com/watch?v=joKnmShAdJE, the author doesn't worry about grid settings or snapping mesh edges to the seams and yet he gets a perfect lightmap bake.
Following his example, just with a simple cube wall mesh, these are my results:
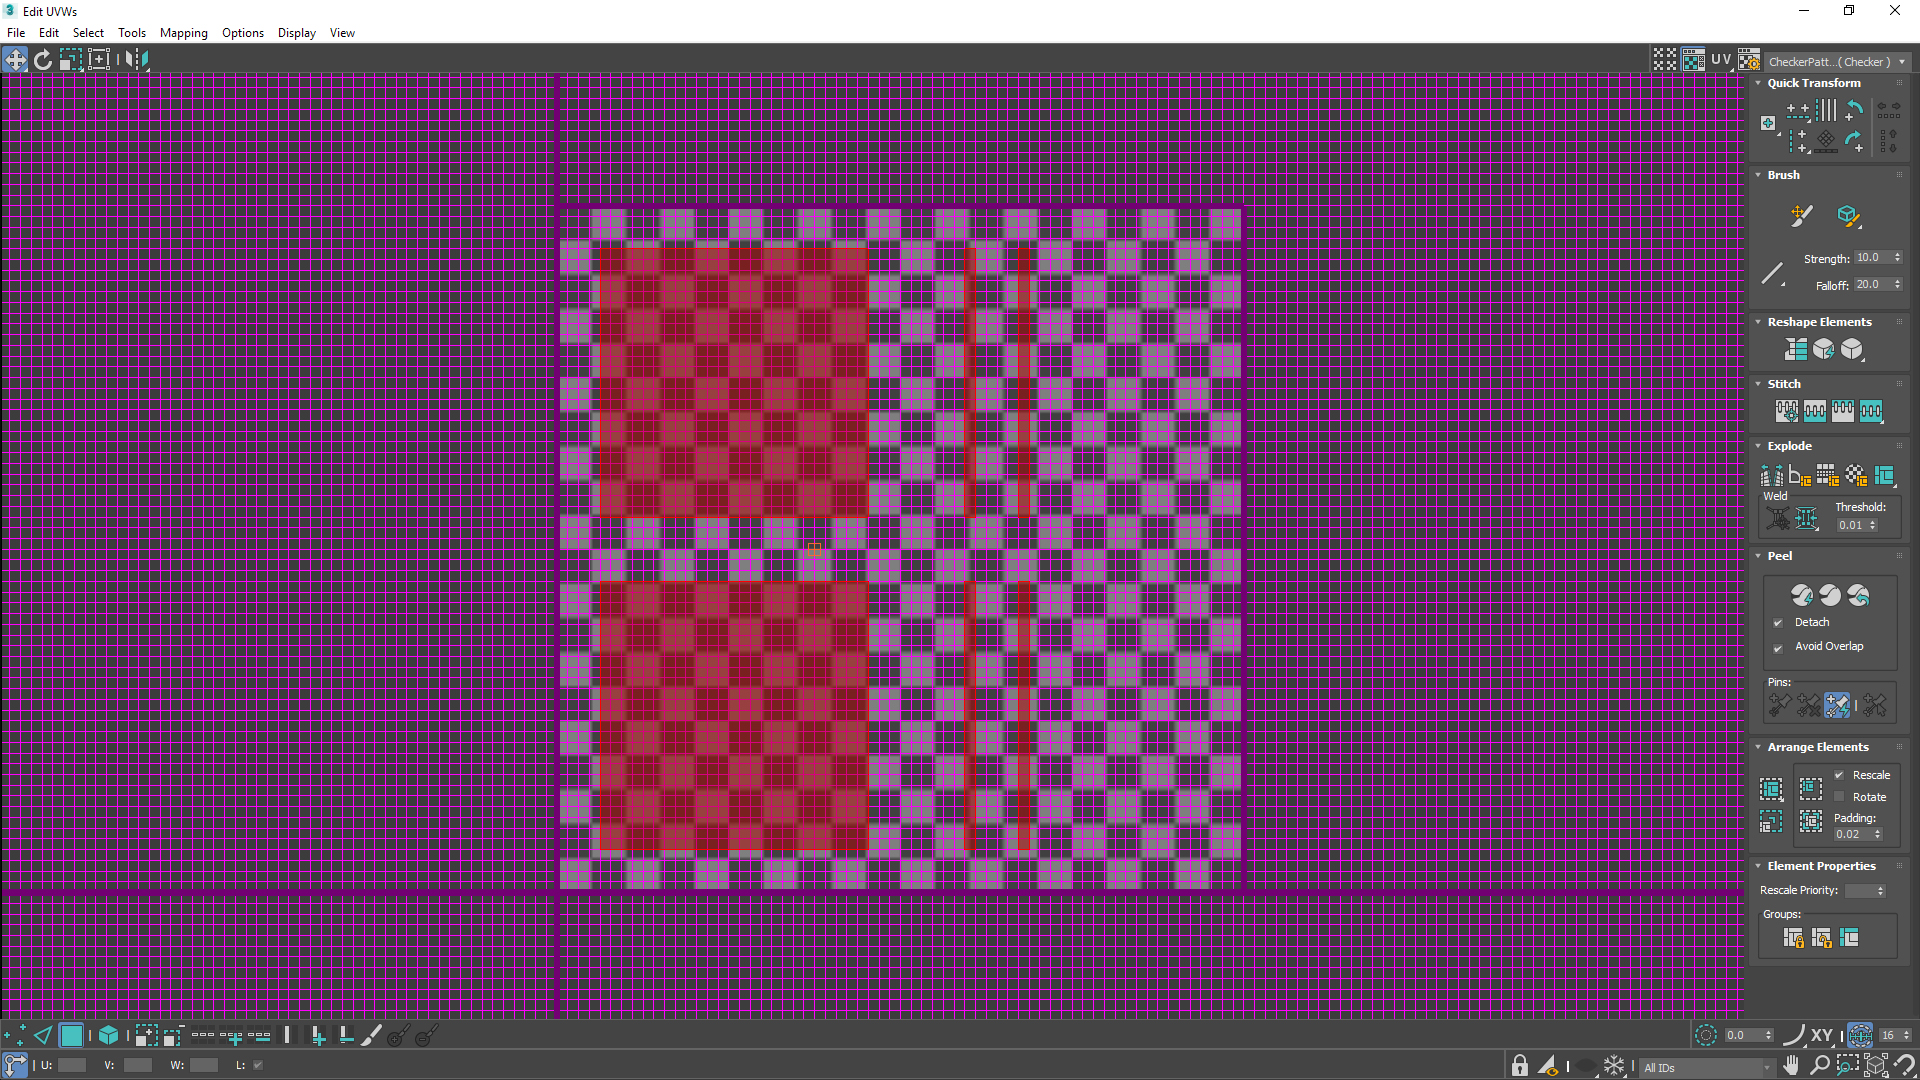
Lightmap UVS with plenty of spacing between the islands. Also snapped to the grid lines, though I'm realizing this is mostly pointless.
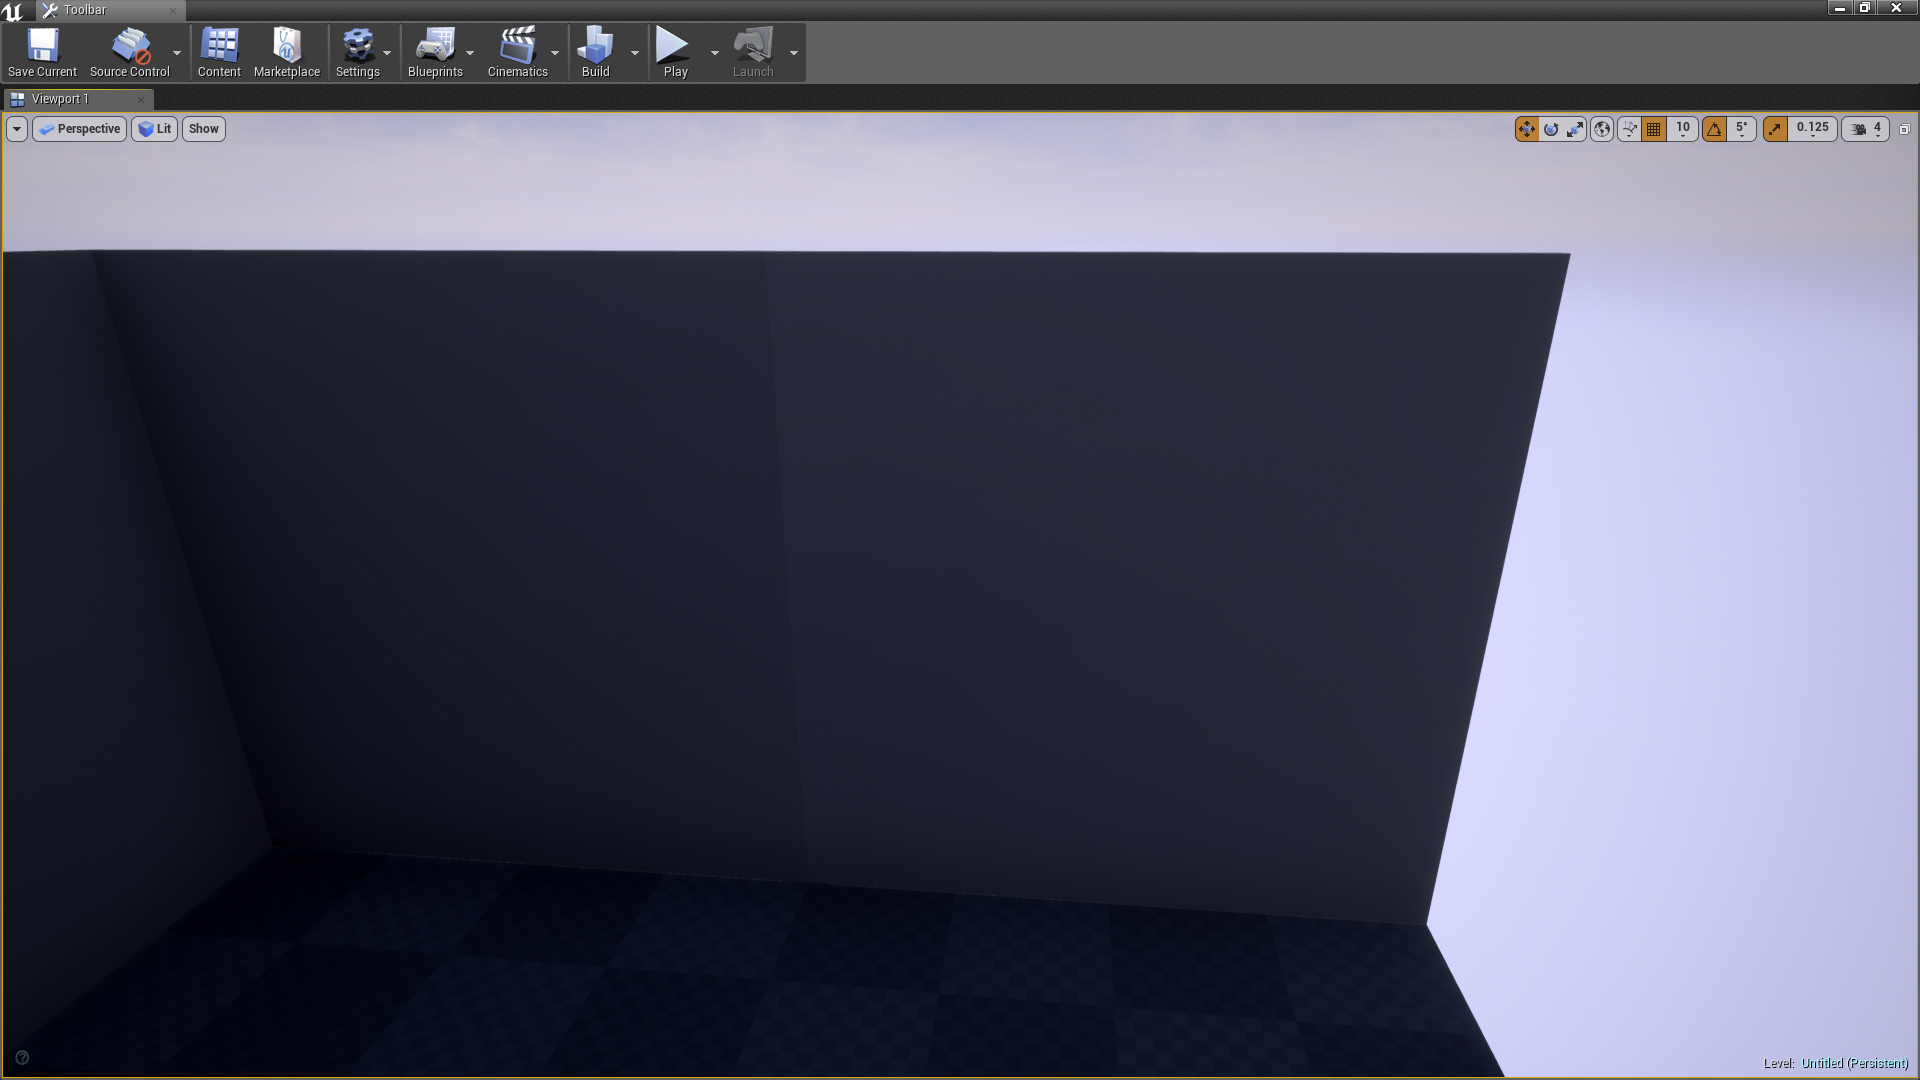
Very obvious seam between the meshes.
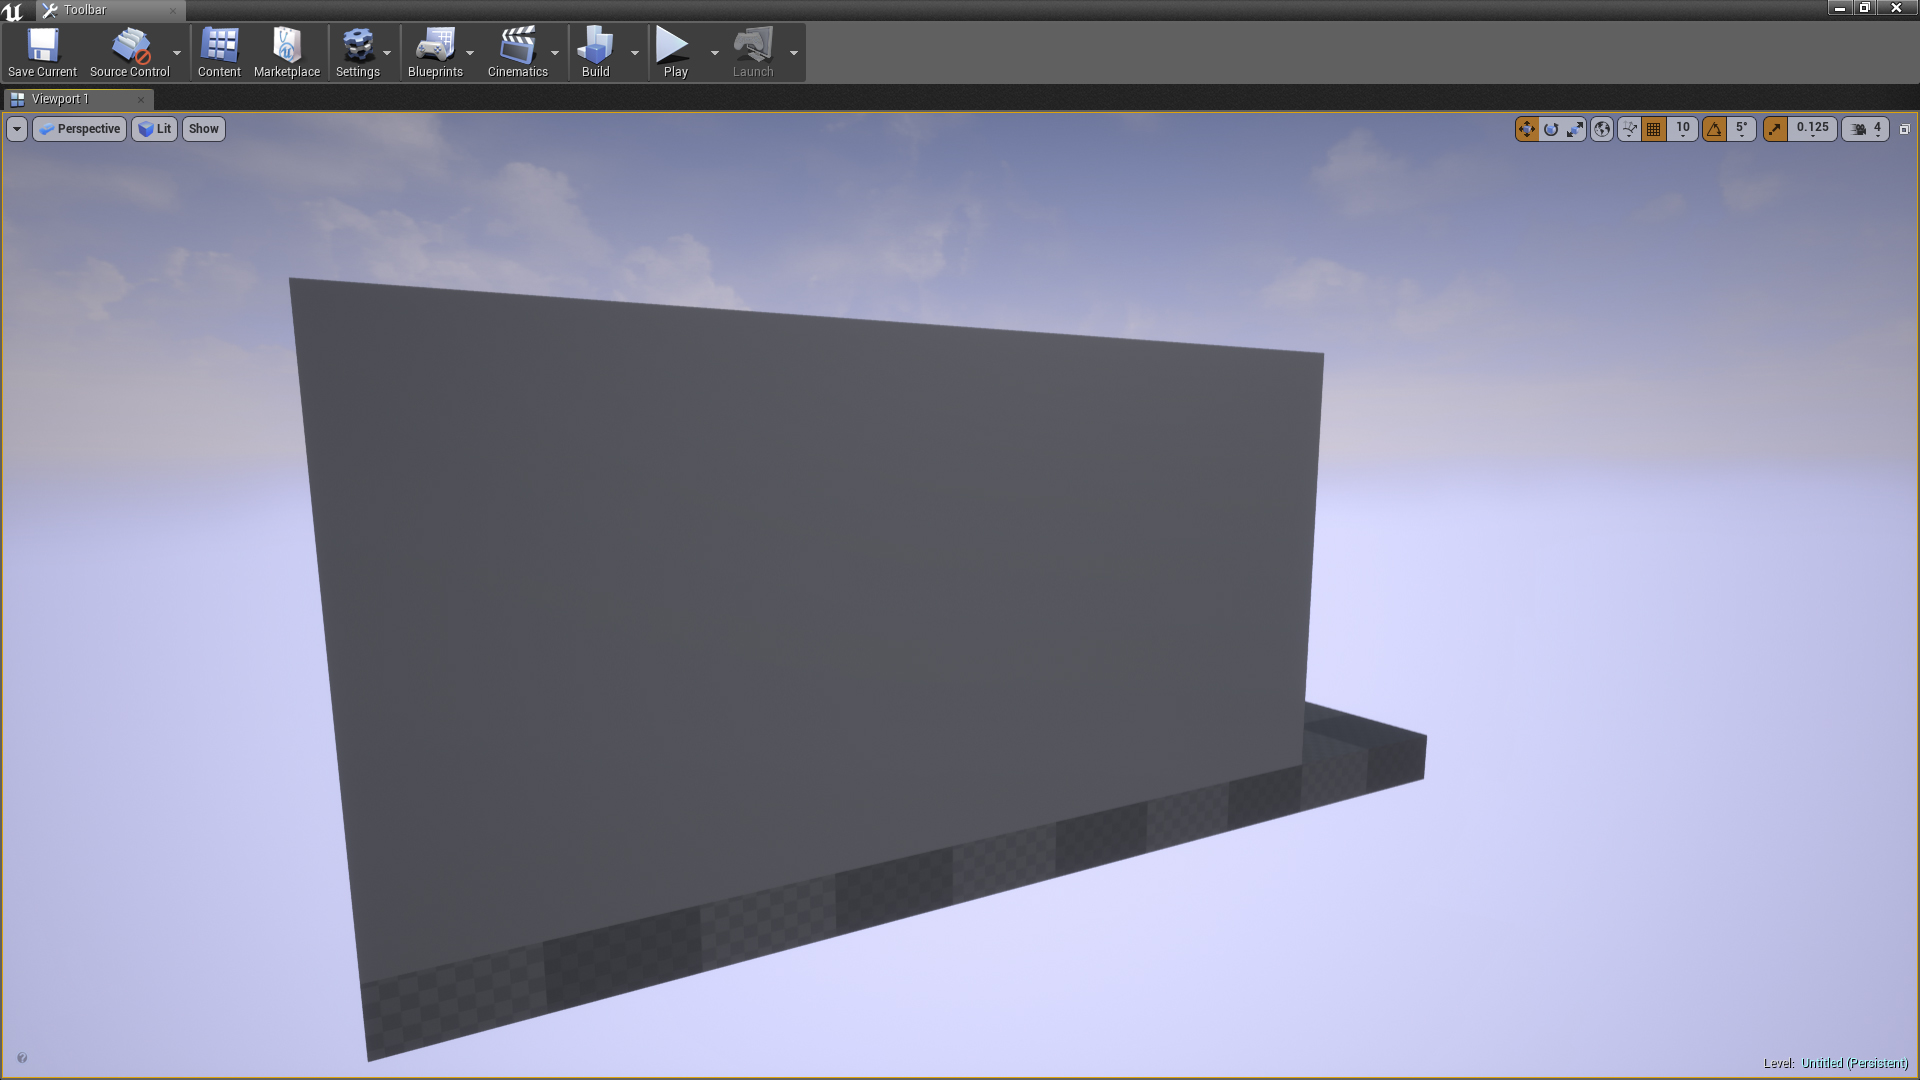
But on the back side of those same two meshes there's no seam.
Is it actually possible to get a completely seamless lightmap on a mesh without a texture?
What am I doing wrong?
Thanks!
 https://www.youtube.com/watch?v=joKnmShAdJE, the author doesn't worry about grid settings or snapping mesh edges to the seams and yet he gets a perfect lightmap bake.
 Following his example, just with a simple cube wall mesh, these are my results:

Lightmap UVS with plenty of spacing between the islands. Also snapped to the grid lines, though I'm realizing this is mostly pointless.

Very obvious seam between the meshes.

But on the back side of those same two meshes there's no seam.
Is it actually possible to get a completely seamless lightmap on a mesh without a texture?
What am I doing wrong?
Thanks!

Replies
Thankfully, this horrible aspect of the workflow is on the way out. UE4 just keeps pushing its dynamic lighting quality more and more. DFAO, mesh distance fields, volumetric effects, etc. The gap in quality between baked and dynamic lighting is closing fast. Thank f**k!!
Edit: just watched this masterclass presentation from the Unreal Dev Day event in Montreal, and the presenter says to use auto-light maps within UE, rather than arsing around in your 3D package with pixel grid snapping and all that other headache inducing messing.
Lightmapping in UE just seems completely non-sensical and random to me. Your most basic of examples above is case in point: You have followed the rules and SHOULD have zero artifacting, yet..........
Makes no sense, really.
And while dynamic lighting is still expensive and not as rich as static baked it's very much a problem still being resolved, I believe that Epic are making great progress on this 'holy grail' and it's only a matter of time - hardware evolving all the time and always getting cheaper - before we can finally give a big finger to lightmapping altogether.
The reason is each mesh is sent to to different CPU thread, so when they get the indirect lighting, the first mesh doesn't know the light information from the 2nd mesh sitting next to it, thus you get the seam.
If you don't need super modular level, then they recommend to build each of the room's walls as one piece to prevent seam. Of course like you may already know, textures will help.
I'm going to start using brushwork a lot more. It's not as easy to work with as meshes, but it doesn't come with any of the lightmap issues and you can use a much lower lightmap res and still get decent results than you can with large static meshes it seems.
Also, I did try increasing the lighting quality and lowering the smoothness but I couldn't find a setting that fixed the seam. It only seemed to make things worse.
And that sounds like the worst method for rendering the lighting but I guess they decided to sacrifice quality for performance. Oh well. I'm going to look into the Mesh Distance fields and see if I can get some better performance with those. When I did my dynamic lighting tests it was before this feature was implemented.
Thanks for all the feedback and discussion everyone!
God damn I hate lightmaps!
Have you seen this one?
It's nice to learn about lowering the min lightmap res can increase the padding between the islands though... that will probably fix the overlap by 3% issue I was getting.
Thanks for the vid Musashidan
Often when you build lighting for your project and in indirectly lit areas you may notice that there is sometimes a shading difference between modular planar surfaces, typically walls, floors, and ceilings. This is an unfortunate side-effect of how static indirect lighting is handled at the moment and doesn’t have an easy way to fix. This can hopefully be made better in the future.
Here’s the breakdown of the issue, if you’re not familiar.
- Light hits a surface and then that light is bounced on the
surrounding surfaces. This type of bounce light is referred to as
Indirect Lighting. Some surfaces will be directly lit as well while
still receiving some bounce, like the Wall that is partly lit fully and
has some indirect lighting with the shading issue in the shadowed
corner.
What’s happening here is that each of these static meshes are sent to the CPU to be processed in the order they are received and on different CPU threads. This simply means that while each one has their lighting built by lightmass the others don’t know what the shading for the one before it would look like to reference the edges to make sure they match up. This leads to slight shading differences between each planar surface.So, by now, you’re wondering “What can I do about this?!”, right?
In the World Settings under the section for Lightmass you can adjust some of the settings here to get better results.
When you adjust the quality of indirect lighting it’s always a good idea to lower the lighting smoothness to get better results. This helps blend better between these surfaces, but it doesn’t necessarily help remove the issue completely and can have other side-effects as well. You should really test it in project or a test map to fully understand what you’re adjusting here and why.
There is also some steps you can take to reduce how noticeable this artifact is and steps you can take with the design of your project.
I love how everything you hear about the engine is in conflict with each other. Now he's saying NOT to use modular meshes because it increases draw calls. I thought the whole point of modular pieces was that the engine's instancing system makes them a single draw call to improve performance?
And then if you're using one mesh, you need a much higher lightmap resolution to get the same shadow quality. Urgh!
My god I really wish Valve would release Source Engine 2! lol
And yes, the non-contiguous islands idea was from the World of Level design but I think they also suggested to in the official documentation somewhere as well if I'm not mistaken.
Something I found out that is definitely worth a look is Light Propagation Volumes. Strangely, it's not on by default and you have to add r.LightPropagationVolume = 1 to an .ini file.
You can also use DFAO on your skylight in conjunction with it. And mesh distance fields on a per-mesh or global scale.
Find out more here https://docs.unrealengine.com/en-us/Engine/Rendering/LightingAndShadows/LightPropagationVolumes
It's funny, but the instances conflict is exactly what i said aloud as I read it. I call bullshit, though. Instances do not add draw calls. The mesh/textures/material is called once. Otherwise it wouldn't make any sense.
Ive found that grid snapping uvs and setting the static lighting level scale to something like 0.2 can help when I was doing a test on using a bunch of square pieces to make a single wall, but thats pretty in efficient anways, going too modular like building a 10m wall out of 2m pieces is just pretty bad practice. your object count will skyrocket (not drawcalls) and its a pain in the ass to work like that, I would just create 2-3 modular pieces of larger sizes, like a 5m and a 10m piece. it takes barely any extra time and you will have less seams and weird lighting issues.
when you are grid snapping uvs, make sure your UV grid is set to the actual intended lightmap texture size like 32 as then each grid point will actually represent a pixel. if your grid is randomly set to like 128 and you are using a 32 lightmap, chances are your uv seams are still in the middle of a pixel, which gives you those seams. Give your wall pieces actual thickness it will help with light bleeding A LOT. dont use flat planes for walls in unreal, especially with modular square pieces like your setup. also, if you are snapping your uvs, you have to disable auto generate lightmap uvs and probably re-import your mesh into unreal.
also, unless you have a super clean look like mirrors edge with very minimal diffuse and normal detail, shading errors like that wont be too apparent, little seams disappear when you have a brick texture or something with detail on it. Here is a quick example scene I whipped up to replicate your modular setup. EVERY LIGHTMAP IN THIS SCENE IS SET TO 64PX. the walls and ceiling are the same 4m piece that has backfaces and 0.5m thickness to it. so a 64 lightmap evenly distributed over that entire mesh surface area, including the backfaces you never see. so the faces you see really only have about 32px of lightmap space. up close you can see a tiny seam in some spots, but at an actual realistic camera/gameplay distance you will never notice it. I would say those lightmaps would realistically be set to 32 or 16 in an actual production, maybe even 8.
again, setting up your envronments using a ton of square pieces that have random seams on flat surfaces isn't really great, its much better to have natural seams between pillars or trims/details. building stuff like this is how bad "level designer art" looks alot of the time. it feels flat, square and grid snapped.
rarely is increasing the lightmap size going to improve your problem past a certain point. having everything set to 256-1k lightmaps isn't really a realistic option and will make professional lighting artists laugh. Indirect lighting really requires very low lightmap sizes, only stuff with direct shadows does bumping up the LM res help. In the unreal lighting academy vids on youtube (well worth a watch) the dude from DICE talks about how for most of their lightmaps they have a density of about 1-4 pixels per meter, with some huge walls having a lightmap of about 16 depending on the situation. TONS of info and bug fixing in this video (the battlefront 2 lightmap size stuff is at 16 mins) cranking your lightmap sized wont do much in most cases, other than quickly quadruple your build times.
Regarding the solid modular geo, do you ever just use giant solid mesh light blockers? For instance on a sci-fi hallway the wall/floor/ceiling will have a lot more detail than a flat plane.
Do you think that dynamic lighting in UE4 will some time in the near future replace static lighting in both quality and performance overhead?
Do you ever scene-bake lighting in Max/Maya using offline rendering like Vray? I know that this is a big part of Mobile or even VR, but PC/console? Something like the Amplify Creations Multi-UV Bake Tool
modular geo with more detail, yea you could have separate light blocker geo, or you could just make a super cheap side and back of that modular mesh for the sides you will never see. it wouldn't be super expensive to have an extra 50-100 tris and it solves problems as you go, just dont have backfaces where light can shine through even if you use a 2 sided material.
in terms of dynamic lighting in unreal, its already pretty decent. I think a lot of people think its a lot more expensive than it actually is. as long as you dont have a ton of shadow casting lights or tons of overlapping medium sized lights, you can go pretty wild. for portfolio stuff I wouldnt worry about how "expensive" your lighting is, especially if you are not actually going to be a lighting artist. chances are whatever you come up with would be fine. God of war uses a ton of dynamic lights and it runs pretty damn well on consoles. A dynamic/stationary light for the sun is pretty much standard in most modern games anyways. you just lose a lot of the gorgeous GI you get with baked lighting. thats why some games like the last of us and uncharted bake their bounce lighting/ambient and use a dynamic for the sun etc.
as for baking in max/maya and trying to transfer all that over? hellll no, lightmass gives pretty amazing results and is more than enough for most artists. The technical headaches of trying to transfer all that stuff over is a huge time sink and not something the average artist should be doing. If you cant get your stuff looking great in ue4 with lightmass then your problems are not the software. people are doing high end arch vis in unreal that looks almost comparable to what vray can do, except the results are realtime right away with no fussing around.
UE4 has come a loooong ways for lighting and looking at some of the scenes on artstation there is no real reason not to use the tools built into it. super senior artists are killing it with the basic ue4 tools, so I would focus on making dope art and not so much on the tools most things can be fixed with a bit of troubleshooting at the end.
Thanks PixelMasher for the lighting academy video.
Yeah, that's exactly what I'm going to test out right now for my game. I think it will make a huge difference in my sanity plus a good performance boost over the previous dynamic lighting.