how high is too high of polycount
Is my model too high of polycount to be animated? Even with normal and displacement maps?
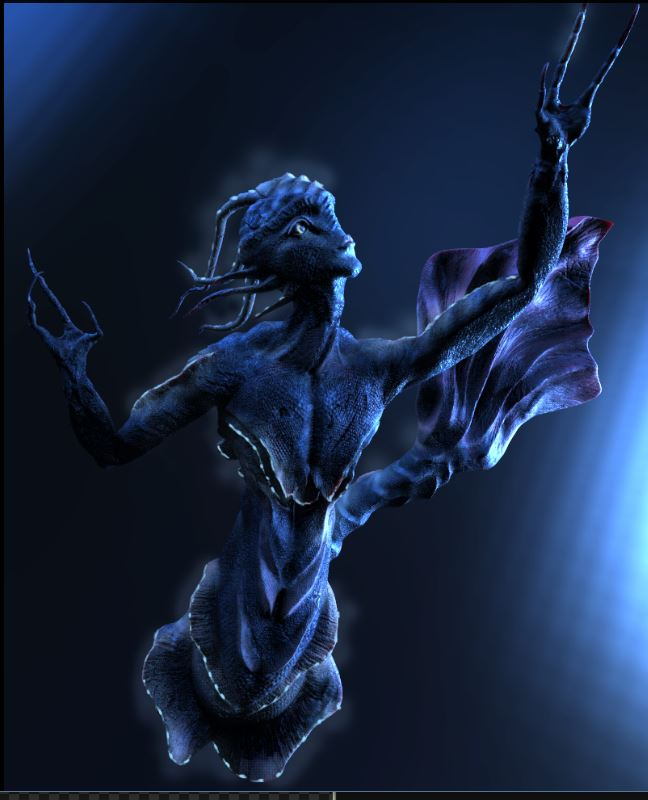
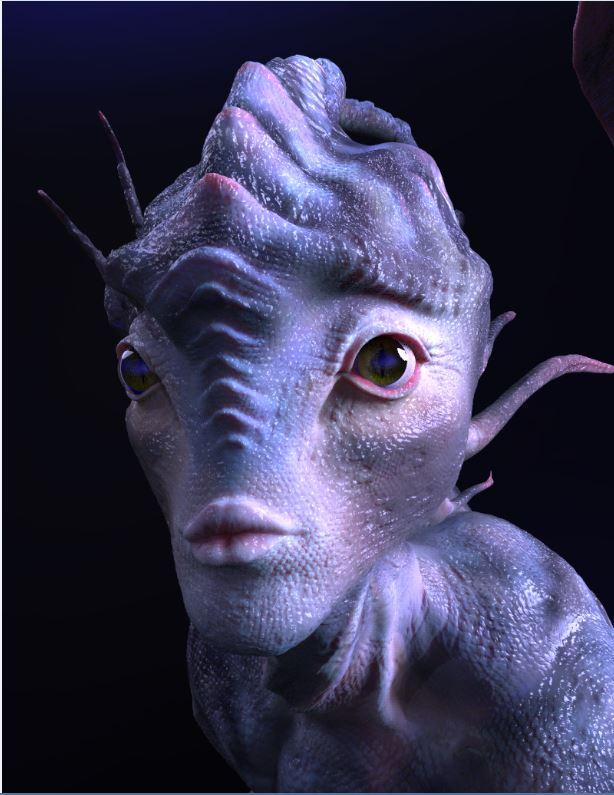
I created a model in Zbrush before I realized I want to animate it in maya, so I was not careful at all about the polycount. However, I have retopologized, and seperated the mesh into several different subtools in Zbrush, and so now the model is only at 18,000 polygons since I retopo'd it by hand, but the highest point is at 80m. I know thats really high, but the details are only crisp that high. Anyway I just finally exported the mesh subtools, as well as normals and am using renderman. I am just learning to use it since I am having issues with mental ray , but anyways the render is still pixelated and jenky. So I even added displacement maps and the problem still persists. I have been working on this project for almost 9 months on and off because I keep reaching problems , but I dont think there is a solution to this issue. I created the fine details, like small scales and veins with alphas which require the high polycount, so is the subdivision differences that is needed for the normals way too great? Like is going from in some cases 1k polys to the highest 2m too great? Or another subtool for instance is actually 40k to 45m but seems to work nicely, except for a few open holes that pop up in the IPR from renderman. Basically how can I get this high poly model to look good in maya for animation. Or is should I have sculpted these details differently so the poly count was around 10m alltogether? Any solutions? Ive also tried exporting 4k uvs and that didnt work btw. If I need to break up larger subtools to become smaller ones than I guess thats what I'll do. Anyways Ill attach photos of it posed, and how I want it to look as well as the maya issue. If someone can help me just get this into Maya so I can start animating it , that would be amazing. Sorry for the lengthy post but I really dont know what to do anymore.
Thanks ,
Steve.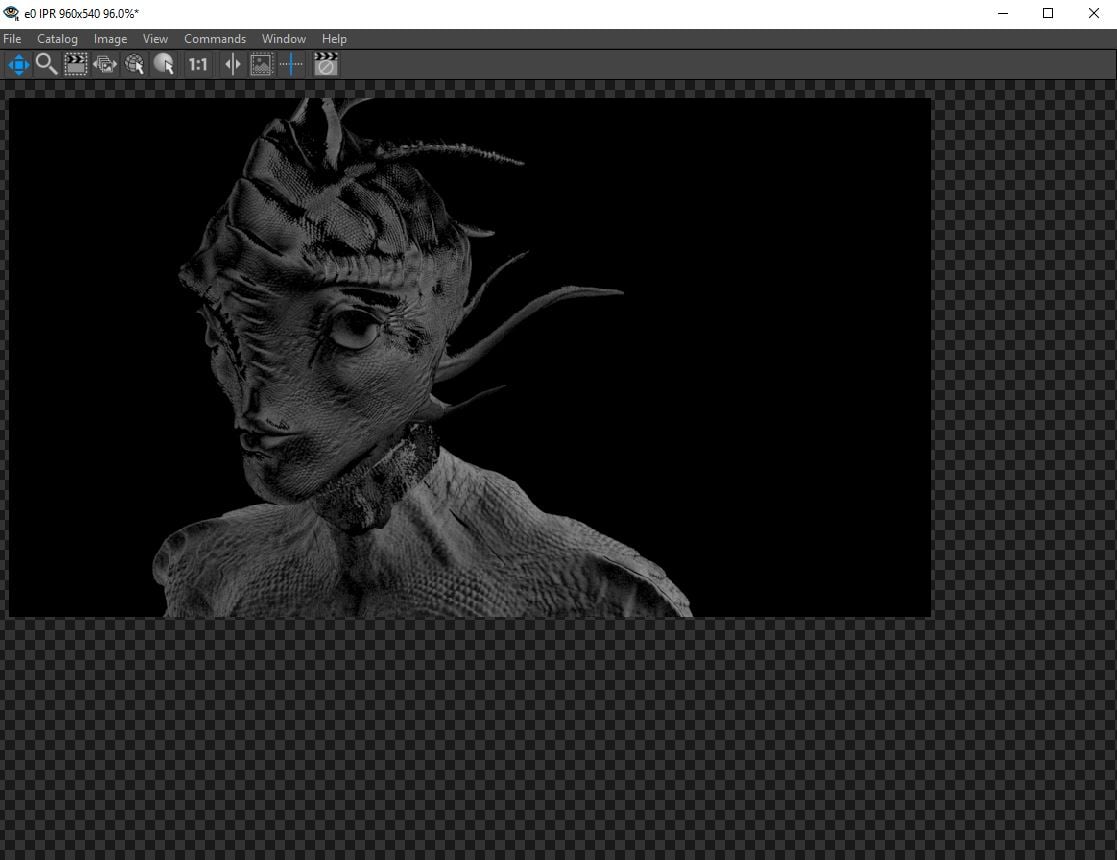


Replies
and a second mesh for animation... the anim mesh is around 200k... or even lower...
the 1mio poly mesh is the one that gets rendered with the displacement on top...
the polycount of the highress mesh in zbrush doesnt matter... go as high as your system can handle...
Lastly , It seems like your workflow is something I was not taught yet. Seems like you work off of two models? A low res then a hi res one? I assume by your reply that you animate with the 200k one just to get the animation and movement down, then unbind it from the rig, and then import the model with 1m and the displacement maps, and bind that one ?
Sorry if I am being confusing , just trying to completely understand what you mean. Thanks for the suggestions already.
my comps stats are
intel core i7 7700k quad core, 4.2GHz (4.5GHz Turbo)
16gb ram, DDR4-2400Mhz memory
240GB solid state
1TB Sata 3 hard drive
liquid cooled
windows 10
could you post a wireframe image of the 18k model.? it shoud look ok with displacement if done right...
I added a displacement map to the mental ray architectural materials, and it was still coming up messed up. But then I realized I was forgetting to "soften edges", and once I did that, I got the results below. I am happy with this actually, considering I have not even touched any lighting settings or sampling settings for a clearer render. This is with a 45k body, and a 15k head. Do you think it is worth it to add a normal map as well? Also if this is the results I am getting with lower res mesh, should I even bother with the 1million poly mesh for rendering like you suggested? Will it make a huge difference considering what my model rendered in key shot looked like? Just want your professional opinion, and also thanks again for your help.
also correct me if I am wrong, I am going to continue importing the separate subtools and adding the necessary materials, then combine the mesh in maya, and add the rig. I should have any problems like the mesh splitting at the seems right?
once again, thank you.
have you assigned the subD tag for the mesh... so that the mesh gets subdivided by mentalray during rendering..?
here at 4:30 min
mental ray is not further developed... and Arnold does come with maya now...
Arnold is easier yes..
Normally what I do is put a setRange node between the texture and displacementShader node to remap from 0,1 to -1,1 space. This is for displacement maps that were baked having 0.5 as the zero point.