Sketchbook: Samuel Gariépy
Hi Everyone, my name is Samuel Gariépy and I'm a 3D Artist at my last year of school. I have 10 weeks to do a really big final project. I chose to create the interior of a chaotic and abandonned gothic cathedral fully playable inside the Unreal Engine 4.
The story of my scene :
A man who was being exorcised by the priest transformed himself as a blood starved beast, ate the priest and ran away. The events happened many years ago and the cathedral as been abandoned caused by the rumors about it. We can still se prooves of the murder, like blood and scratches on the ground.
For references about the visual style that I want to achieve, my work is really inspired by the video game Bloodborne. I also analysed a lot pictures of real gothic cathedral to find the repetitive patterns and details.
It's the most ambitious project that I've ever done and that's why I would love to have feedback on my work. It really helps me to keep improving.
Cathedral Seat :
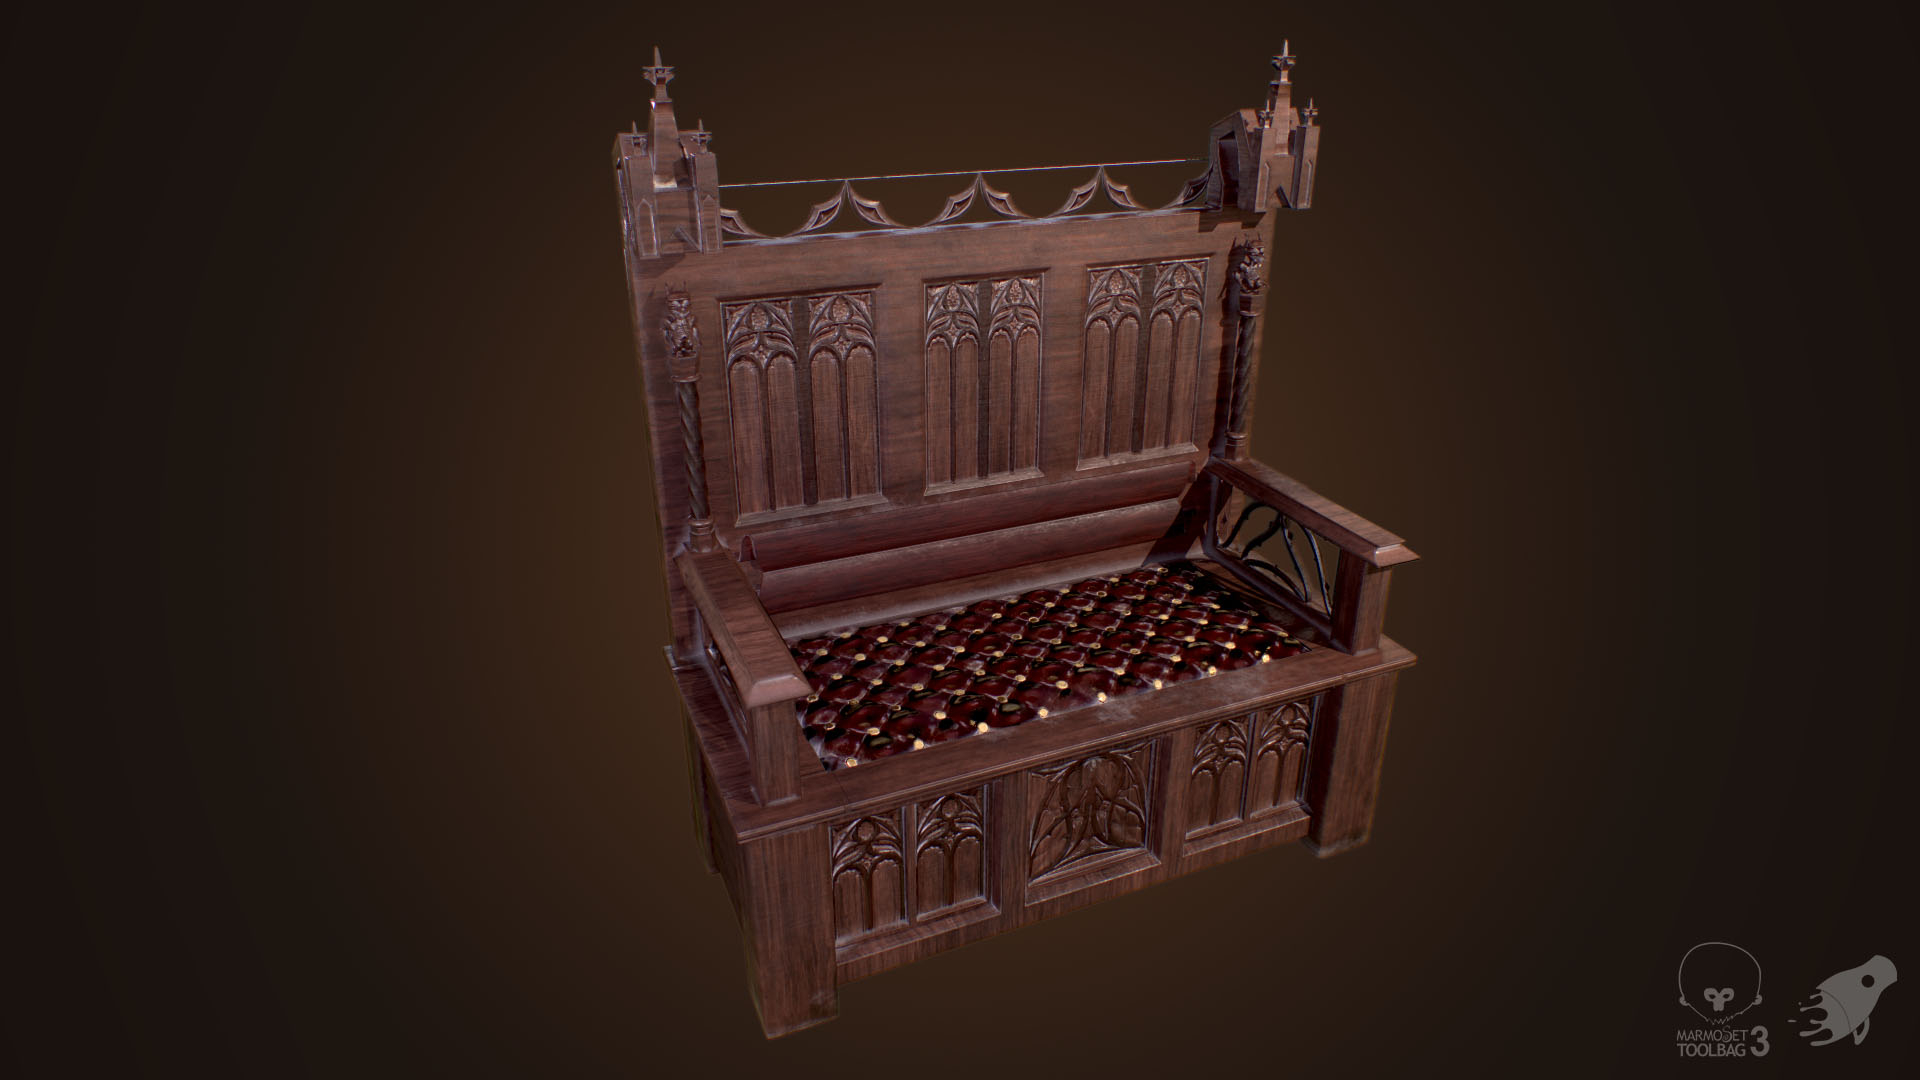
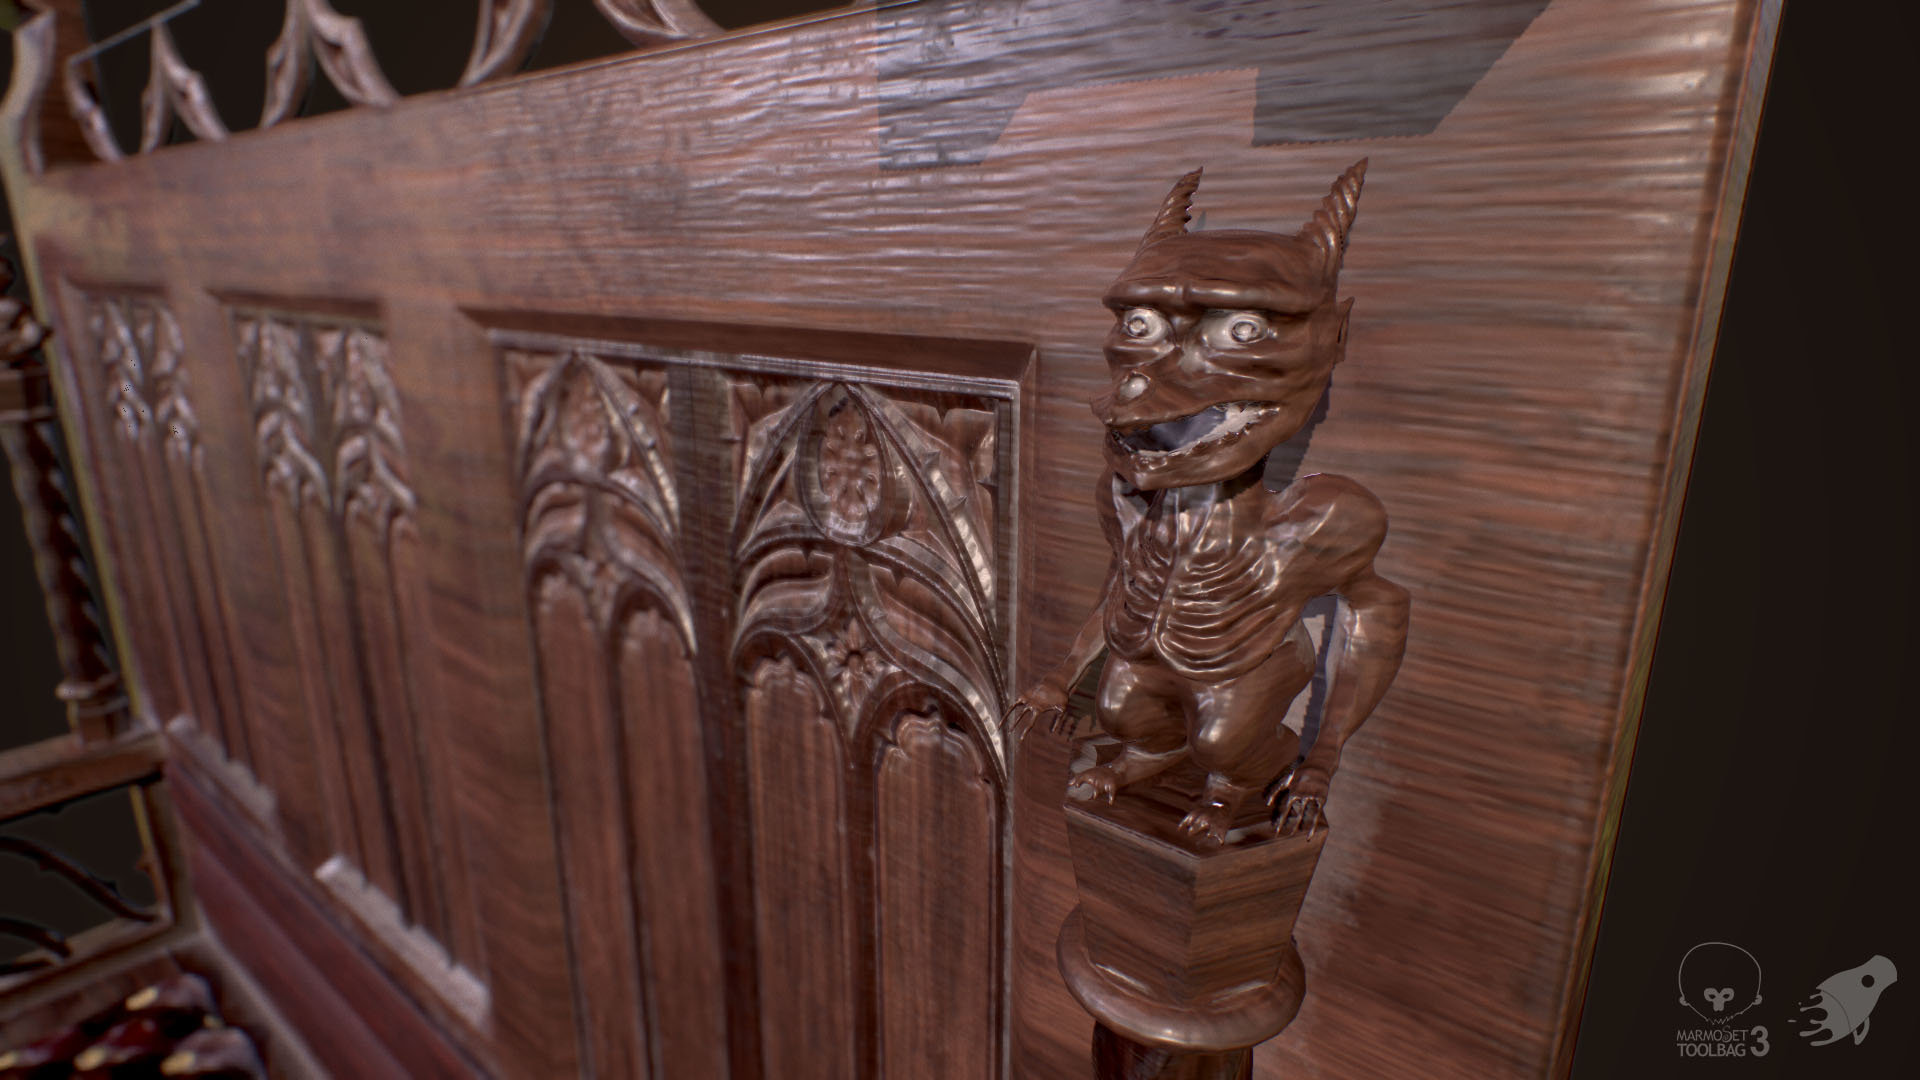
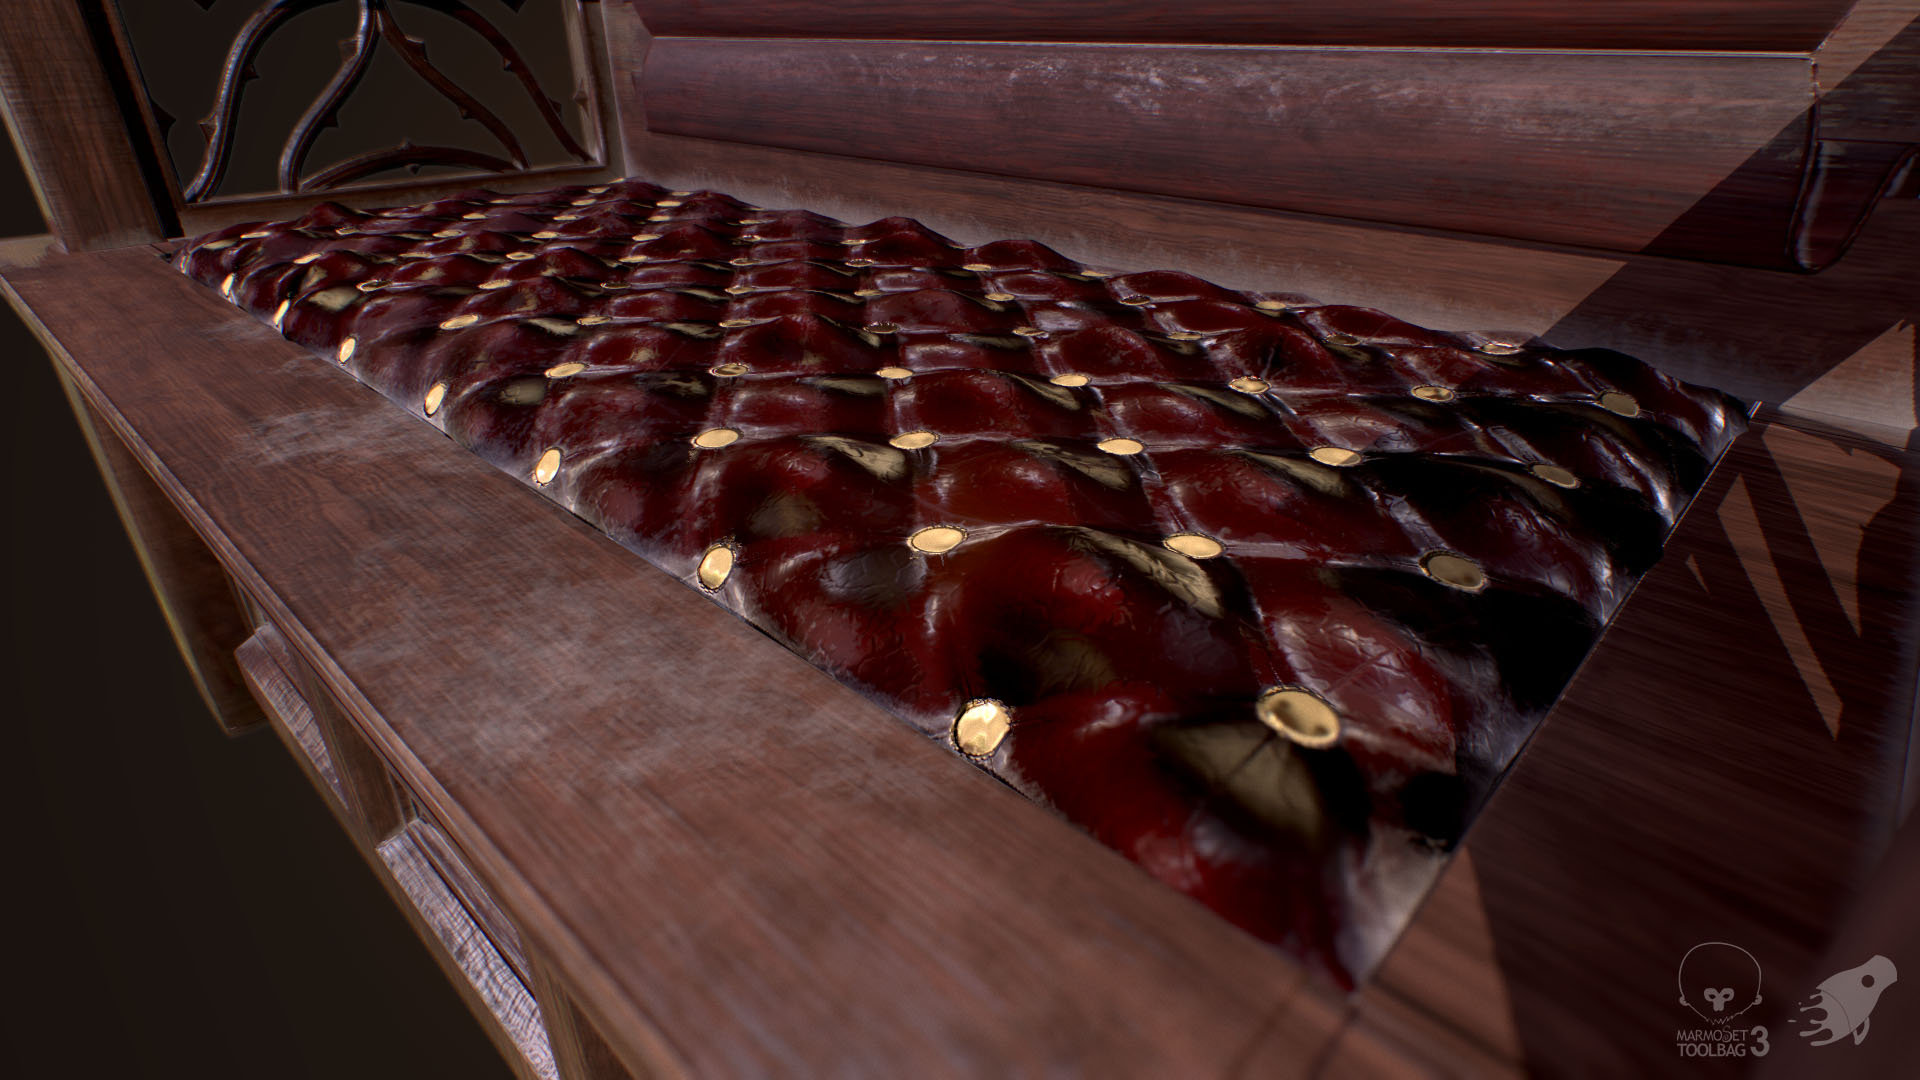
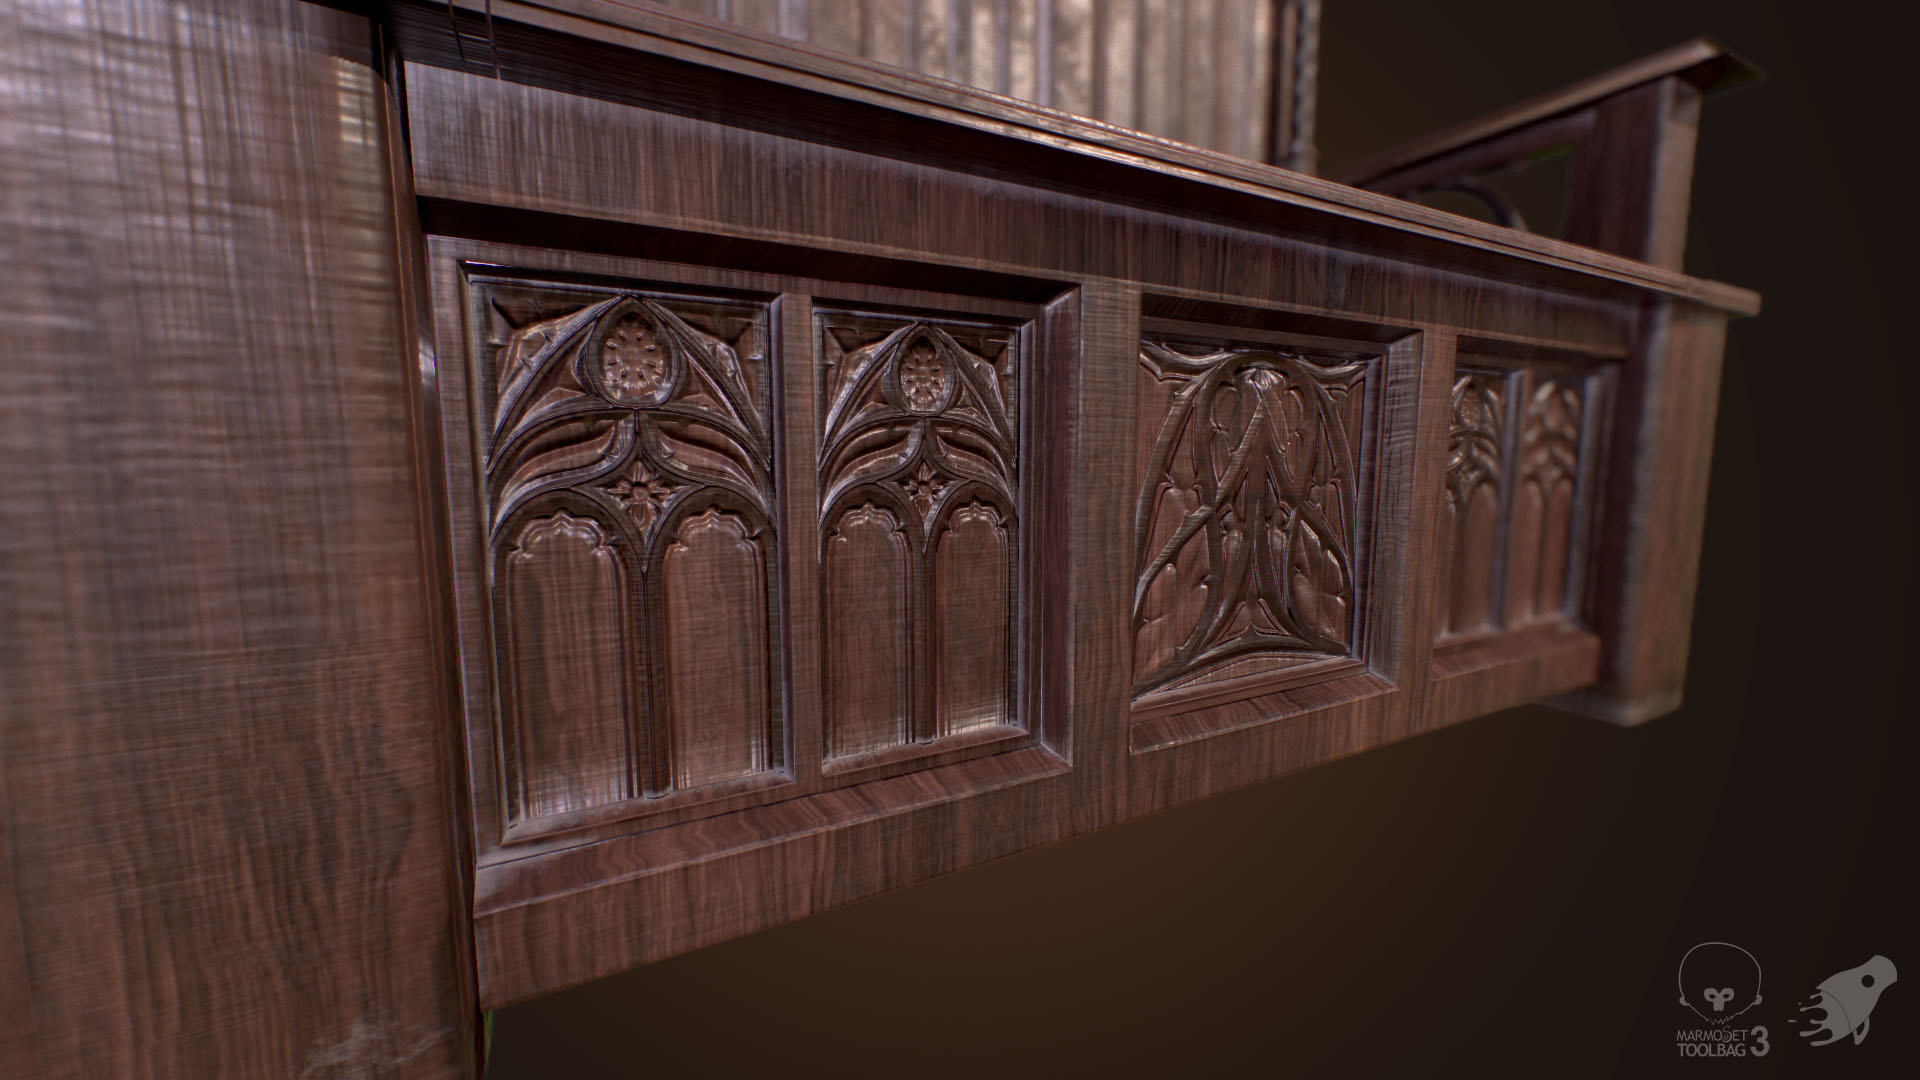
You can see more images and learn about my process here
Vintage Seat Cushion Substance :
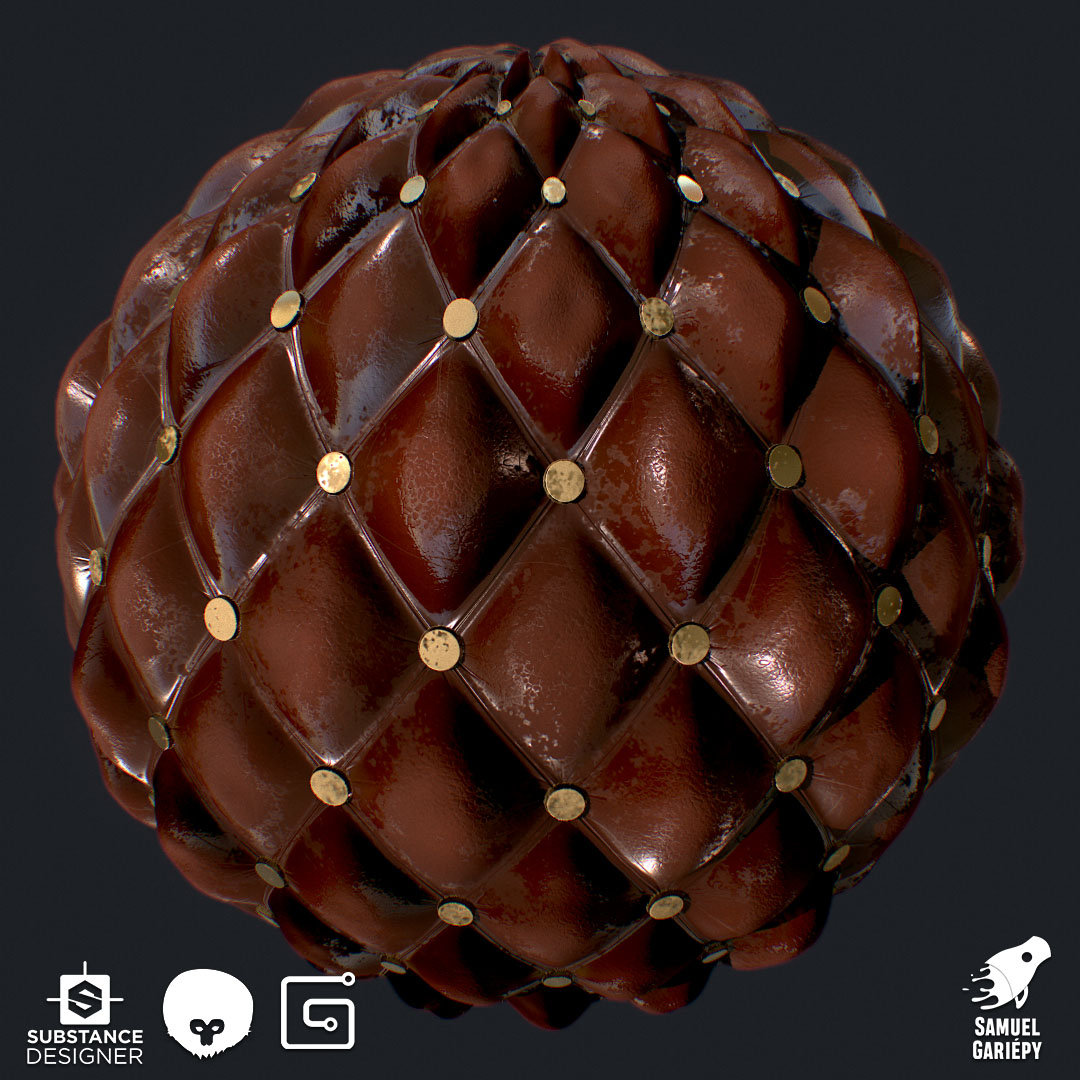
Also more renders here
Stained Glass Substance :
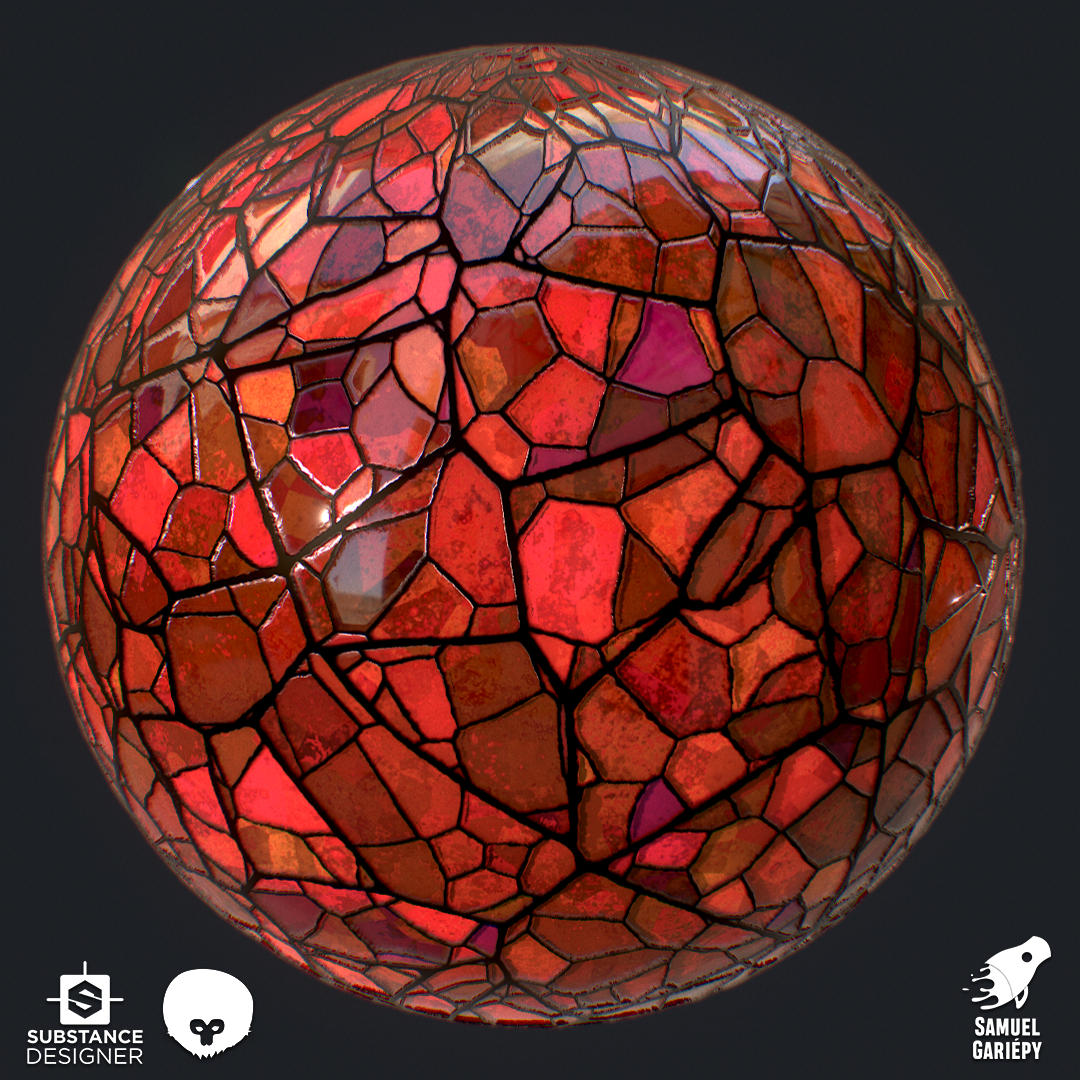
As always, there's more renders here
You can see my entire portfolio here
That's it for now ! I would love to have your comments on my work and I'll try to keep updating regularly with WIPs. When my gothic cathedral project will be done, I plan to use this thread as a usual sketchbook for all my projects.
The story of my scene :
A man who was being exorcised by the priest transformed himself as a blood starved beast, ate the priest and ran away. The events happened many years ago and the cathedral as been abandoned caused by the rumors about it. We can still se prooves of the murder, like blood and scratches on the ground.
For references about the visual style that I want to achieve, my work is really inspired by the video game Bloodborne. I also analysed a lot pictures of real gothic cathedral to find the repetitive patterns and details.
It's the most ambitious project that I've ever done and that's why I would love to have feedback on my work. It really helps me to keep improving.
Here is what I've done by now :
Cathedral Seat :


You can see more images and learn about my process here
Vintage Seat Cushion Substance :

Also more renders here
Stained Glass Substance :

As always, there's more renders here
You can see my entire portfolio here
That's it for now ! I would love to have your comments on my work and I'll try to keep updating regularly with WIPs. When my gothic cathedral project will be done, I plan to use this thread as a usual sketchbook for all my projects.
Replies
It as been long before posting because I've been working really hard by the past few weeks. My gothic cathedral scene starts to look like something and I keep building it each day. Today, I want to write about my modeling process to document my progress and also to know if you guys have better, faster and more efficient ways to model.
I model essentially inside of 3ds Max and I use Zbrush sometimes for specific assets. I have an iterative and modular pipeline, which looks like this :
Iteration 1 : Basemesh modeling inside of 3ds max. Pretty classic, I always try to keep quads because I will tessellate the mesh in the next steps, but in some situations triangles and Ngons give better results. I don't mind that much because anyway my mesh is going to be triangulated when being imported inside of UE4. I use custom shortcuts like target weld and swift loop set on a pretty cheap single numpad that I bought on Amazon to be more effective.
Iteration 1 of a balcony module that I modeled for my project
Iteration 2 : I copy my mesh and I keep adding details inside of 3ds max. Those are smaller because they're going to be baked in the texture maps (normal, AO) and are not going to be real polygons. If they were, my mesh would be too high poly for games. When I achieved a decent amount of details, I use a combination of the modifiers CreaseSet and OpenSubdiv to obtain a really high res mesh with beautiful chamfers. By the past, my technique was instead about inserting edge loops to create the hard edges and use the modifier TurboSmooth but the process was way longer to achieve to obtain pretty much the same result. About using OpenSubdiv instead of TurboSmooth, by testing and reading on the internet, I had the impression that OpenSubdiv was more recent and more effective. My topology seems a little bit cleaner using OpenSubdiv instead of TurboSmooth but I would really love to have your thoughts on those modifiers if you guys tested them.
Iteration 2 of the balcony module wall
OpenSubdiv vs TurboSmooth using the same mesh and the same CreaseSet
Iteration 3 : This one is more free to each asset. For the assets that are least important I only achieve two iterations, but for my ¨hero¨ assets I like to push further. I can do my third iteration inside of Zbrush but what I loved to do in this project was using Substance Designer to generate procedural Height, Normal and AO maps. The benefits of this technique is that I make myself a procedural height library that I can easily reuse over my other assets and that it is easy to keep consistency of shapes/patterns inside of SD.
Iteration 3 of the balcony module wall made inside of Substance Designer. By creating this I made myself a library of three fully procedural and tweakable heights : the flower, the round plate and the outside circle shape. I also created a custom node which gives me the ability to do boolean operations using two height maps.
Thanks for reading, I would love to know about your modelling process and to discuss with you ! I'll also try to keep posting more regularly on my sketchbook. My next blog post should be about my texturing process for my gothic cathedral, which as change after starting the project to be more effective for it.
I recently released my new portfolio piece and it made me think of how inactive I'm on social networks and that I should at least be keeping this sketchbook alive. It could be a great way to receive comments and critics if I do reach people with my WIP's and if I don't, writting about it is still a good way to exteriorize what I've been working on and take distance from it to see the flaws and the strenghts more clearly.
For now, here it is, the recent addition to my portfolio, the SFS Unit, a combat mecha created for realtime rendering.
You can see more shots and breakdowns on the artstation page here : https://artstn.co/p/6a013n
Also, it's based on an original concept design by Des Zhu, which you can find here : https://artstn.co/p/oo8JB
and... for my next and final trick, I'll try to release my next post in less than two years !
Take care to whoever's reading this
Sam