IMPROVE WORKFLOW - CHARACTER ARTIST
Hello Everybody , i need some help to improve my workflow for character modelling . i mainly work in zbrush , maya and substance painter . i will write down my workflow and then the problems i face . if you can help with any of these problems it will be very helpful . so
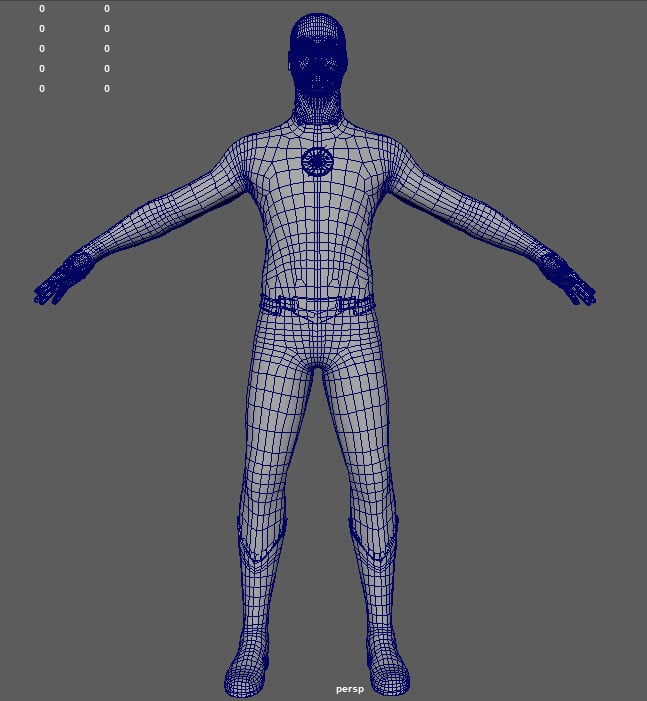
3 - ( UVs ) after retopology i use maya to make uvs using uv toolkit . i almost always make multiple UDIMs . Then I export all the meshes with uvs to reproject details in zbrush again . and also save the maya file .
4 - ( REPROJECT DETAILS ) import back all the new meshes with uvs and proper topology to zbrush and divide them and project the details back on new meshes .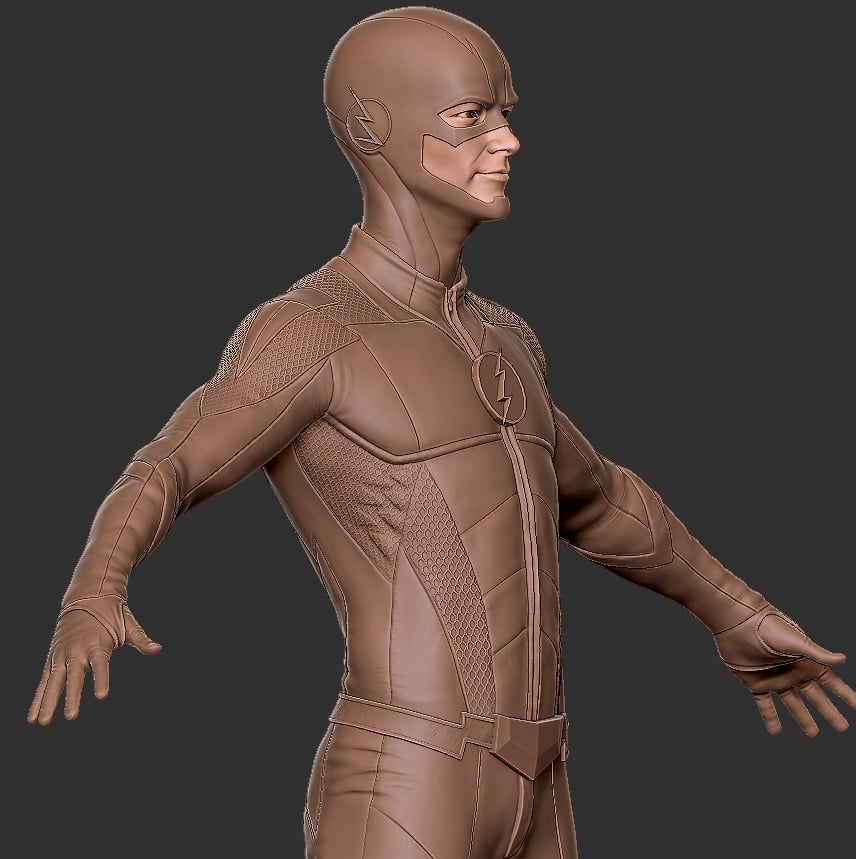
5 - ( SUPER DETAILING ) now i give all those little little details like skin pores , cloth seams and other high end details .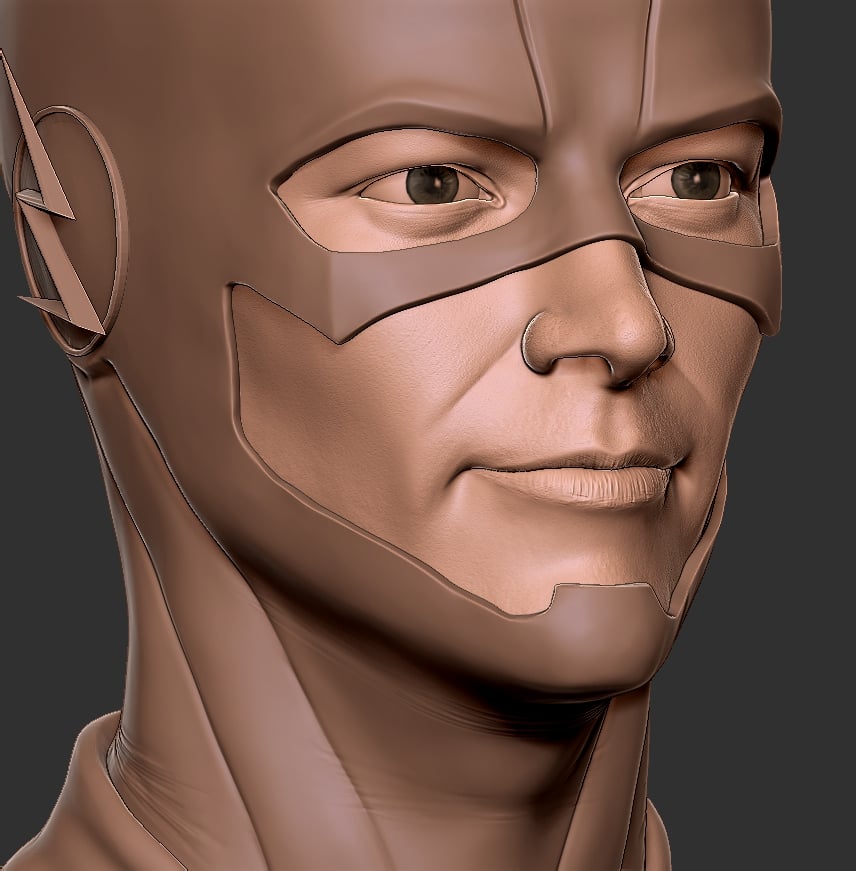
6 - ( POLYPAINT ) so this is tricky , i polypaint to make color id map , which i can use in substance painter .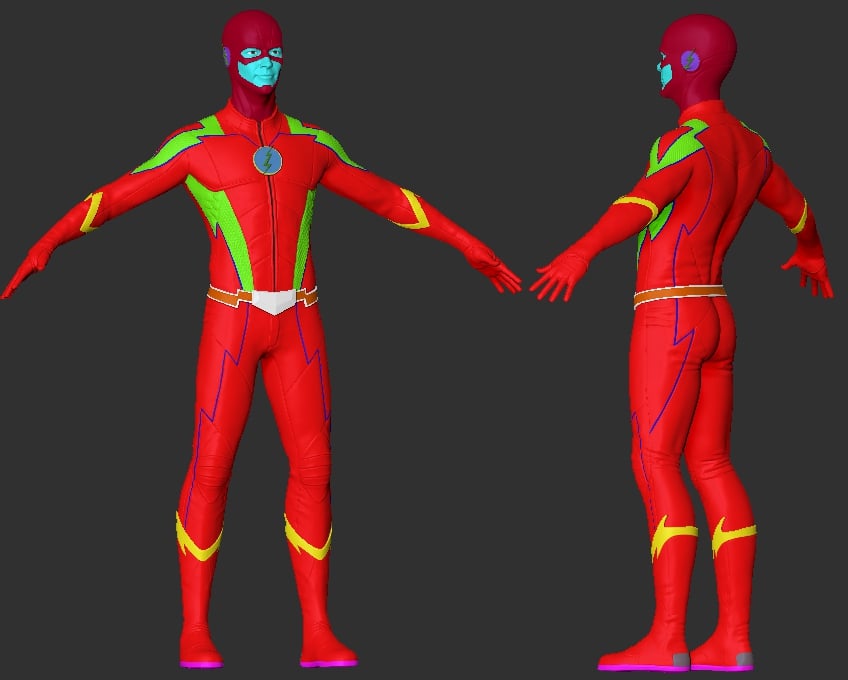
7 - ( EXPORT ) now i will export all the meshes again both as low and high poly . for high poly i first decimate them then export .
8 - ( RENAME IN MAYA ) import all low and high poly meshes in maya and rename them properly and use suffix ( _ low and _ high ) . this is done for sp . combine all the low meshes and export them as single object . i use to do same thing with high poly , but that is not necessary as i can import multiple meshes for baking as long as naming is proper ( i recently find this out , before that i use to combine the high mesh too , which almost always resulted in maya crashing and freezing and wasting my time , which was the main reason i wrote this ) .
9 - ( TEXTURE IN SP ) then i import low mesh in substance painter bake all the maps and texture it too . export all maps . ( below is not a very good result , hope this time i'll make good one )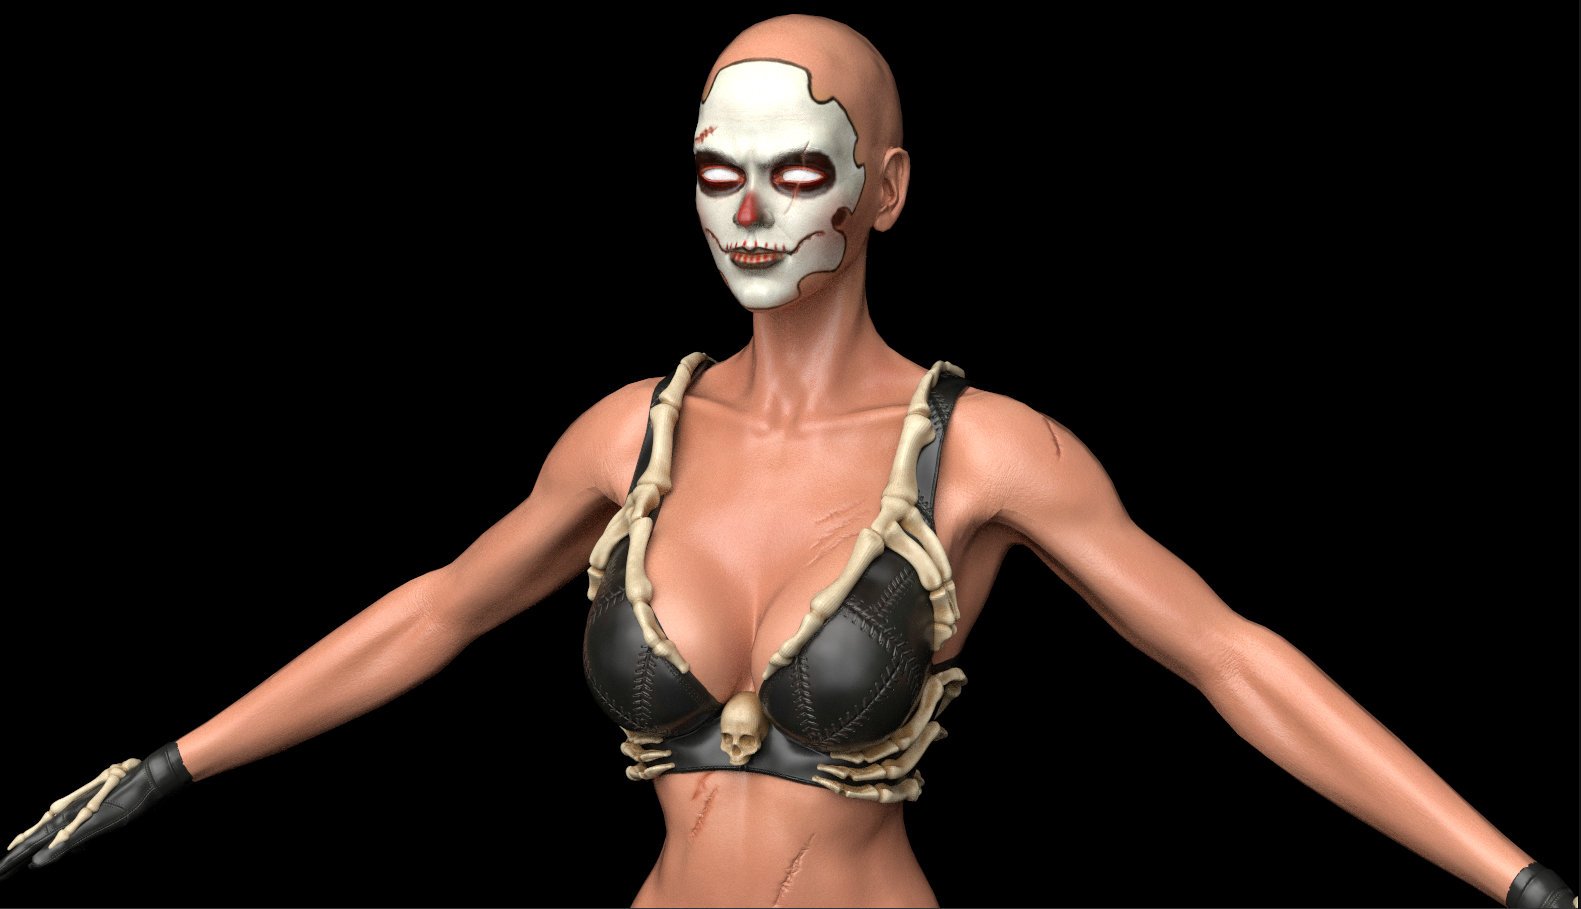
10 - ( WORK IN MAYA ) in this last step i would import and apply the maps we made in sp . and MAKE HAIRS IN XGEN . then render in arnold . ( below pic not rendered in arnold . this is iray render . this time i'll render in arnold . )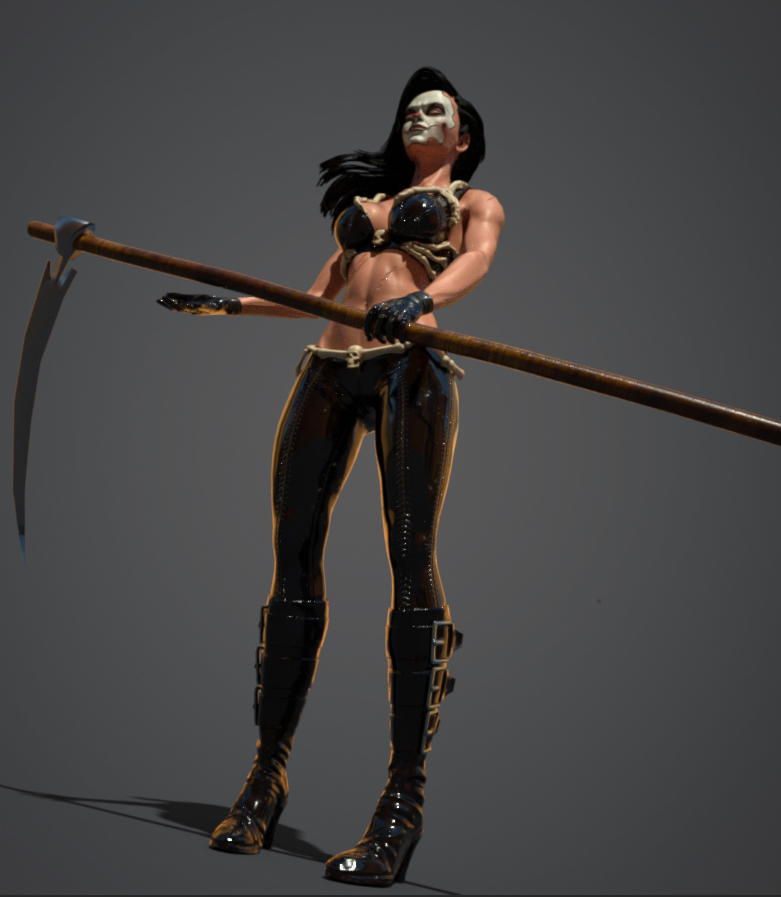
PROBLEMS
1 - ( RETOPOED MESH CHANGE SIZE ) so this i the first problem i often get . i don't know why but when i import the low poly mesh with uvs that i had made in maya , its size is reduced . and weirdly , some time just re importing it solves the problem but mostly i have to export it quite a few time again from maya and re import in zbrush to get the correct size . i you know why this happens please help .
2 - ( IMPORTING HIGH POLY MESH IN MAYA ) so this problem had wasted so much of my time because i used to think i can only use single combined mesh as base high mesh for baking , now i know i can use seperate objects too . thanks @pmiller001 . but i still have some baking problems , that ill describe below .
3 - ( UVS PROBLEM ) don't know why when i export the high poly mesh from zbrush and import in maya it have some trillions of seams . almost like it separates all the polygons , but this generally happens to objects that are duplicated and mirrored .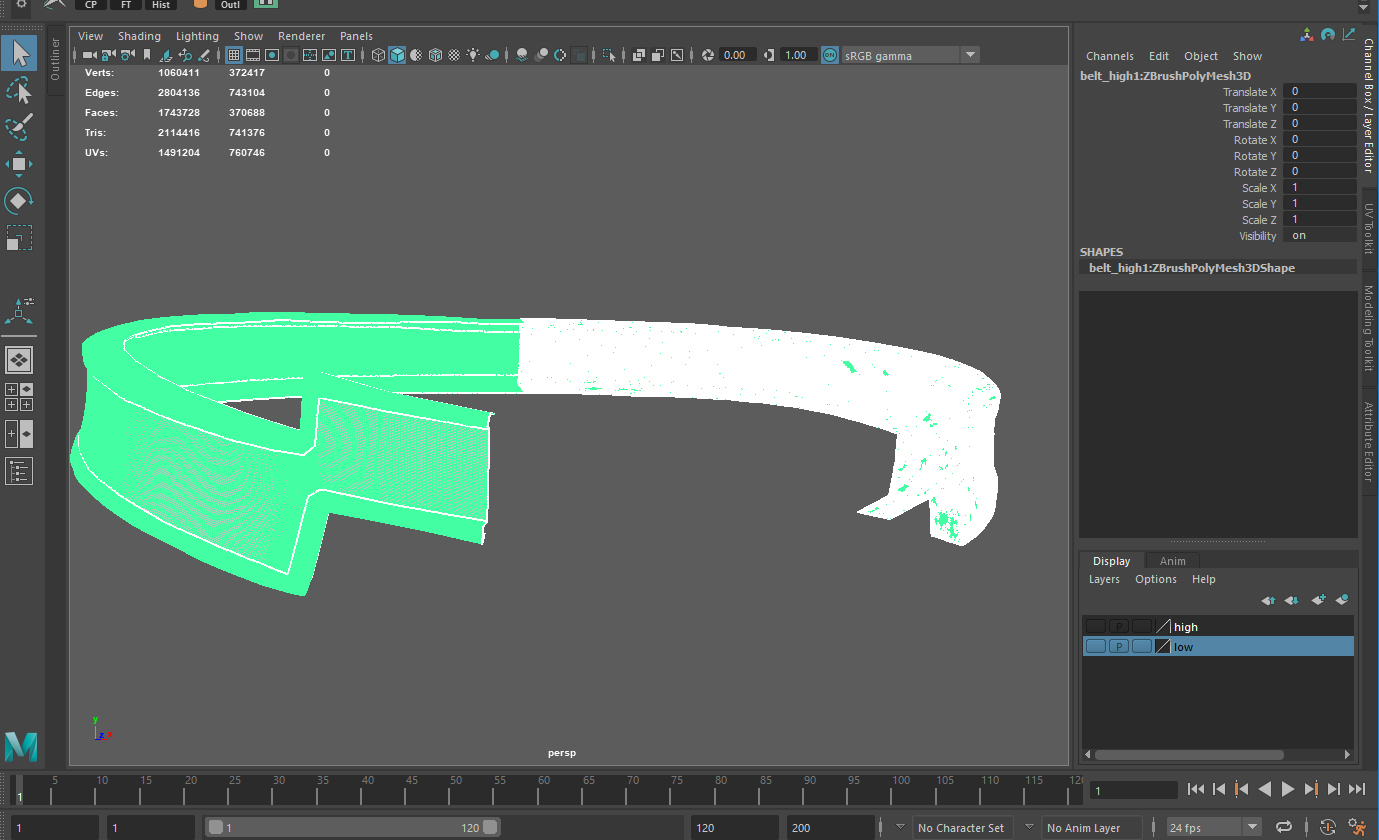
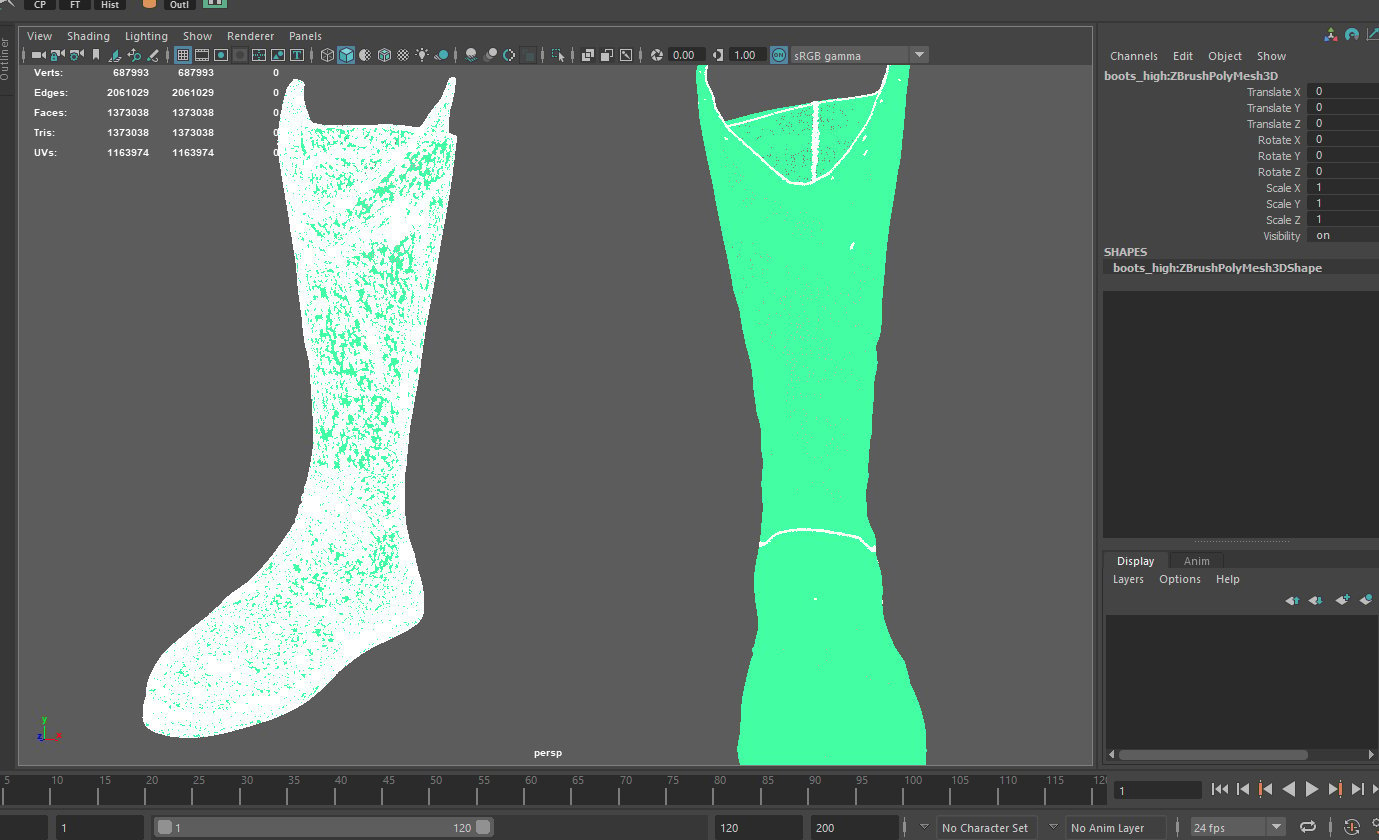
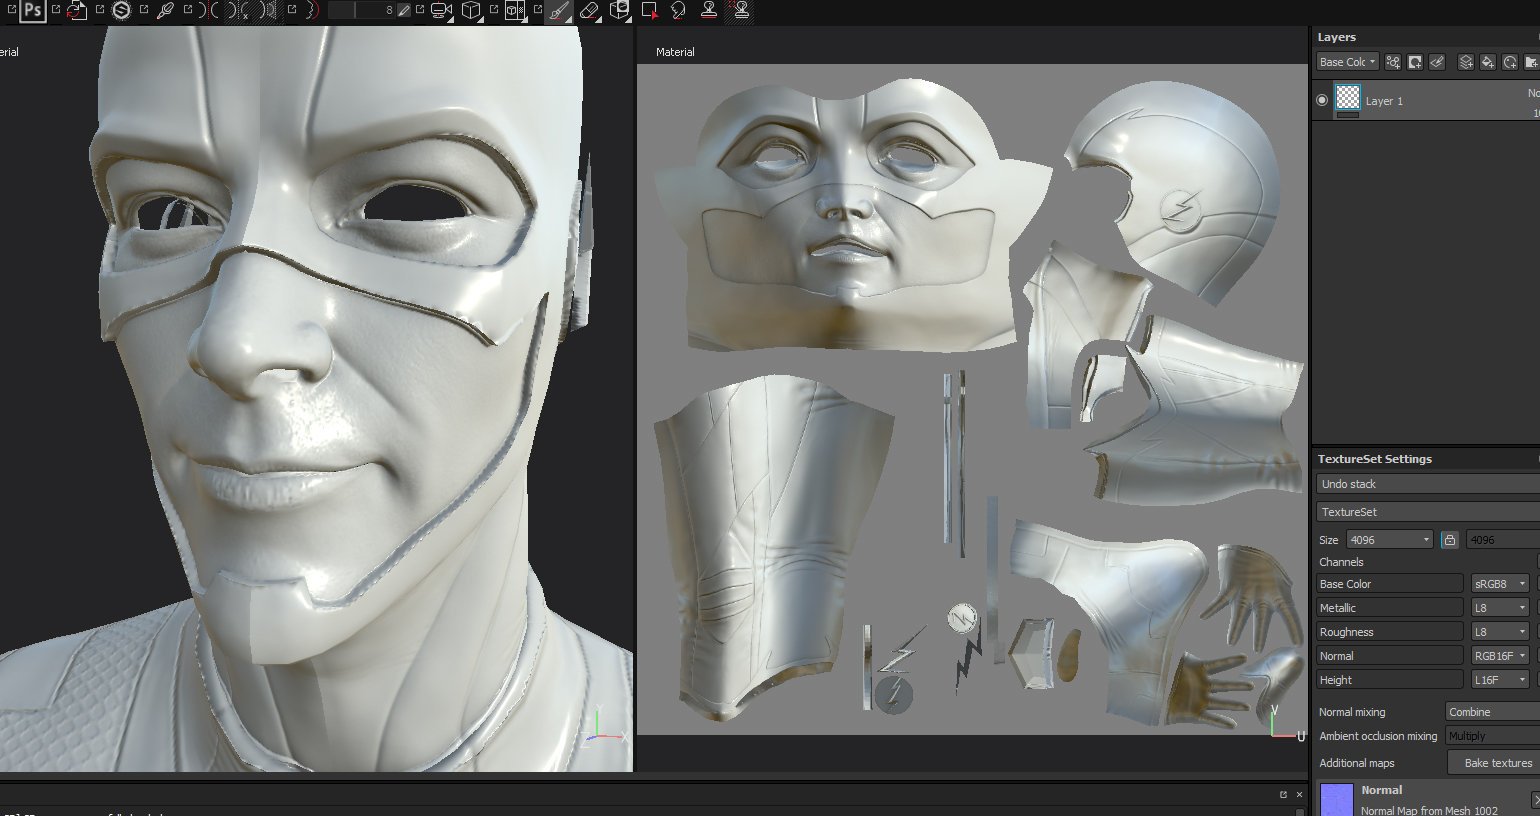
4 - (SP PROBLEMS ) firstly i am quite new to sp . it is a wonderful and easy software i think , but still you need to study some concepts and things in it for best results , like masking and layers they are not that difficult , we all know photoshop , it is quite familiar . so my problem here is when i bake using match by name it gives weird results ( see image below ) i dont know what am doing wrong here , i mean when i use match by always results looks still better ( but those obvious problems i do get because of overlapping and all ) but match by naming is not working for me . please i need help in this .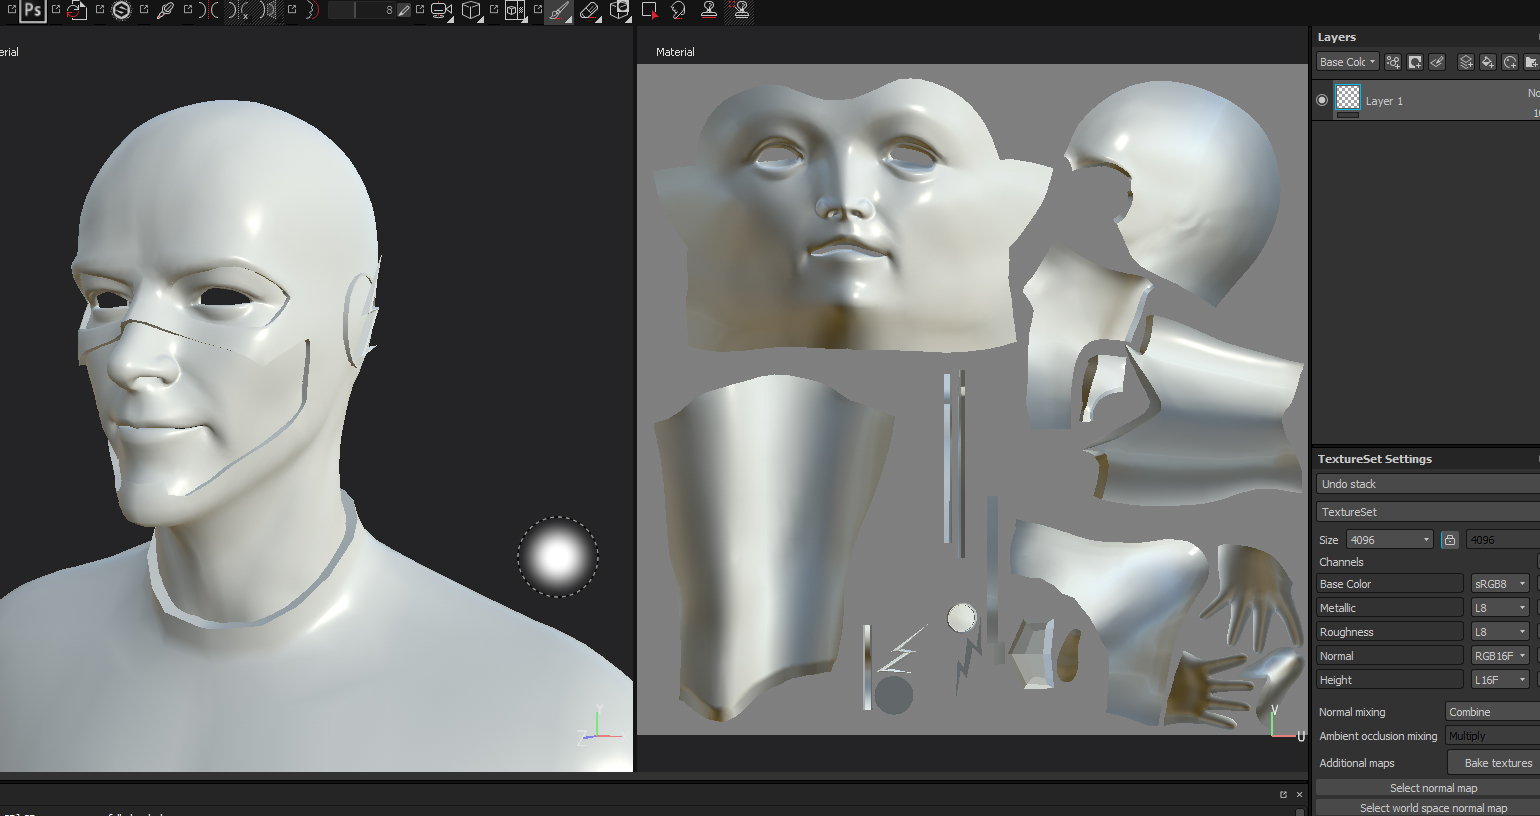
5 - ( MAYA PROBLEMS )
( multiple UDIMS ) so i dont no what i was doing wrong but earlier i was working on a project and i could not load textures on all udims automatically . ( like you set one map and all other maps will be automatically loaded ) this did not worked for me . had to set all udims manually .
( XGEN PROBLEMS ) xgen is super cool for making hairs but it kinda gave me below result when i tried to render using arnold .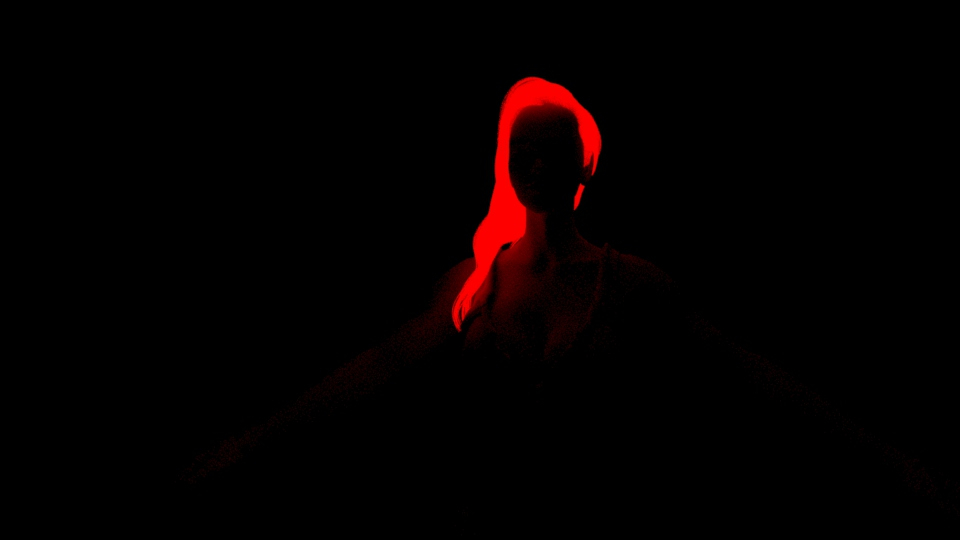
so these are some problems iam getting hope to get some solutions and help,i know this got too long but i hope this would help others too . right now i am working on this model
http://polycount.com/discussion/196704/cw-flash-barry-allen-sculpt#latest
and needed some help regarding it . please feel free to check and give your crits on it . Thank You .
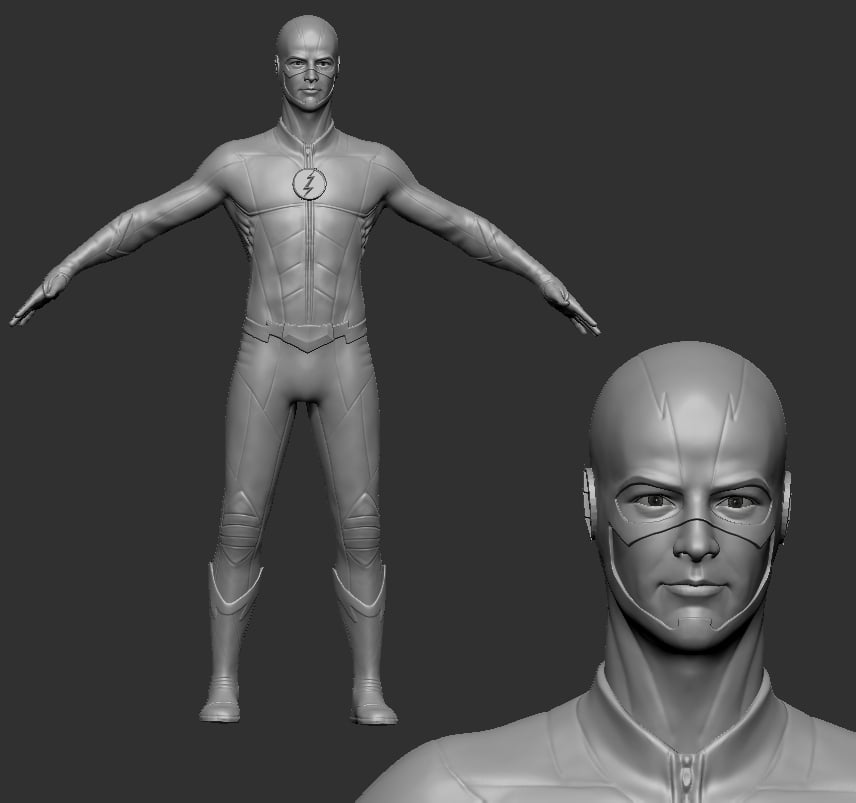
1 - ( CONCEPT ) so i start by collecting some reference images for what i want to make and start it in zbrush . i try to get as much details as possible in this stage only using dynamesh . usually i have many subtools but not crazy high just around 10 - 15 . once base is finalized i decimate the meshes and export them . 
2 - ( RETOPOLOGY ) so now i import these decimated meshes in maya and retopo them using quad draw . i also use topogun and zbrush's zremesher sometimes , depends on the mesh . 

3 - ( UVs ) after retopology i use maya to make uvs using uv toolkit . i almost always make multiple UDIMs . Then I export all the meshes with uvs to reproject details in zbrush again . and also save the maya file .
4 - ( REPROJECT DETAILS ) import back all the new meshes with uvs and proper topology to zbrush and divide them and project the details back on new meshes .

5 - ( SUPER DETAILING ) now i give all those little little details like skin pores , cloth seams and other high end details .

6 - ( POLYPAINT ) so this is tricky , i polypaint to make color id map , which i can use in substance painter .

7 - ( EXPORT ) now i will export all the meshes again both as low and high poly . for high poly i first decimate them then export .
8 - ( RENAME IN MAYA ) import all low and high poly meshes in maya and rename them properly and use suffix ( _ low and _ high ) . this is done for sp . combine all the low meshes and export them as single object . i use to do same thing with high poly , but that is not necessary as i can import multiple meshes for baking as long as naming is proper ( i recently find this out , before that i use to combine the high mesh too , which almost always resulted in maya crashing and freezing and wasting my time , which was the main reason i wrote this ) .
9 - ( TEXTURE IN SP ) then i import low mesh in substance painter bake all the maps and texture it too . export all maps . ( below is not a very good result , hope this time i'll make good one )

10 - ( WORK IN MAYA ) in this last step i would import and apply the maps we made in sp . and MAKE HAIRS IN XGEN . then render in arnold . ( below pic not rendered in arnold . this is iray render . this time i'll render in arnold . )

PROBLEMS
1 - ( RETOPOED MESH CHANGE SIZE ) so this i the first problem i often get . i don't know why but when i import the low poly mesh with uvs that i had made in maya , its size is reduced . and weirdly , some time just re importing it solves the problem but mostly i have to export it quite a few time again from maya and re import in zbrush to get the correct size . i you know why this happens please help .
2 - ( IMPORTING HIGH POLY MESH IN MAYA ) so this problem had wasted so much of my time because i used to think i can only use single combined mesh as base high mesh for baking , now i know i can use seperate objects too . thanks @pmiller001 . but i still have some baking problems , that ill describe below .
3 - ( UVS PROBLEM ) don't know why when i export the high poly mesh from zbrush and import in maya it have some trillions of seams . almost like it separates all the polygons , but this generally happens to objects that are duplicated and mirrored .


4 - (SP PROBLEMS ) firstly i am quite new to sp . it is a wonderful and easy software i think , but still you need to study some concepts and things in it for best results , like masking and layers they are not that difficult , we all know photoshop , it is quite familiar . so my problem here is when i bake using match by name it gives weird results ( see image below ) i dont know what am doing wrong here , i mean when i use match by always results looks still better ( but those obvious problems i do get because of overlapping and all ) but match by naming is not working for me . please i need help in this .


5 - ( MAYA PROBLEMS )
( multiple UDIMS ) so i dont no what i was doing wrong but earlier i was working on a project and i could not load textures on all udims automatically . ( like you set one map and all other maps will be automatically loaded ) this did not worked for me . had to set all udims manually .
( XGEN PROBLEMS ) xgen is super cool for making hairs but it kinda gave me below result when i tried to render using arnold .

so these are some problems iam getting hope to get some solutions and help,i know this got too long but i hope this would help others too . right now i am working on this model
http://polycount.com/discussion/196704/cw-flash-barry-allen-sculpt#latest
and needed some help regarding it . please feel free to check and give your crits on it . Thank You .

Replies
http://wiki.polycount.com/wiki/Texture_Baking
BUT as you can see the error below , it did not pick the vertex color i assigned to high poly meshes , i researched and found out that when exporting it to fbx i have to make sure that all vertex have color , like even the white color has to be painted . so i checked it again and i am pretty sure there is no vertex without color , but still am not getting any color . plus my third udim which is of face and half mask is black . like this
I guess you try use vertex color to get ID map, I feel bad cuz I can't give you any suggestion in SP but I know I can get ID pretty easy in Marmoset by assigning color material on each mesh and bake diffuse. If you don't like Max, Marmoset baking is super easy, I think I didn't even watched tutorial and figured it out in just few clicks.
I also learned that almost every time either small or big, some issues is better to fix in Photoshop rather than find perfect bake setting.