Having trouble with XNormal-generated normal maps. Any alternatives?
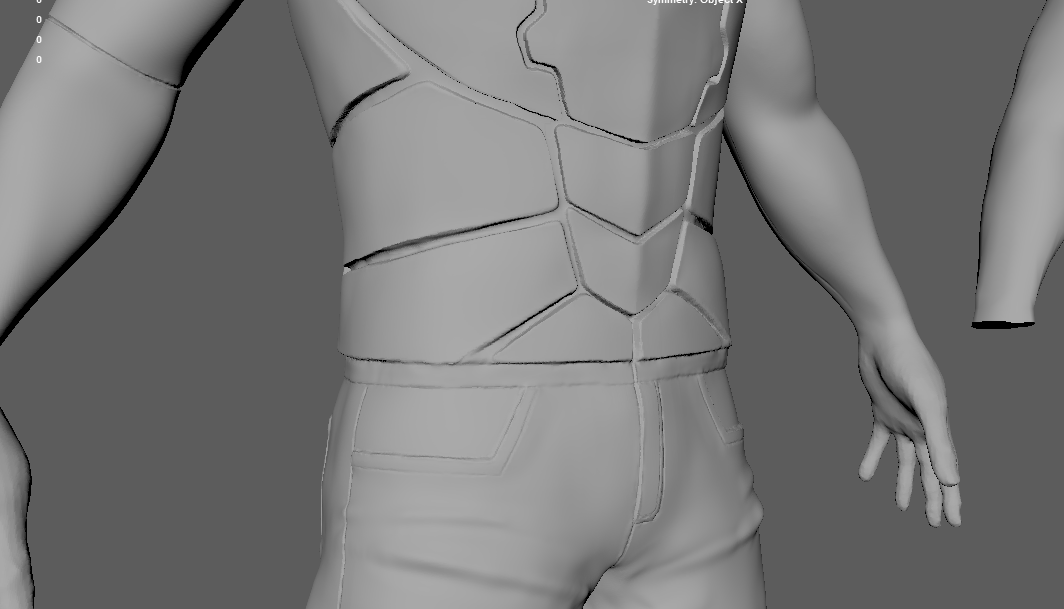
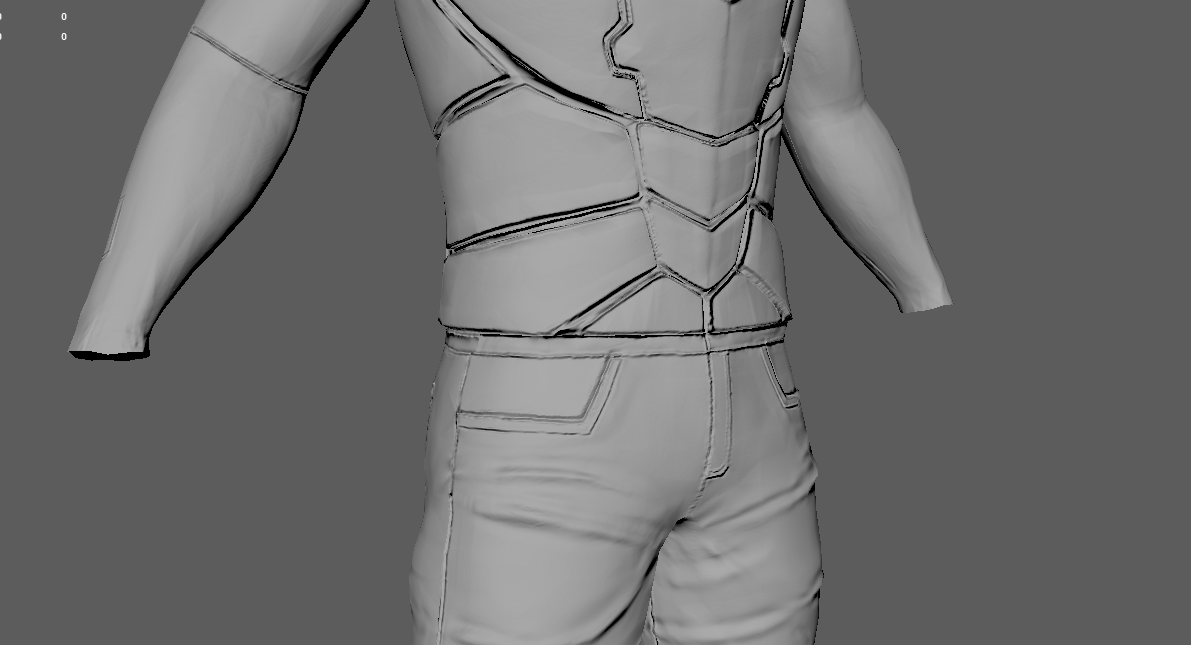
I'm not too experienced generating normal maps with xNormal, but I've used it a couple of times before and I've never gotten results like these. The edges on my character's armour seem really dark and imprecise, and you can see some tris in the normal map itself.
To the left you can see the original ZBrush sculpt (decimated to improve performance while quad drawing). The model in the middle is the lowpoly version made in Maya, and to the right is the same lowpoly model with the normal map I got out of xNormal. I even tried dynameshing my sculpt and smoothing it again, but the normal map was almost identical. Is there a setting I'm missing that I should be fiddling with? The rough texture on this normal map almost looks like it didn't even come from the right model.
I apologise for what may seem like a very dumb issue in advance. I wanted to try making the normal maps with ZBrush itself BUT my sculpt doesn't have any subdivision levels so I may have screwed myself over there.
(On the flipside I learned how important subdivision levels are, right? Lesson learned for this Zbrush scrub.)
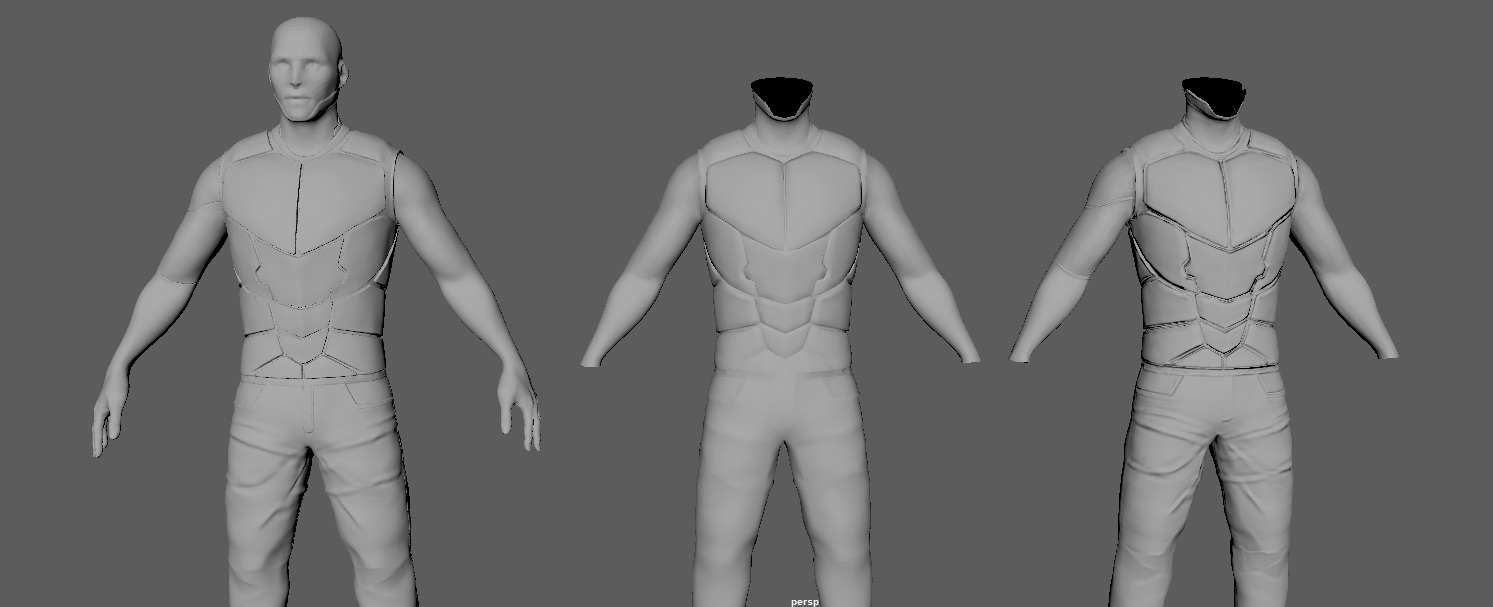


Replies
If your cage isn't set up right, that could be your problem.
Is the green channel flipped?
I looked it up and most people recommend grabbing the original mesh and moving the vertices along their normals to create the cage. Unfortunately the results weren't that much different so I'm wondering if I'm doing it the right way. If you could assist me with this I'd be incredibly grateful.
In the meanwhile I'll create another lowpoly mesh to see if the lowpoly mesh itself is causing trouble.
I'm working on a new lowpoly version right now and I'll report back after I test that out. Maybe it just needs some extra work.
Again, thanks for the help you guys!
--
In Maya, make sure the bump2d node is set to tangent space normals and not bump.
Maya also colour manages images, you want to disable this for your normal maps.
Basically set the colour space to RAW in the file node.
Also make sure that the green channel is correct. For Maya you want it to be +y.
If the green channel is flipped, for example you made your normal maps with UE4 in mind, but want to preview it in maya as well, a quick trick i use is to play around with the colour balance of the texture.
Set the colour gain to 1, -1, 1 and set the colour offset to 0, 1, 0.
Doing this means you dont need to go rebake your maps with the correct handedness or simply invering the green channel in photoshop or whatever.
I'll most likely have to up the resolution on the normal map itself but other than that, most of the issues I mentioned are gone.
P.S.: I tried using a cage but I'm not entirely sure if I got it right. I need to make a slightly inflated version of the lowpoly version for that, right?
Try not to do that as it will most likely backfire later down the line. An artefact means only one thing : a technical problem. There is no justifiable reason for your nmapped model to look any different from your high when they are next to each other.
(Only the weird shading remains but it's gone when I render out the scene so I believe it could just be a viewport problem)