Topology on hips, pelvis and legs. (Need help)
Hey guys, I am new to this site and generally new to the whole 3d modelling scene, I have been having a great time doing props and low poly characters so far in blender but I swear I am going to lose the will with one thing in particular which is the pelvis area of low poly models. So I have this character that i have designed, he is simple but is a template to use for a game.
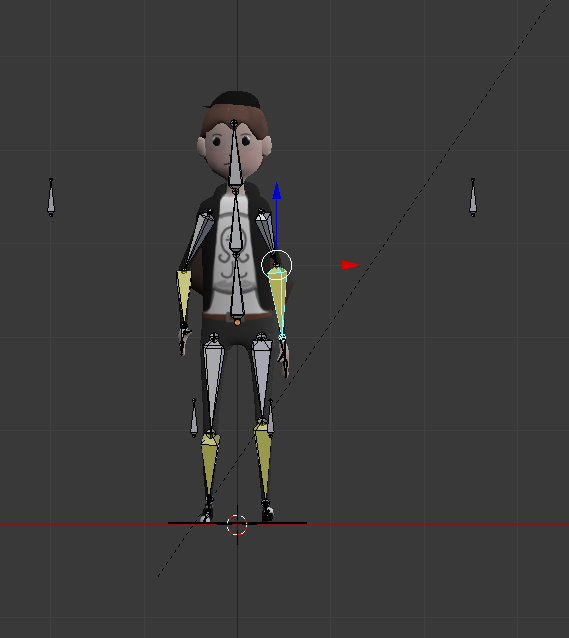
He is fully rigged up and generally works well when creating animations but.. and this is a huge but! he gets some major distortion and creasing in his pelvic region as shown below:
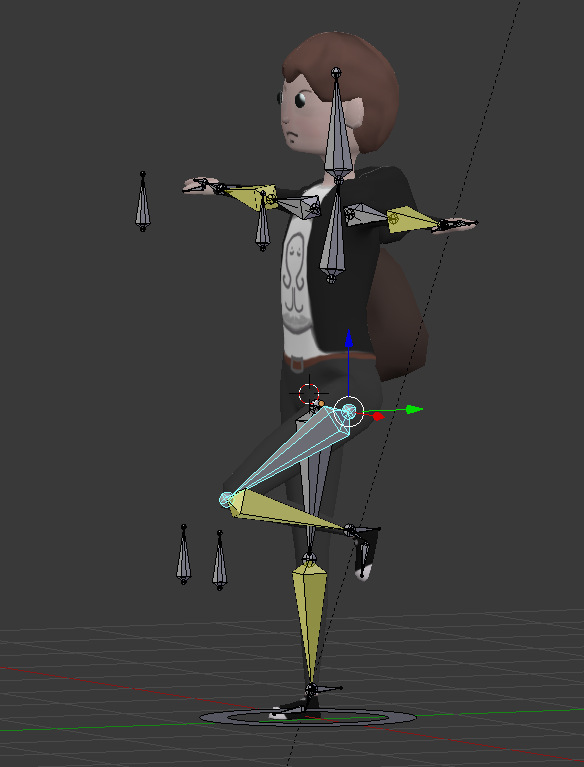
Now no matter what i try I honestly cannot seem to make it mold properly when moving bones. Here is my edit mode view to help show off the topology:
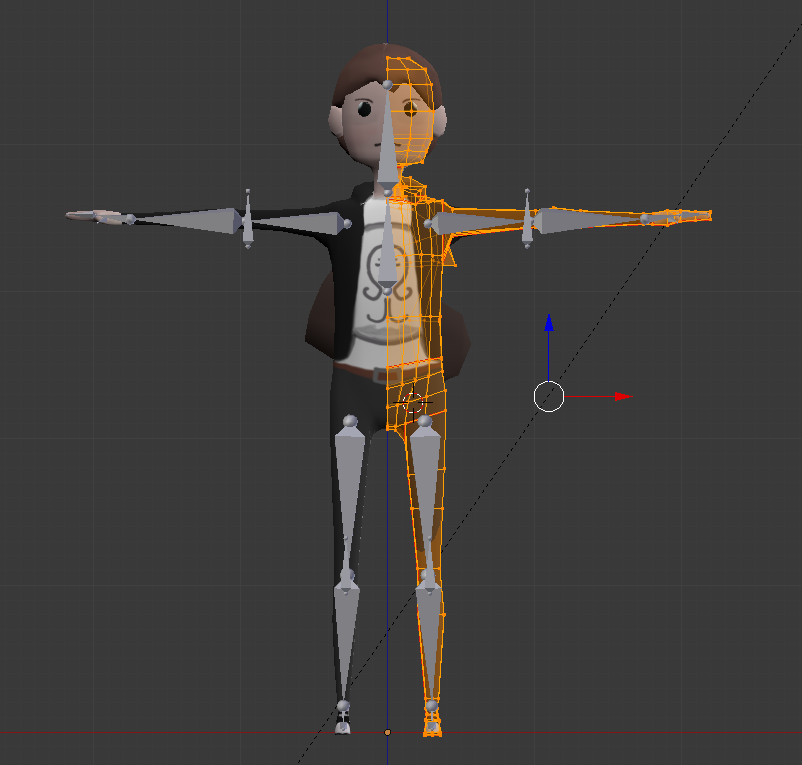
So i know that my character is extreme low poly but generally what is the best kind of way to model the pelvic region on a character like this without covering it up. Any help would be greatly appreciated as have been trying to fix for around 6 hours today but keep end up going back to a previous save as i mess around too much.
Many thanks, James.

He is fully rigged up and generally works well when creating animations but.. and this is a huge but! he gets some major distortion and creasing in his pelvic region as shown below:

Now no matter what i try I honestly cannot seem to make it mold properly when moving bones. Here is my edit mode view to help show off the topology:

So i know that my character is extreme low poly but generally what is the best kind of way to model the pelvic region on a character like this without covering it up. Any help would be greatly appreciated as have been trying to fix for around 6 hours today but keep end up going back to a previous save as i mess around too much.
Many thanks, James.

Replies
http://wiki.polycount.com/wiki/Topology
does it need it need to kind of have a triangle in the pelvis area to have good deformation:
Something like this?
Anyway, when you feel that topology and weight painting aren't enough to get the result you want, the ultimate technique to solve this kind of intersection problem is called "corrective blendshape" (blendshape = shape key in Blender). Searching for this should get you some info.
You bind the blendshape strength to some other property such as the rotation of a bone: the more that that bone is rotated, the more the mesh assumes the form of the blendshape (and that form is what you want the mesh to look like when the bone is rotated that way). In Blender this is done with drivers.
Make sure to try just good topology and weight painting first, as that can be enough in some cases (elbow crease). Corrective blendshapes add another layer of complexity to your rig...